
While I'm not fond of using AI to replace the creative process, I think it is incredibly helpful in enhancing image quality. With the right AI tools, you can rescue photos that may have been unusable otherwise. Topaz Photo AI is such a tool, and in this article, we look at its capabilities, limitations, and ways to get the best results.
Photo AI is the recent addition to the growing selection of AI tools Topaz offers. When they announced it last year, I was still traveling through Asia and didn't have much time to try it out for my photo editing. During those travels, I took many photos, of which some lacked image quality. Sometimes, my Canon 70-200mm f/4 lens wasn't long enough, and other times, I had to bump the ISO past what I felt comfortable with.
Now, a few months later, as I'm going through the photos of those travels, I decided to try Topaz Photo AI. And the quality I could breathe into some of my more difficult captures positively surprised me.
Wildlife
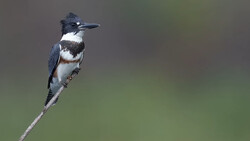
A great use case for Photo AI is wildlife photos. When I was in Malaysia, I longed for a proper telephoto lens. While exploring Borneo, a 400mm or 500mm lens would have given me much more possibilities to capture the elusive wildlife. Many photos, like the one of an eagle below, I took more to document my travels and less for my portfolio because I knew the quality would not be sufficient.
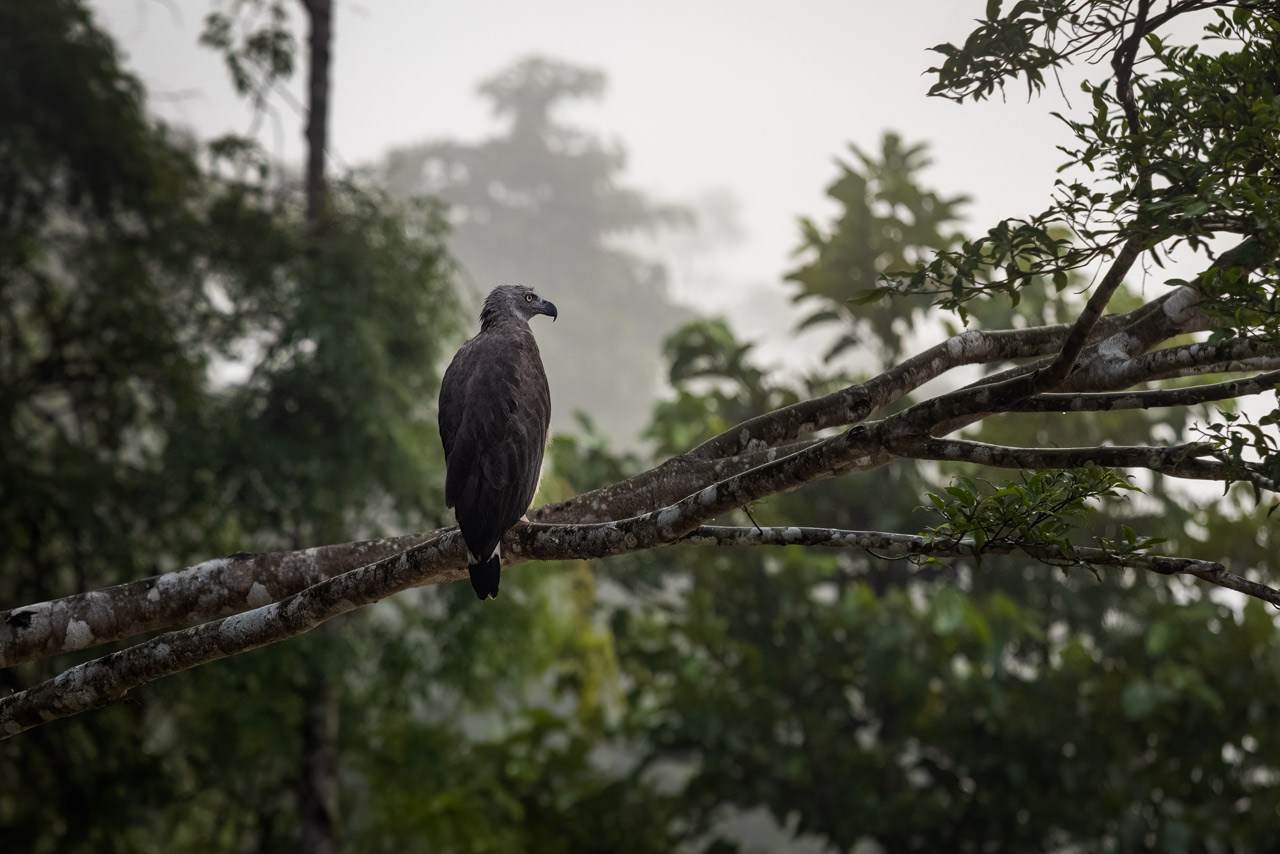
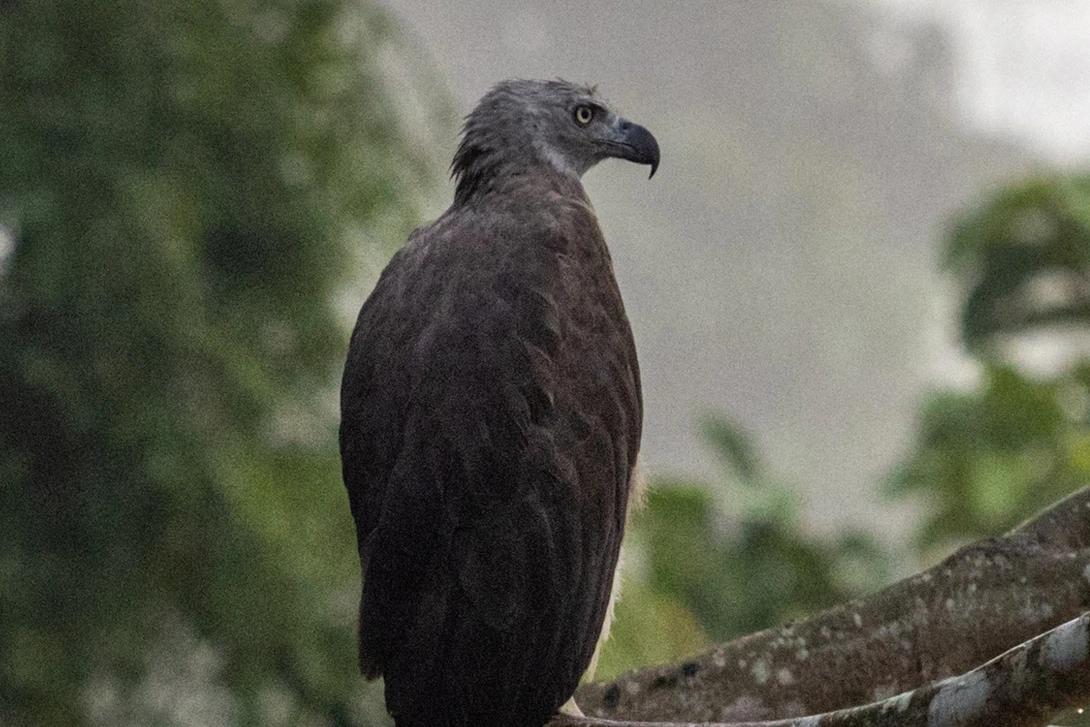
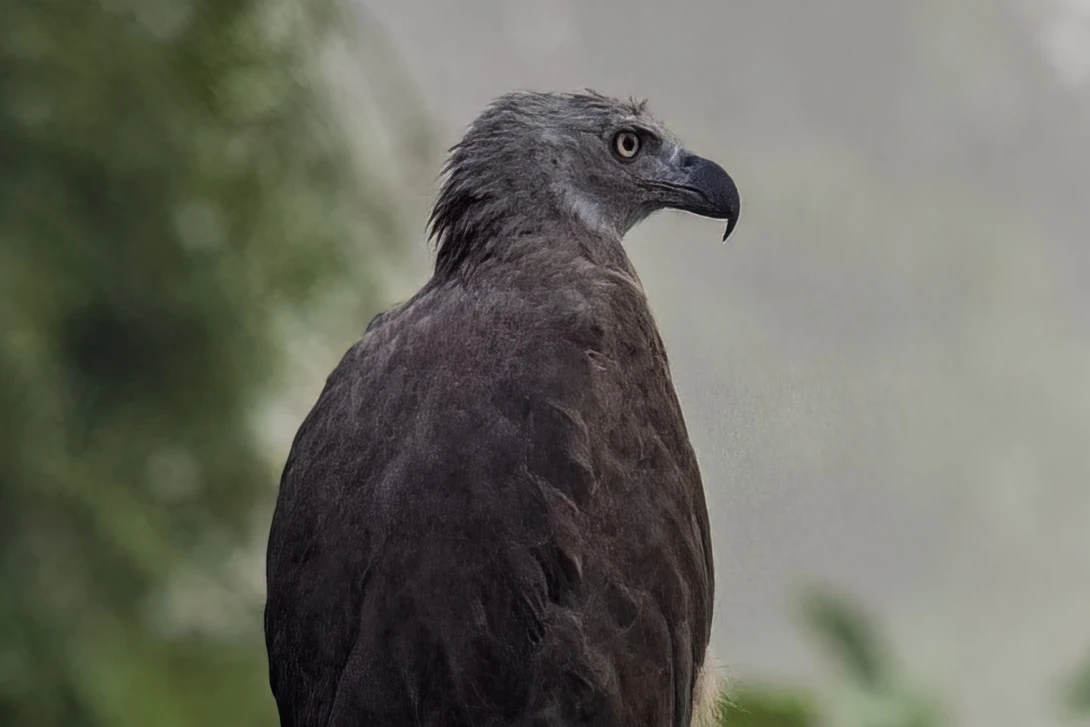
After purchasing Photo AI, this photo was the first one I edited. I increased the resolution by a factor of two, reduced the noise, and added some details all in one piece of software. In the before and after comparison below, you can see the improvement in image quality. It shows a 100% crop of the photo. While not perfect out of the box, I could further improve the result through additional selective adjustments in Photoshop.
You can use Topaz Photo AI as a stand-alone application, as a Lightroom plugin, or within Photoshop. Within Lightroom, you can even apply adjustments to the raw data, giving you great flexibility.
It is important to note that the results from Photo AI are not perfect. There's still some randomness to how it applies sharpness and introduces details during upscaling. I show my way of dealing with that in the feature video. If you own Photoshop or other software that allows you to work with masks and layers, load both the original photo and the AI-adjusted version into separate layers and use manual masking to remove the effect where Photo AI went too far.
If you use the upscaling feature of the software, it might also be a good idea to take the scaled version into Camera Raw and temporarily apply Dehaze. It will point out flaws in the upscaling. One viewer of my YouTube videos pointed out that he gets an ugly checker pattern for every upscaling he does to his raw photos. It is subtle but will become visible when contrast is applied to the photo. I haven't noticed this myself, but it doesn't hurt to double-check.
Landscape
The same scrutiny is required when you work on landscape photos. After applying Photo AI's noise reduction and sharpening globally, you should zoom in to 100% and examine the complete image. You'll find areas with artifacts, fringes, strange colors, and over-sharpening. Use a black brush of 20-30% opacity and gradually mask those parts.
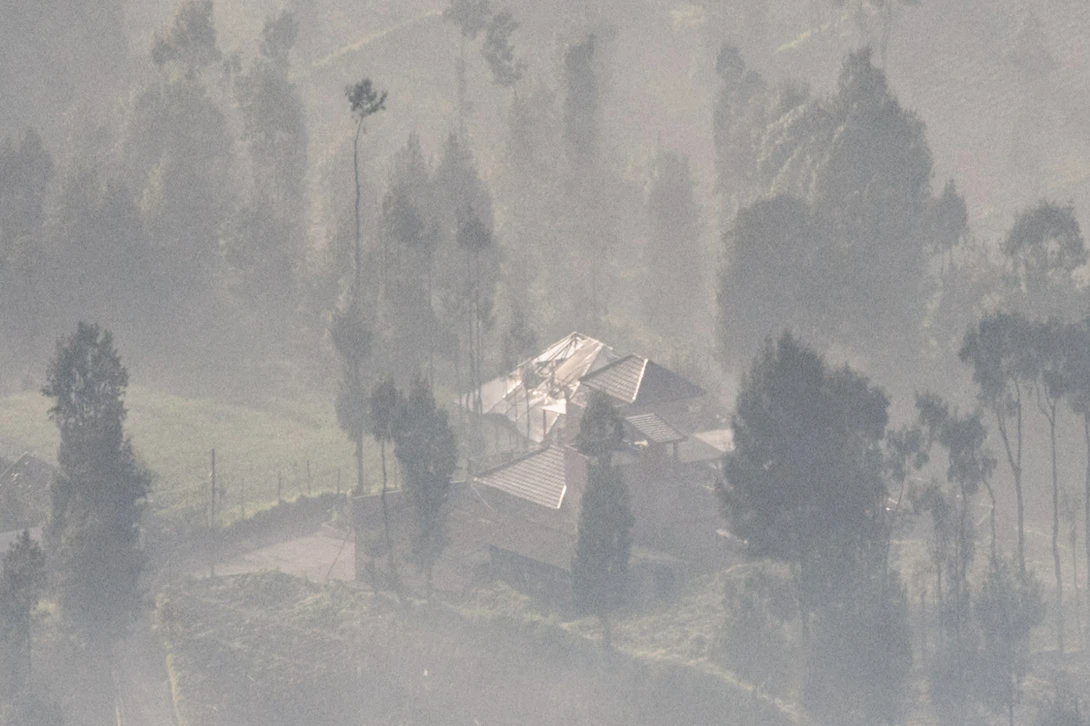
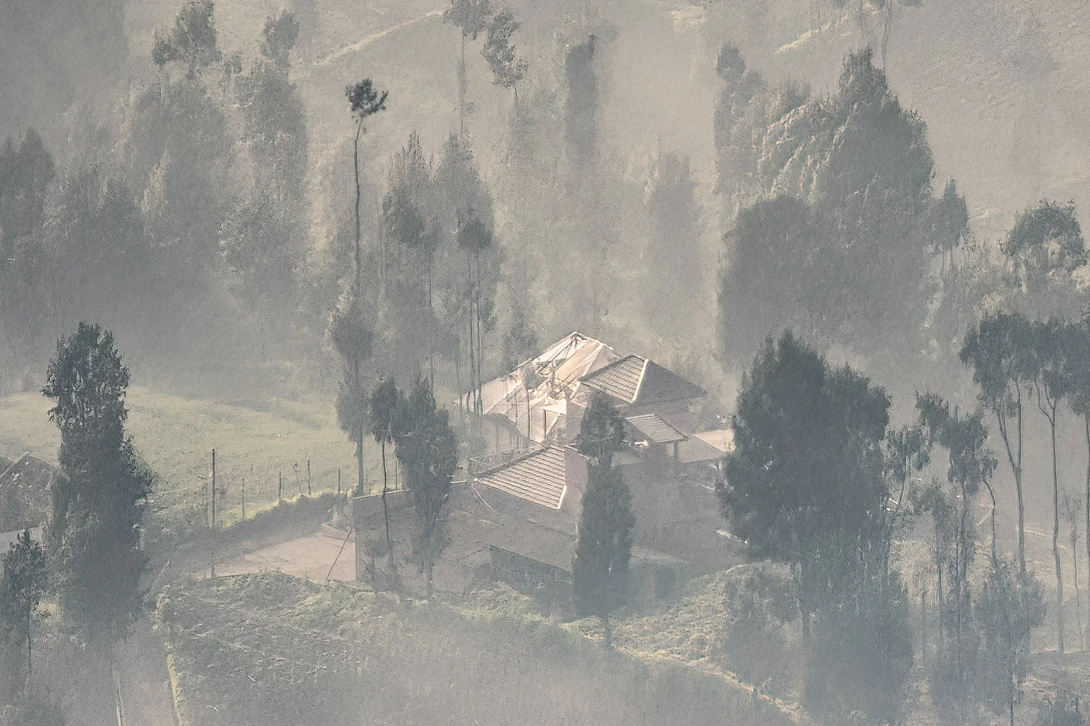
For areas with fine, random details, Photo AI does a good job. But keep a close eye on contrast edges. It is where the AI often screws up. For smaller areas, it can be enough to clean up those fringes with the clone stamp tool.
For the photo above, in addition to applying denoising and sharpening, I also worked on contrast and colors in Photoshop to arrive at the result you see in the before and after comparison.
Architecture
While for the first two examples, I used Photo AI at the beginning of my photo-editing workflow within Lightroom, I also wanted to see how it could improve an already finished edit. As an example, I took one of my photos from Kuala Lumpur. This photo didn't contain much noise, and the detail throughout the image was already very good.
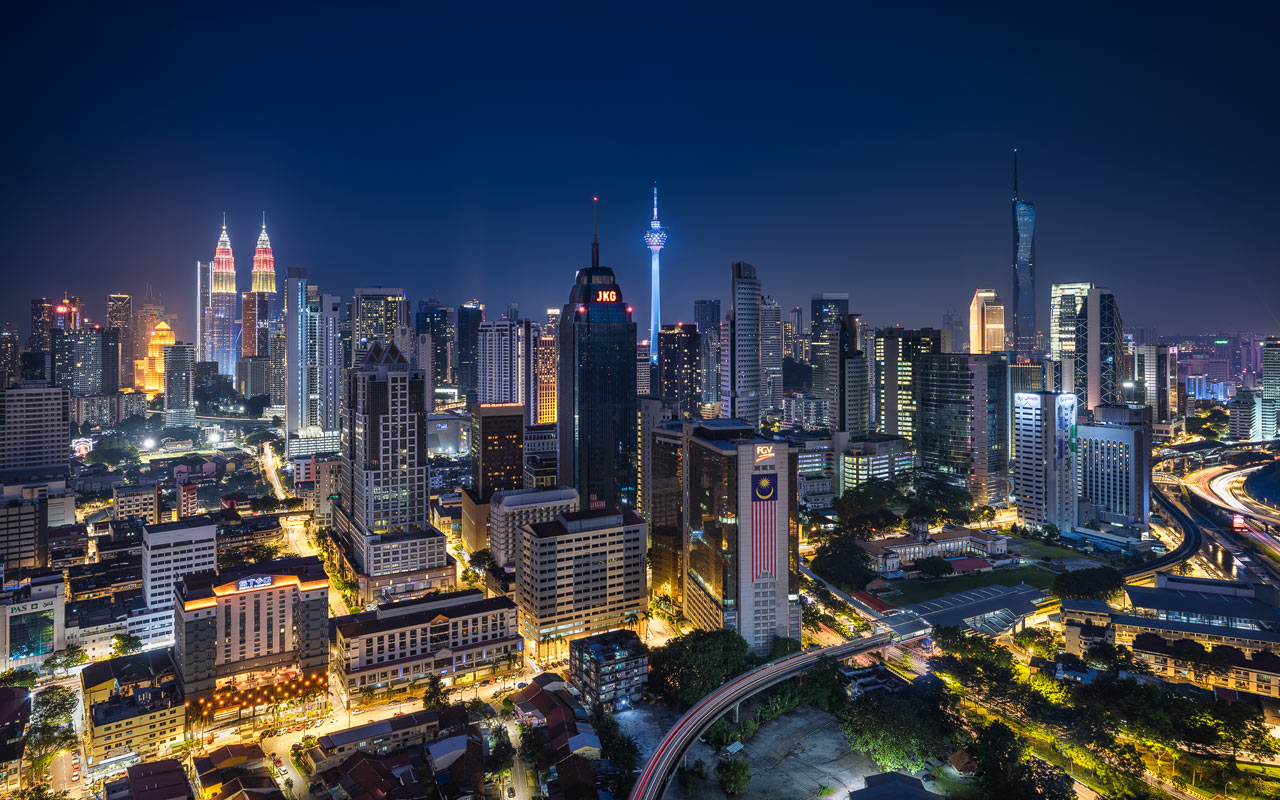
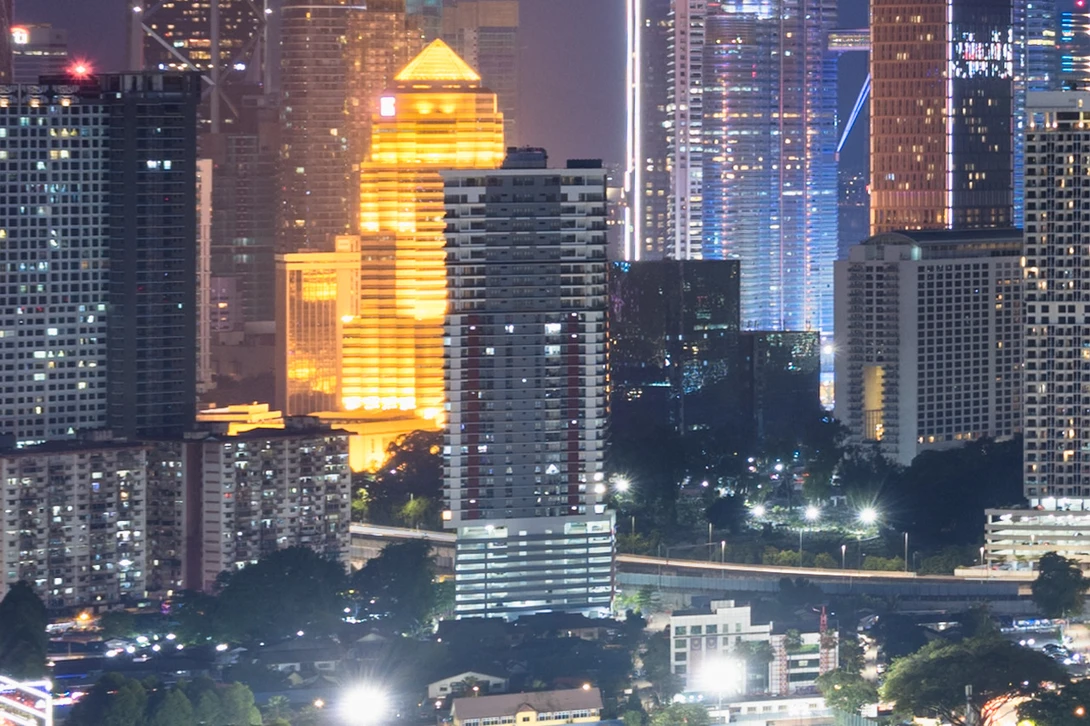

But again, care had to be taken. Artifacts and fringes were introduced in several areas of the photo, and I had to mask those manually. In general, expect around 10 minutes of work to clean up the results from the AI. But, in my opinion, this is time well spent if you are after the best possible results.
Conclusion
As you saw in the examples, Photo AI can do an incredible job at removing noise, improving sharpness, and adding resolution to an image. But as with most photo-editing tools, the real benefit of Photo AI doesn't come from applying it globally. You can achieve the best results by using it selectively. At least, that's the case with the current version. I'm sure the software will get better and better in the future. And maybe someday, you can use Photo AI's output without further adjustments or masking.

1 Comment
This is a good article. Yes, Topaz AI or their other tools can definitely be overdone and takes some finessing to get it right. Remember, it is only an algorithm that corrects your image, and it takes a human to make it correct to your satisfaction.
I will certainly import the corrected image as a separate layer and apply either a brush or reduce the percentage of the effect of the layers.
You wrote, "One viewer of my YouTube videos pointed out that he gets an ugly checker pattern for every upscaling he does to his raw photos. It is subtle but will become visible when contrast is applied to the photo." Contact Topaz support, and send them the log files with the image so they can see what you are seeing. The support is excellent and this is how software gets improved. I was getting white fringing and the latest iteration seems to have fixed it.