
What essential tools have you always wanted to mount onto your camera setup?
Completing the set of gear to bring for a specific landscape photography trip depends on a lot of factors. If you want to make the most out of the location and the effort of going there, you want your gear to help you become more efficient, more focused, and more creative. A common dilemma is when you want to bring anything and everything that might be useful for the shoot, while at the same time, you want to pack light and be comfortable. At the end of the day, the key is to find the right balance between being prepared and being comfortable.
https://youtube.com/watch?v=aQdO4jk8KUE
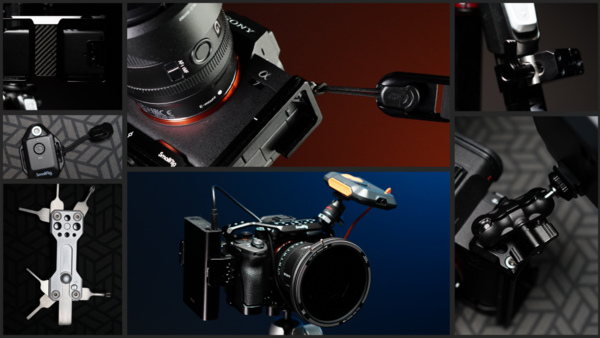
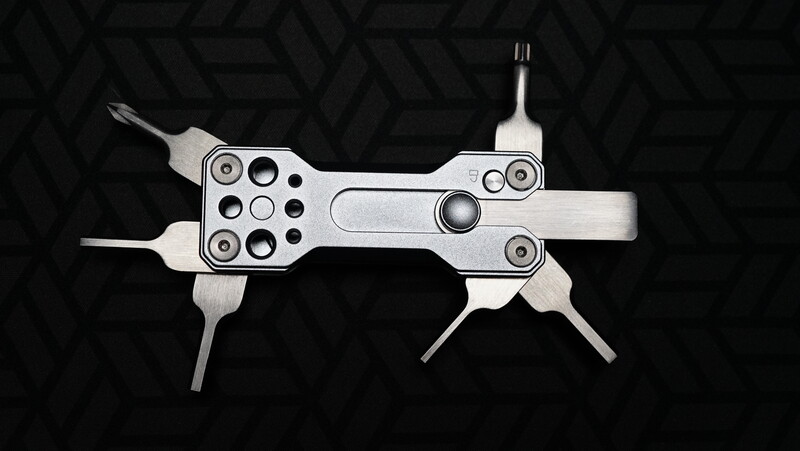
Through years and years of shooting different locations and having to adapt to the challenges, one would be able to determine which pieces of gear are essential and which accessories are considered “must-have” for a specific kind of shoot. These tools may or may not be easy to carry and bring around, but their impact on how you shoot can make them worth having. The idea for this video and article came from mere frustration while trying to figure out some solutions to the problems and/or inconveniences I encounter while shooting. I mentioned some of them to the brand SmallRig, which makes tools and accessories for camera gear, and they challenged me to build the setup I want with what they have to offer and figure out what else might come in handy. In this article, let me share with you some DIY hacks that you might find useful, and at the same time, do a bit of a review of the selection of accessories available and how functional they are for the needs of landscape photographers.
Bare Essentials
For any landscape photographer, there are accessories most would consider essential. These are of course aside from the camera, lens, tripod, and filters. These simple accessories make certain parts of the shooting workflow easier and/or keep your valuable gear more secure.
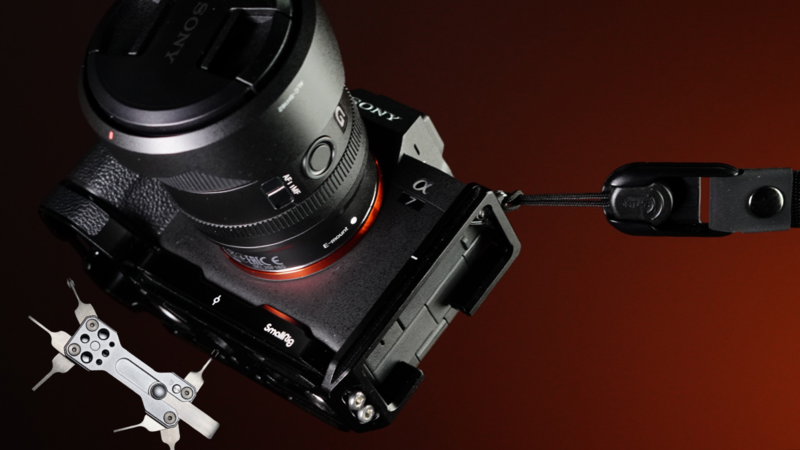
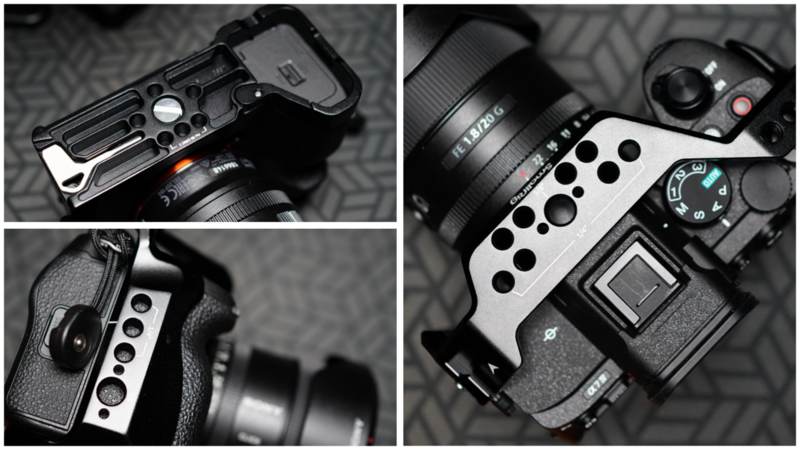
An L-bracket is perhaps one of the best accessories to get right when you get a new camera which is why I ordered the SmallRig L-bracket for the Sony A7IV even before the camera arrived. Landscape photographers are perhaps the ones who use tripods the most which is why it is wise to keep a tripod plate on your camera as much as possible. Aside from the fact that L-brackets make it easier to shoot in a vertical orientation, fitted L-brackets specific to your camera model have dedicated holes to make way for your battery, memory card, and side-port doors so that you can keep them on the camera for as long as you want.
The kind of camera strap to use depends entirely on preference. However, it is important to keep in mind that a long and relatively heavy strap might cause some unwanted camera shake when doing long exposures on a tripod. A common fix is, of course, to wrap the strap around the center column of the tripod, but if you’re not particularly fond of wearing a neck or shoulder strap, then a wrist strap might be a better choice for you. A wrist strap would be easier to secure onto the tripod or to keep your camera secure with your hand without inducing any movement. This SmallRig wrist strap makes use of a quick-release loop that allows you to easily remove the strap when not in use. The locking mechanism, however, seems to make use of a one-sided anchor, which causes very minimal inconvenience.
Filter Bag and Counter-weight

Remotes, Triggers, and External Monitors
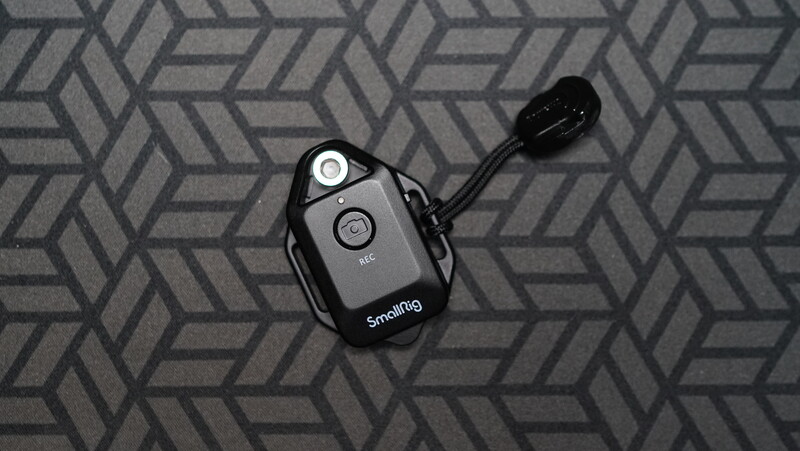
Other, common accessories for landscape photographers are tolls that make shooting long exposures, HDR, and/or time-lapse more efficient. When shooting long exposures, a wireless remote can be very useful in trying to avoid any camera shake caused by pressing the shutter button. While using a 2-, 5-, or 10-second timer delay is an option, it can be a hindrance when precise timing is crucial. This Bluetooth remote is an easy fix for that and is also a handy tool for shooting videos on a tripod. It can also be screwed onto the L-bracket or camera cage or fastened with a Velcro strap.
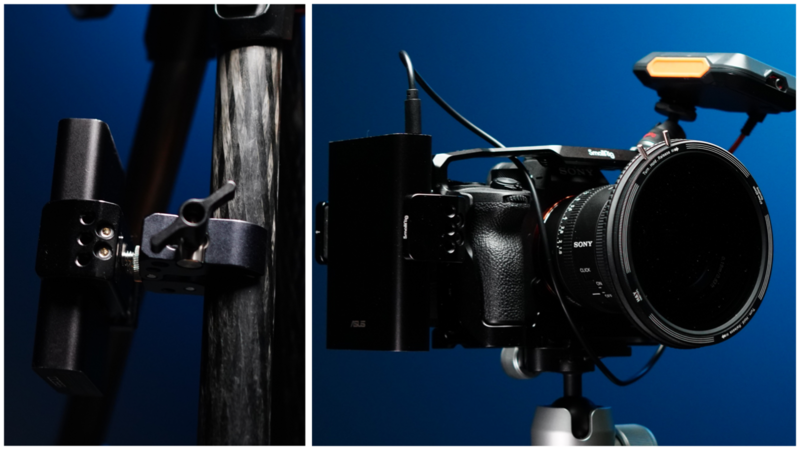
Continuous Power for Time-lapse
In general, it's good that DIY accessories are now easily available on the market to help photographers come up with solutions to problems they encounter in the field or at the very least find ways to make their workflow more efficient and/or convenient. Running into mechanical problems with crucial accessories can ruin the outcome of a shoot, which is why being ready with tools and solutions is very valuable.


Join the Fstoppers community for free
-
Post comments and join in the discussions
-
Browse the site ad-free
-
Share your work and get featured in the community
-
Compete in the photo contests for fun and prizes
4 Comments
None of this stuff is DIY. DIY generally means stuff you make yourself, this is all just off the shelf accessories...
Extra stuff I don’t want to carry while backpacking to a landscape location.
This has absolutely NOTHING to do with DIY, and is really a poorly concealed ad for a bunch of SmallRig products. .
What DIY?? How much did Smallrig pay you to write this?