
Optical snoots are great ways to get creative images with crisp edges, but you are limited by the horrible gobo collections. Here's how I found a way to make your own for about $11.
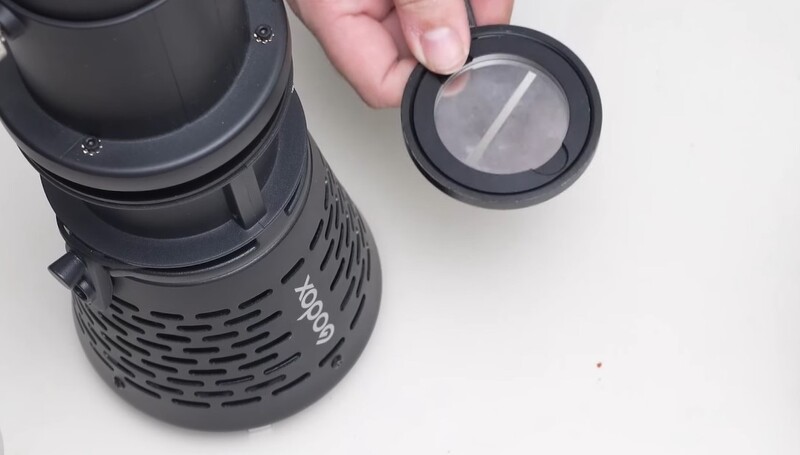
I wrote an article about how to use optical snoots here. Basically, it's an attachment that goes on the end of your light and passes the light through a lens that you can focus to get crisp or blurry light. You can use different attachments called "go-betweens" or "gobos" for short to project certain patterns on your subject. These gobos come in sets that cost anywhere from $16 to $90 or more. The good news is that a lot of manufacturers use a standard 2.6" diameter for their gobos, so you can buy a Godox optical snoot and use the Westcott gobos in them. The bad news is that the gobo packs are mostly garbage. There are always one or two versions of a window in each set. Then, you just get some random patterns that you would never use. If you have three that you would use in a pack of ten, you are lucky. The bigger problem is when you want a specific pattern, but the 10 or 15 available packs of gobos from different manufacturers don't have what you need.
I made this eight-minute video going into detail about the process, but let me break it down for you here and explain some of the things I left out in the video.
The Quest to Make My Own Gobos
I bought really thin pieces of metal to try to carve them in my Glowforge, a giant laser-cutting and etching tool that I have. It's not strong enough to cut metal, only etch it. I tried carving them out of poster board, but the cut edges were simply too rough to get the images I needed. The other problem with poster board is that the optical snoot produces a lot of heat. Using a 100-watt light, a steel gobo is very warm after just 10 or 15 minutes of use. So, I had to have something that wouldn't deform or burn under high heat. So, I needed something metal, but soft enough to cut with a razor and hard enough to maintain its shape. I also would prefer if it did not cost a lot of money because I had a lot of shapes I wanted to try and knew I would have to do a lot of trial and error. That's when I found the wonder of pie tins. I bought a 50-pack for $11, and the bottoms of them were perfectly flat circles about 3" in diameter, so I had plenty of room to spare to trim them just right.
How to Cut Your Own Gobos
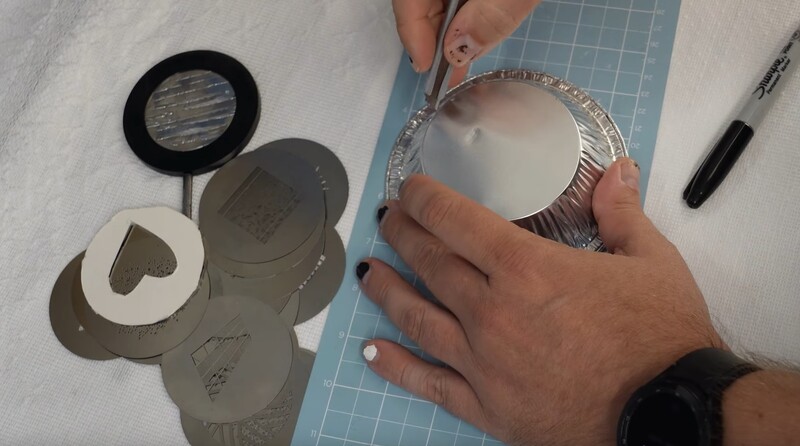
Start by cutting out the bottom of the pie tin. Use an existing gobo as a guide and trim it to a perfect 2.6-inch circle (or whatever diameter you need).
Next, take a sharpie and draw any design you like. I like using sharpies because you can just smudge the ink off and start over if you want.

Make sure to take into account that there is going to be some way to hold the gobo in place that is going to eat up some of the room on your disc, so you can't go to the edges with your shapes. On the Godox Optical Snoot, it's about a quarter inch all the way around for the ring that holds the gobos in place. The Westcott holder appears to take up less space.
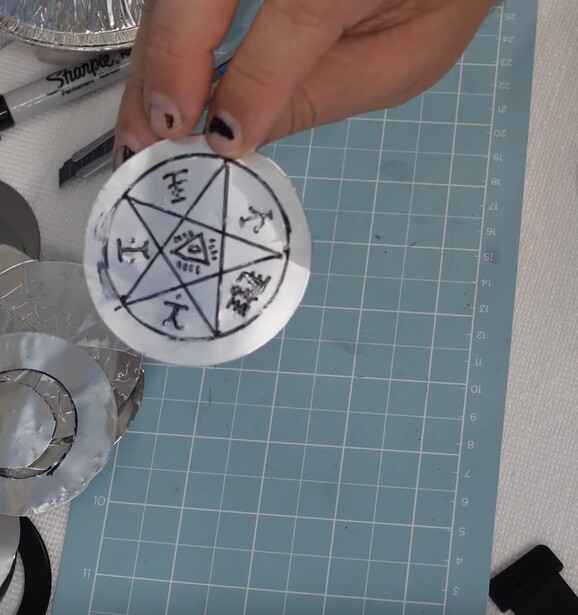
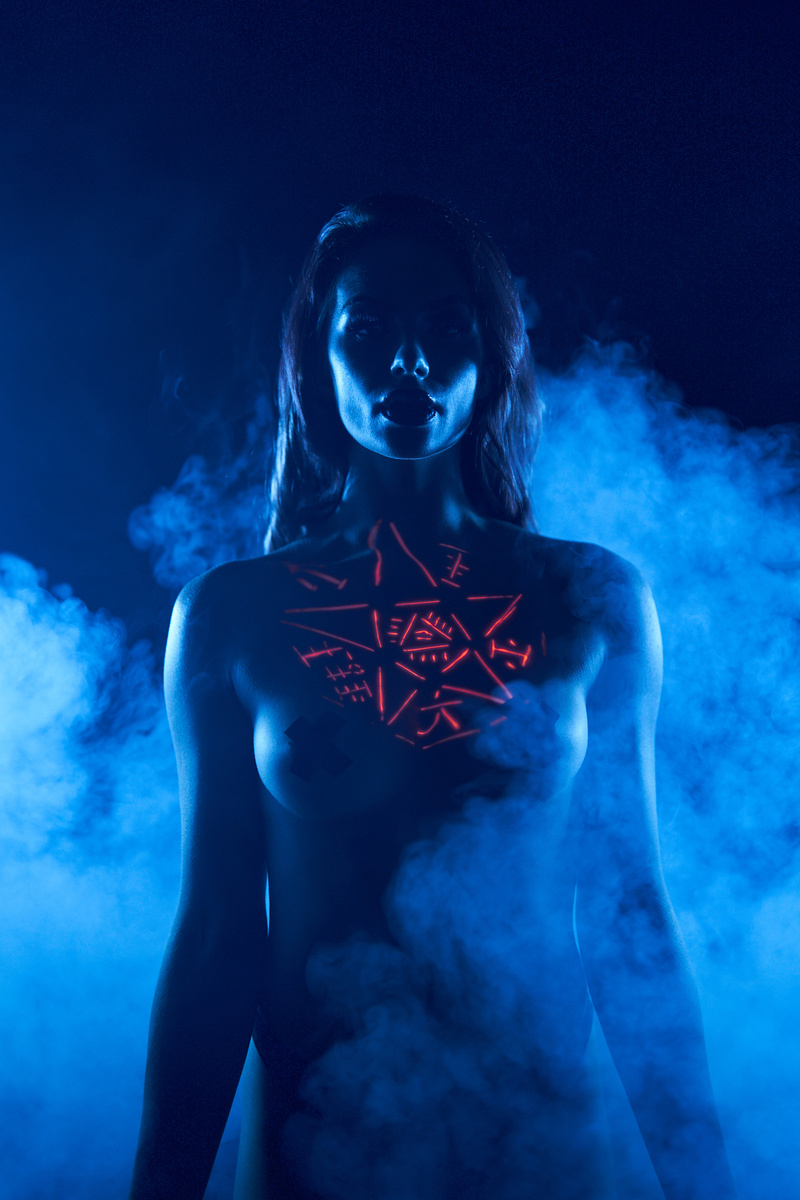
I made this mistake when carving this pentagram design because I had a circle going around the pentagram, but it was covered up by the holding ring. I still liked the result though, but I wish I had made it smaller.
For my first few, I started using a razor blade and a piece of cardboard under it so I didn't carve into my table. It worked just fine. I upgraded a couple of pieces though to make things a little easier after trying a handful of times to cut them.
First, I got a cutting board — not just any cutting board, though, one with a sticky surface. Honestly, I bought it by mistake, but when I saw that it had a sticky surface, I was happy because it makes it so much easier. The pie tins are very thin — not quite like aluminum foil, but still very thin. When you are making intricate cuts on such thin material, you can accidentally tear it or bend a corner. Cutting it on a sticky surface helps keep it in place when you are making precise cuts on such a light material.
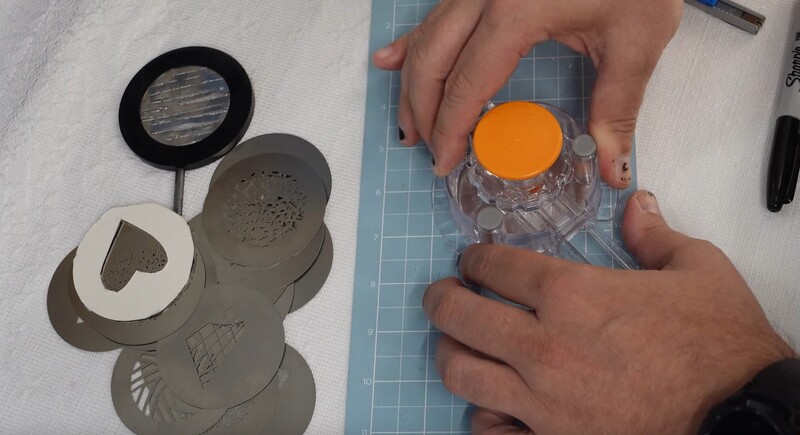
The next thing I got was a circle cutter. You set the diameter and put the cutter in the middle and spin it around the rough cut of the pie tin bottom and it makes a perfect 2.6-inch circle. This is just a time-saver, and it keeps me from having to keep rubbing black ink off of my metal gobos.
Another thing to keep in mind is the size of the pattern. A lot of the gobo patterns are designed to cast a pattern onto the model and spill onto the background. For example, you wouldn't want to project a tiny window onto a model; you'd want to project the lines from the windows on the model and have some of the window spill onto the background. For this image with the cross, I just wanted it projected onto her body or on her face, so I had to get the optical snoot about a foot away to get the image I wanted. That is with the standard 85mm lens that comes with the kit.
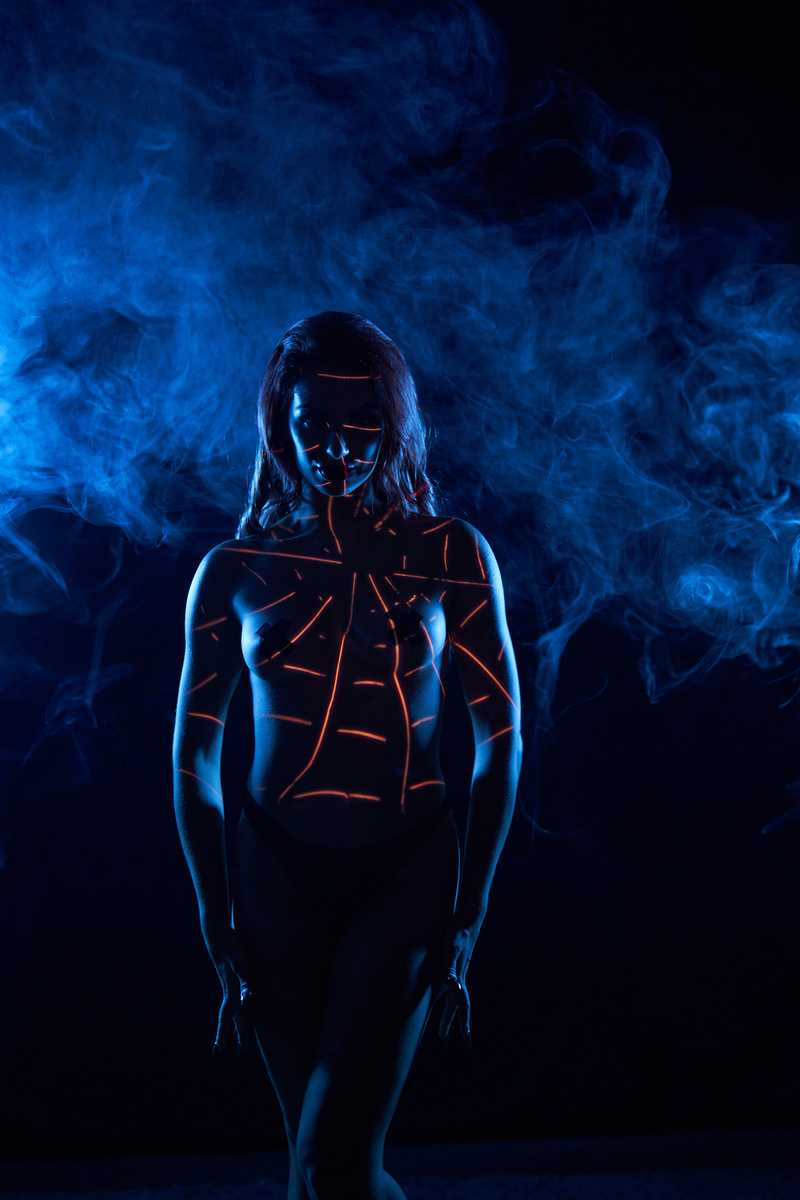
You can hold your gobo up to your monitor and let light shine through it to see what the pattern will look like if you are using really thin lines. For my spiderweb and pentagram patterns, depending on how deep I cut and how smooth I pulled the blade out, the lines were not completely visible, so I had to run the blade through them again.
Here's a gallery of some of my images from this:


Let me know in the comments if you have any questions. I'd love to see your creations.


Join the Fstoppers community for free
-
Post comments and join in the discussions
-
Browse the site ad-free
-
Share your work and get featured in the community
-
Compete in the photo contests for fun and prizes
5 Comments
In the roofing section of your Lowes or similar store they sell rolls of aluminum for flashing. They sell small strips large enough as well but those are typically formed like a 90 degree angle. Thickness can vary slightly from provider to provider, but the web sites typically shows it under "specifications". It is not as flexible as the foil used in the article but it can be cut with a knife blade, drilled in or punched. Drummel rotating blades might work with the proper type of blade. They are super thin but need a few tests to get used to cutting as these tools are much larger than the blades despite being fairly small. For example, with mine, a 10 year model, if I had an optical snoot, I would probably tape my gobo disc on a 1x2 piece furring strip of wood (not rounded corners) clamped at or past the edge of a table. This way the blade can be used at a perfect 90 degrees. There are plenty of other accessories that would help create random shapes while keeping sharp edges. Wood might be rough when the blade cut though, so there are alternatives like PVC trim boards that will stink when cut and create little particles to clean but it's like cutting butter or buy a lattice strip of PVC, and clamp it over the wood. Same effect, just cheaper cost in material.
Warning, flashing tend to have very sharp edges when cut and may require a little sanding.
There is an easier way! I use a plugin called " Optics" by Boris Effects, they have a huge collection in Optics that allows you to create and customize your own Gobo, You Just create a layer filled with 50% grey and apply the Optics plug-in filter in PS choose from the crazy amount of choices, then use the blend mode to acquire your style. You then can blur it, sharpen it, color it, and even transform it. I use it a lot for light and shadows. See example.
I just had my whole snoot and the "cookies" 3d printed. Macro adapter to connect the lens and speedring to connect the flash. Doesn't melt or warp. Each cookie is like 1-2 bucks.
My model lights are LED tho. When I used elinchrom I just changed the bulbs to IKEA LED ones, my Jinbeis now have a quite cool COB LED builtin.
What light are you using?
Used to be Elinchrom RX, now Jinbei DM