
There are many different ways to accomplish the same thing when it comes to editing your photos. I absolutely love learning new and more efficient techniques for my workflow, and I hope this method will do exactly that.
This past week, I was in a YouTube rabbit hole and caught a video by a popular YouTuber that went over a tip to improve your photos in five seconds. It got me thinking that there has to be a more efficient way to achieve the same result without ever leaving Lightroom. The beauty in modern photo editing with the tools that we have is there are hundreds of ways to achieve the same results. I personally get stuck using outdated methods far too often, something I'm trying to continually improve upon. I've been streaming my edits recently, and viewers constantly show me new or different ways to do things, which has been absolutely wonderful, as I'm always looking to grow.
After trying to replicate the same results, I can confidently say that I think this method is faster if you're a Lightroom user and more importantly gives you even more creative control over your images while being just as effective as the original. Enough rambling, let's jump into the tutorial.
A Touch of Light
This is a really quick easy way to add a bit of pop to your photo as a final touch before you send it off to your social media feed. Simply take your finished photo into Photoshop, select a soft brush, make it quite large covering most of your photo, and set the opacity to around 10%. Make sure your foreground color is set to white.
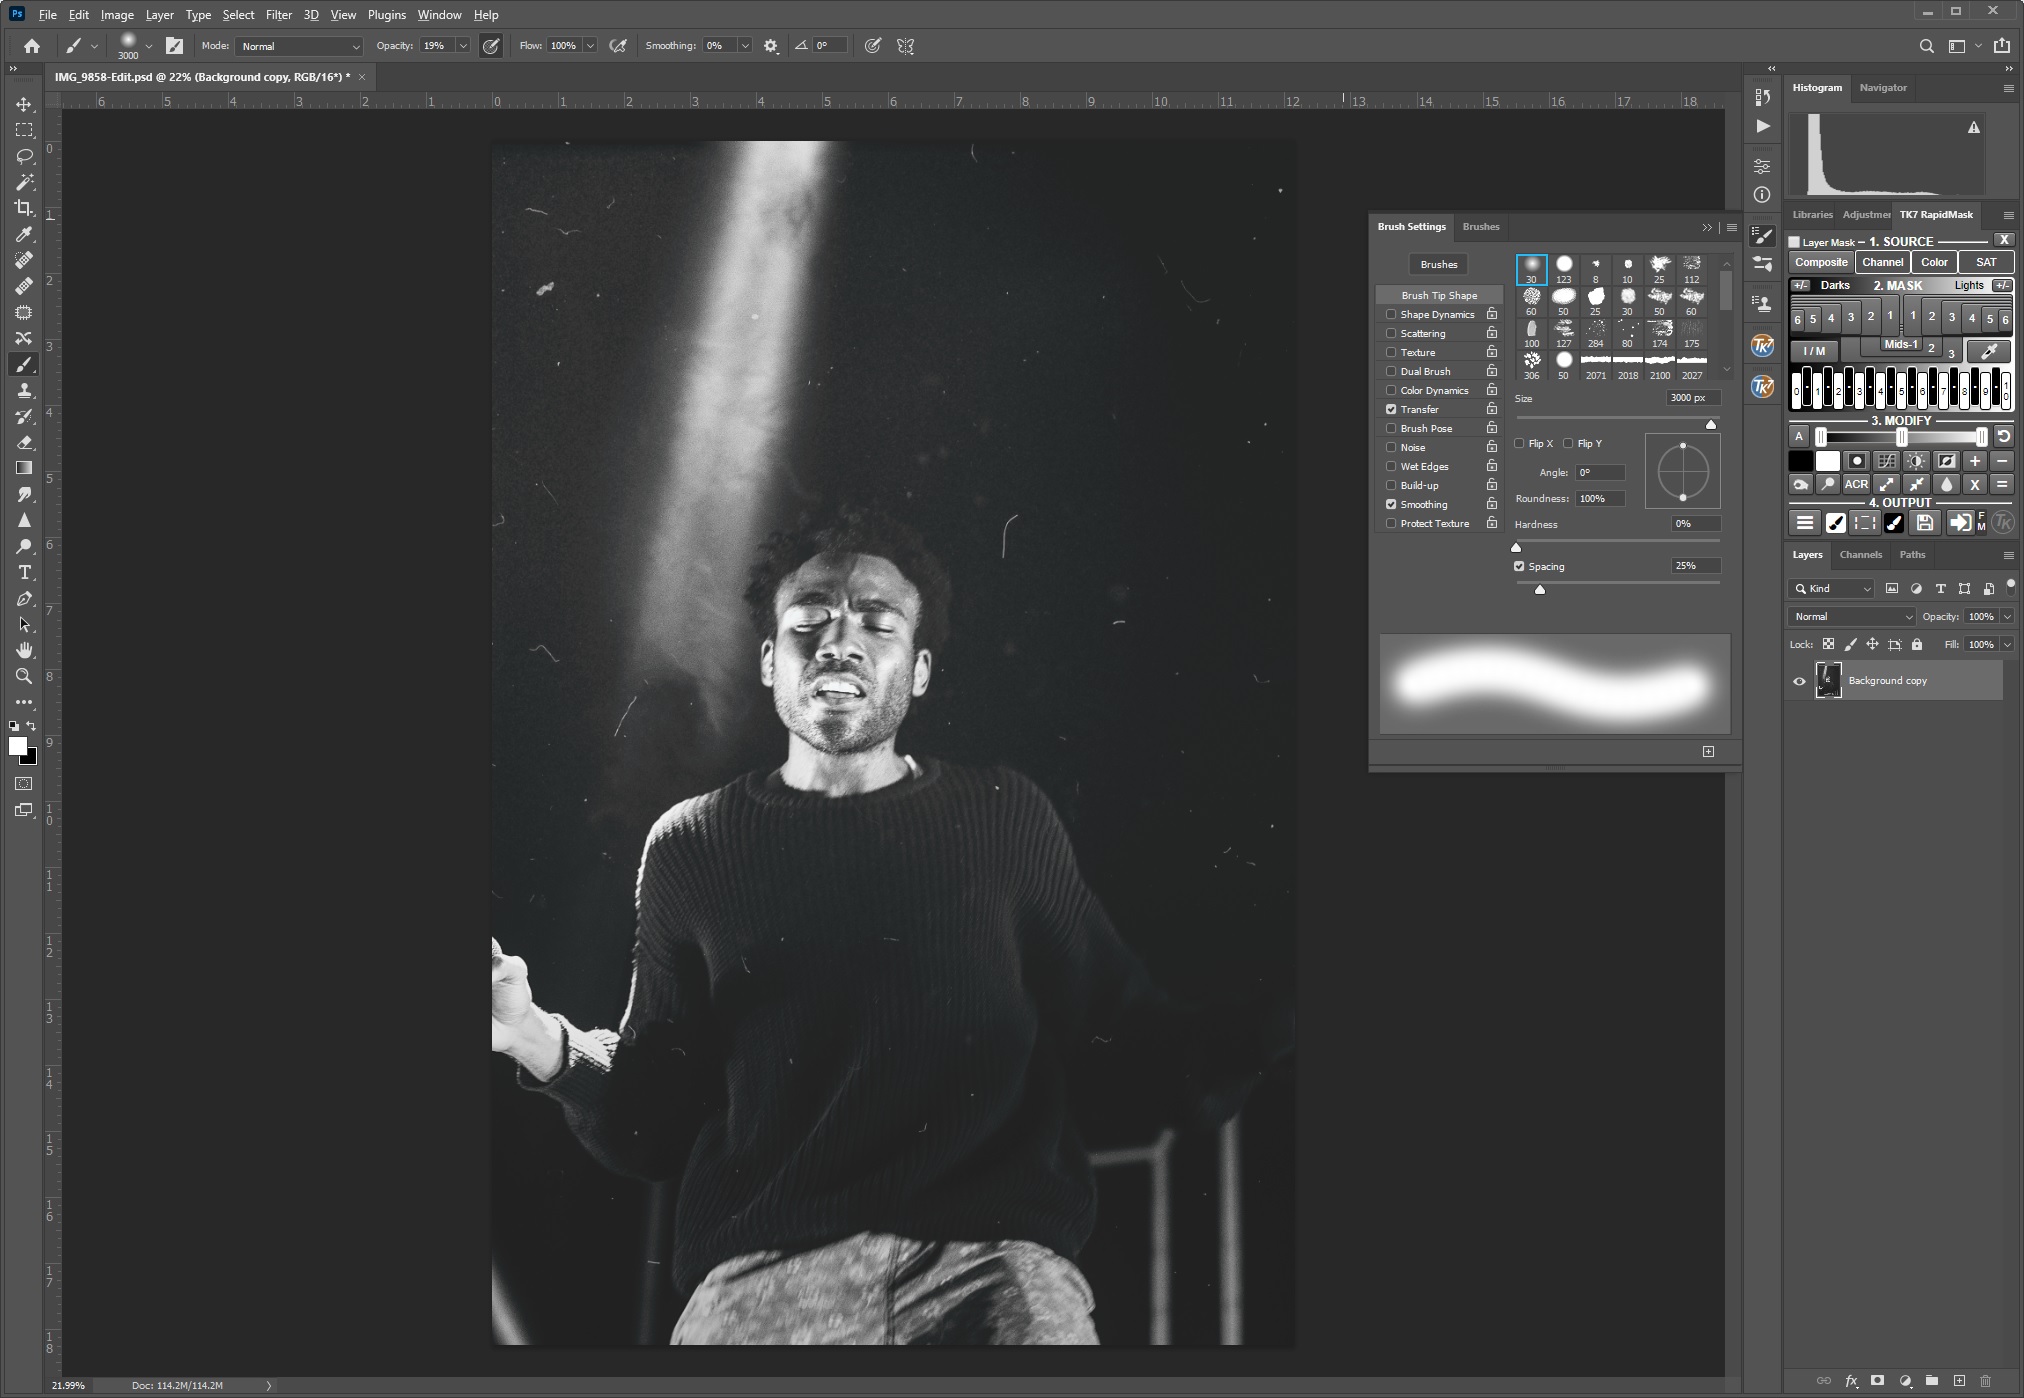
Once you have the brush set, all you have to do is find a spot in your photo where the light might naturally be coming from, something like the top right part of this photo, and click once to apply that brush stroke to the photo, maybe a second touch in case you want a brighter look.
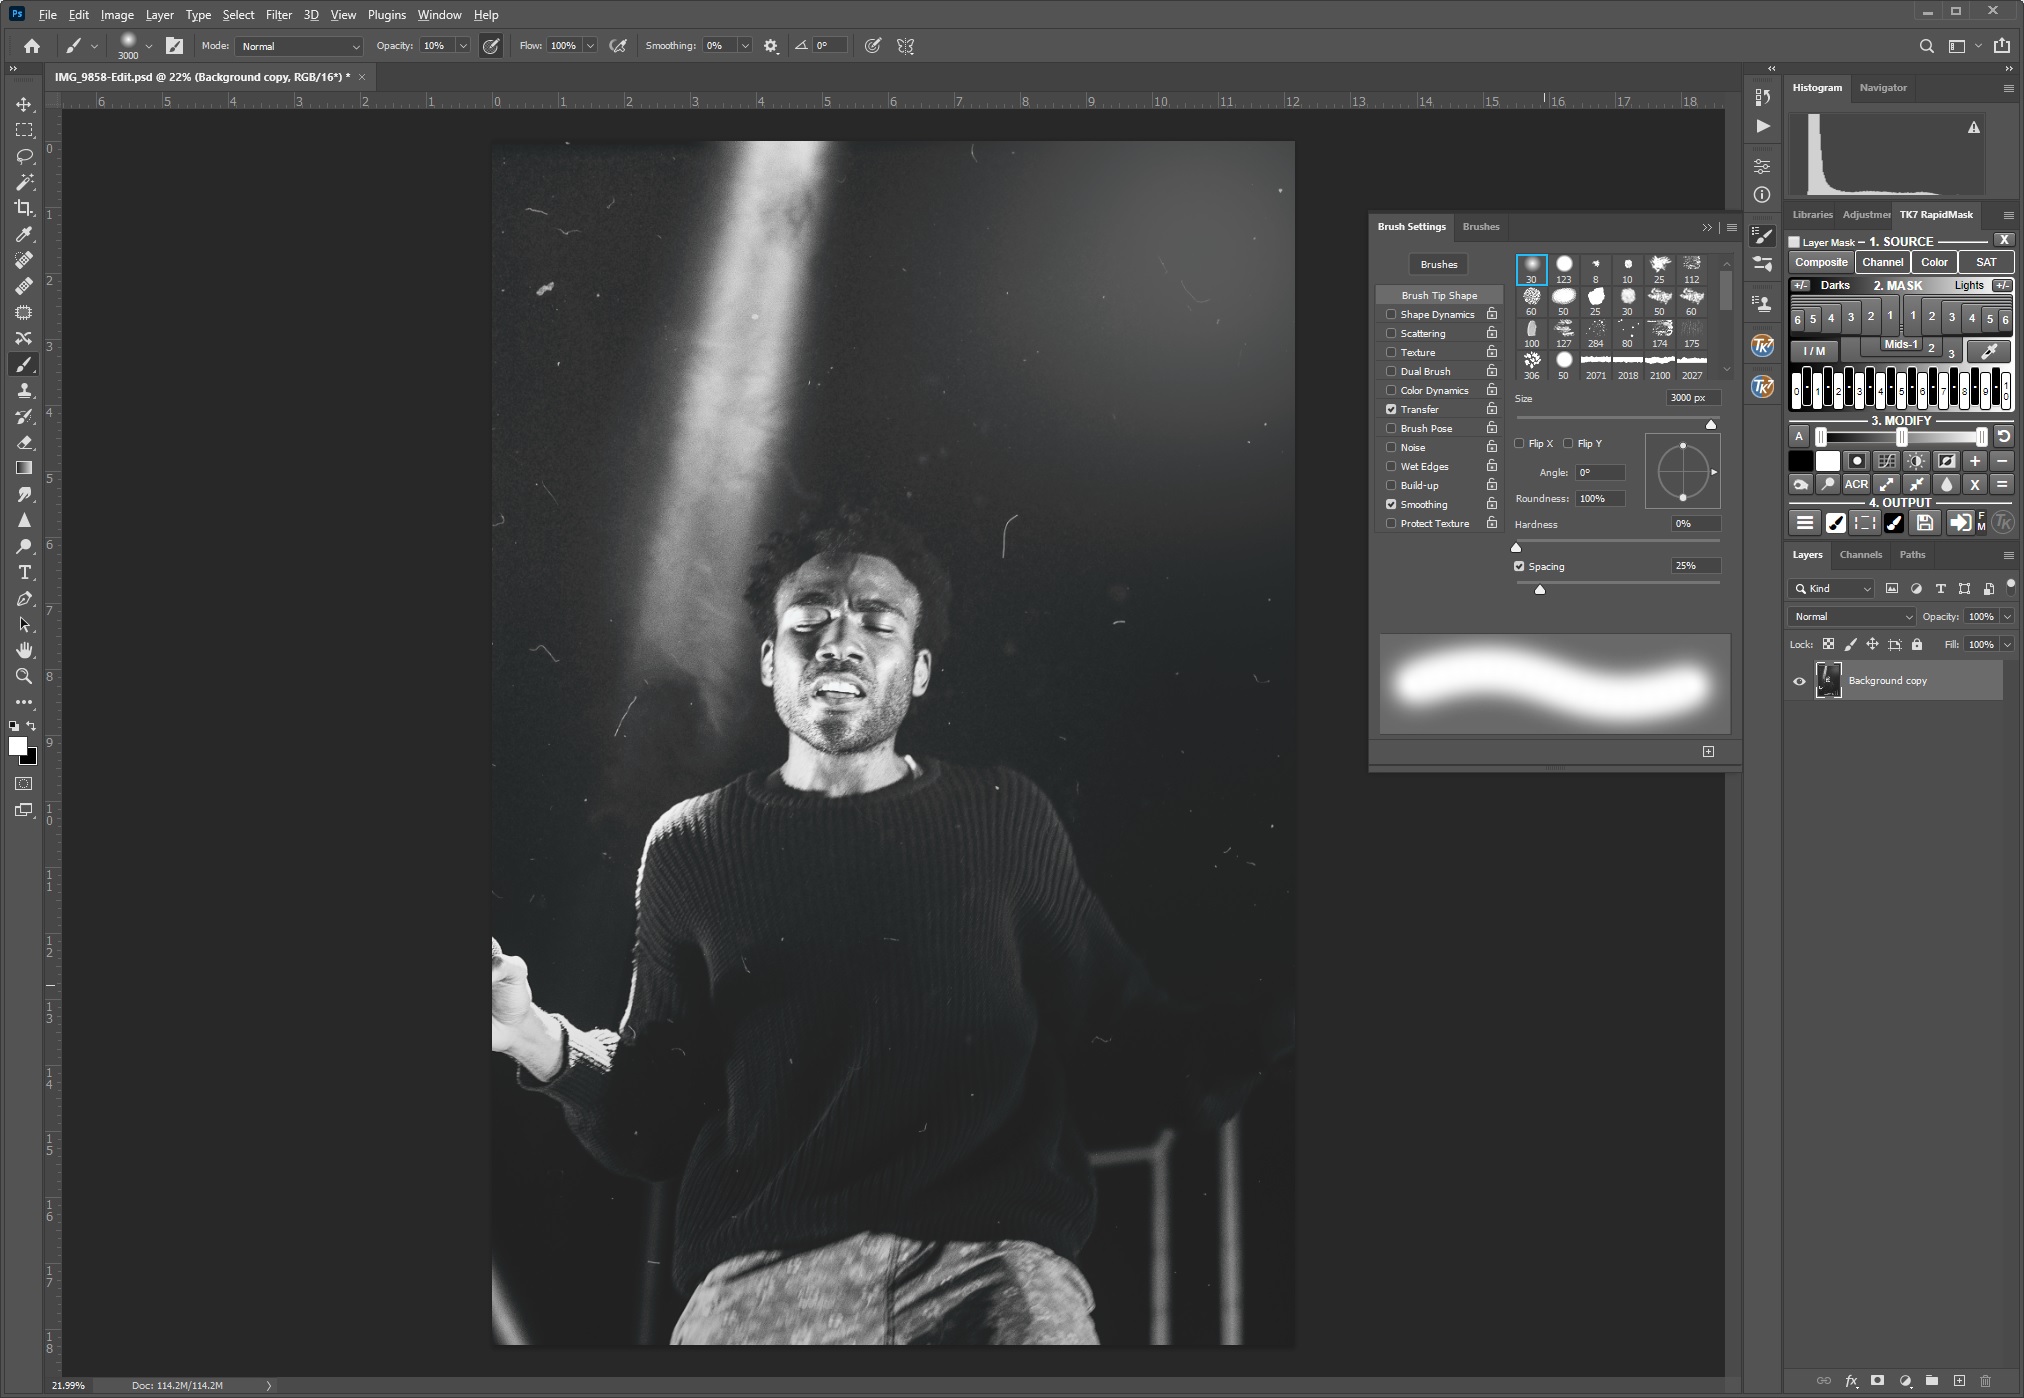
Here are the results. I should note that this photo doesn't necessarily need a touch of light added into it, but it is one of the better photos I have to use for example's sake. It is a very simple and easy method to add a little flare or light to your images. Keep in mind this was not my original idea and is what I stumbled across that I think could be even easier all within Lightroom.
Lightroom Light
I've written quite a bit on how using radial filters can change your images and have a great effect very quickly; thus, when I saw this method using Photoshop, I wondered if it could be replicated using the same principles I had written about in the past. We'll use the same photo as above to start us off.

With your photo in Lightroom, select the radial filter tool, create a large radial filter mimicking the brush stroke above, select inverse, and set your feather to 100.

For this next part, it will depend on the actual photo you're editing, some will need more exposure than others which I'll show you in examples down below. For this particular image, we'll set the dehaze to -50. This is the trick to replicate the brush stroke in Photoshop and is basically all you need to give the same look as what we did in Photoshop
As I said before, the beauty of this method is that it's just as quick and easy but it also gives us more control in our images. Let's take a look at a few more examples.
Landscape Photography
I can't write an article and not use a landscape photo as an example. So, what if we wanted to add a touch of light to our image or even go as far as creating a source of light into our image?

Here is our starting point which, you might be able to tell is a bit dark. This is on purpose, noting that I've pushed the exposure down by an entire stop. We'll add that back in with our source of light.

Here, I've added a large radial filter to replicate a source of light into the image. Notice I set the exposure to one, brought the dehaze down to create that soft glow looks, and manipulated a few other settings that worked for this particular photo. The biggest takeaway here is to see that I made a big oval rather than a large circle for the light. This will replicate a streak or beam of light into your image, something that can be really effective in your editing to create more of a dynamic in otherwise flat images. If this is still a bit confusing, I have a video on editing this entire photo using this method that might help you understand it a bit better.
Street Photography
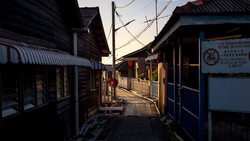
Another benefit of this method is the ability to add a touch of color to the light you're creating, and it's quite easy. Let's take this example.

Notice that touch of light at the top of the photo? There was reflected light coming from the sun and providing a nice source of light into our image, but it's not quite enough to stand out. Let's build on that using the same method as above.

I've created a large radial filter and pushed it offscreen. To do this, you'll have to zoom out of your image, which you can do by changing the zoom in your navigation pane or by simply holding shift and dragging your mouse left (only works in Lightroom 10 and beyond while not in the radial filter menu). Notice that beam of light being added by bringing the dehaze down and increasing the exposure along with a few other things I adjusted.

Let's take it a step further and add a bit of color into our light. By increasing the warmth and tint of the radial filter, we've created a touch of color that also happens to match the color of the light in the reflection in the windows and walkway at the bottom part of the image. This really brings it all together and hopefully opens your mind to the power of this tool.
Disadvantage and Conclusion
Overall, I think this method is absolutely quicker and easier for the majority of people who do a lot of their heavy editing within Lightroom. There is one drawback that I've found, though, and it occurs when you have an image or raw file with no data in the area you're trying to brighten; by no data, I mean completely black. This is just something to be aware of in case you try replicating this and are not getting the same results. If you're trying to add a touch of light to an area in your shot that's completely clipped black, it might not work. I had this happen once in my experimentation, but outside of that, it has never been an issue.
Something else to keep in mind throughout this is that I absolutely do not think Lightroom gives you more control than a program like Photoshop. Photoshop is the editing tool I use for much deeper edits that require a lot more work. With that in mind, though, if I can do something in Lightroom, I try to do it there to save myself the round trip into Photoshop. After experimenting and trying many different photos, my results have been quite impressive and I hope others find the same within their edits.
If you have any questions or suggestions, please feel free to leave those down below, as I'm always looking for new methods to try out in my photos! Thanks for watching and reading.


Join the Fstoppers community for free
-
Post comments and join in the discussions
-
Browse the site ad-free
-
Share your work and get featured in the community
-
Compete in the photo contests for fun and prizes
No comments yet