
If you are a Lightroom user I'm sure by now you have experimented with most of the newly updated features. One feature, in particular, I was very interested in is the AI-powered Person Mask Option and how it actually performed. AI-powered editing is here to improve our workflow when it comes to editing, it's here to speed up the process allowing photographers to spend less time in front of a computer and more time actually practicing photography. Other editing software also use this technology to great effect enabling a myriad of edits to be performed in a fraction of the time, all for the benefit of you the end user. My raw editing software of choice is Adobe Lightroom and each time they release a new update I relish in what improvements have been made and how they can be used to speed up my workflow; if they can. Also from a teaching point of view will these new updates enable students of all abilities to realize an end result quickly and easily?
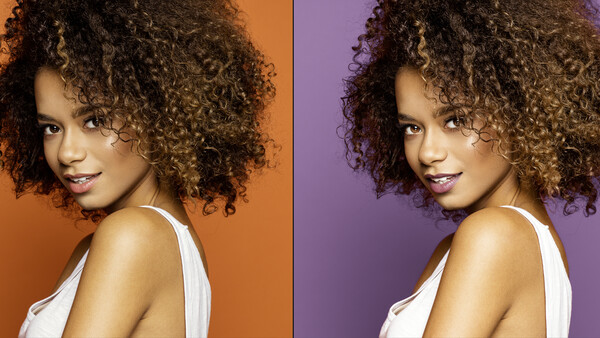
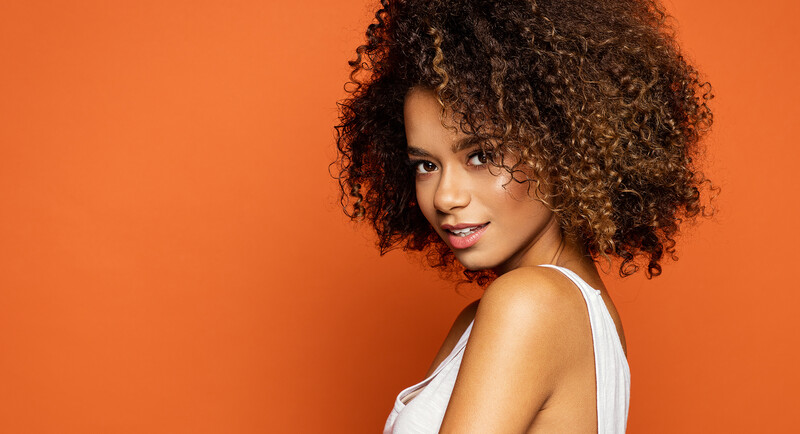
The article is not a step-by-step tutorial on how to change the background color of an image, as you can find plenty of methods to do this here on Fstoppers or online. I simply wanted to see how quickly it was achievable and combined with the new Person Mask Options how the end result looked. I chose what I presumed would be a tricky image for selection due to the hair type but Lightroom made quick work of the selections.
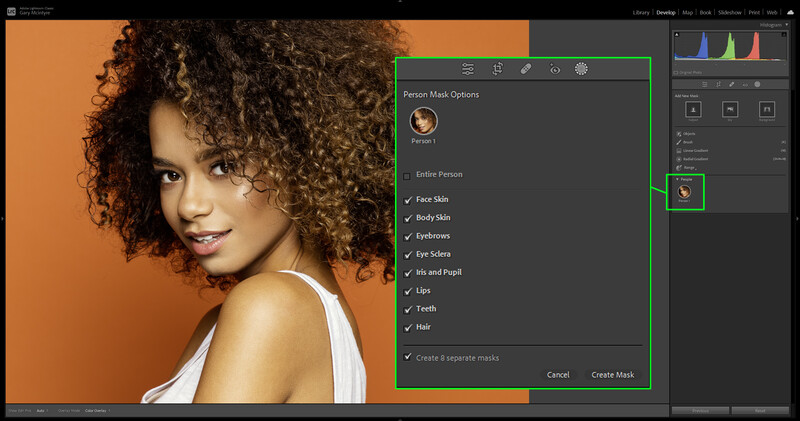
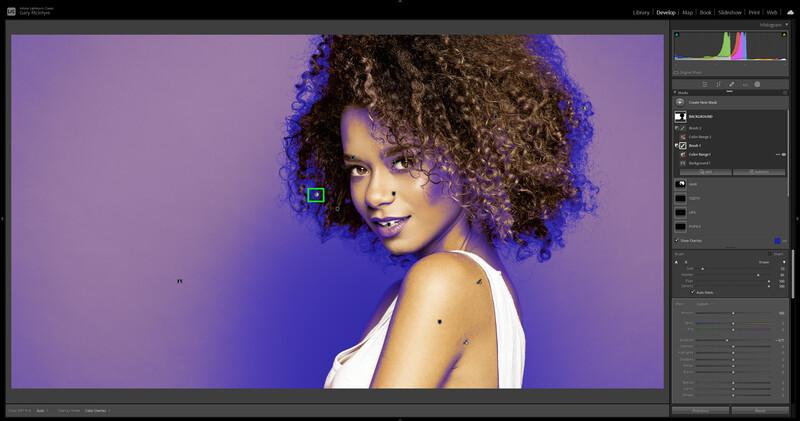
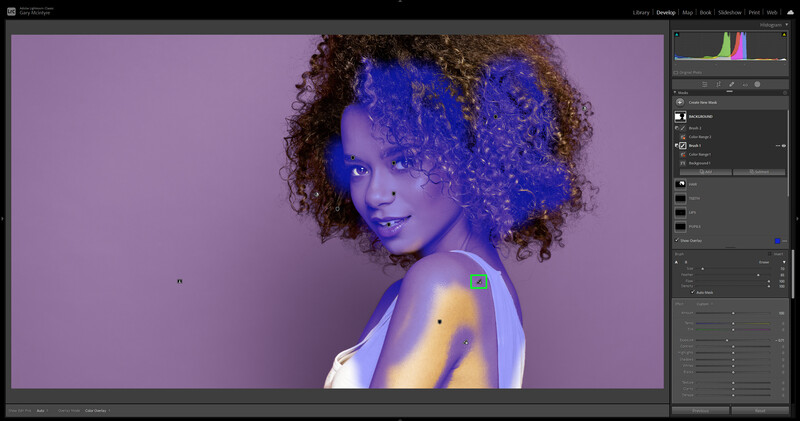
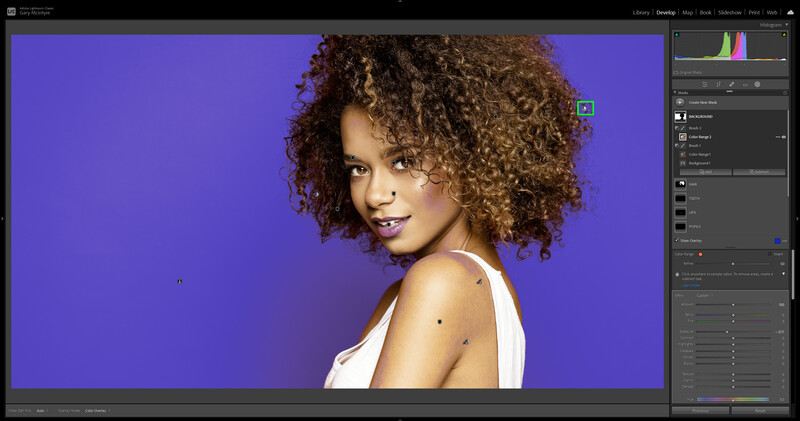
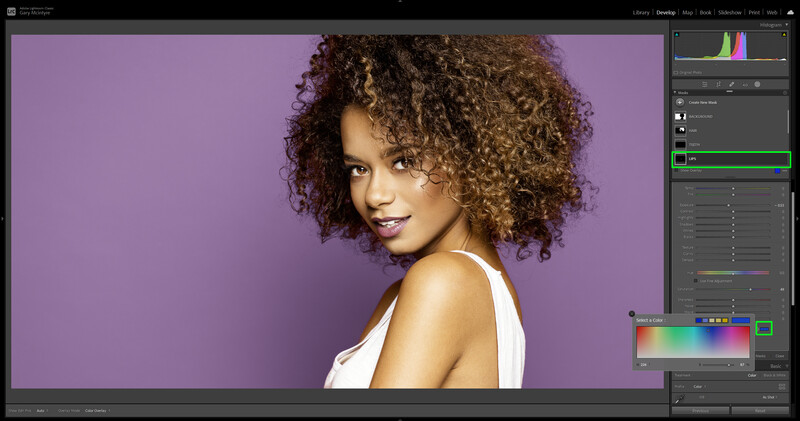
My approach to the edit was formulaic in that I wanted to see what the end result would be when following and using the selected steps and prompts to edit the image, with the prompt in this case being the new Person Mask Options. How easy would it be for a new user to edit an image, and would the end results be encouraging?
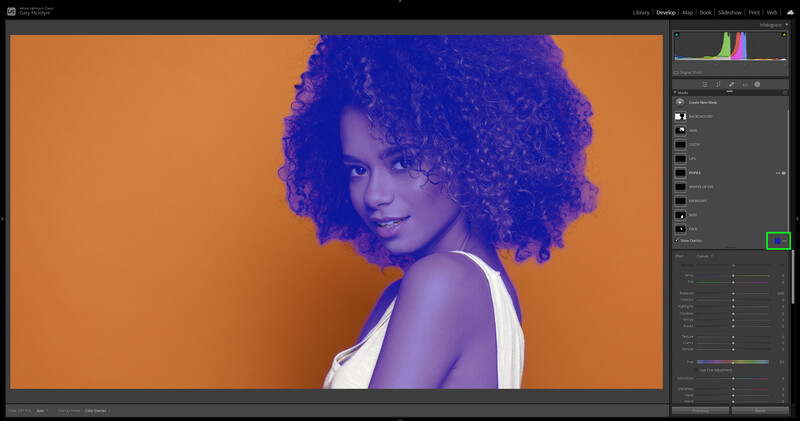
Super Quick Processing

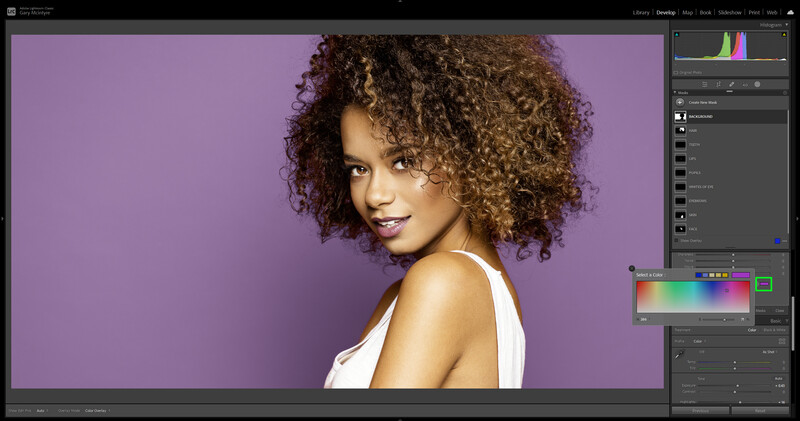
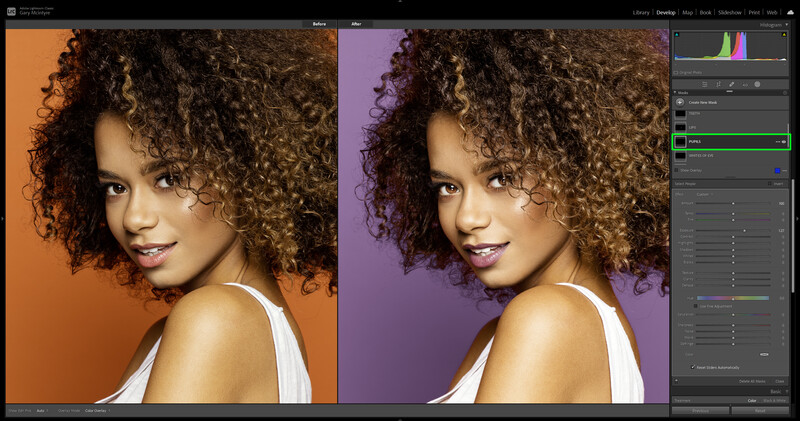
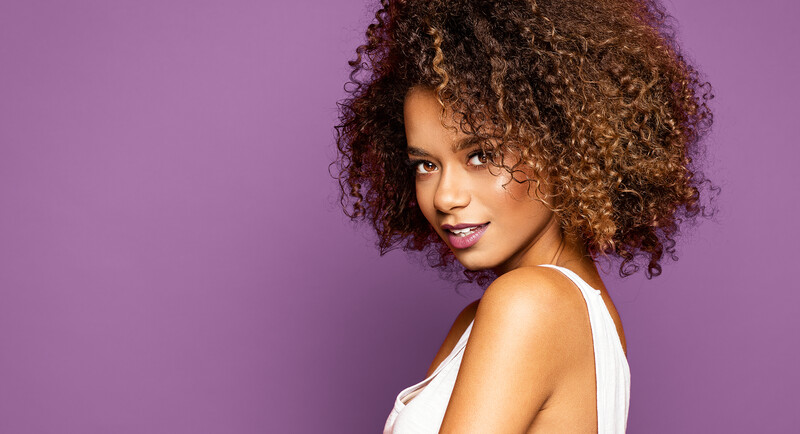
The finished result.
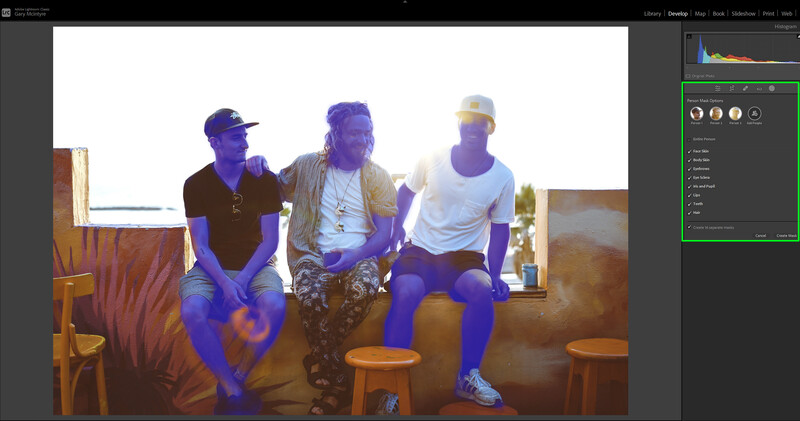
Multiple People
After completing the edit I also wanted to see how it would read multiple people in an image, and even with the lens flare, it was able to detect 3 people and create 16 separate masks in total. I also considered that with the close proximity of the people in the image some of the masks would overlap but this was not the case. A few anomalies occurred due to the lens flare but this can be easily rectified when editing the mask via the add or subtract options.
Verdict
Truth be told, the whole edit took under 3 minutes to complete as I was merely trying it out to see how much it had improved. Admittedly I wasn't timing it but the image was edited fast without any effort that when I finished I realized had forgotten to take the screen grabs for this article. The AI selection is better than ever, not that it wasn't good before, it just performs and feels more accurate, and creating all the individual masks for a person is such a timesaver and something that I think we all welcome. Are there any flaws in this particular edit? Yes, of course, but that's down to me not taking my time and refining the selections.
From a teaching perspective Lightroom has always had the upper hand when it comes to a shallow learning curve and new students pick up the software with ease. Refining the masking tools last year simply made it easier and now that they have been improved will once again allow students and newbies to achieve great-looking images quickly without the worry of how do I? Allowing them to focus on the finer details of photographic practice; less time editing, more time shooting.
So, is this new feature the person mask options alone, never mind the other updates, worth the praise? A wholehearted yes in my opinion. It's going to speed up workflows for experienced editors and allow newcomers to edit images faster with more controlled results encouraging them to experiment further with their photography and editing. And if anyone from the Adobe Lightroom team reads this, add focus stacking to the software and you may just have it all.
Main image Shutter Stock. Multiple person image courtesy of Toa Heftiba, Unsplash.


Join the Fstoppers community for free
-
Post comments and join in the discussions
-
Browse the site ad-free
-
Share your work and get featured in the community
-
Compete in the photo contests for fun and prizes
No comments yet