
With the advancements in camera technology and software, focus stacking has never been easier. You can now even stack complex woodland photos without significant difficulty. In this article, I share how to approach such scenes.
Focus stacking has always been my choice for landscape and architecture photos requiring a large depth of field. I was never satisfied with the results obtained by stopping down the lens. Usually, I try to shoot at f/9.5 for the best compromise between overall sharpness and depth of field.
Because fiddling around with the hyperfocal distance was slowing me down too much while still just giving me "acceptable" sharpness, I already made focus stacking a routine more than 10 years ago when I got my first full-frame camera, the Canon 5D Mark II.
In the beginning, though, it was difficult for some scenes. Moving elements were a big problem because of the time required to manually shift the focus between individual exposures. Stacking them involved a lot of retouching.
So often, the only way to get a photo after all was to stop down the lens and increase the ISO. This approach is good enough for the web, but the results often lack detail in large-format prints.
Even when touch screens later allowed for faster focusing and hence faster capturing of a stacking sequence, it often still took too long to capture all the photos. Placing the focus points too far apart could also still happen.
Automatic Focus Bracketing
The in-the-field process got much simpler as camera manufacturers began introducing automatic focus bracketing. It has quickly become one of my favorite features of the Canon EOS R5. At first, I was hesitant to use it, because it uses an electronic shutter resulting in 12-bit raw files versus the 14-bit raw files you get in the other shutter release modes. But tests and extensive pixel peeping showed that in the majority of cases, the difference in quality between 12- and 14-bit is negligible.
I have set up the R5 to use the most narrow focus increment during bracketing. It gives me the best results. Setting a wider increment might result in fewer photos and a quicker bracketing sequence, but blending the image will become more challenging.
Since the R5 considers the current aperture when adjusting focus, the number of images will usually range between three and six with the most narrow setting when shooting at f/9.5 with a wide lens. Having elements only inches from your camera or shooting with a longer lens will increase the number of images.
If you want fewer photos in a sequence because of moving elements, use a slightly smaller aperture of f/11 or f/13 combined with an increased ISO. While diffraction will already start to become noticeable, it is a compromise you will sometimes have to make, even with focus stacking. You'll still retain superior detail compared to an aperture of f/16 or f/22. If you don't know which aperture will give you the best results, capture two or three sequences with different settings and select the best one at home.
Lightroom AI Noise Reduction
Even the automatic bracketing of modern cameras can become slow when shooting around sunrise or sunset. Especially in the forest, this is a challenge when there is wind. Think of how long you'd usually expose a single photo to avoid movement in leaves and branches showing up. If you do focus stacking, you'll want all images in the sequence captured within that period or close to it.
Opening up the aperture is a solution to get shorter shutter speeds. But it also leads to more photos taken for focus stacking, which negates the effect. It means that you must use higher ISOs.
In the past, I always shied away from it. Even with the Canon EOS R5, I seldom went beyond ISO 800. Thankfully, AI allows us to overcome the technical limitations of our photography equipment. And since Adobe introduced their new AI denoise feature, we finally have a tool to clean up an image without introducing unwanted artifacts.
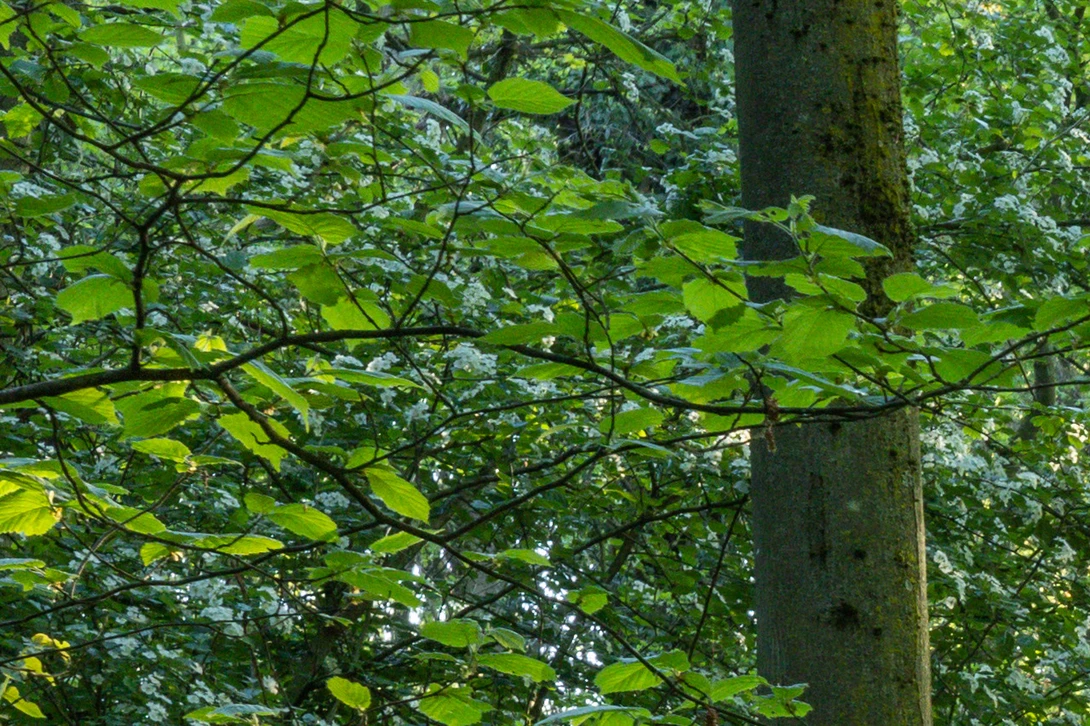

The comparison above shows a 100% crop of a woodland photo, taken at ISO 800 with the R5. The noise reduction is subtle and most noticeable in the leaves. The great thing is that no detail is lost, with no fine-tuning required. Lightroom's AI denoise tool has only one slider, and for ISO 800, setting it to a value between 25 and 35 is usually enough.
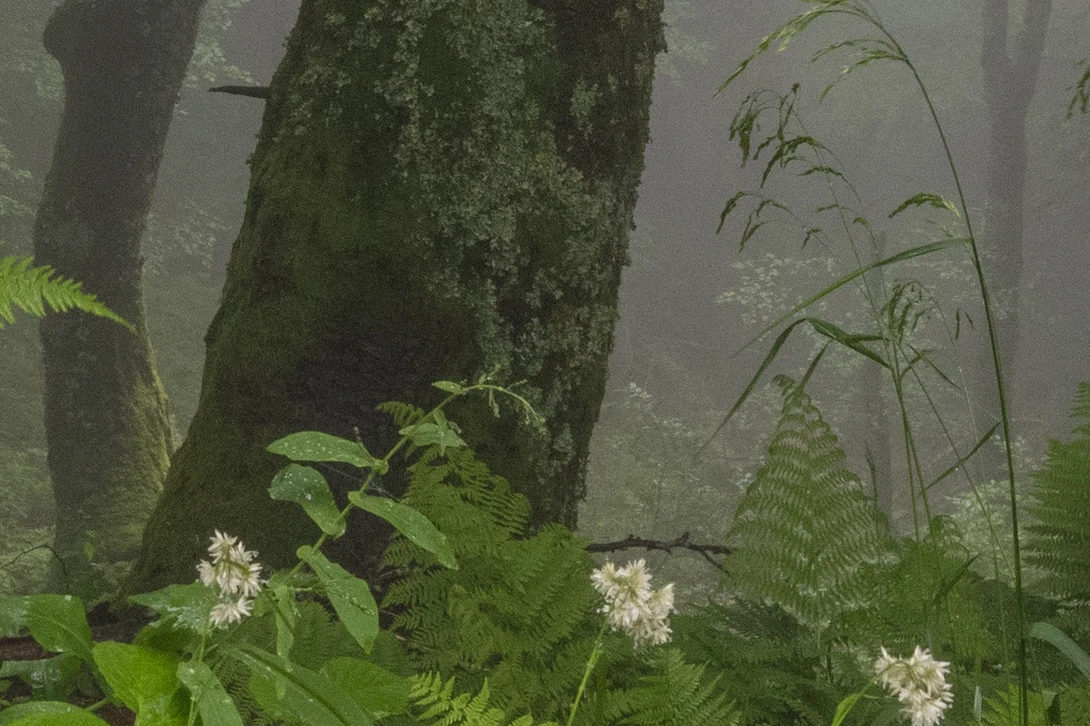
The comparison below shows a crop of a woodland photo taken at ISO 1,600. Here, you will notice the power of Lightroom's AI noise reduction. It's as if my camera just gained between two and three stops of ISO performance. It opens up many new possibilities, including even more complex focus stacks.

I show more examples, including a night image taken at ISO 6,400, in the feature video.
Helicon Focus
You can now capture a sequence of focus-shifted images very quickly by combining automatic focus bracketing and high ISOs. The only thing you have to do is put everything together. It is where tools like Helicon Focus still provide superior results to what Photoshop offers.
Last year, I wrote a detailed article about how to use Helicon Focus to stack complex woodland scenes. I also go through this workflow in the feature video.
Using Helicon, you can work with DNG files. It allows you to make raw adjustments in Lightroom even after the stacking.
Although the automatic stacking provides a great start, for woodland photos, you will usually have to spend additional time retouching in Helicon Focus. Try to get as good of a starting material as possible.
Whatever problems you cannot solve in Helicon still require retouching in Photoshop. But AI will help with that in the future.
Creative Adjustments
What's left to do are some creative adjustments. Use selective color, contrast, and dodge and burn to provide more depth to the image and guide the viewer. Sometimes, you can hide problematic areas of your stacking result through clever dodge and burn.
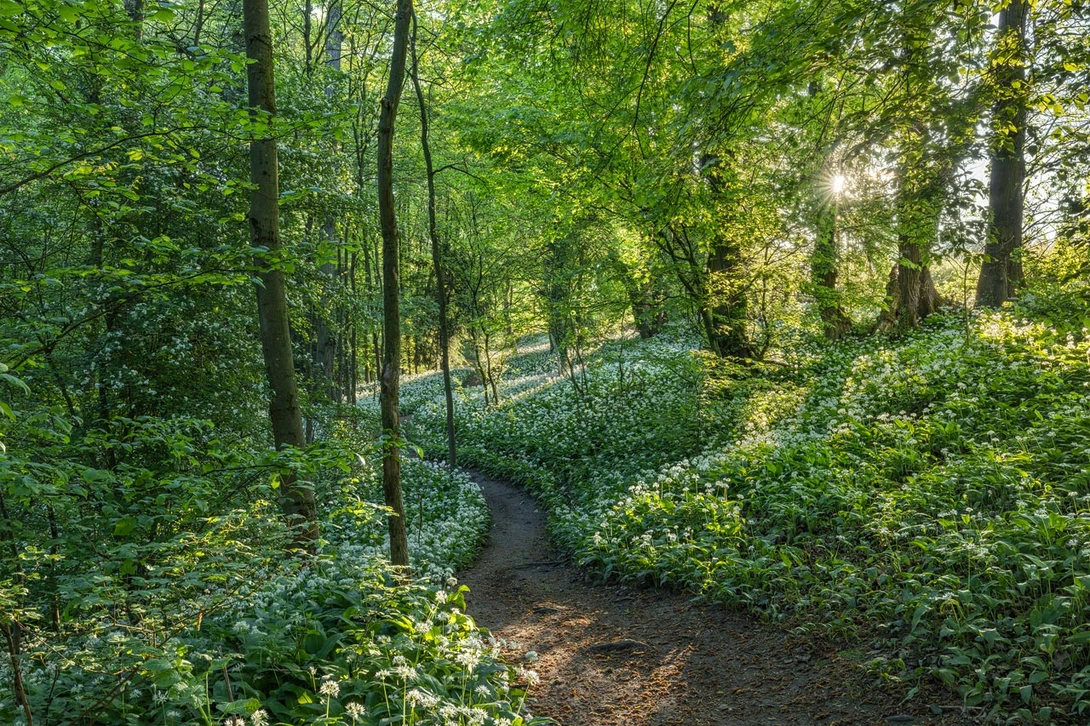
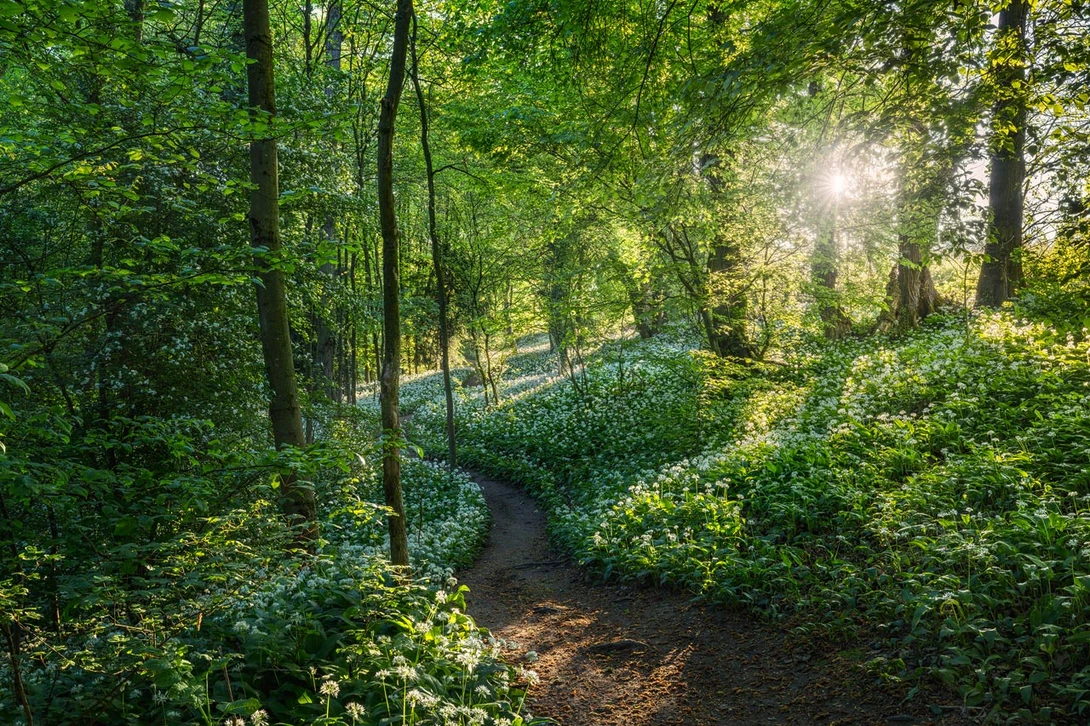
The image below shows a typical Photoshop edit for one of my woodland photos. Although the difference is not huge, the adjustments enhance the atmosphere and make the image more captivating.
Conclusion
Above, I showed how to use automatic focus bracketing, Lightroom's AI denoise, and Helicon Focus to create tack-sharp images in situations where a few years ago, it would have been nearly impossible or involved hours of post-processing. And we can only assume that those tools will get better in the future.
Join the Fstoppers community for free
-
Post comments and join in the discussions
-
Browse the site ad-free
-
Share your work and get featured in the community
-
Compete in the photo contests for fun and prizes
4 Comments
Thank you for this article. I hadn't seen the news about LR's noise reduction Denoise so I went and updated it and found the Denoise button. I thought of trying to rescue a photo I shot twelve years ago, which I had spent many hours working to death in PS without satisfaction. Background to the photo is that I haven't witnessed a live Eagle in nature as I grew up in New England where they've mostly been completely decimated. I had seen one up in Maine decades ago flying up the lake we vacation at, but it was very brief. A couple of decades later I was out at the shore at dusk when this bird came and landed on a pine tree which was like 75 ft. high overhanging the lake. I ran up to get my camera and 100-400 zoom, thinking it would be gone by the time I got close enough, but no, there it was looking around for fish. I took a couple of grab shots from the side but branches were in the way. What to do? I waded into the cold lake up to my shoulders hoping no big boats with they're waves would come cruising by. I got up in under where it was perched adjusted my ISO up to 2500 the max that was usable for the Canon 7D, cranked out the zoom to 400mm and hoped the IS would get me something at a 350th of a second, knowing I'd be underexposed, very hard to hold steady. Got a few shots off and my friend leapt off the branch. The resulting photos were too dark and not very sharp. What to do? Work it to death with PS for years to try and bring it to life. It took reading this article and LR to come up with a result that's getting close to the experience, which was amazing.
Cropped image details: Left, RAW; Middle PS overwork, gave up; Right LR Denoise AI
Its great going through the archives now, finding old Photos you thought impossible to resque. I only regret not pushing my gear beyond its limits enough in the past. Great result btw.
I just wish they would support a wider range of GPUs. Basically it seems as if Adobe is using a white list of GPUs they have specifically tested in order to offer full acceleration for the AI, thus you can end up with issues such as 2 different cards based on the same GPU archetecture where one will take 5 minutes to process an image while another will take 10 to 15 seconds, due to it only using 15% GPU usage on one card, and 100% on another.
That final image is beautiful. Although we have bald eagles here in the PNW, I've still never been able to capture one, but I keep trying.
The new AI noise reduction in Lightroom is so incredibly good. I've been much less worried to bump up my ISO to 800 or even 1600 when it's called for and the way Lightroom cleans up the noise blows my mind. Such an incredible upgrade for landscape photographers!