
Every landscape photographer will someday run into a situation when the bright light of the sun causes flares. Especially when using filters; the extra glass can increase reflections that results in the dreaded spots in a picture. However, there is a way to get rid of them, in most occasions.
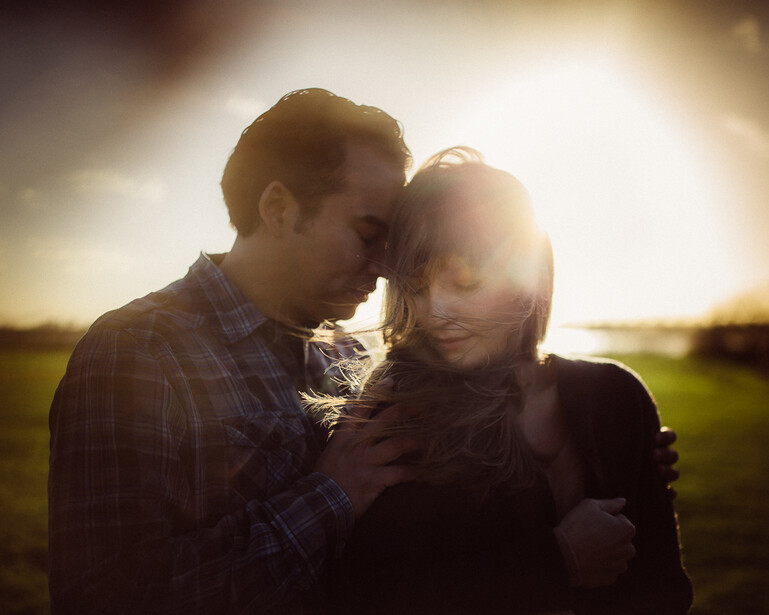
I love flares. When I am photographing people or couples, the flares produced by sunlight or artificial light can give a photo extra appeal. It can set a mood that fits these kind of images. Flares are even commonly used in movies to give a level of reality. But when it comes to landscape photography those bright spots in the image are mostly unwanted.
Flares occur when a light source is causing reflections between the glass elements in a lens. This glass can work like a translucent mirror. With filters in front of the lens, more glass is introduced, and thus increasing the risk of reflections. If the light source is exactly in the middle, a mild flare can line up exactly with the light source, or it transforms into a bright ring with some lenses. When the light source is outside the middle, the flares become more distributed across the frame. If a light source is outside the frame, it still can introduce flares. A lens hood can eliminate this. But a lens hood does not work when the light source is inside the frame itself.
Except with portrait or wedding photography, sometimes I also like a good flare in my landscape images. It is all about mood and flares can contribute to them. Unfortunately those spots can have strange and unwanted shapes, or they are too small to add that extra mood. In that case the small flare will only work in a distracting way. If you want to get rid of them and when you are using a wide angle lens, it can be very easy to do. At least, if you can work with layers and masks in Photoshop or similar software.

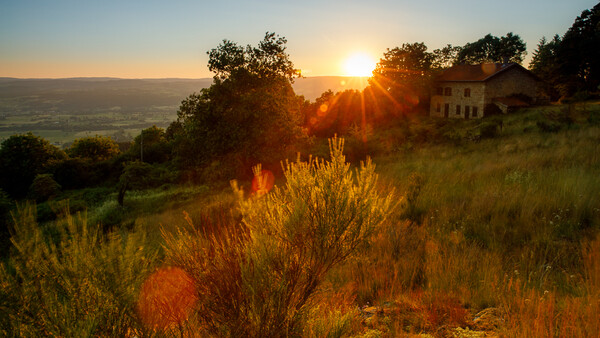
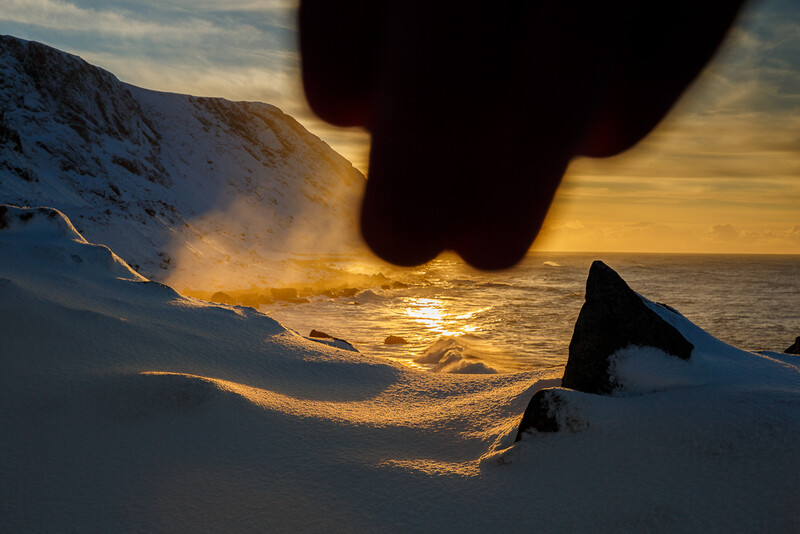
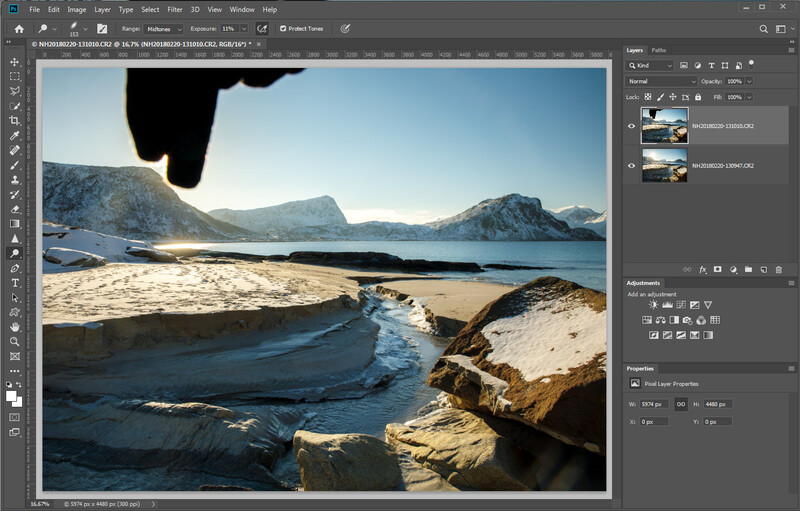
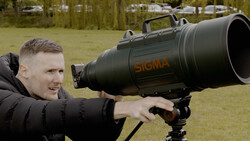
When you have a composition with a strong light source in the frame a flare can occur, depending on the sort of lens and quality of lens you are using. In landscape photography this bright light source will be the sun in most of the times, but also a full moon can cause flares. In that case give it "The Finger". In other words, just block the light source with your finger and the flare will disappear. Please make note, this only works when shooting with a wide angle lens. The longer the lens, the more difficult it will get. I have used this technique successfully up to 50mm to 70mm focal length.
![Using wide angle makes it easy to block a bright light source with The Finger. The longer the lens becomes, the more difficult it will get. (copyright 2012 | image by Hetwie | www.hetwie.nl]](https://cdn.fstoppers.com/styles/article_medium/s3/media/2018/11/11/20d28974.jpg?itok=PbJJpkjj)
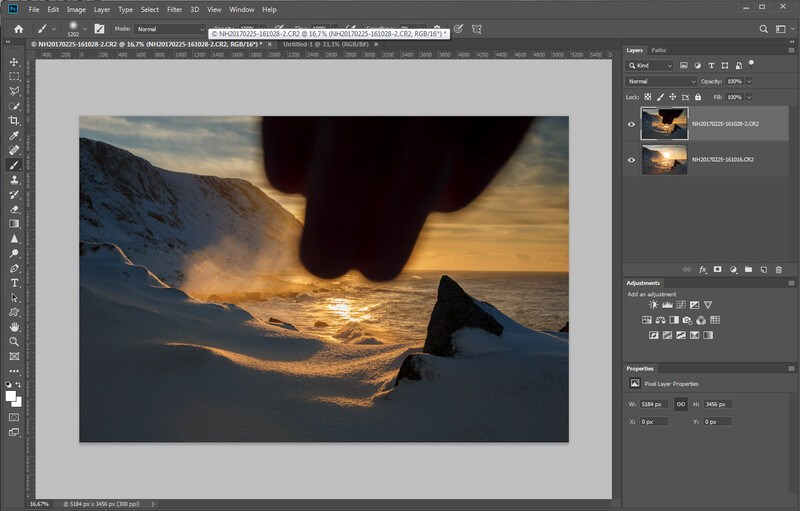
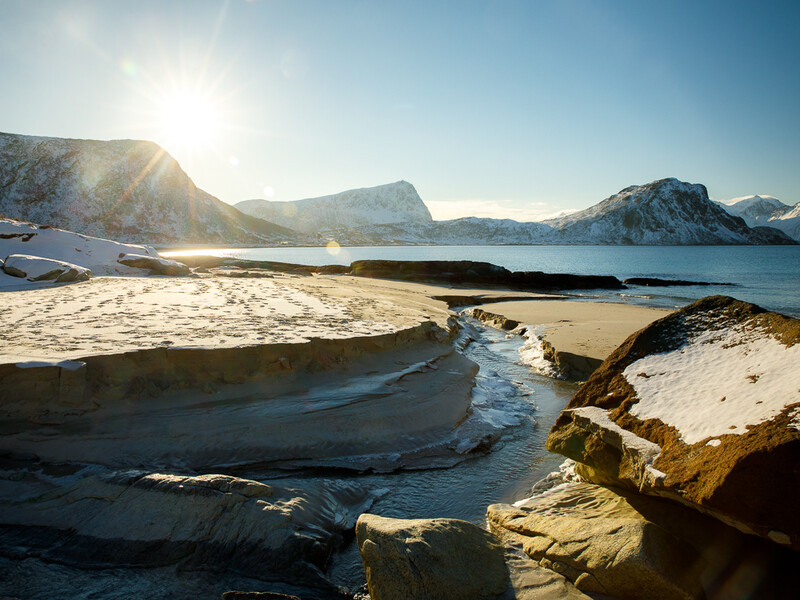
You will end up with a picture that contains The Finger of course. That is why you also need to make a picture without it, complete with flares. Make sure you do not move the camera in-between pictures, that is why you need a sturdy tripod and you have to make sure all setting remain the same. A manual exposure setting is advisable since the exposure will change when you block a bright light source in the frame.
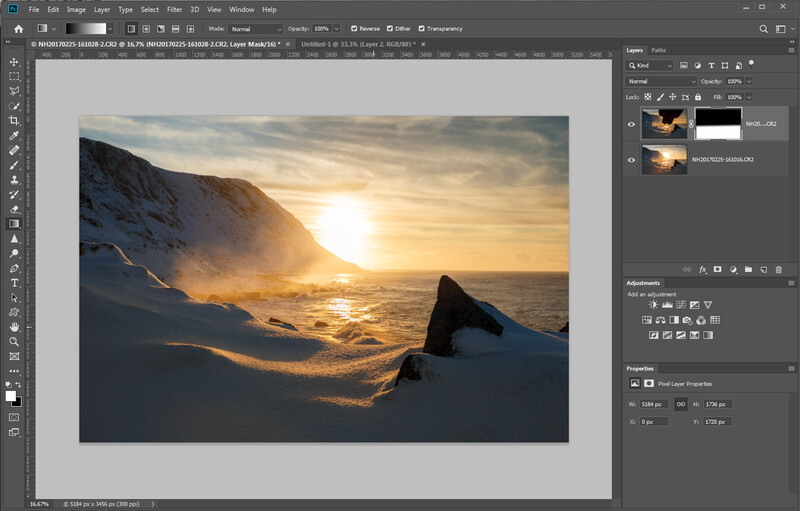
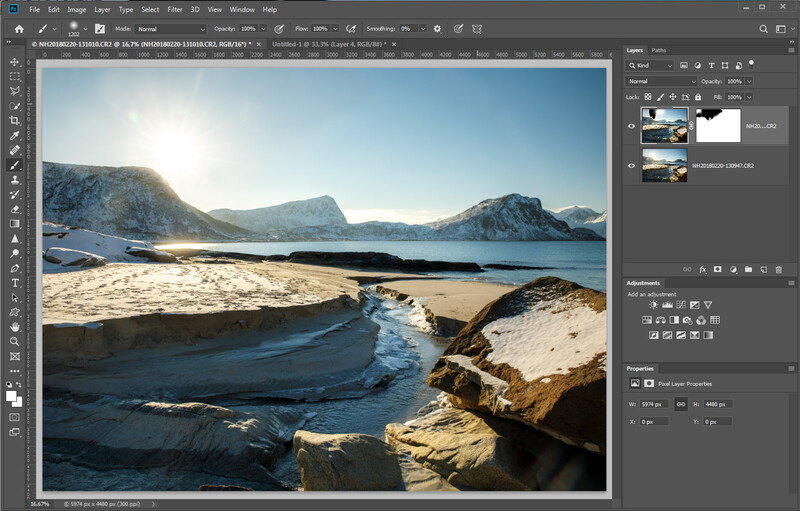
For the editing you need a program that has the possibility for working with layers and masks. I use Photoshop for that. It is not possible to make use of HDR tone mapping software, because of The Finger. You need to work with a mask to get rid of The Finger. Just place the two images as layers on top of each other and brush away the parts with a mask. Sometimes a simple gradient mask can do the trick, on other occasion you need to paint it with a brush, Remember, when working with masks; white reveals, black hides. Painting away The Finger can be tricky sometimes and on other occasions it might be very easy. It all depends on the scenery, the composition, or the location of the flares. And of course how much finger you ended up with. It's best to experiment and sometimes it simply does not work that well.
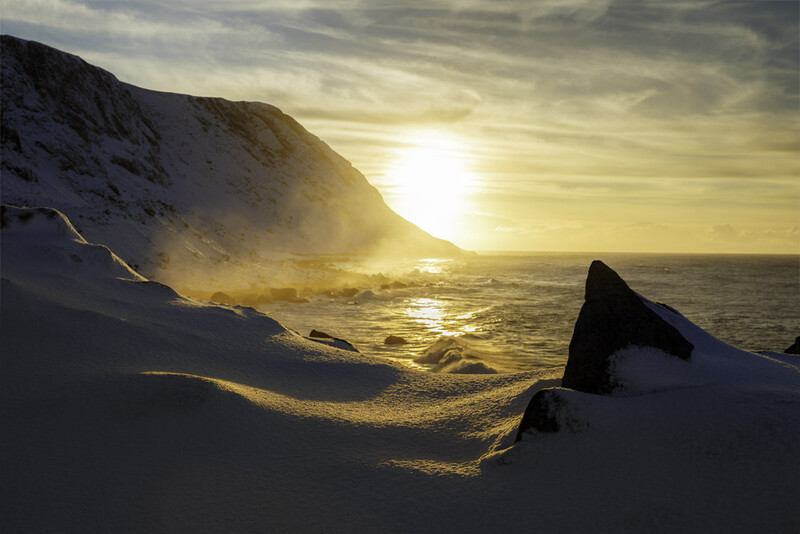
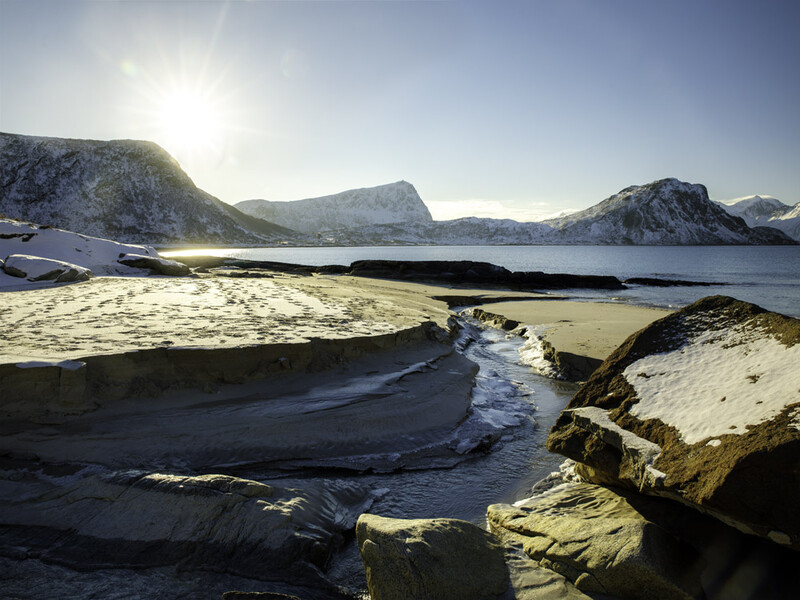
In this first example below, a simple gradient mask will do nicely to get rid of The Finger. In the second example below, you see a mask that has been painted with a medium sized brush. How much flare you want to remove is all up to you.
When I find myself in situations with risk of flares, I often try to make a photo with and without The Finger. Even if I don’t see a flare on the LCD screen of the camera. Then I can decide at home if I need to use that extra image or not. .
Let me know in the comment if you have another good way to remove flares from a landscape photo, of if you just leave it the way it is.


Join the Fstoppers community for free
-
Post comments and join in the discussions
-
Browse the site ad-free
-
Share your work and get featured in the community
-
Compete in the photo contests for fun and prizes
6 Comments
Anyone know if this will work with a Tokina 11-16mm f/2.8 DX lens? That bad boy gives off a pretty funky flare that can take up a decent portion of the frame.
It'll work on any lens.
Indeed, just like Simon says: which lens you use does not matter, as long as the focal distance isn't too long
!
👍 oeps wrong finger...
Thumbs up also works ;)