
Skin retouching has always been one of those things that require a bunch of work in Photoshop or an expensive add-on program. But the new ON1 Photo RAW 2019 has streamlined the entire process.
Skin retouching has is one of those things that I never really did unless it was absolutely necessary. For me, the number of images that I deliver for a wedding day is just too high to realistically retouch every file in Photoshop. I also could never justify the time and money to using an external program built specifically for skin retouching. Not only does it take forever to export, edit, save, etc, but it also takes up a ton of hard drive space because you end up with a duplicate file for every image you retouch.
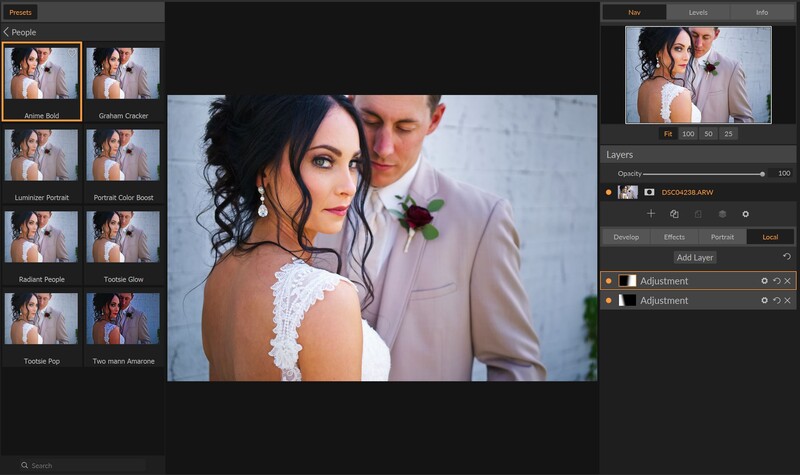
This is where the new implementation with ON1 Photo RAW 2019 comes in. In the past, I have walked through how easy it is to edit your files, work with layers, make masks and selections, and basically anything else you could need to do to an image all from with ON1. But in the latest 2019 update, not only have they made this even easier and streamlined, but they have also added a portrait retouching tool that can be applied to your images nondestructively. This means there is no need for duplicate files that take up a ton more hard drive space. And because the portrait retouching panel is built into the main editing module, you don't have to export files to another program and wait on load and save times.
So here is how it works. The first thing I do is pick my file from the built-in browsing module. This module uses the embedded preview image from the raw file so there is no need to import files or build previews. I simply navigate to the folder I want and start selecting images. Once I have my file I can move over to the editing module and start editing. They have all the normal sliders and adjustments you would expect here. To start, I added one of their portrait presets along with the custom portrait camera profile.

Next up I did some minor local adjustments. I wanted to darken down the edges a bit to bring attention to the subject, so I used a pair or gradient adjustments to lower the exposure a little. As you can see, each adjustment gets its own adjustment layer and mask on the right side. This makes it very easy to find past adjustments should you need to make any changes. And because each adjustment has a mask, you can use all the special masking tools built into ON1.
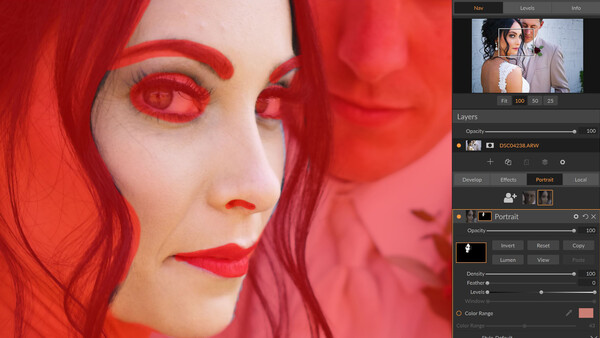
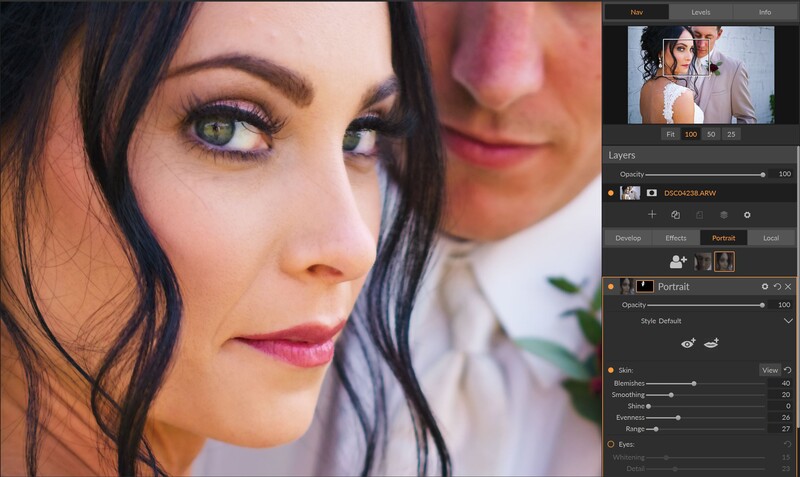
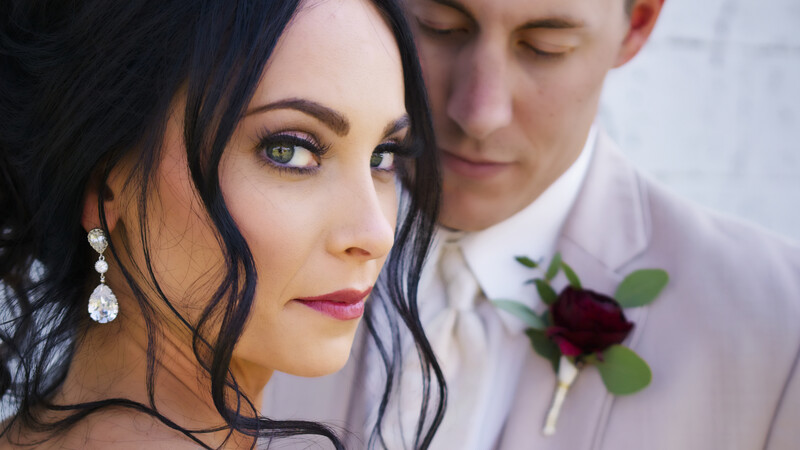
Now that I have an overall edit done, I want to hop into the portrait retouching panel. To do this I simply click the portrait panel button. ON1 will then do a quick scan of the image to look for any faces. From here it will auto mask each face and then place each face onto its own adjustment layer.
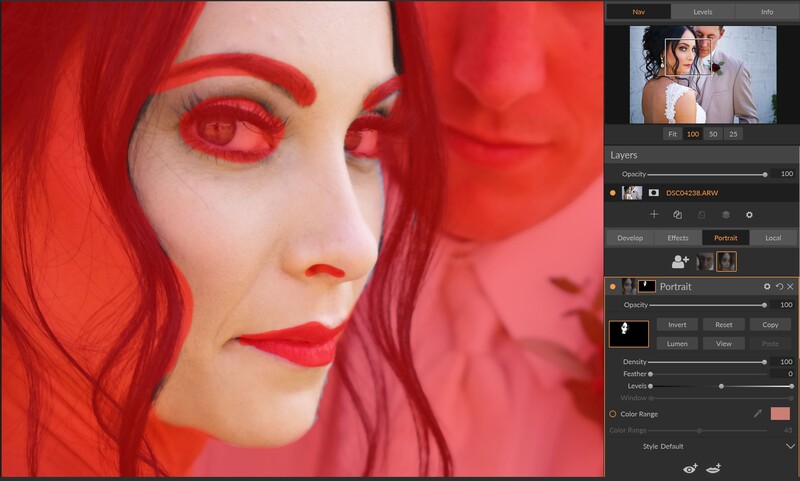
You can see below the portrait button that ON1 did a great job seeing each person in the image and applying a custom mask to each one. While the auto masking tool historically does a pretty good job, you can see in this example that it didn't quite get it right. The good thing is that this is a super easy fix. All I do is click the mask and brush in what I want and erase what I don't want. So in a matter of seconds, I’m left with a much more refined mask of the skin on the bride's face.
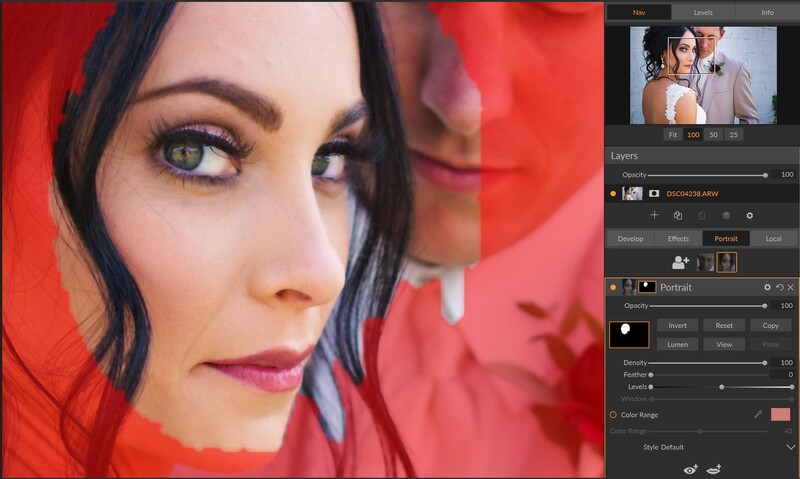
I can now jump into the editing portion. Here I can do things like skin smoothing, even out skin tones, remove small blemishes, etc. For me, I think less is more when it comes to retouching skin. I rather have not enough than have too much to where it is super noticeable I did something.
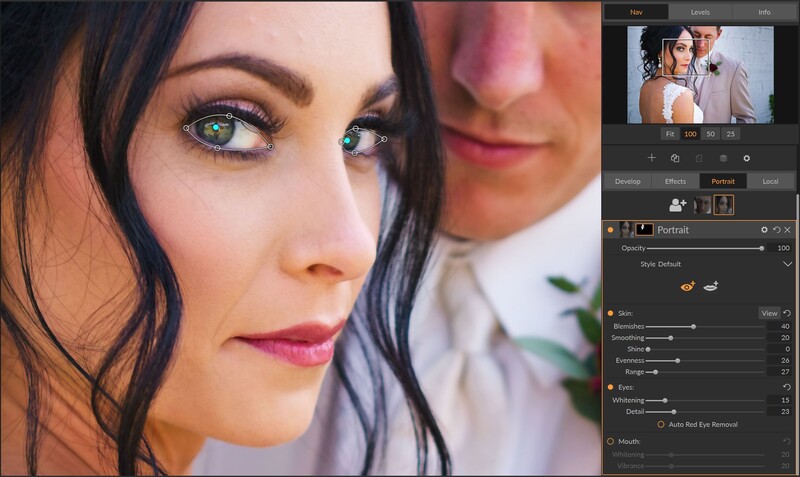
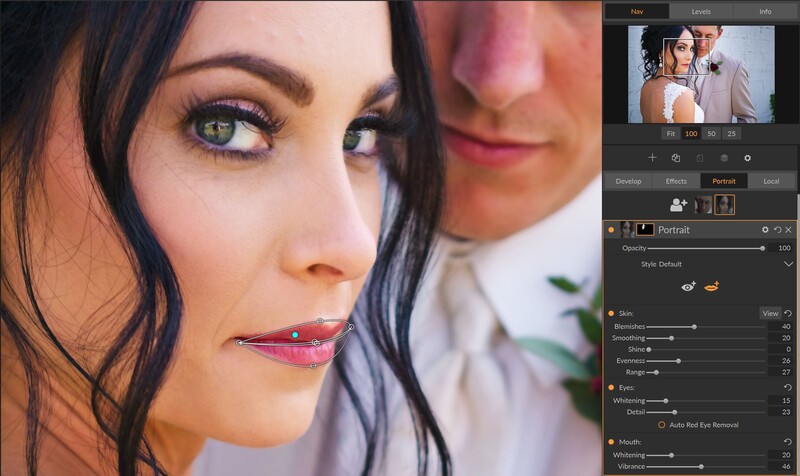
Within this same panel, I also have the option to edit the eyes and mouth with special selection tools. Once you click a tool you’ll be walked through what to do, but in short, you simply outline the features. For the eyes, you have the ability to whiten the whites of the eyes as well as add detail to make the color pop a bit more. For the mouth, you can add vibrancy to the lips along with whitening teeth if there are any present.
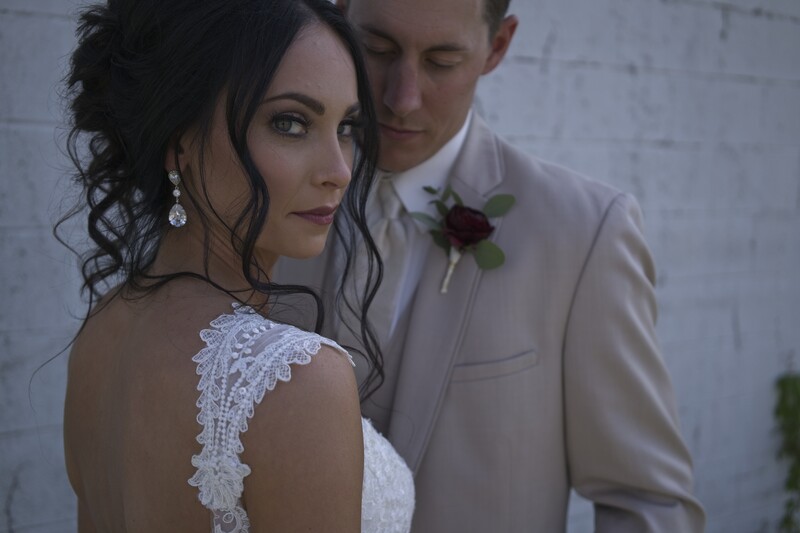
Another great part of this panel is that I can manually add faces. This is useful for situations where ON1 doesn't pick up a face, but you can also use this to apply skin retouching to other areas of skin. In this situation, I wanted to apply a bit of retouching to the brides back. I could have simply added her back to the same layer that was applied to her face, but I didn't want to apply the same adjustments in this instance, so I merely separated them onto separate layers. From here I could edit her back independent from the edits on her face.

After making all my desired adjustment to the bride and groom from within the portrait panel, the last thing I did was take care of any larger blemishes that didn't get picked up by the portrait panel. To do this I could use any of the dedicated healing and cloning tools built into the editor. For this scenario, I chose to use the healing brush to take care of a few blemishes on her forehead along with an eyelash that was hanging a bit out of place. This left me with my final edit.

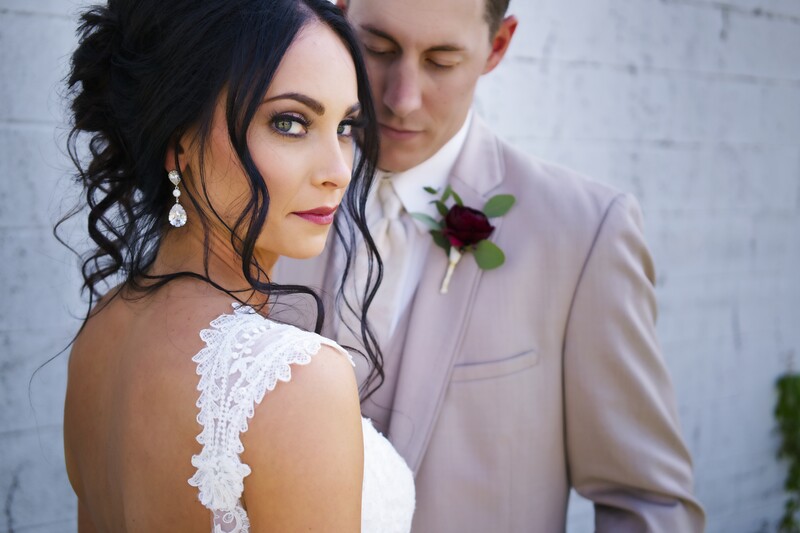
Here is a before and after for the skin retouching for your reference (not including the lager spot removal)
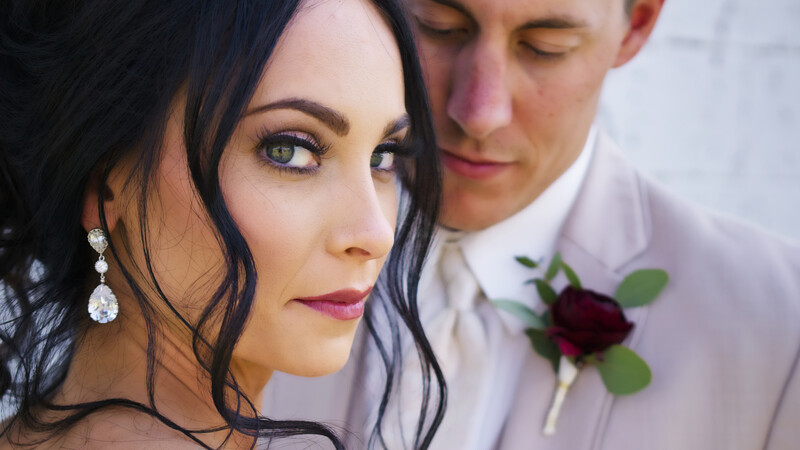
And here is a full before and after
In conclusion, the addition of portrait mode inside of ON1 Photo RAW 2019 is a very handy tool to have. It makes any quick retouching a breeze without needing to alter your current workflow or adding unnecessary bulk onto your hard drives. If you haven't taken a look at ON1 since their recent update, now is the time check it out.


Join the Fstoppers community for free
-
Post comments and join in the discussions
-
Browse the site ad-free
-
Share your work and get featured in the community
-
Compete in the photo contests for fun and prizes
2 Comments
i dont see much difference between before and after :) basically toned-down reds on their faces? she looks much more organic before. also - her back need proper retouching. i think everything need retouching in this case :) before looks more organic, after - her face "pops" up too much, the "retouching work" becomes too obvious.
matter of tastes i suppose.
(whats up with under-exposed before? look what it does to her skin, especially on the back), if you expose it properly - much less retouch work there.
i think you will get much better results with frequency separation. its free. no need for software. oh wait, its sponsored article... f+k. i just realized.. i wonder how much you get paid for it. that would be so much better article.
People that bitch and complain about a company being sponsored yet don't complain about getting said article for free. It actually costs real money to operate a website that provides ongoing content. If you don't like, don't read it. For free. I use this application and the retouching tools are really nice and have saved me a lot of time. I've been using ON1 for years and they have the secret sauce that Adobe lost on the way to the bank. I still use Adobe software every day and for now they get my $50 per month. FStoppers provides a ton of great content....for free.