
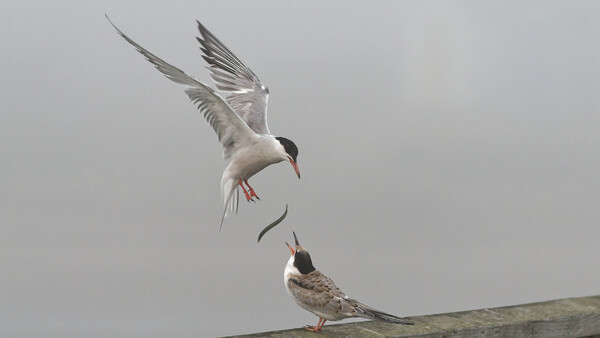
Increasing the ISO for low-light photography has recently become less of an issue for various reasons. Nevertheless, if you want to capture action, you should understand it to achieve better photos.
Improvements in image stabilization have partially made increasing the ISO less necessary in some circumstances. Then, sensor technology has vastly improved image quality at higher ISOs. In addition, the superior noise reduction in several programs makes low-light photography far more accessible.
It’s common knowledge that as you increase the ISO of the camera, more noise is seen in the photograph. However, it's also a common misconception that increasing ISO causes more noise. It doesn’t.
What Is ISO?
ISO stands for International Organization for Standardization. We see it everywhere as organizations try to find common standards for everything from customer service levels to candles’ sooting behavior. In photography, we can think of it as the camera's sensitivity to light.
Increasing the ISO setting makes the camera's sensor more sensitive, thus allowing it to capture more light in less time. In other words, if you put the ISO up, you can achieve a faster shutter speed or, less commonly, a smaller aperture.
There is a pay-off, however. The higher the ISO, the more likely we are to see noise in the photo.
If I were being pedantic, that’s not strictly accurate. Nevertheless, it is a simple way of understanding it.
Okay, I'll Be Pedantic.
f I don’t write this, someone will complain. Pedants will point out that increasing the ISO doesn’t make the sensor more sensitive, nor does it increase noise.
In the movie Back to the Future, Marty McFly turns up the electric guitar amp to its full volume. Before he strums his guitar and the sound from the massive speakers throws him across the room, you hear a humming. That is noise being generated within the amplifier. If you have a hi-fi at home and turn the volume up full with no music playing, the speakers emit a hissing sound. The same principle applies when we increase the ISO in our cameras. However, we cannot hear it. Instead, we see the noise in the image as graininess.
When increasing the ISO, we are turning the gain on an amplifier inside the camera. We've done that because the original signal was weak (due to insufficient light), and increasing the ISO boosts that signal. There's a drawback. Doing that will also amplify any noise. Therefore, the proportion of noise increases (this is known as the signal-to-noise ratio). Consequently, that noise appears more prominent in the image. I'll explain more about noise shortly.
Understanding the Numbers
If you think about the ISO increasing the sensitivity of the image sensor, the lower the number, the less sensitive it is to light. Higher numbers mean increased sensitivity, but there is a compromise of more noise.
With each step of ISO, you need half the amount of light to achieve the same exposure.
For example, ISO 100 and 1/250 second is the same exposure value as ISO 200 and 1/500 second, ISO 400 and 1/1000 second, and so on.
The Best ISO to Use
Base ISO refers to the lowest ISO settings on a camera at which the sensor can achieve its best signal-to-noise ratio and, consequently, its full dynamic range. Typically, your camera's base ISO has no amplification. In other words, you get the lowest possible noise at this setting.
(It’s worth noting that some cameras have extension ISOs that enable even lower settings, but there is a drop in image quality if you use those.)
Knowing your base ISO is crucial because it allows the camera to produce the highest image quality with minimal noise.
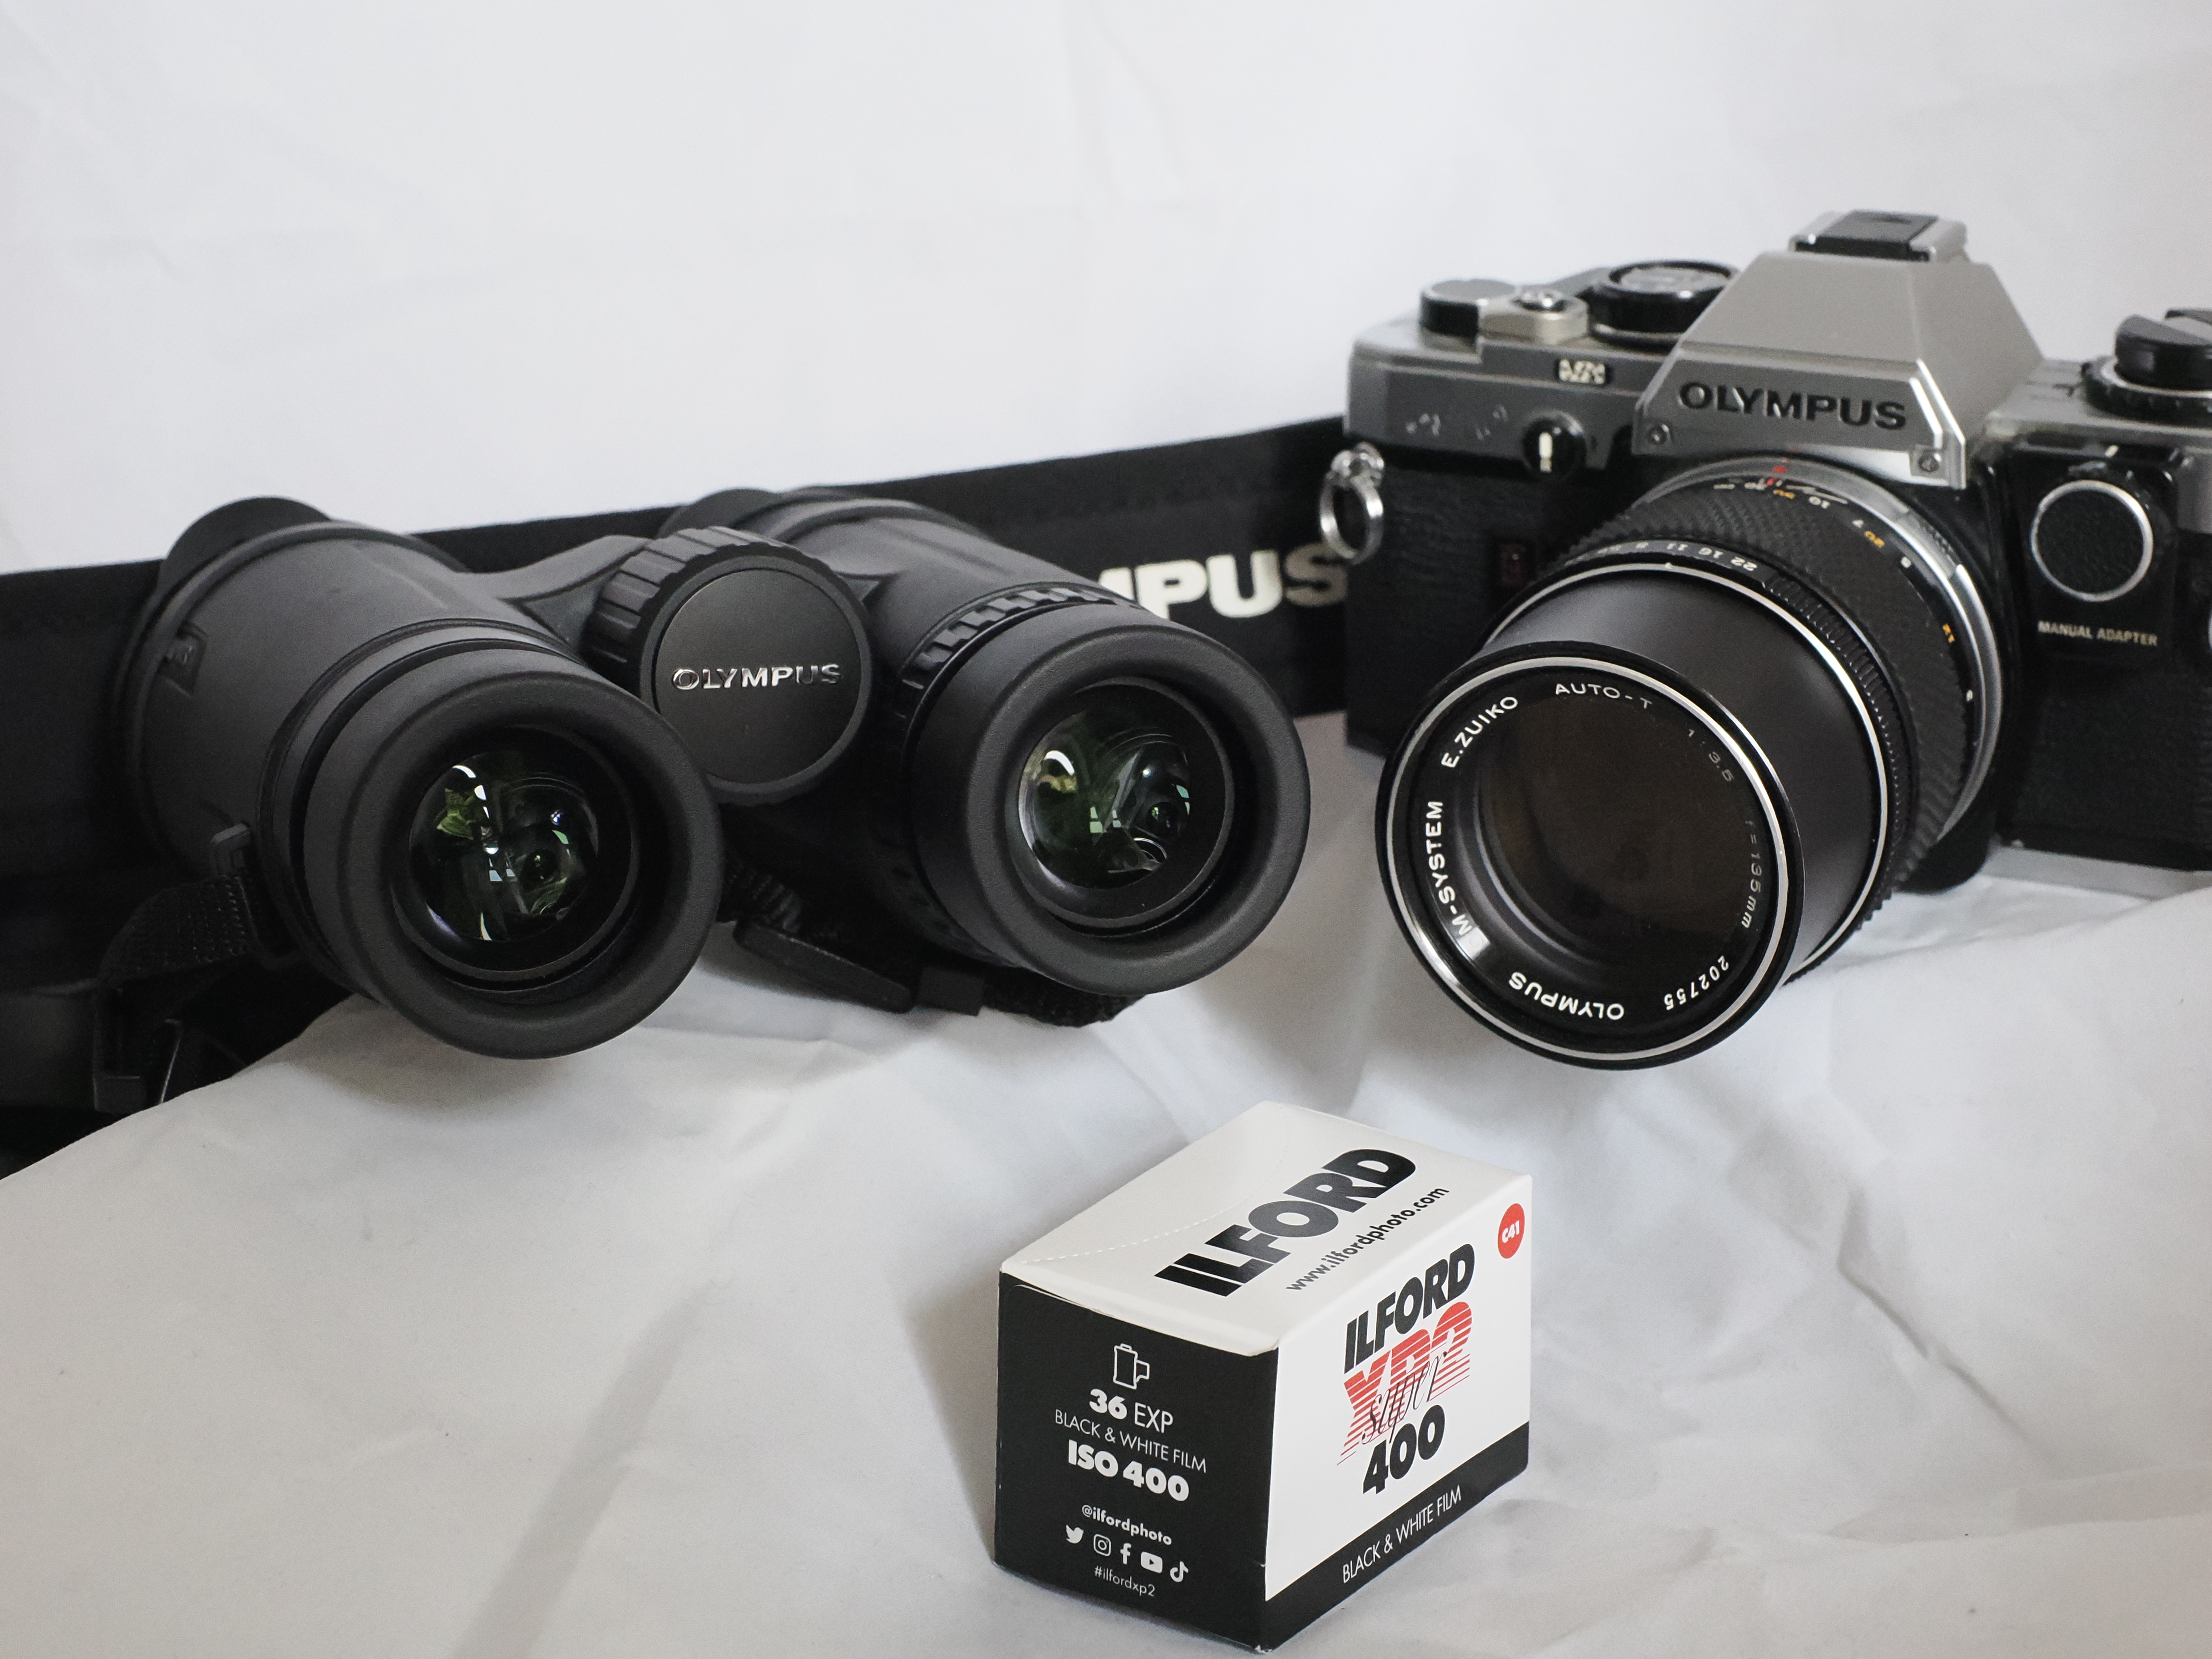
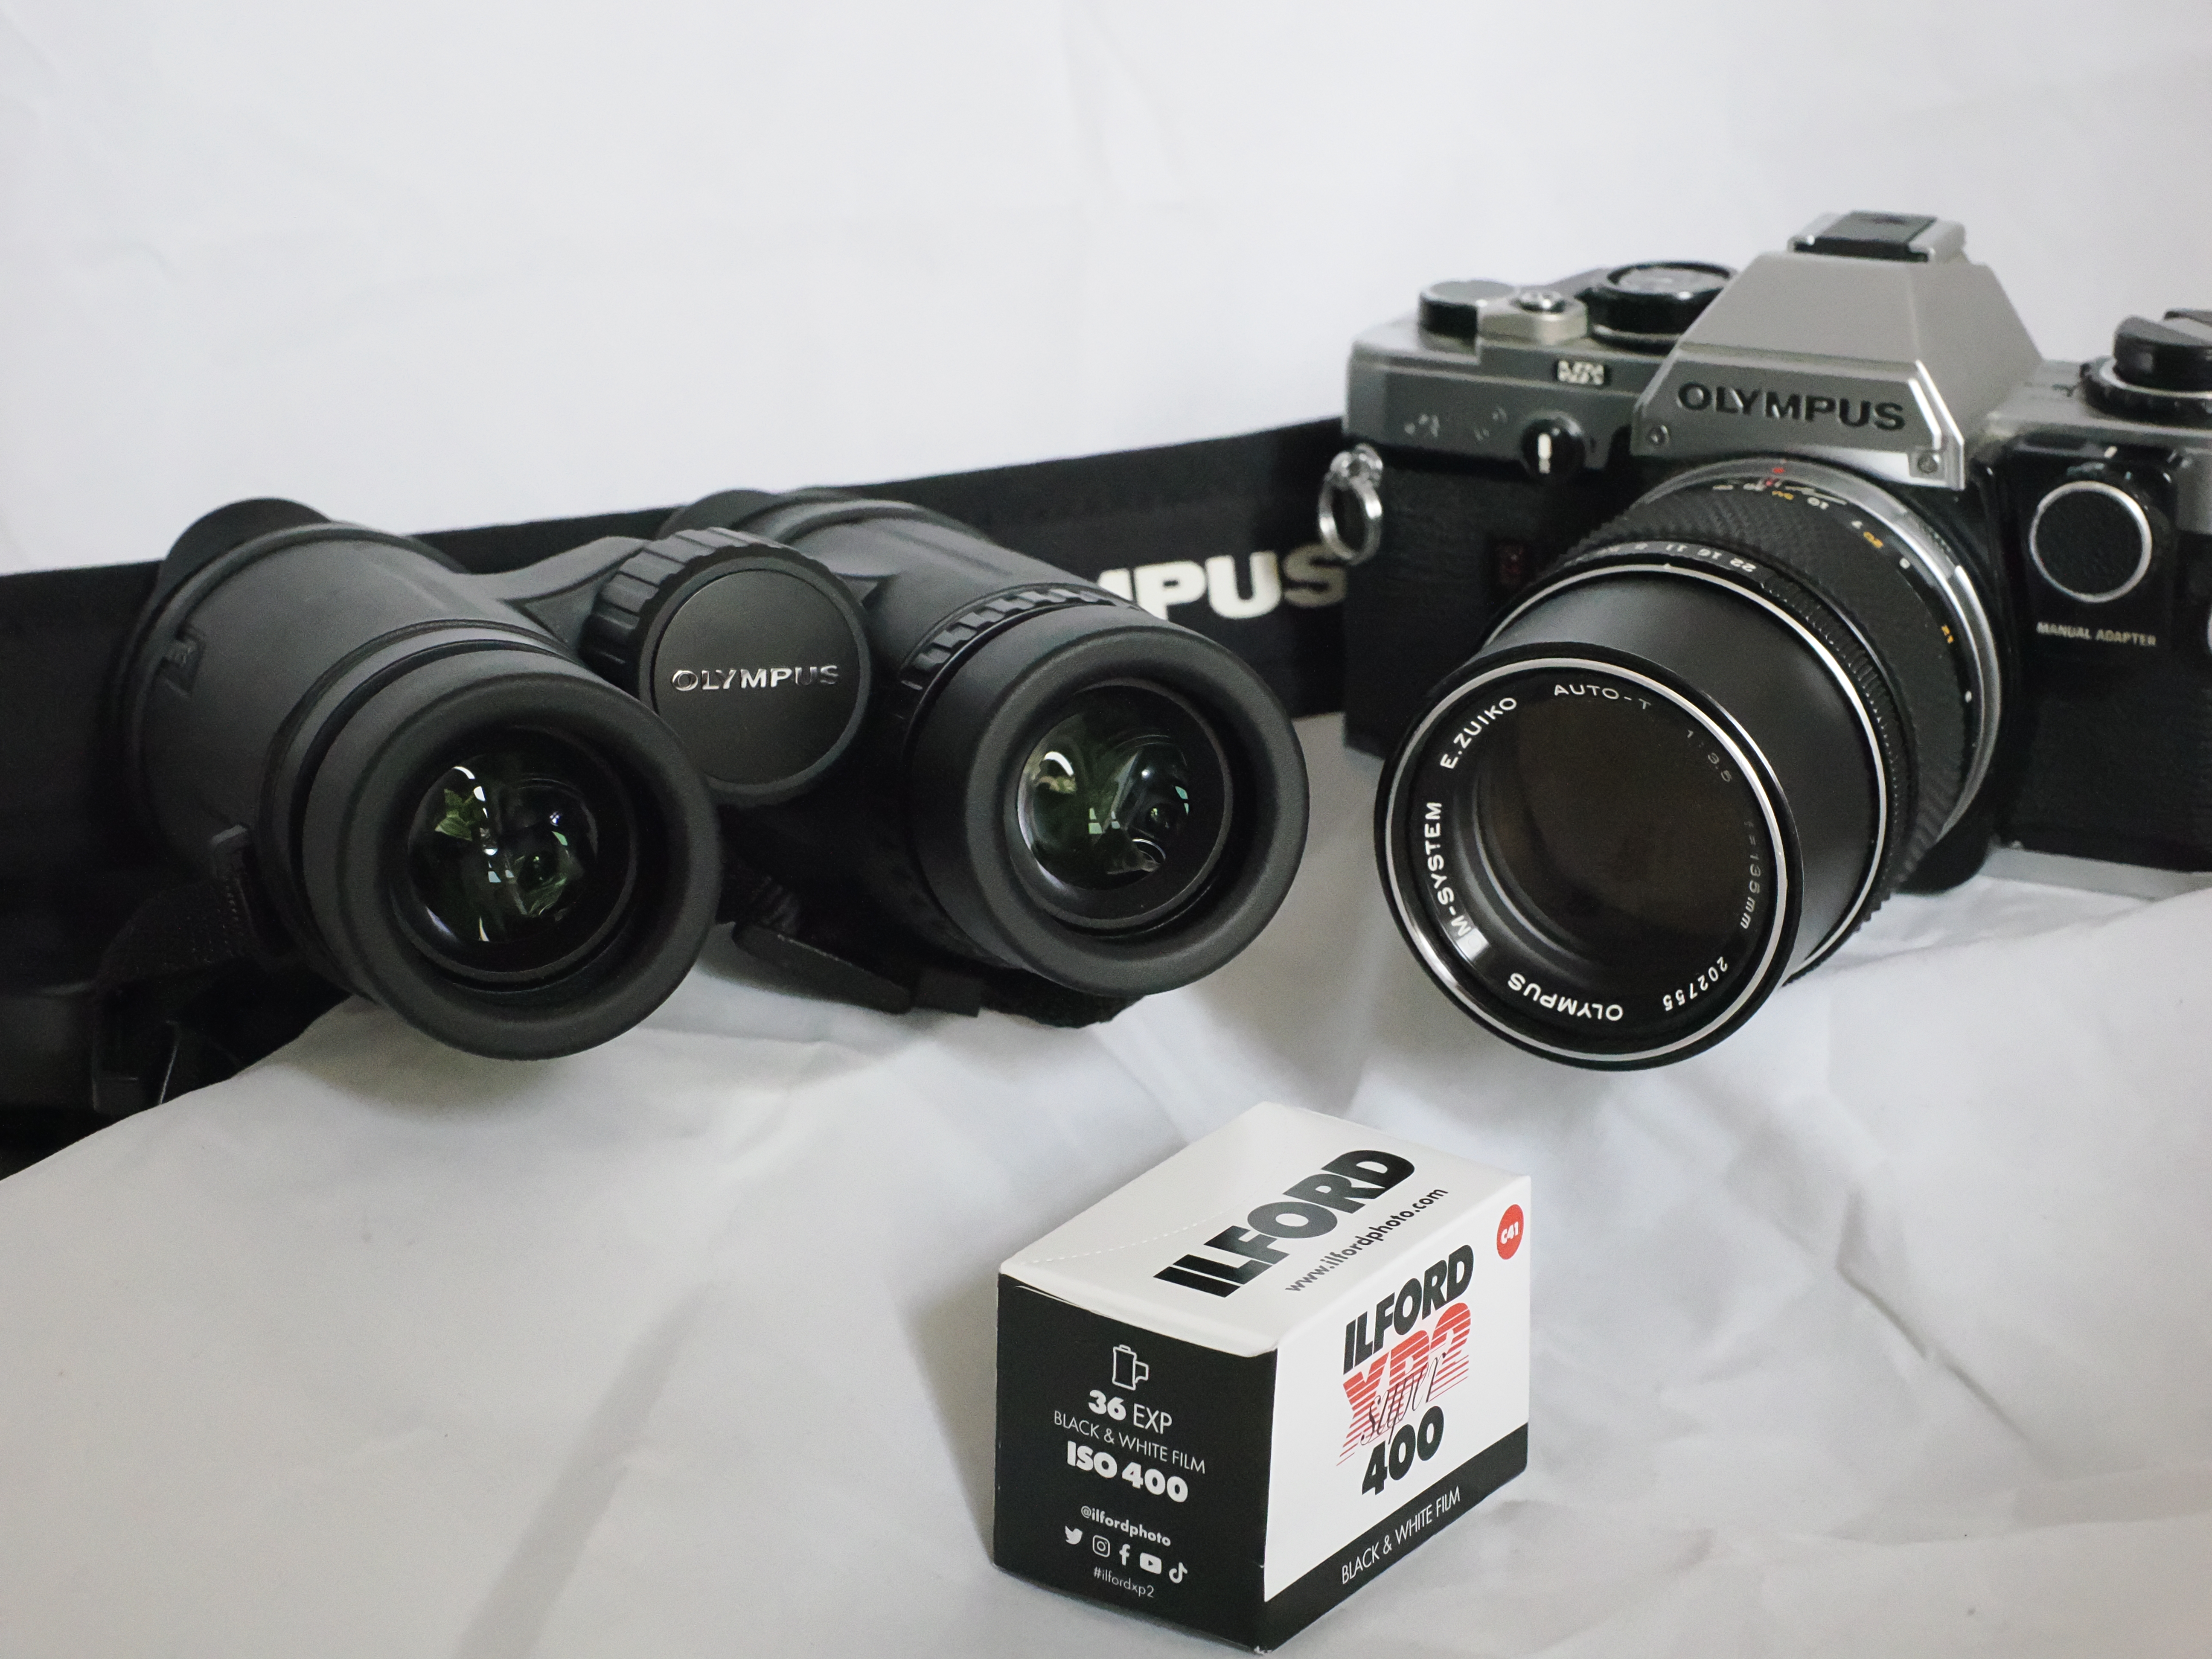
What is your camera's base ISO? It varies from camera to camera. While it is often ISO 100 (e.g. most Canons, Nikons, and Sonys), on some cameras it is ISO 64. Meanwhile, with my OM System OM-1 and other Micro Four Thirds models, it is ISO 200.
How Big Is Your ISO Range?
Some cameras have ISO ranges from 100 to 6,400. Meanwhile, some newer and more advanced models can go much higher. Mine has a range from ISO 80 to ISO 102,400. However, ISO 32,000 and above, and anything below ISO 200, are extension ISOs. These are digitally enhanced ISOs that give you a greater ability to take images at otherwise unobtainable shutter speeds. However, there is an image quality payoff, with dynamic range falling and noise increasing.

ISO’s Impact on Exposure
ISO is one of the three exposure variables, along with aperture and shutter speed, that I wrote about in recent articles. Increasing the ISO usually allows for faster shutter speeds in low-light conditions. However, albeit less commonly, it can also be used to achieve smaller apertures.
ISO Usage
As a rule of thumb, low ISOs (80–200) are ideal for bright conditions and when you want the highest image quality. They also help you achieve long exposures. Meanwhile, medium ISOs (400–800) can be useful for indoor photography or shooting on cloudy days. A high ISO (1,600 and above) is usually necessary for very low-light conditions, such as night photography or indoor sports, when you want to stop the action.
Noise Tests
Whenever I buy a camera, I test it to see how well it performs at different ISOs. I do this both with JPEGs and raw files. The JPEGs are processed within the camera and have noise removed. Raw files rely on you processing them to remove the noise.
What follows are my JPEG tests. These images are "straight out of camera" (SOOC) with no development applied. They were shot in aperture priority mode at f/8, with no exposure compensation. I increased the ISO by 1 stop each time.
I started with the camera's base ISO of 200, at which it performs best. The image is nice and clean, as would be expected.
Next, I doubled the ISO to 400. There's very little difference.
Now, ISO 800. Again, it's a nice, clean image.

Here's an ISO 1,600 SOOC image. You will notice that the blacks are starting to be not quite so deep, and zooming in on the image (click on it to see), there is some visible luminance. However, the photo is perfectly usable.
Here's ISO 3,200. There's very little visible difference between this and ISO 1,600.

This next image was shot at ISO 6,400. Close examination shows some luminance noise, but once more, this image is usable.
Here's ISO 12,800. The image is usable, but the noise is becoming more apparent.
ISO 25,600 is the highest native ISO on my camera. Luminance noise is more visible, but the graininess isn't ugly. I don't ever have a call to shoot at this high an ISO.
Although all the images are usable, if we compare the ISO 200 image (left) with the one shot at ISO 25,600 (right), we see a difference.

Exposing to the Right
There's a good thing about knowing you are turning up an amplifier. If you increase the exposure, you are letting more light into your camera. Therefore, the sensor transmits more electronic signals, helping to drown out the noise. This is known as exposing to the right (ETTR). However, increasing the exposure runs the risk of blowing out the highlights.
Becoming familiar with your histogram is important here. It will help you control your exposure so you are not over-exposing too far. If you are unfamiliar with the histogram, I wrote an article about it four years ago that you can read by clicking here.
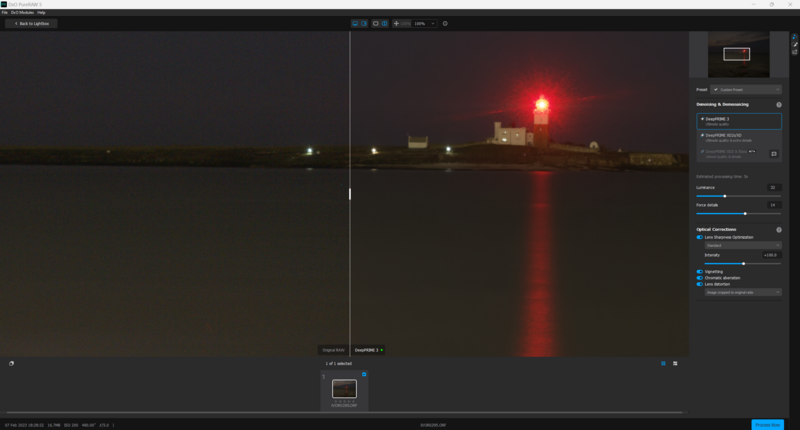
In the left-hand image below, at ISO 25,600, I increased the camera's exposure by 0.7 of a stop and then reduced it again in Lightroom. On the right is the same ISO 25,600 image I showed above with no exposure compensation. Making this slight adjustment makes a visible difference to the image, reducing noise and improving the dynamic range.
More About Noise
Noise in digital photography refers to the random variation of brightness or color information in images. It manifests as the unwanted grainy or speckled appearance in photos, and it is usually more noticeable in darker areas. You can see these in the samples above.
There are two types of noise: luminance noise appears as gray graininess, affecting the brightness of pixels. That is usually considered more acceptable than chrominance (also known as chroma, or color) noise, which appears as ugly color speckles and banding. Chrominance noise affects the color of pixels.
High ISO settings are not the only cause of noise in a photo. Longer exposures can introduce noise due to the camera’s sensor heating as electricity flows through it. Also, smaller sensors found in compact cameras and phones tend to produce more noise than the larger sensors in DSLRs and mirrorless cameras.
However, recent advancements in sensor technology have greatly reduced the amount of noise produced. Furthermore, new image processing technologies do an amazing job of removing noise.

Noise Reduction Techniques
Many cameras have built-in noise reduction settings. Some cameras have two settings, one for removing high ISO noise and the other for noise generated during long exposures.
There is some fabulous noise reduction software out there. I think the best is currently found in the recently released DxO PureRAW 5, which does an amazing job of cleaning up an image. It works as a plugin for other programs such as Lightroom, but can also be a stand-alone app.
There are plenty of other programs out there that do a good job, too. ON1 Photo RAW has an effective NoNoise feature. Topaz DeNoise AI is popular and works well. Lightroom also has built-in noise reduction. It's good, but I find using one of the other programs as a plugin gives superior results.
How Do I Change the ISO?
Most cameras have an ISO button. Press that and turn the adjustment dial (sometimes called the command dial). You should see it changing through the viewfinder or on the back LCD screen. Some cameras don’t have a button, and ISO adjustments are made through the menu.
Auto ISO
There are some circumstances where I am photographing flying birds in changing lighting conditions. I use aperture priority because I want to shoot at a wide aperture, enabling a shallow depth of field and a faster shutter. I know I need 1/2,500 second minimum shutter speed, and it is often bright enough where I live to achieve that at my camera's base ISO of 200. However, sometimes the bird is not well lit. In that case, I can set the camera so that 1/2,500 is the minimum shutter speed. However, I don’t want the ISO to go above 12,800, so I limit that too.
When there is insufficient light to achieve 1/2,500 at ISO 12,800, the camera allows the shutter to slow below 1/2,500.
This isn’t the only way of working, and some photographers have other approaches. However, it’s a useful method to experiment with.
Practical Tips
To reiterate, always use the lowest practical ISO setting to minimize noise and achieve the best image quality. If you need to increase the ISO for a faster shutter speed, don’t be frightened to do so. However, ensure proper exposure and maybe consider ETTR to reduce visible noise.
Utilize noise reduction techniques in the camera and post-processing. A good quality noise reduction program makes a lot of difference.


Join the Fstoppers community for free
-
Post comments and join in the discussions
-
Browse the site ad-free
-
Share your work and get featured in the community
-
Compete in the photo contests for fun and prizes
6 Comments
Nice and clear article Ivor. And indeed auto ISO can be very useful, I use it when shooting concerts, set the desired aperture and speed speed/time and let the camera set the iso.
Thank you Ruud. Yes, it's a handy function and something I use more and more, especially as sensor and noise reduction technologies have come so far over the last few years. Shooting a stage performance with the constantly changing lighting must be a perfect scenario for auto ISO.
Thanks, Ivor, for this wonderful article that takes away a lot of negative myths which our venerable sensor-makers have helped turn from facts into myths over the years. I have 2 remarks though. Firsty, the article does not mention photon noise, which can have practical consequences in pulling up dark sections of a (bright) picture. We tend to think of light as a continuous stream, but this is only approximated when there is enough of it. A dark shadow, exposed in a sunny environment at 1/1000s at f/8 receives so little light that adjacent, individual photo sites ("pixels") in a dark spot do in fact receive discernably different amounts of photons and thus energy. This effect can be diminished by ETTR, sometimes by a stop of even more. But, and this is my second remark, if a photo opportunity forces a high ISO-value, there usually is no more room for "overexposing" to exploit ETTR (otherwise using a lower ISO-value would help better). I've tried to think of practical examples, but my imagination might be too limited. Maybe others can help here?
Yes, you are right. I wonder whether the issues you raise are less applicable to contemporary cameras.
Much of my photography is contre jour at sunrise with dark rocks in the foreground. Thankfully, modern cameras have come so far that the dynamic range allows details to appear under those rocks. If I think back to photos shot with the camera I used ten years ago, that was much more of a problem. A way around it would be to use HDR techniques.
I get your point about maxing out the ISO and ETTR. That's down to the limitations of any camera system. However, the maximum usable ISO on my camera is so high that I never need it. But with an older camera, this would be more of an issue.
Thanks for the great comment.
Thank you for writing this, Ivor.
Counter to what many people write and think these days, producing photos with extremely little grain is extremely important. It is NOT just about the so-called "content" of an image, and the "emotional response" that the image will generate.
For many of us, it is still about ultimate image quality - how perfect will the image look when enlarged to 3', 4', or 6' across, when viewed from just two or three feet away. That is what really matters. And what seems like just a little graininess can completely ruin an image when it is blown up that big and viewed that close.
So yes, avoiding noise grain to the greatest extent possible is still of crucial importance for many of us.
Thank you, Tom. I agree that there has been a shift to accepting noise in images. It's never been my cup of tea, and I've always worked to reduce it as much as possible both in camera and using software. Thankfully, sensor technology and noise reduction software have come a long way in the last few years.
Although graininess can have its artistic merits in some circumstances, as you say, there are plenty of - probably more - times when it is unwanted.
Thanks again.