
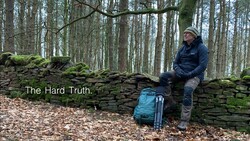
What do you do when you're planning a shoot in the woodlands during winter, but you live in a region that doesn't see much snow or fog? You walk for hours in this unforgiving environment, trying to find a decent composition, and you end up feeling frustrated that nothing is working.
Most landscapes are shot using a wide angle lens with your camera mounted on a tripod. However, a common mistake I've seen photographers make is shooting landscapes from either the hip or eye level. In woodlands, these angles could work if you simplify the composition with elements like fog or snow to eliminate distractions. Unfortunately, we don't all have the luxury of fog or snow showing up regularly, so how can we produce similar results without traveling?
The secret is in your composition. If you only have a tripod and a wide angle lens, shooting in forests can look overly busy and cluttered, but there are ways to simplify your composition and achieve fantastic results.
Tip 1: Stop Shooting At Eye Level
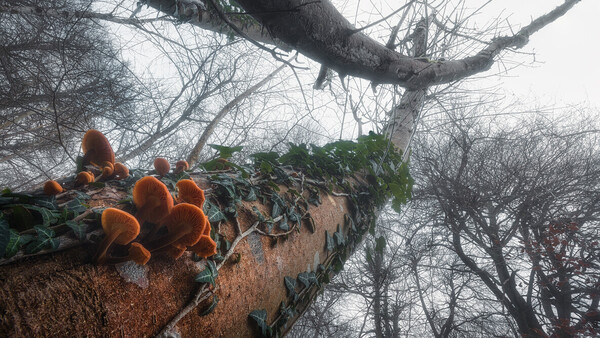
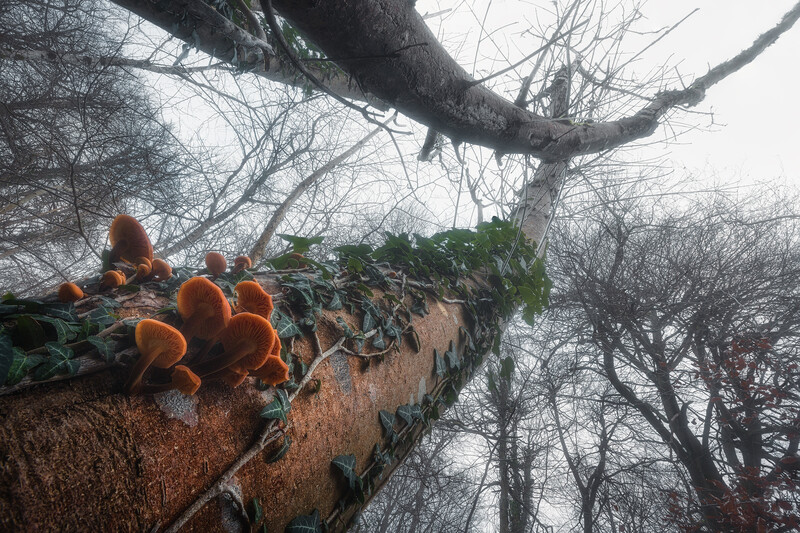
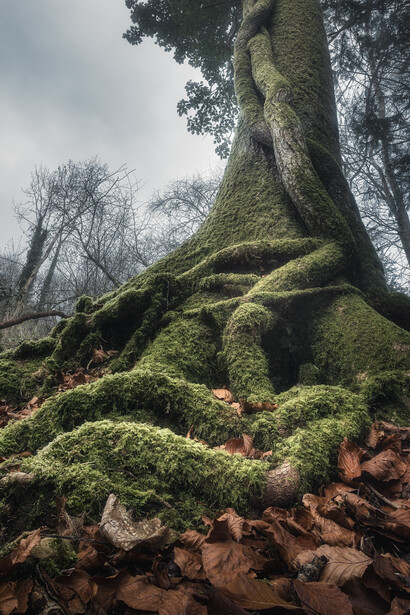
Firstly, find a subject that stands out among the rest of the forest, whether it be a small cluster of mushrooms, a plant, or a tree. Before mounting your camera on the tripod, walk around your subject first and study it. Get down low and as close to your subject as possible, and see how that perspective changes and emphasizes it. Wide angle lenses exaggerate distance and scale, and they work best when there's a strong subject in the foreground.
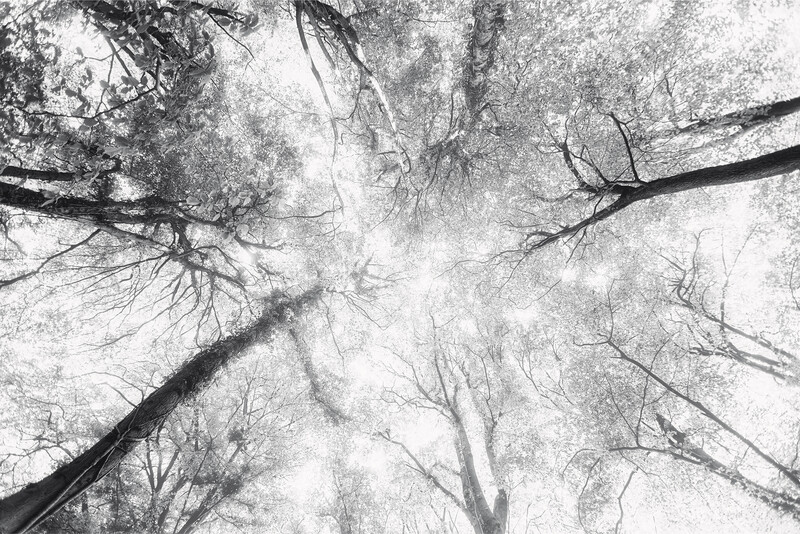
You can also point your camera down toward the forest floor or upward at the canopy. It's a great way to introduce textures, patterns, and shapes. Sometimes the results can be surprisingly abstract.
Tip 2: Building Layers Provides Depth
A key to introducing depth into your photos is to compose them in a way that creates layers. We're not talking about Photoshop here; instead, think of your scene as having foreground, middle ground, and background layers. The foreground gives the viewer a starting point, the middle ground provides context, and the background completes the scene. Compose your scene with an anchor in the foreground that guides your eyes toward the middle and background layers.
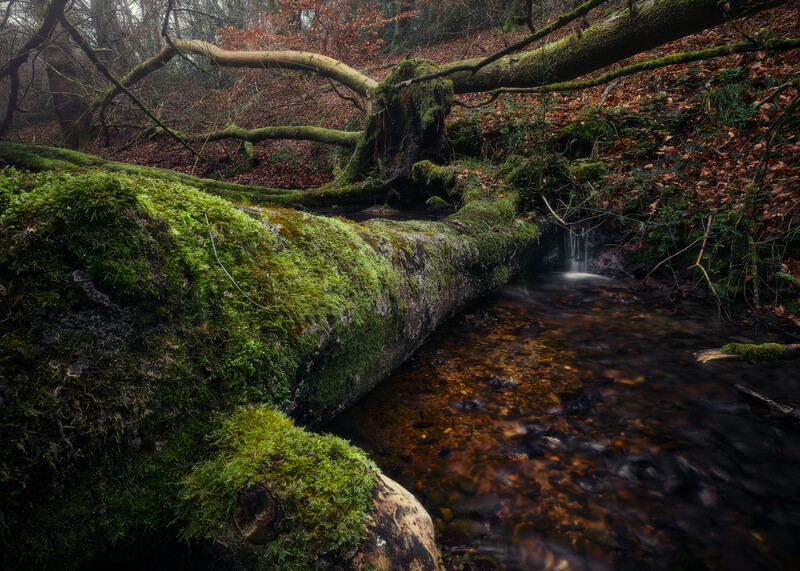
Tip 3: Use Natural Leading Lines
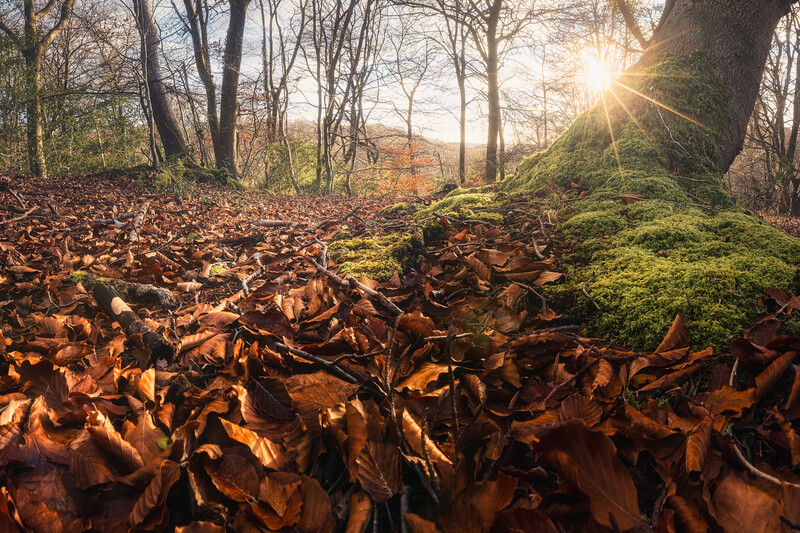
The forest floor can be a treasure trove of shapes and lines to use to your advantage. A fallen tree trunk, a winding path, or tree roots make excellent leading lines to your subject. Using a low angle and placing the leading line in the foreground will help exaggerate the lines leading up to your subject.
Tip 4: Avoid The Sky
Unless the sky is deliberately placed in your composition, it's best to avoid it with woodland photography. Our eyes tend to go to the brightest area of an image first (usually the sky), which can draw attention away from the subject in your photo. While shooting up at the forest canopy works for more abstract-looking shots, shooting through it rarely does the scene justice.
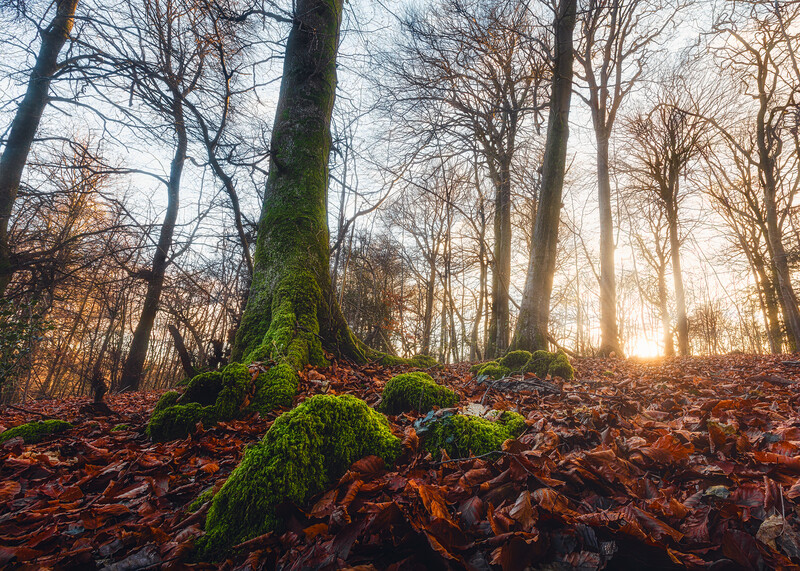
Tip 5: Use Golden Hour Light
At sunset, it's all about the direction of light. Side lighting emphasizes texture and shape in trees and the forest floor, while backlit subjects create separation from the background and are another excellent technique for building layers. By positioning yourself 90 degrees from the sunset, or directly in front of it, you create a more controlled environment to showcase texture or emphasize your subject.
Tip 6: Focus Stack Your Photos For Better Sharpness
When shooting your subject up close at a low angle, it's almost impossible to keep everything in focus. By setting your aperture to f/11–f/16 and using focus stacking, you'll increase depth of field to maintain sharpness throughout your photo. It's worth leaving a bit of extra space around the edges of the frame. Lens distortion often causes alignment issues when processing a focus-stacked image in Photoshop. However, this is easily fixed by simply cropping the photo to eliminate these issues.
Tip 7: Use Your Histogram
Woodlands in winter can often appear flat and grey. To combat this, I analyze my scene for any exposure hotspots, and if there aren't any, I'd overexpose to the right to ensure my shadow areas retain enough detail. However, if your scene contains any hotspots, exposing for the highlights is crucial, as it's easier to lift the shadows in post while still preserving enough detail, since highlight details can quickly get lost. I've had great results by underexposing around half a stop to retain highlights.
Tip 8: Slow Down
Patience gets rewarded. When you're out photographing the woodlands, find one subject and stick around for an hour or so. If you're dealing with scattered clouds, waiting for the right light could pay off greatly. Photographing in these conditions isn't about shooting as much as possible. It's about finding the right subject and spending time refining the composition. Once you find a composition, experiment with different angles and heights to find a good balance between your subject and the background. Small changes such as this often make or break your photo. So even if you walk away with one great photo, it's much better than ten average ones.
Tip 9: Dress appropriately
Early winters are already harsh. You're dealing with frost, wind, and rain. Ensuring you and your gear stay dry is the highest priority. Waterproof boots and thermal clothes ensure you'll stay warm when you're huddled over your camera for hours. Your hands will get the coldest first, so getting a pair of winter gloves will save your fingers from seizing up while handling cold tripod legs.
Tip 10: Clean Your Scene
When you're all set up and ready to fire off your first shot, do a final check and make sure there are no distracting elements in your scene. Loose twigs, dead branches, and sticks can often introduce chaos and make your scene look cluttered. If it's easy to pick them up and remove them from your scene, do it. However, be mindful of the environment and don't start breaking off branches if they're still attached to trees. We're only looking at cleaning up loose debris from the scene that won't affect any plants or animals. If it's not possible to remove the distractions, consider a different composition, or remove them in Photoshop if it's not a tremendous cleanup job. Most importantly, we do not want to leave a trace while photographing, so don't start cutting down trees.
When there's no fog or snow to help simplify your scenes, I've often found that starting your compositions at ground level and working your way up is a good way to get unique angles and see how perspective adds or detracts from the image. Using low angles can simplify and emphasize your pictures. So, the next time you're out shooting in the woodlands, get your knees in the dirt and see what difference it makes to your work.


Join the Fstoppers community for free
-
Post comments and join in the discussions
-
Browse the site ad-free
-
Share your work and get featured in the community
-
Compete in the photo contests for fun and prizes
No comments yet