
When photographers hear overcast skies, we immediately think of flat light. What this usually means is an overall lack of detail and contrast, especially in the sky. It might be easy to assume that the sky during overcast days is uninteresting, but I want to show you the opposite, that overcast days are some of the best times to get deep and dramatic images. In this video and article, I'll be walking through how to shoot and edit dramatic clouds during overcast conditions in Adobe Lightroom Mobile.
First, I'll take the photo on my Canon EOS R5 with the RF 28-70mm f/2L lens. Then, I'll take the same photo on my iPhone and do a full edit in Adobe Lightroom Mobile. Let's dive in.
Exposing to Preserve the Details
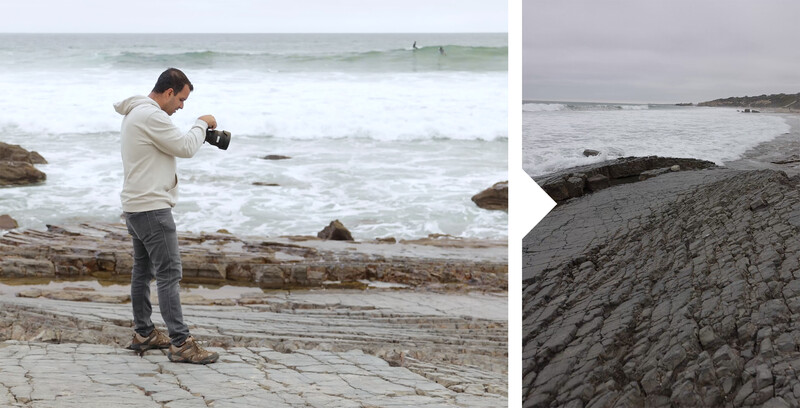
I promise that the details are in this sky that right now, even if they look bright and washed out. The important bit is how you take the photo in the camera. First, be absolutely sure you're capturing raw format in order to preserve as much information as possible. Then, take a basic composition as I did here. I set the horizon near the top third and focused on the rocks.
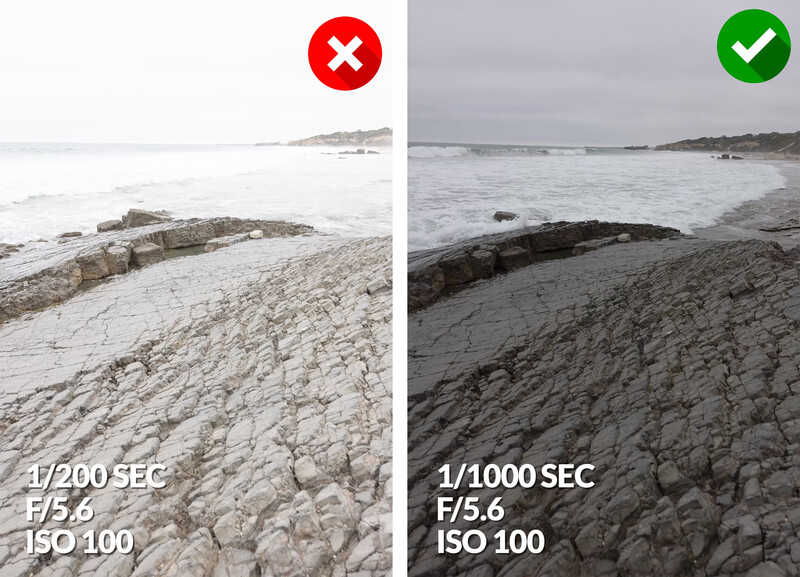
Use your histogram and highlight alert to prevent overexposure in the camera. Exposing too bright will cause crucial information to be lost in the sky. Above is a side-by-side example with the camera settings.
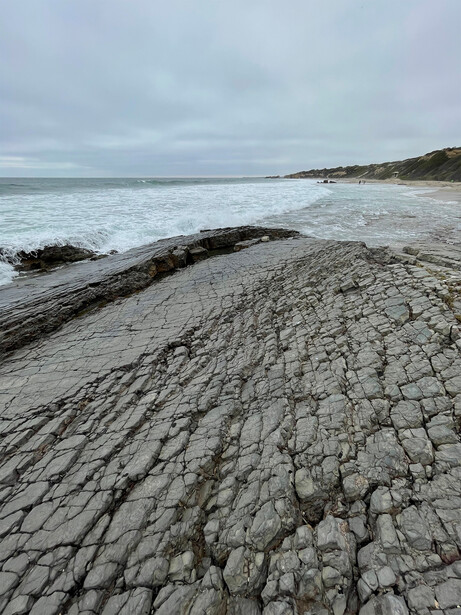
Moving to the phone, the app did a great job setting the exposure automatically and preserving all the details. Without any adjustments to the exposure, here's the raw image from the iPhone.
How to Make the Clouds Pop in Adobe Lightroom Mobile

Our first step in Adobe Lightroom Mobile is to bring the detail out from the sky. Select the Graduated Filter under the "Selective Editing" section and drag it over the sky. Make sure the mask is well feathered.
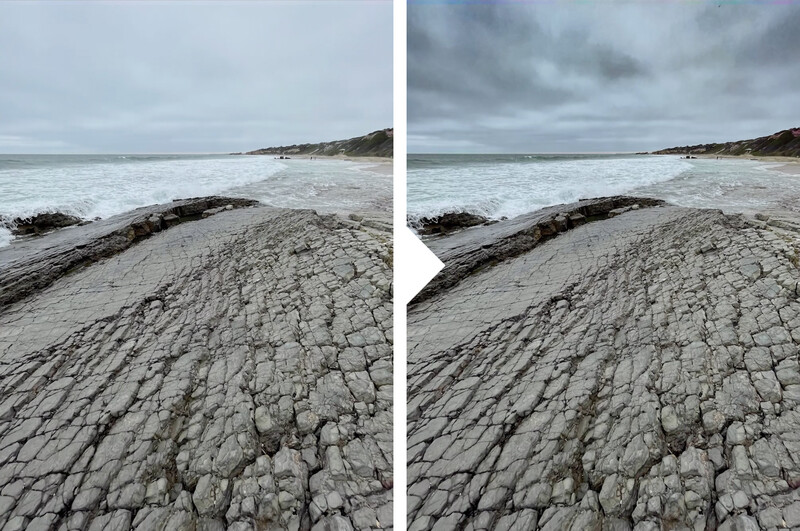
I pulled down the exposure, then, in effect, I increased dehaze. You'll immediately notice the details in the clouds popping out from the sky. Next, I kicked up clarity. Check out the difference from just those simple adjustments.
Editing the Final Image
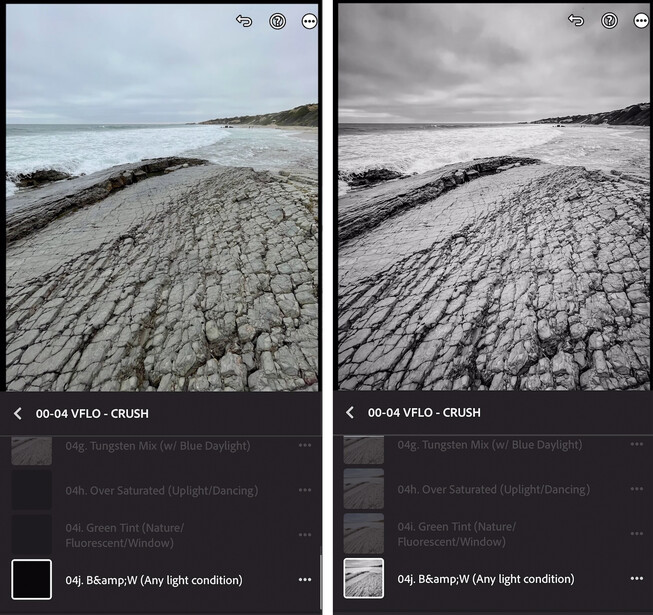
These landscape shots during overcast lighting make for great black and white photos. To do this, I reset our first edit and applied the Black & White preset from Visual Flow's Crush pack.
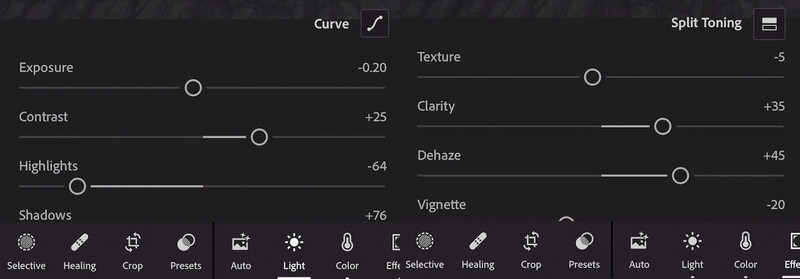
From here, I made my global adjustments by lowering the exposure and turning up dehaze as well as clarity over the entire image.
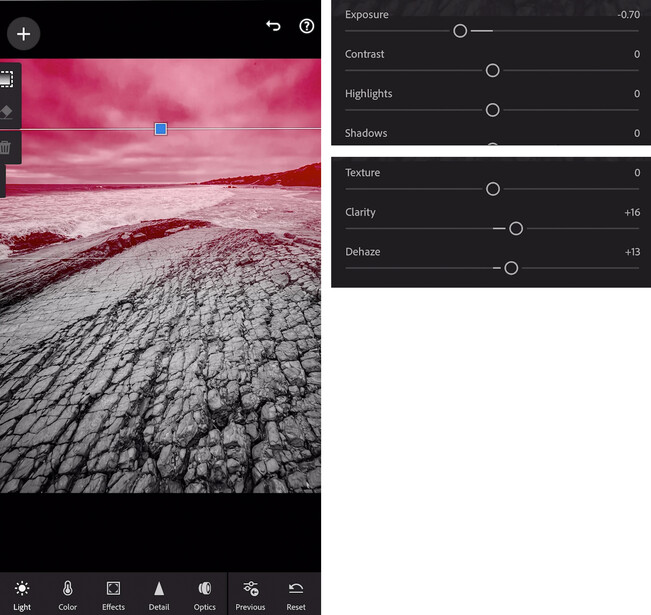
I then added the graduated filter and pulled the exposure down over just the sky. I increased dehaze as well as clarity over the mask.
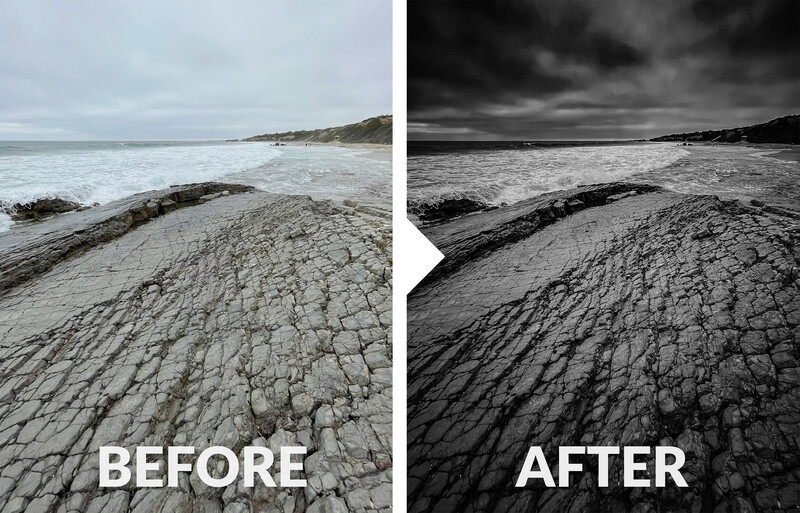
Lastly, I added overall contrast to the entire image. Above is the final before and after.
Conclusion
I hope you enjoyed this article and video. Next time the sky is overcast out, take these tips and capture some great dramatic landscape images. Don't be dismayed by flat and overcast skies. Just because it looks uninteresting and dull doesn't mean there isn't any detail. All it takes is good exposure and some editing!
For more tips and tricks on mobile phone photography, check out Creative Photography 101 from our Premium Library. To get presets like the one I used in this video, visit Visual Flow, where we have a full library of intuitive lighting-based presets and retouching tools. Thanks for watching!


Join the Fstoppers community for free
-
Post comments and join in the discussions
-
Browse the site ad-free
-
Share your work and get featured in the community
-
Compete in the photo contests for fun and prizes
1 Comment
Infrared is more more more dramatic