
If you are wondering why your wide angle lens photos don't quite reflect the expansive vistas you experience and feel, this article is for you. You could be making errors that produce flat images, preventing them from capturing the scene's true essence.
A wide angle lens typically has a focal length between 10mm and 24mm, while 24mm to 70mm is generally considered mid-range. Many photographers frequently use a 16-35mm zoom lens, though a 14mm prime lens is also a common choice. The versatility of 16-35mm lenses makes them excellent for covering both wide and mid-range fields of view. With this understanding of what constitutes a wide angle lens, here are seven essential tips to enhance your wide angle photography.
Harness the Power of Foreground Interest
Wide angle lenses inherently make distant objects appear smaller than they usually are. Have a look at the side-by-side comparison of two photos taken from the same beach. One has a 16mm focal length, and the other has a 50mm.
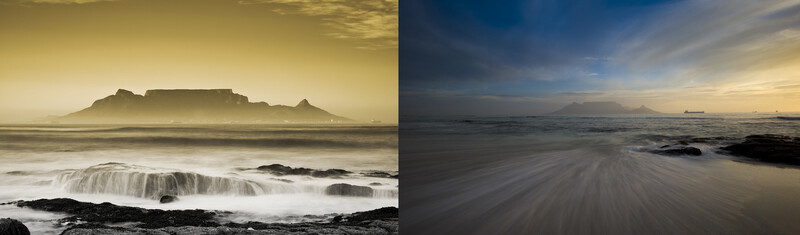
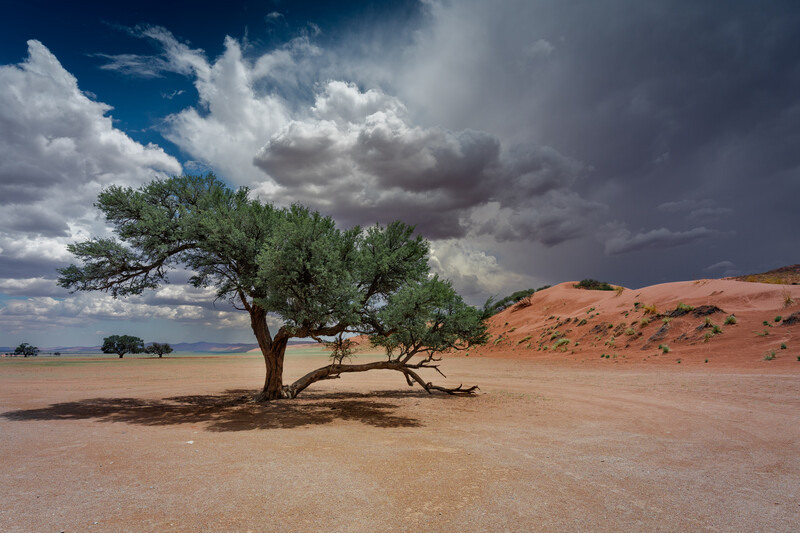
The perceived flaw of wide angle distortion can be transformed into an advantage by deliberately seeking out compelling foreground elements. Placing subjects close to the lens, like a rock, a bush, moving water, or a distinctive texture, helps grab the viewer's eye and define the scale of the scene. A well-chosen foreground is vital for achieving a balanced composition, smoothly connecting the foreground, middle ground, and background.
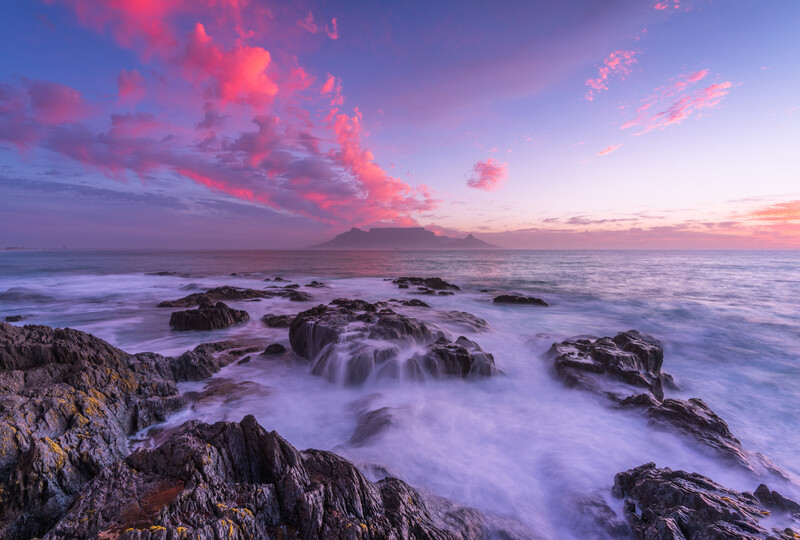
Master Depth of Field
For sharp images from front to back, maximizing your depth of field is essential in wide angle landscape photography. Beginners often set the aperture all the way to f/16 or even f/22, thinking that the whole scene will remain in focus. However, using a very narrow aperture can cause diffraction, leading to softer images, especially in the background.
An aperture value of f/9 or f/11 is considered optimal where the foreground and middle ground are in sharp focus, and the background, although less sharp, is still more visible and defined than at f/8 or f/16. However, you should test this for your own lens. For my Nikon 16-35mm lens, I found f/11 to be the ideal setting, but with a Tamron 17-28mm, I discovered that f/9 produced sharper images from front to back compared to f/11.
Focus Point: To achieve maximum sharpness, focus right on an interesting element in the foreground. This ensures that the texture and details closest to you are crisp, which feels natural to the viewer's eye.
Check Your Corners
A wide field of view makes it easy for distracting elements to creep into the edges of your composition unnoticed. While AI can now remove distractions and unwanted elements more effectively than ever, and I certainly utilize that capability, there is still no greater satisfaction than achieving the perfect shot in-camera while on location.
Pre and Post-Shoot Check: Always check the corners before you press the shutter button, and immediately zoom in digitally on your camera after taking the shot.
Avoid Distractions: Look out for unwanted elements like stray branches, rocks, or any clutter that can be difficult or impossible to remove cleanly in post-processing.
Correct the Horizon
A crooked horizon is a common, glaring mistake that can instantly ruin a photo, especially in seascapes.
Straight Horizons are Non-Negotiable: In seascape photography, a level horizon is crucial. Unlike mountain landscapes, where uneven ground can be less noticeable, a crooked horizon in a seascape immediately suggests an amateur approach.
Practical Solutions: Use the bubble level on your tripod or the one built into your camera on location, or correct it immediately in post-processing using the straighten tool (even at the cost of losing some pixels).
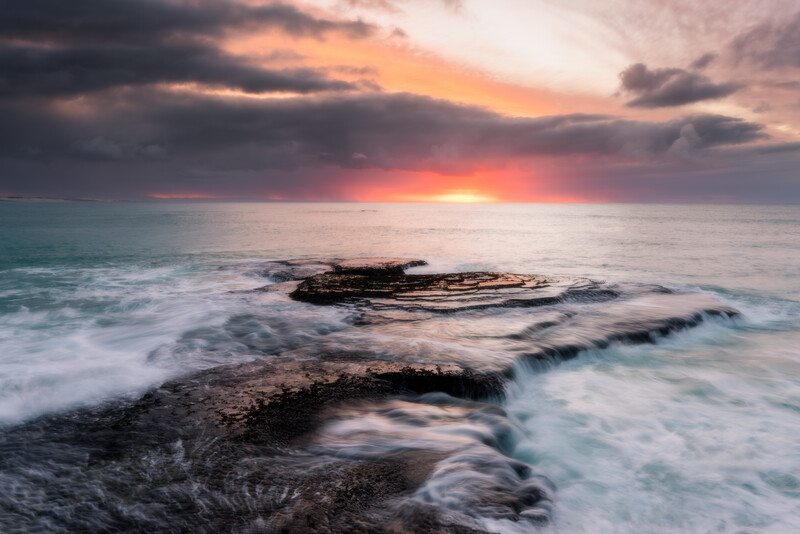
Control Barrel Distortion and Vignette
Wide angle lenses are prone to two main optical issues:
Barrel Distortion: This makes straight lines near the edge of the frame appear to curve outwards, resembling the shape of a barrel.
Vignetting: This darkens the corners of the image.
Aim for lenses that inherently have zero or minimal barrel distortion, as this provides the best starting point, even though such distortions can often be corrected later in post-processing software like Lightroom or Photoshop.
Polarizer Filters Aren’t Always the Solution
A circular polarizer (CPL) filter is an excellent accessory for landscape photography. It helps reduce glare on wet surfaces, intensifies color saturation, particularly in foliage, and allows for longer exposures to achieve smooth water effects.
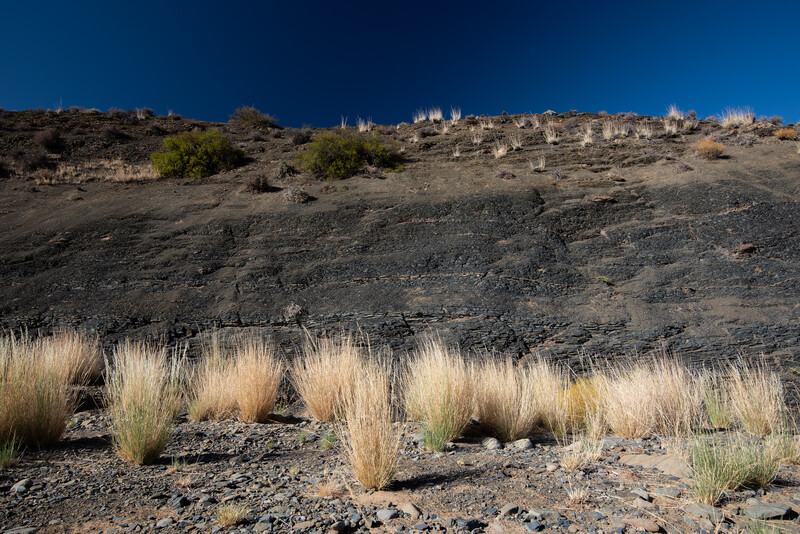
The Wide Angle Warning: Be aware that when using a wide angle lens with a CPL filter in an open, blue sky, the polarizing effect can appear uneven. This results in an unnatural banding, where some areas are a deep, dark blue while others remain much lighter.
How to Mitigate This: To prevent this distracting effect, you should either reduce the intensity of the polarizing effect or take it off your lens.
Don’t Get Stuck: Constantly Move and Adjust Your Perspective
It's easy to become complacent with a wide angle lens because it captures so much, leading to the temptation to remain stationary. Fight this impulse once you have taken a few satisfactory shots at one location.
Move Your Feet: Always be actively moving to discover fresh and engaging compositions.
Utilize Your Tripod for Subtle Perspective Shifts: If movement is limited, use your tripod to alter the camera's perspective:
-
Lowering the Tripod: Position the camera closer to the ground to establish a more intimate connection with the foreground, highlighting its textures and details.
-
Tilting Downwards: Angle the camera down to give greater emphasis to the foreground and middle ground, while simultaneously reducing the visual impact of the background.
-
Tilting Upwards: Angle the camera up to make the sky a more prominent and dominant element in your overall composition.
Conclusion
Mastering the nuances of a wide angle lens truly requires practice and experimentation. The unique focal lengths it offers allow us to capture immersive views, but achieving stunning results hinges on our ability to understand and leverage these intricacies.


Join the Fstoppers community for free
-
Post comments and join in the discussions
-
Browse the site ad-free
-
Share your work and get featured in the community
-
Compete in the photo contests for fun and prizes
1 Comment
I’ve always done this sort of thing but I’m not sure I could describe it. I started in 1968 with a 6x6 camera and just kept going.