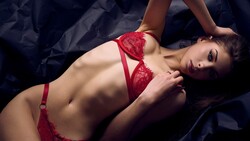
Flat, even lighting is the default for most portrait work, and for good reason. But when a client walks in wanting to show off a fitness transformation, that same setup can actively work against them by erasing the muscle definition they worked hard to build.
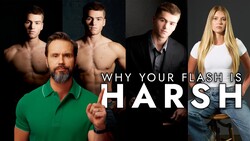
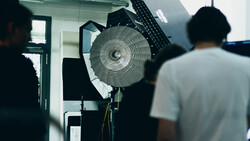
Coming to you from John Gress, this practical video walks through three distinct lighting setups for physique photography, starting with a single overhead strip softbox and building up to a four-light setup using grid reflectors. Gress uses a model who trains seriously and wanted photos that actually reflected that. The first thing Gress does is show what the model looks like under a large octabox placed directly in front of the set, and the result is telling: you can see some definition, but the light is too flat to do the physique justice.
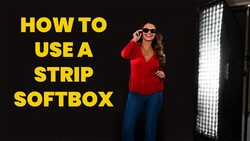
The single-light setup uses a 1x3 ft strip softbox mounted on a Studio Titan large double beam boom, positioned as high as possible to reduce falloff from top to bottom. Gress is transparent about a mistake he made during the shoot: he struggled to get the look right and only figured out why when reviewing the footage later. The model's hand was casting a shadow across his torso the whole time. If you're shooting this style of lighting, watch for exactly that. For those working in a studio with a low ceiling or no boom, Gress shows a workaround using white foam boards bounced near the ceiling, which he used when photographing two other subjects.
The two-light setup is where things get more interesting. Gress places a large strip softbox on either side of the subject to carve out the arms, chest, and shoulders using edge lighting. He explains why strip softboxes tend to be the right tool here: umbrellas can wrap too much light around the body, while small reflectors can create hot spots that fall off unevenly. The goal is controlled shadow placement, because shadow is what gives the muscles shape and dimension on a two-dimensional image.
The four-light setup, which Gress saves for the final section of the video, involves more precise control and a workflow detail worth noting: he monitored in black and white while tethering in Capture One to make sure the light balance would hold up in the final edit. That setup also led to a composite final image, combining two separate frames for the best torso lighting and the best facial expression. The reasoning behind the composite and how he pulled it off in post is covered in the video. Check out the video above for the full rundown from Gress.
No comments yet