
Reviewing your images only to find that the shots you've taken are slightly out of focus is one of the worst things in photography. But can you save those photos using Adobe Lightroom?
The key to great photography is getting your shots right at the source. That means dialing in the most appropriate camera settings and getting your focus dead-on when taking the photo. It makes it easier to then embellish and enhance those photos when developing them in post-production editing software later on.
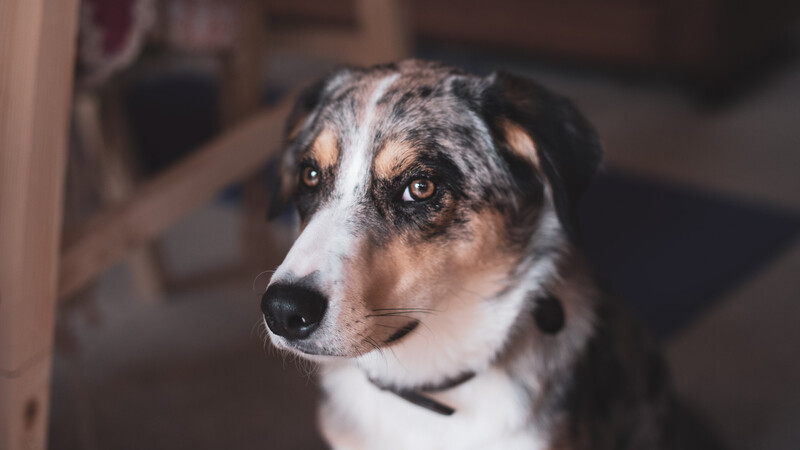
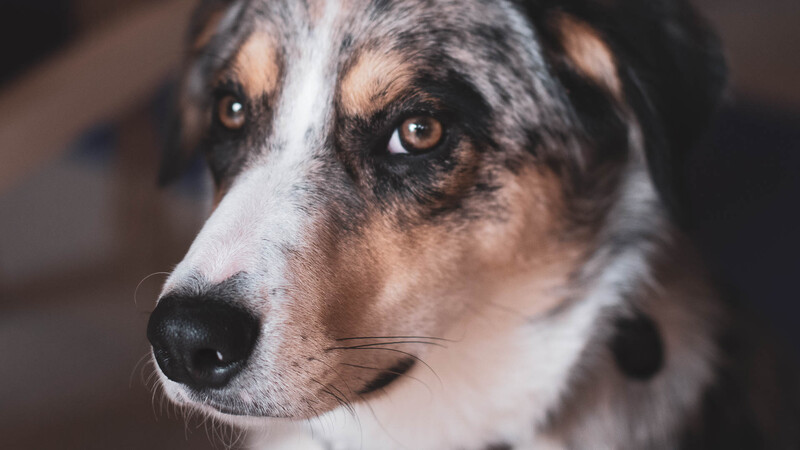
So what happens when you don't quite nail that focus? When the lens was focused say, on the nose rather than on the eyes, or perhaps the wings of the bird are crystal clear but the head and beak aren't? Some cameras have in-built features that allow users to choose the focus point later on at the editing stage, but what about the rest of us who don't have those cameras? It's a bit more difficult to say "get it right at the source" if the event is not repeatable. Can you actually save those images using editing software, namely Adobe Lightroom? Well, yes and no. Let's take a look at what you can and can't do with an out-of-focus photo in Lightroom below. Flick through the before and after to see the kind of results you can expect to get from editing in Lightroom Classic.

Enhancing Sharpness
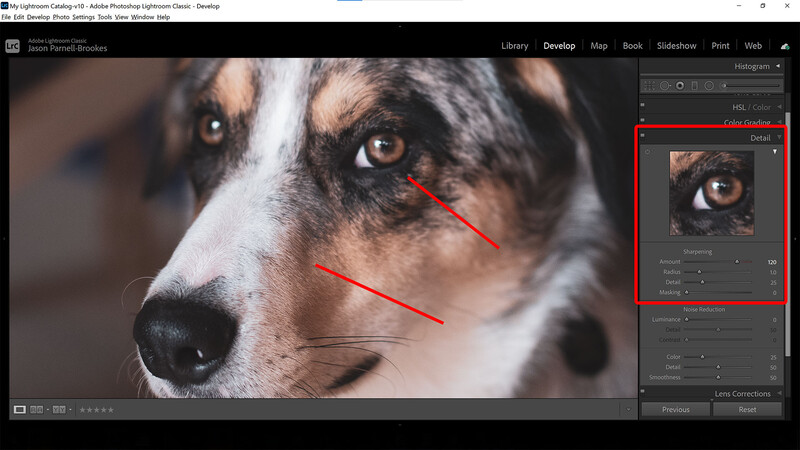
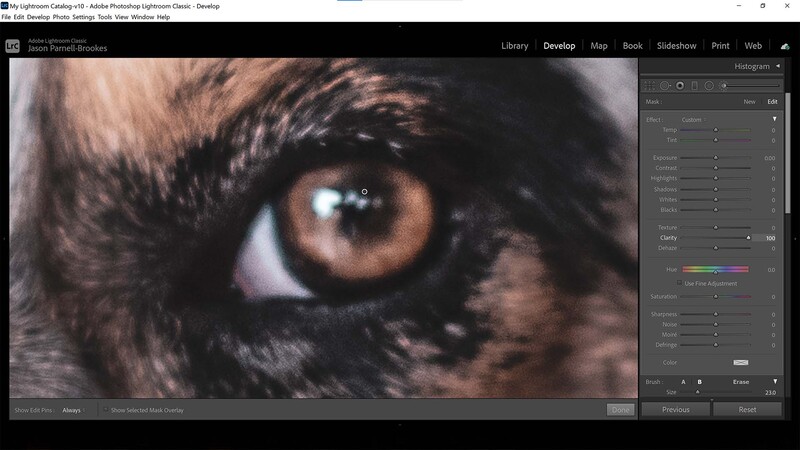
You can use the Detail panel in Lightroom Classic to alter the sharpness of a photograph. This enhances sharpness globally across the entire frame though, so although changing sliders in this panel can be useful to sharpen up things that are already in focus, it won't actually help to resolve the issue of missed focus in an image as it will make everything uniformly sharper, including the areas that are already in focus. Take a look at the image above and you'll see that the middle of my dog's muzzle is sharp, but the eyes are not. Applying sharpening using the Detail panel only serves to sharpen the in-focus section more, whilst at the same time also sharpening the eyes, so the problem never really gets any better. It's more important to make selective adjustments to the photo.
Selective Adjustments
Using the radial filter, graduated filter, or my favorite, the adjustment brush, we can make selective edits to specific sections of the photo. Let's take the adjustment brush as the lead example in how to alter the sharpness of the photo. There are three sliders that I want to draw attention to.

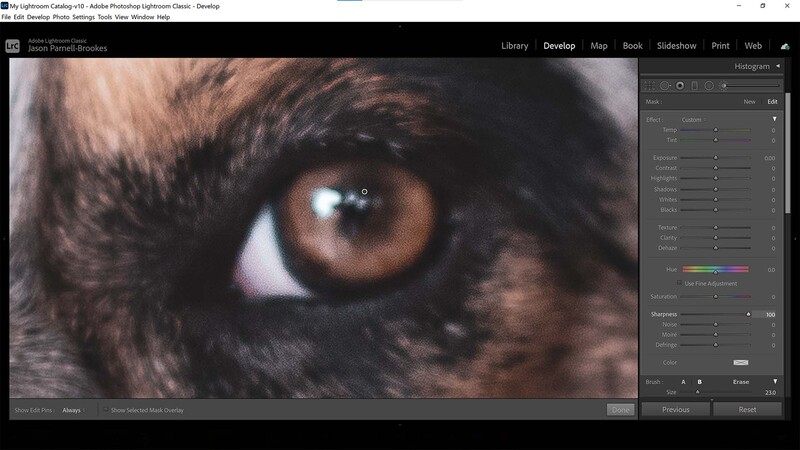
The first is the sharpness slider. Again, it operates similarly to the global sharpness adjustment in the Detail panel, but only gives us one slider to control the amount of sharpening, as opposed to the four sliders that the Detail panel displays. I would use a relatively soft brush sparingly across areas that you'd like more in focus. Push it too far and sharpening artifacts start to appear and the brushed sections start to look glassy.

The texture slider will be one of the best sliders to use with the adjustment brush as it enhances the texture and not the sharpness of the pixels. It's less fine-tuned than the sharpness slider and is, therefore, better for overall texture enhancement. It's a bit like using a pizza cutter to slice up your pizza instead of a razor blade. The razor blade will no doubt cut up that pizza, but it's unnecessarily thin and detailed for what you want to achieve.
The Clarity slider is also another good weapon in the arsenal against out-of-focus photos but a bit like our pizza analogy above, it's better at working at much larger levels than anything minute. It increases midtone contrast around large edges and does a good overall job at improving the perceived clarity of a photo, but doesn't make things sharp. It's better to use a large, soft brush to make sweeping changes to the clarity of sections of a photo, rather than smaller sections.
My line-up of correcting out-of-focus elements using the adjustment brush sliders goes like this:
- Sharpness slider for accurate refinement on small details
- Texture slider for medium-sized and textural enhancement
- Clarity slider for larger subjects and edge contrast
Blur Your Photo
It may sound counterintuitive, but blurring your photo might actually help save your out-of-focus shot. Instead of just sharpening the out-of-focus areas, try to use the global and selective adjustments as mentioned above to make the areas that are in focus slightly more blurred. While I would normally not recommend doing this unless for artistic reasons, it might make sense to do this if you're trying to save an image for posterity, for example as part of a family album, and if the in-focus areas aren't important or adding anything to the photo.
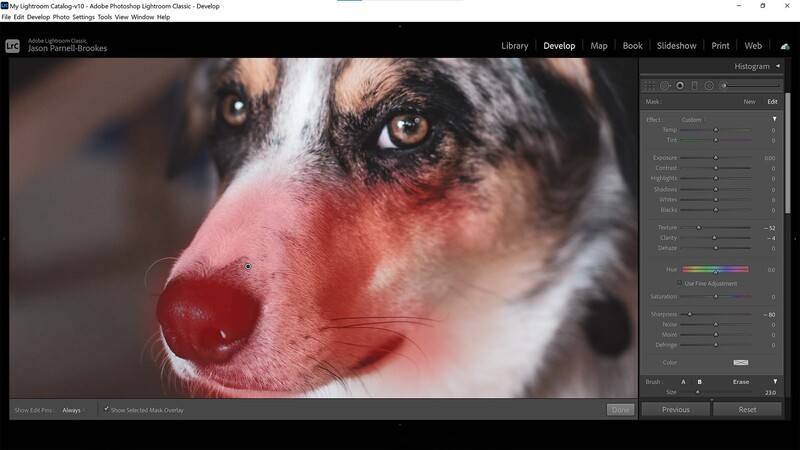
I would blur the areas with a balance of the sharpness, texture, and clarity sliders on the adjustment brush just enough to blend in with the surrounding environment. Overdo it and it will look unrealistic, but if you don't use enough you'll still have the same issue as before. In this example, I decided to utilize a big reduction in sharpness (-80), texture (-52), and just a touch of clarity (-4) for the results to blend in with the rest of the frame. Let's take a look at the before and after of the final results.
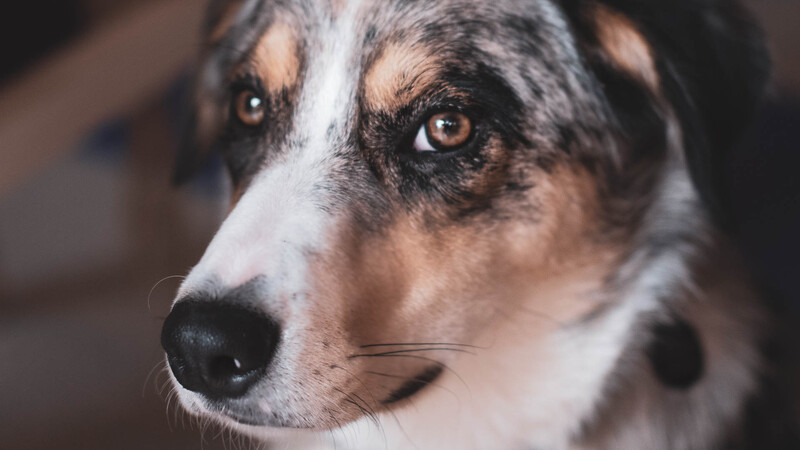
While you're never going to change the focus point once it's committed to a photograph (with the exception of some smart cameras and proprietary software) you can indeed reduce the detail in the in-focus areas and increase it elsewhere in a shot to give the perception that you've captured focus. After all, our eyes can only reference what's in the photo. If the rest of it is blurry but one section isn't, then our eyes will adjust and our brains will tell us that this is where the focus point lies. It's not perfect, but if you're in a bind, this technique may help.


Join the Fstoppers community for free
-
Post comments and join in the discussions
-
Browse the site ad-free
-
Share your work and get featured in the community
-
Compete in the photo contests for fun and prizes
4 Comments
There is an extra step I sometimes do when needed, for photos published online or sending to client in lower resolution (HD mostly) as a main format for their needs (I'll send print size from LR too, but most of the time they use the HD for regular stuff) - I'll export the selected photo downsized and output-sharpened as others to a target resolution but in Tiff format. Then selectively sharpen up the resized area again in Photoshop (copy layer, sharpen, black mask with white soft brush, adjust layer opacity). Then save as JPG and out with it.
Frequency separation can provide additional enhancement. Your choices in this situation are limited. If it's not something that can be re-shot and the image is a must have for whatever reason, as mentioned in the article selecting the area that is not the area of interest and blurring that with subtle sharpening of the area of interest can trick the brain into perceiving it as sharper than it actually is. It's saved one of our projects once.
Nice result!
I'm using Topaz Sharpen AI for that reason and I'm very happy from the result.
But definitely I would love to have a PC version of Remini (I'm running it on BlueStacks but I don't like emulators )
Great result, I usually use Photoworks sharpening tools for that and it comes out nice, but mostly I just try to check the photos a bit while shooting. Sometimes the photos are so blurred that even Lightroom won't help them.