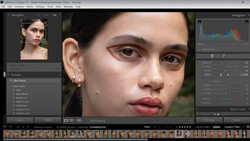
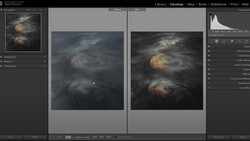
If you are new to photography, it can be a little overwhelming trying to learn how to edit images with all the tools at your disposal. Nonetheless, one of the most common post-processing tasks you will have to tackle is fixing an overexposed or underexposed photo. This helpful video tutorial features a seasoned Lightroom pro showing you how to do just that.
Coming to you from Anthony Morganti, this awesome video tutorial will show you the ins and outs of correcting overexposed and underexposed images using Lightroom. Of course, you generally want to get your exposure as close as possible in camera, as extreme shifts in post-processing will generally lead to degradation of image quality, but often, you will purposely alter the exposure. For example, photographers will often underexpose their images slightly to protect the highlights. This refers to the fact that digital files generally have a lot more editing latitude in the shadows than they do in the highlights, so it makes sense to err on the side of underexposing a bit. This is especially true if you are dealing with a scene with a large dynamic range in which you have to choose which part of the frame to expose for. Check out the video above for the full rundown from Morganti.


Join the Fstoppers community for free
-
Post comments and join in the discussions
-
Browse the site ad-free
-
Share your work and get featured in the community
-
Compete in the photo contests for fun and prizes
No comments yet