I've always been skeptical about the introduction of AI into popular applications such as Photoshop; however, as time went on, I started experimenting with specific features, and eventually, Luminar Neo emerged as a standalone and plugin app for Photoshop and Lightroom. Naturally, my curiosity was piqued, and I had to test it out. To my surprise, I found it so helpful that I wondered why I had been using Lightroom in the first place.
At first glance, the interface and layout are sleek, modern, and intuitively designed. There's no need to search for hidden settings. The workflow is cleverly designed to act as both a catalog and a raw developer, all in one. You can easily organize your files, label, star, or flag your images as you would in Lightroom, for example. There is also a convenient search function that utilizes AI to identify specific elements in your image. So, if you're searching for trees, it'll bring up any photos containing trees.
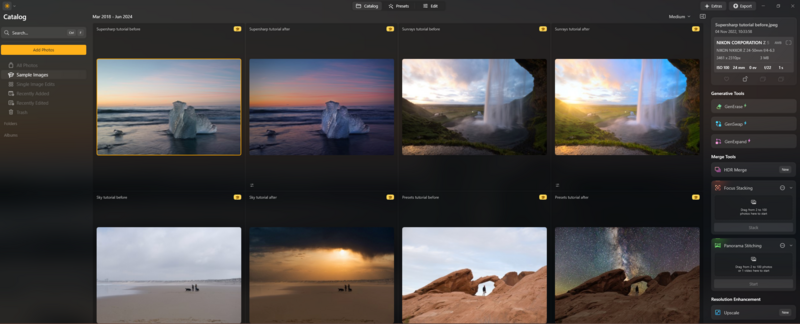
Additionally, you can utilize three generative tools, such as GenErase, GenSwap, and GenExpand, and upscale your images before reaching the editing screen. Lastly, you can merge panoramas and HDR images and export them to any well-known format you prefer.
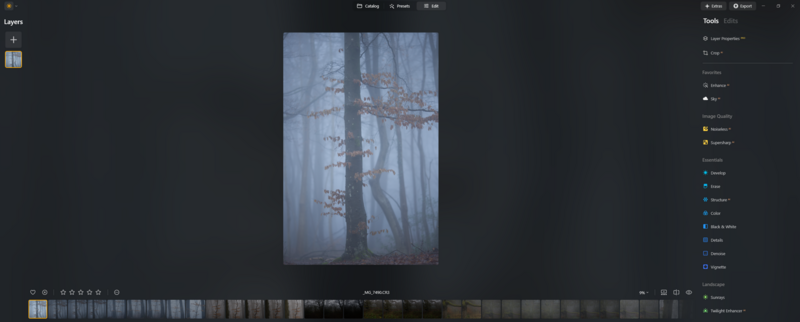
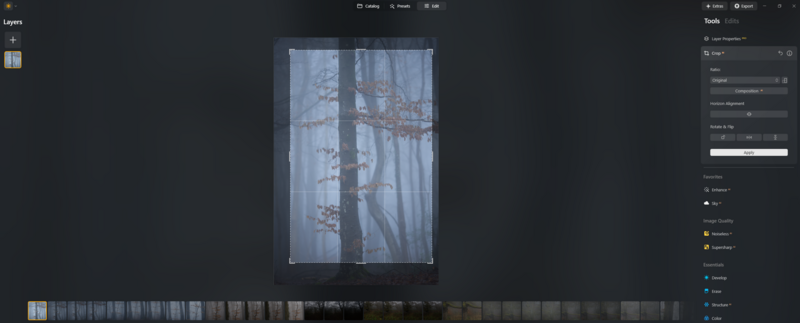
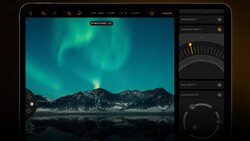
Once you've selected the file you want to edit, click the "Edit" button, and you'll be presented with an interface similar to that of Lightroom or Adobe Camera Raw. With your image in the middle, you're met with a panel on the right with a myriad of options to fine-tune your image to your liking. But one thing that caught my eye was the option on the left-hand side labeled "Layers." This feature enables you to add overlays and effects, such as lens flares and light leaks, onto your image. On the right-hand side of the screen, you can view the selected layer properties, where you can add different types of masks to the layer, change the opacity, and flip it horizontally or vertically.
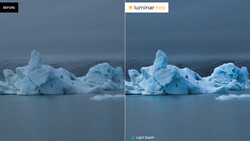
Once you're done cropping your image, you can use AI to enhance the overall look and feel of the image using the Enhance AI panel. Dragging the Accent AI slider corrects the exposure and enhances details. Pulling the Sky Enhancer AI adds more clarity and contrast to your skies. The AI does a great job at keeping it looking natural, even when pushing the sliders to the maximum. When that's not enough, you can also use the Sky AI panel to replace a dull-looking sky with a more vibrant one, adding more punch. While I'm not particularly fond of replacing some aspects in my landscape photos, I do see the usefulness of this feature for other scenarios.
If you have a noisy or slightly blurred image, the Image Quality category will help you resolve these issues using its Noiseless AI and Supersharp AI features. The Noiseless AI feature even offers advice on the optimal level of noise reduction to choose for the best results. The results are impressive, especially on noisy images, as they can remarkably restore finer details. You can also fine-tune the noise reduction for more accurate results. The Supersharp AI has fewer fine-tuning features, but it managed to sharpen up my photos beautifully with no halos or artifacts present anywhere in the shot.
Under the Essentials category, we encounter the standard raw developer options, including exposure, contrast, and color temperature, among others. One feature that did stand out was the Structure AI option. This adds more texture and structure to the image, making it more visually appealing. Again, the AI does a great job of maintaining a natural feel to the adjustment without going overboard. However, push it too far, and you will start seeing some ghosting along contrasted edges, which is to be expected.
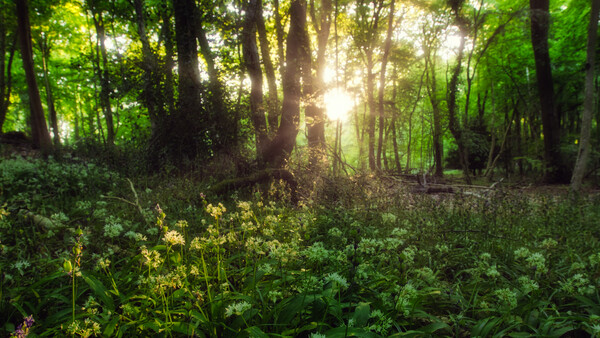
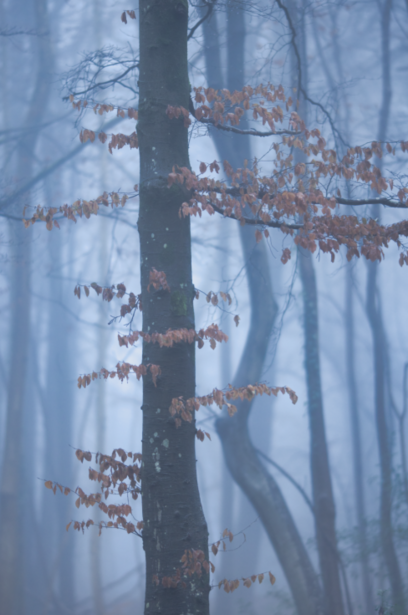
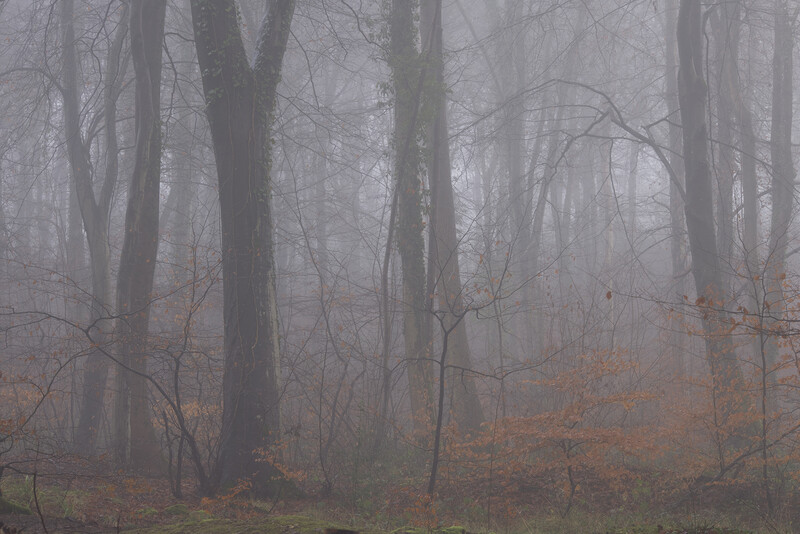
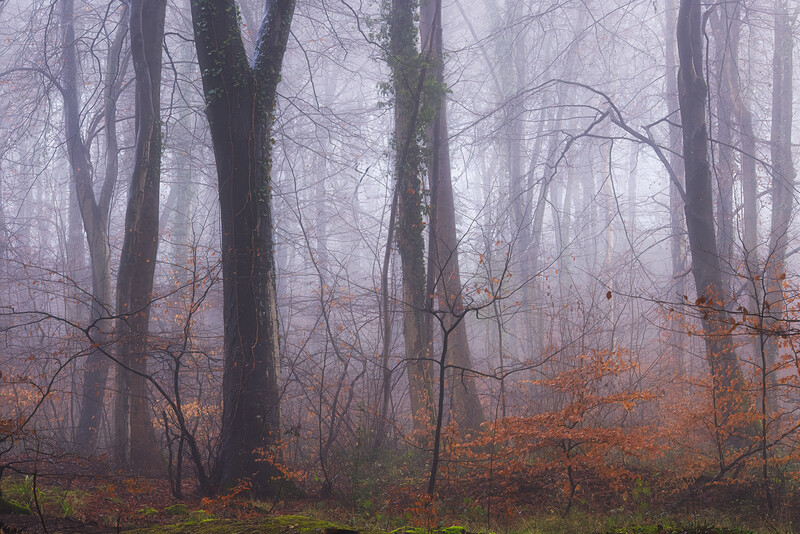
If you're looking to add more mood to your landscape photos, the Landscape category is worth exploring. It boasts a range of options to enhance the overall appearance and mood of your image, including the ability to add and tweak sunrays, enhance images shot during twilight, or add atmosphere effects such as haze, mist, or fog. You can also dehaze your images, make images shot during the golden hour more punchy, enhance the color of foliage, and improve the color of any water present in your pictures.
In the Creative category, several AI features are available. You can modify the lighting with Relight AI and add sun stars using Magic Light AI. Additionally, you can enhance the mood and tone of your images and apply the Orton Effect, along with many other options.
And if that's not enough, you have a whole category dedicated to portraits. Here, you can adjust the studio lighting, apply bokeh using AI, enhance the face and body, perform skin retouching, and add a high-key effect—all with the help of AI.
What I Liked About Luminar Neo
Now, I must admit that I was initially skeptical. I feel that AI is often a marketing gimmick in most applications available on the market today. However, when you're not trying to create images using prompts or generate videos of vlogging chimpanzees, AI can actually be incredibly helpful in speeding up your workflow and introducing features you wish you had only a few years ago. Luminar Neo excels in this regard, offering an intuitive interface and stable performance on my mid-range, three-year-old laptop. I loved the inclusion of layers and AI features that help boost productivity and speed up workflow. The inclusion of the mobile app is also beneficial when I'm out and about, taking reference photos and wanting to edit them on the fly.
What I Didn't Like About Luminar Neo
I tried my best to find something I disliked about the software, but it worked as advertised.
Conclusion
As a landscape photographer seeking to capture a true-to-life and natural image, Luminar Neo has been a welcome addition to my toolkit, to the extent that I'm now considering switching to using it exclusively for editing my photos. I've always used Adobe Lightroom or Camera Raw to edit my photos, finding the need for Photoshop to be increasingly less necessary over the years. With a one-time purchase of around $480 for the desktop version or $550 for the combined desktop and mobile version, it seems like a no-brainer compared to a monthly subscription fee that can end up costing thousands over time. Skylum has really knocked it out of the park with Luminar Neo. And with so many other alternatives on the market that only offer one-off purchase fees, it makes me wonder whether a subscription option is still a viable option these days.
Luminar Neo is available on Windows and Mac, and it has a fantastic mobile app available on both Android and iOS.
Skylum has also provided Fstoppers readers with a 15% discount on Luminar Neo via the following link - Purchase Luminar Neo


Join the Fstoppers community for free
-
Post comments and join in the discussions
-
Browse the site ad-free
-
Share your work and get featured in the community
-
Compete in the photo contests for fun and prizes
No comments yet