
If you love shooting landscapes, you probably thought about using neutral density. Perhaps you already own a set of nice filters, but do you know which filter you need to use? This beginners guide can help you choosing the right neutral density filter.
Shooting a landscape can be very rewarding. By choosing a great location, the right time of day, and the most beautiful light situation, you can end up with amazing photos. Landscapes are very patient, allowing you to experiment and try things out.
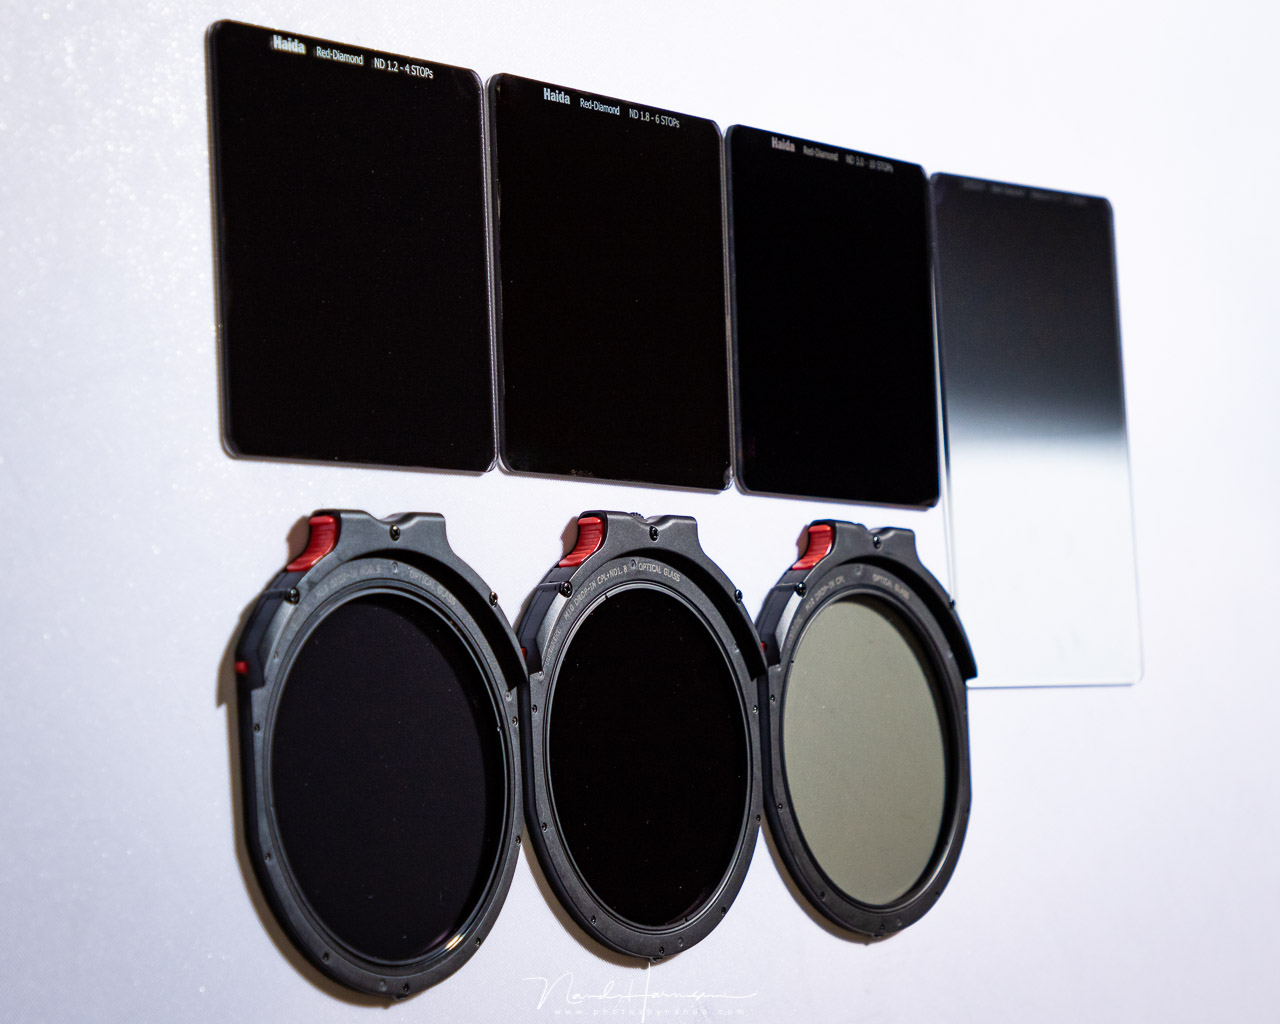
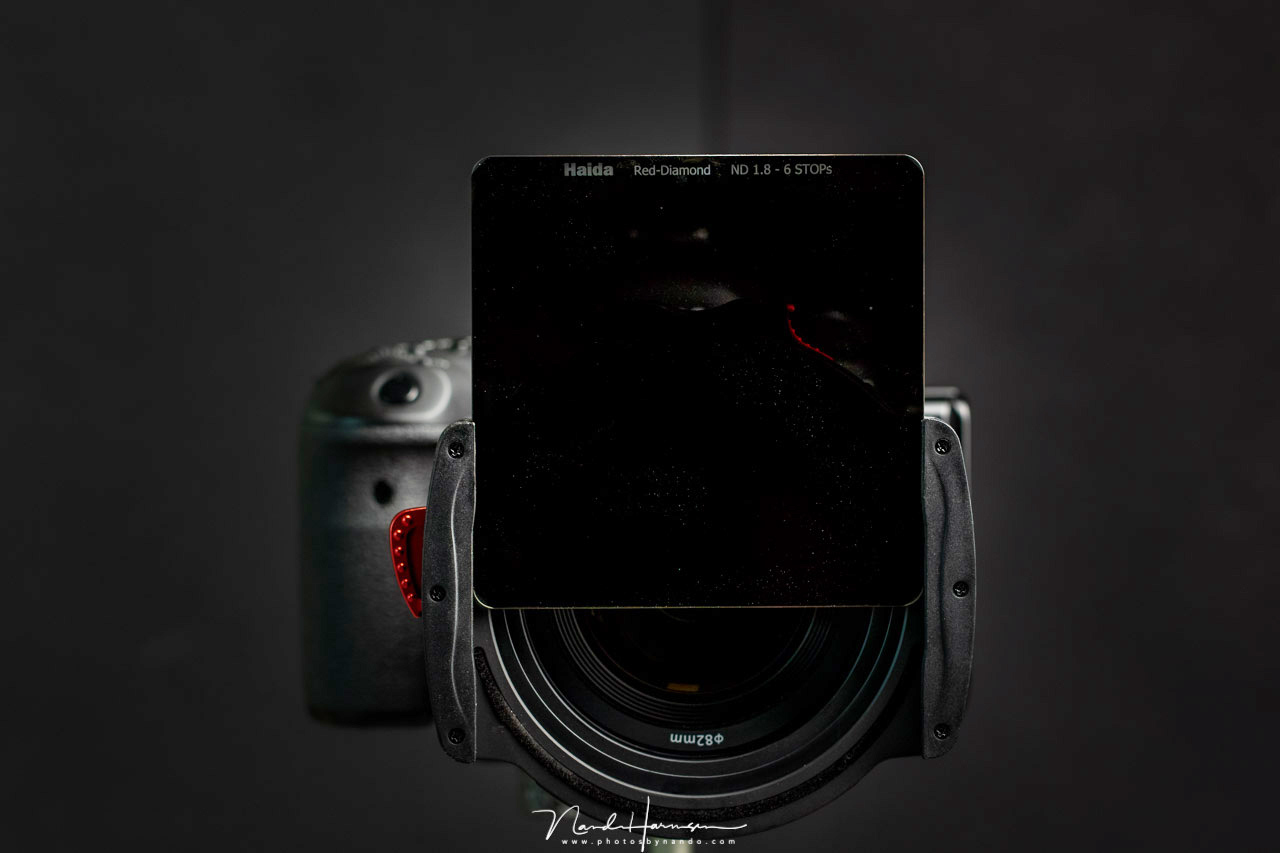
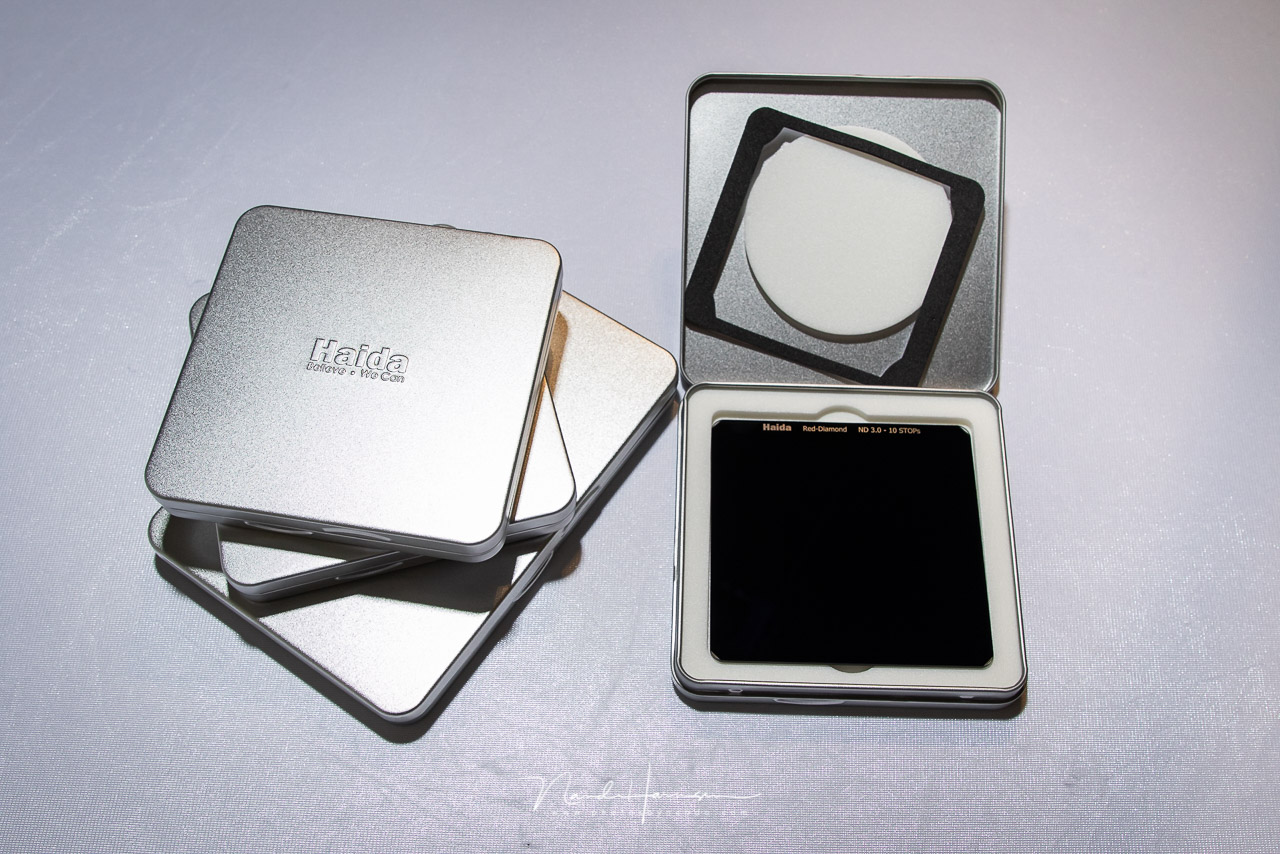
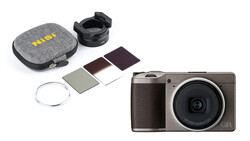
If you would like to use long exposures for clouds, or to smoothen the water in your photo, it might be necessary to use neutral density filters. These filters are dark pieces of glass, or plastic, that will reduce the amount of light that enters the lens. Theoretically these neutral density filters won’t affect the colors, hence the name neutral density. Most brands have filters that have no color cast, except a few, which are often the cheaper ones. The filters I show in this article are the Red Diamond filters from Haida.
The Strength of a Neutral Density Filter
There are three ways in which the strength of a neutral density filter is noted. Unfortunately manufacturers don’t just use one way, but different notifications mixed together. As a photographer it is good to know these different notifications. First of all, there is the term stop. You can have a 3 stop filter, a 6 stop filter, a 10 stop filter, and a lot other densities. If you know how to work with stops, this is a very logical notification and easy to work with. It resembles the stops you can find with your shutter speed, aperture, or ISO setting.
If you calculate the amount of light that is blocked, you end up with the second notification that is being used. A 3 stop filter will extend the exposure time by 8 times (2x2x2= 8). A 3 stop ND filter can also be called a ND8 filter. This way we know a ND64 filter will block 6 stops, and a ND1000 filter will block 10 stops.
The last type of notification is 0,9ND, 1,2ND, and 3,0ND. These numbers are based on the logarithmic scale. A 0,9ND filter is a 3 stops filter, which will lengthen the exposure time 8 times. The logarithm of 8 is 0,9. The logarithm of 1000 (10stops filter) is 3,0. To make it easy, every stop will be the same as 0,3. By dividing the notification on the filter by 0,3, you end up with the strength in stops. Just try it out.
How to Choose the Right Neutral Density Filter
The best filter to be used depends not only on the result you want to have, but also on the subject, and the time of day. The latter should be obvious. If it is twilight, or very dark weather, you don’t need a very strong neutral density filter to reach a long exposure. If you already have a exposure time of 15 seconds without filter, it would be foolish to use a 10 stops filter, because you will end up with a four hour exposure. In other words, choose your filter to reach the wanted exposure time, instead of using a neutral density filter and just use the exposure time that comes with it.
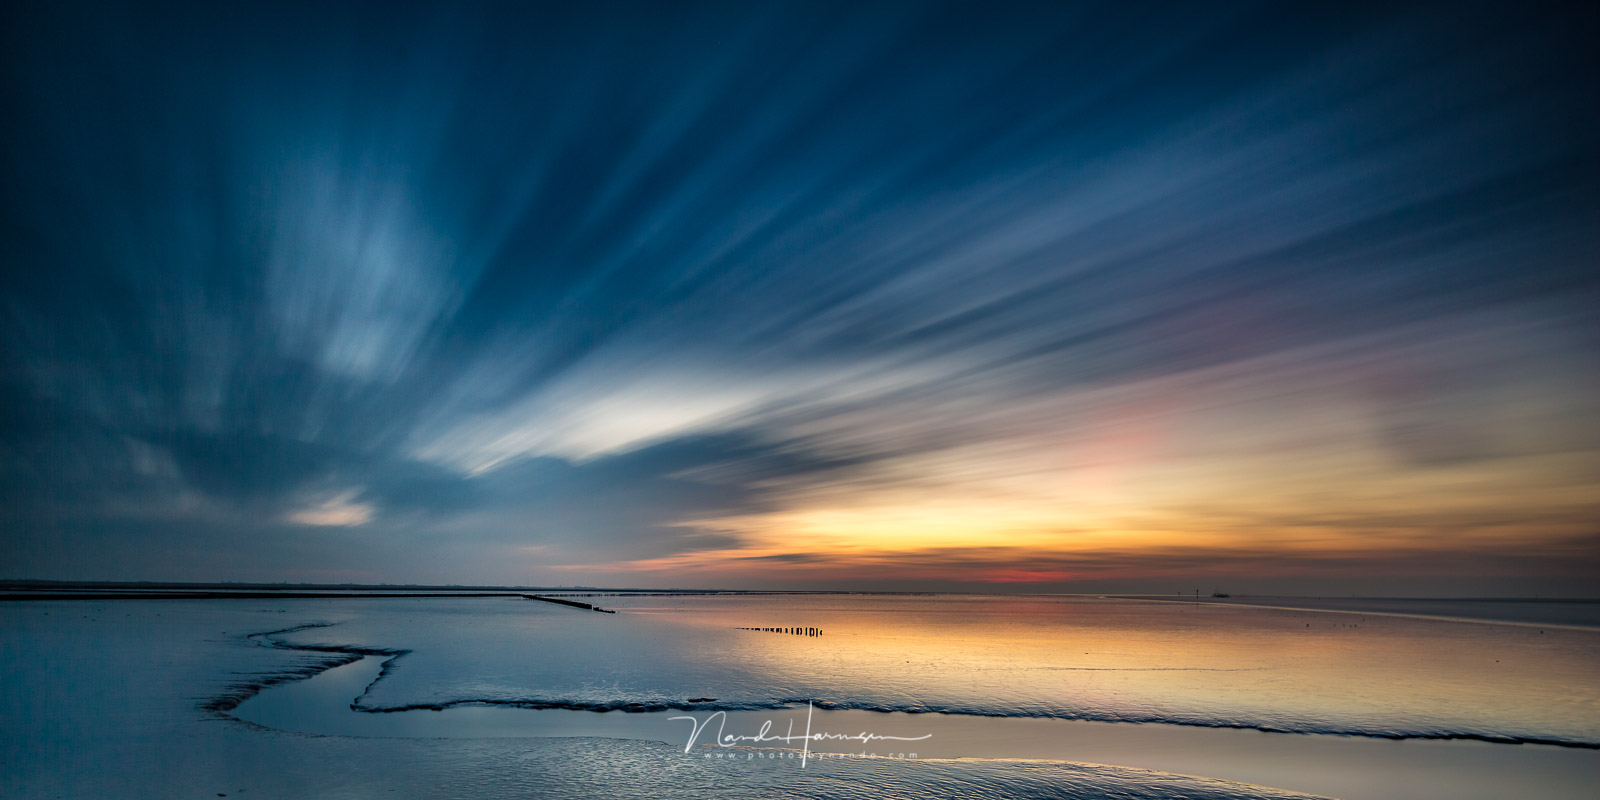
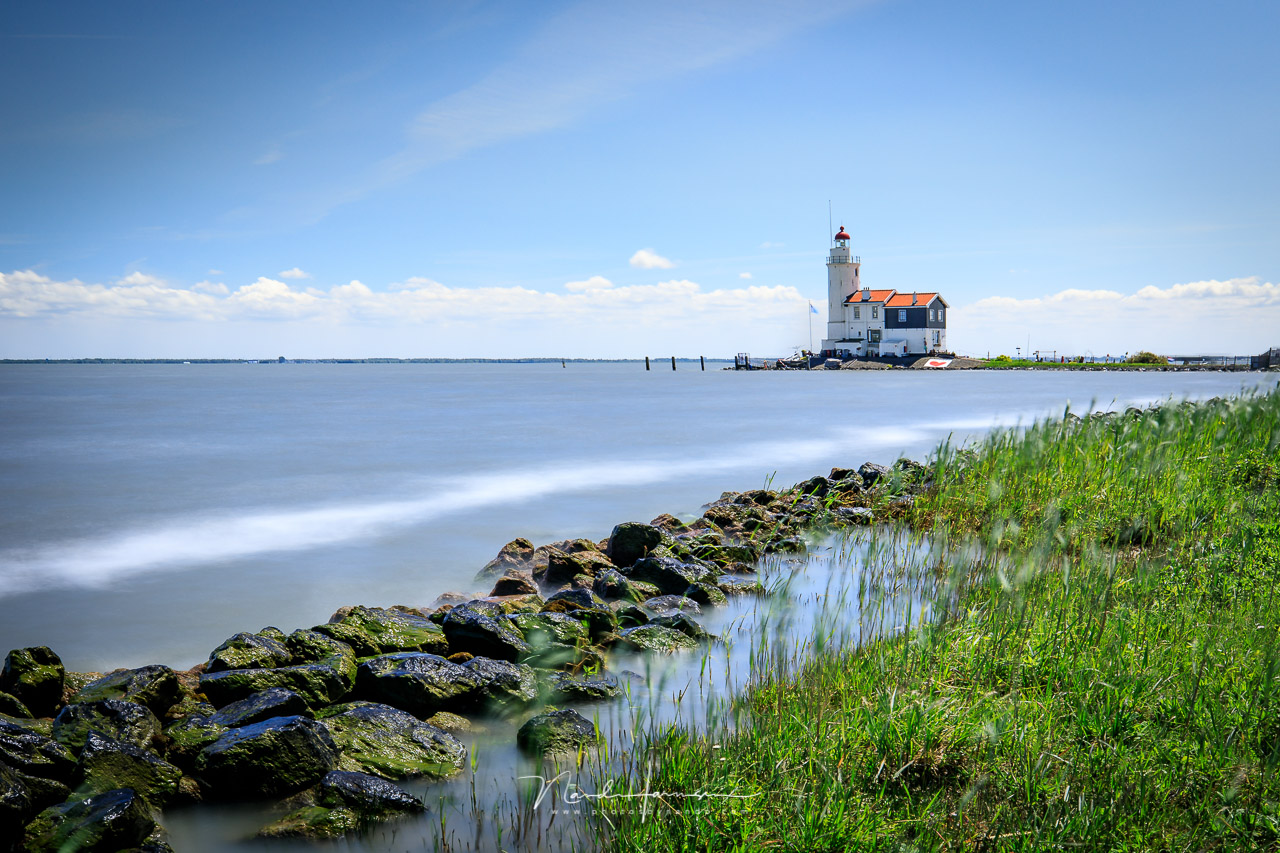
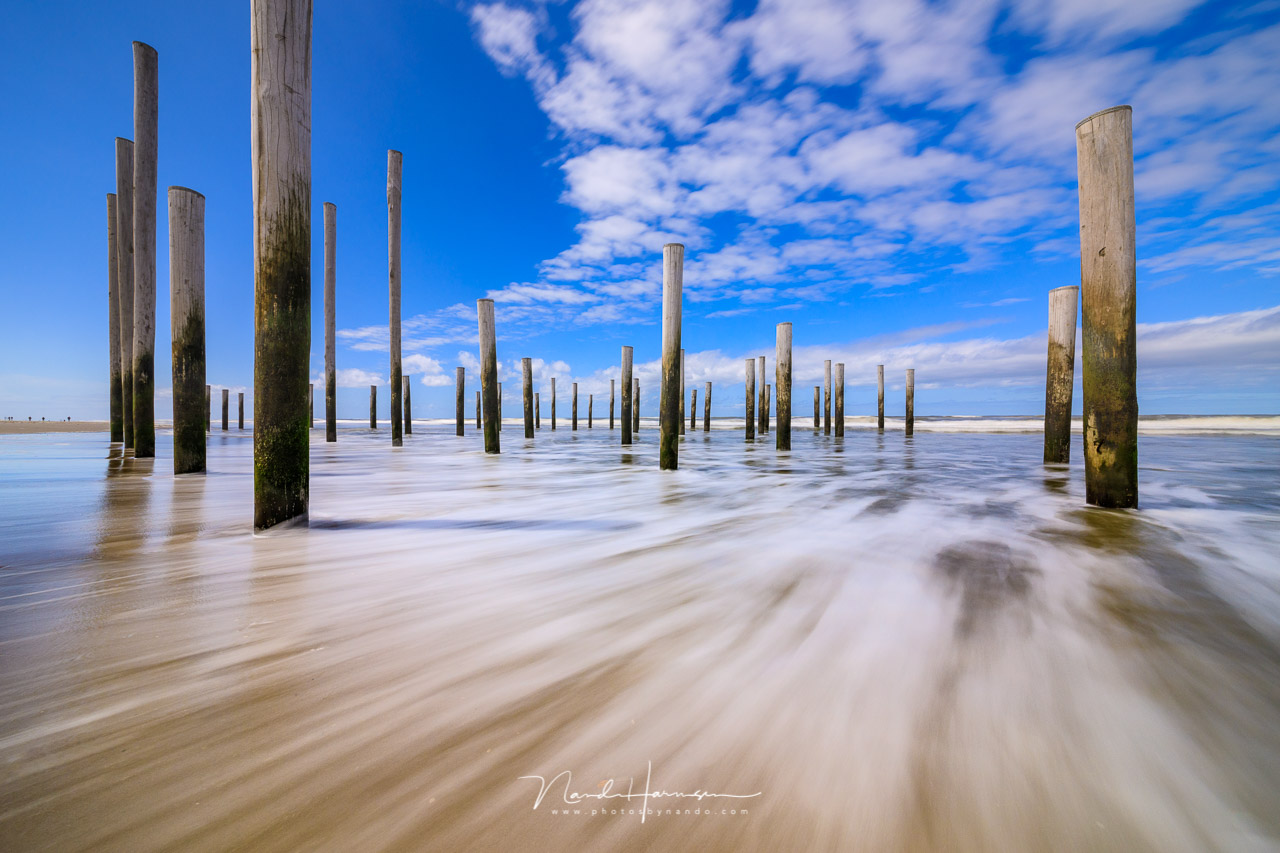
I always make a distinction between shooting large water surfaces, and streams and creeks, or even waterfalls. If you shoot large water surfaces, and you want to smoothen the surface completely, you often need an exposure of at least 30 seconds, and preferably longer. Exposures that can reach up to 10 minutes will produce great results. Measure the amount of light, and calculate how many stops you need to hold to reach the desired exposure time. A 10 stop or even 15 stop filter should do nicely. Perhaps a six stop filter if you shoot in darker conditions.
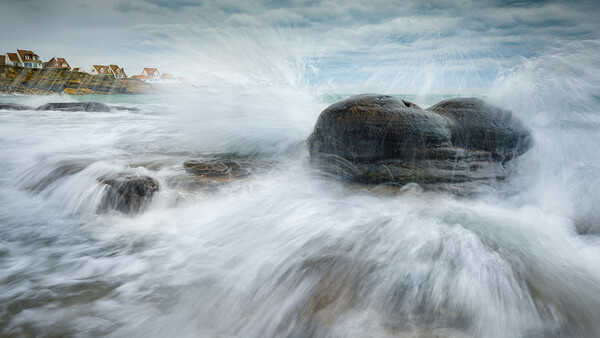
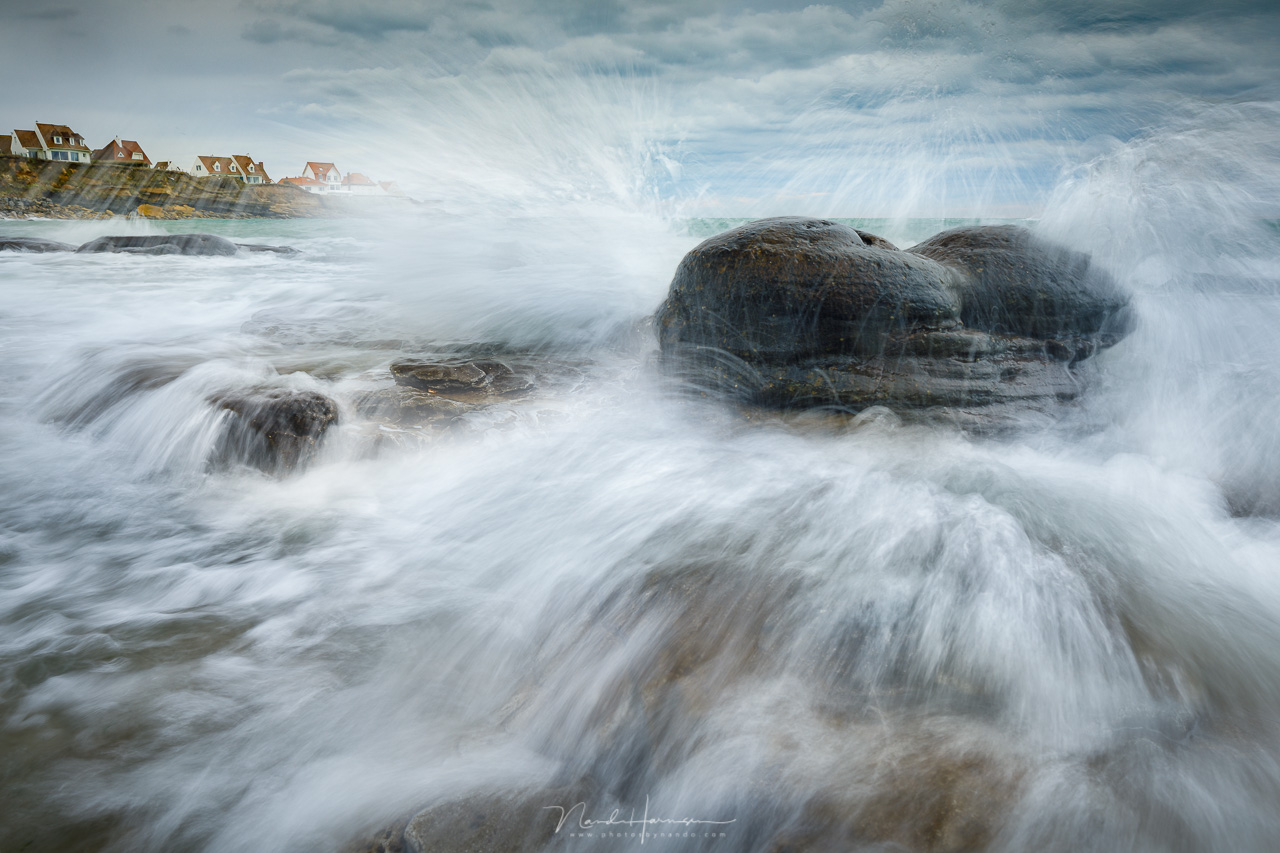
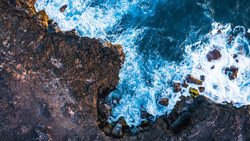
But if you are at the coast, and you have a really nice surf, you will probably be better off with a shorter exposure. This way the dynamics of the waves will be visible in the photo. A shutter speed between 0.5 and 5 seconds would do nicely. In that case you could do with a 3 stop filter, or a 6 stop. Again, determine the exposure time you want to have, depending on the speed of the waves, and choose the appropriate filter.
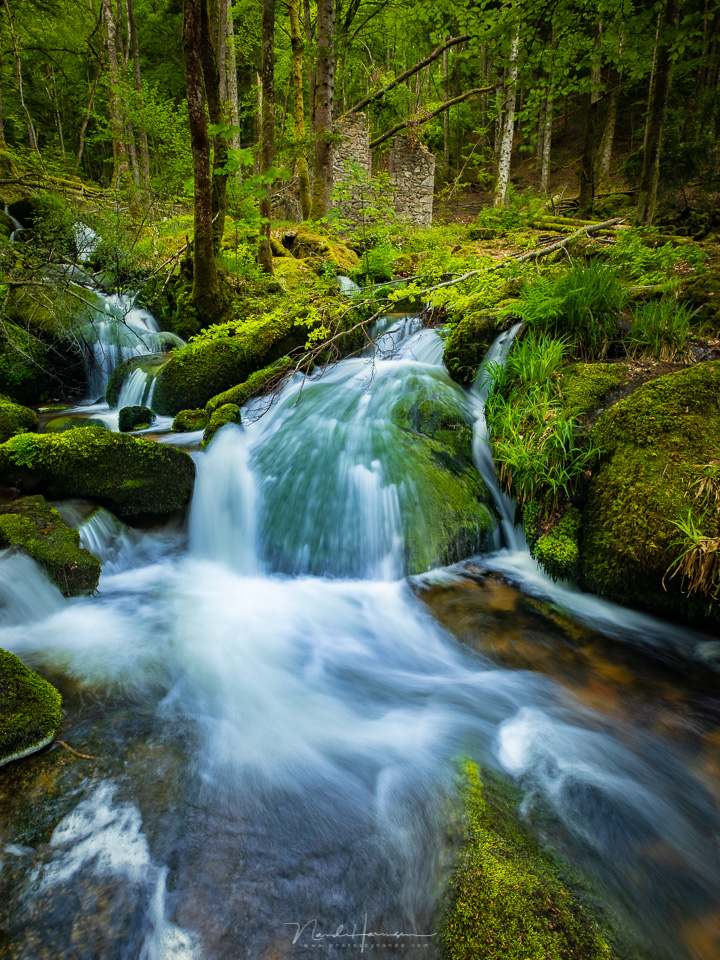
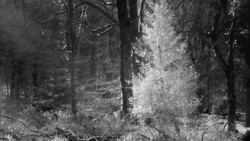
If you shoot streams and creeks, you don’t want the water to be a smooth flat surface without details. You probably want the speed and dynamics of the stream to be visible. Again, it is similar to the waves on the breach. A shutter speed of 0.5 seconds, up to 5 seconds might be ideal. Just try it out, and choose the neutral density filter that allows you to reach that shutter speed. For waterfalls it might be better to extend the shutter speed some more, to have a great curtain of water. The exposure can last between 10 and 30 seconds, depending on the waterfall.
Which Filters Should You Buy If You Like Long Exposure Images?
Too often I see photographer buying a 10 stops filter without thinking about the kind of photos they would like to shoot. During my masterclasses they learn how limited the use of that dark filter is. So if you love shooting streams and creeks, perhaps even in forests, it might be better to choose a less dense filter to extend the exposure time just enough to see the water flow. On the other hand, a photographer that likes to shoot waves, might be better of with just a 6 stops filter, to reach the exposure time that shows a dynamic landscape. For tranquil seascapes without any visible movement, a 10 stops or even 15 stops filter might be the best choice.
Bottom line, if you love long exposure images, and you shoot a variety of different landscapes, it might be advisable to choose three filters. A 3 stop, a 6 stop, and a 10 stop filter would be ideal. This way you can get the right exposure time in the right situation. And if needed, you could stack two filters to have a 9 stop, 13 stop, or even a 16 stop filter.
When a Variable Neutral Density Filter Might be Handy
If you want the dynamics of the water visible, either at sea or a mountain creek, you probably want to play between 0.5 and 5 seconds exposure. It means you would have to compensate with the ISO level, or even with the aperture, to reach the desired exposure time when you are limited to just one filter.
This is when a variable neutral density filter will be a great choice, even though I don’t like the concept of it. These filters rotate two polarization filters separate to each other, allowing you to reduce the amount of light to your needs. The downside of this type of filter is the dark cross that arises when the filter is rotated too much.
But the possibility to reduce the amount of light by just rotation the filter can be a great benefit in these situations. You don’t rotate to reach a certain amount of stops, but you rotate to reach the wanted exposure time. It makes it very flexible for shooting the dynamics of water at the sea, or in mountain creeks.
I invite you to show your best long exposure photo in the comments below, and tell me how you use your neutral density filter to accomplish the result you like. It will be a great learning opportunity for those who start with neutral density filters, I think. I will be looking forward to your amazing photos.
If you love travel and photography, consider checking out our Photographing the World Series with Elia Locardi where we go to some of the most beautiful locations in the world and teach the process of creating world class landscape images. Save 15% by using "ARTICLE" at checkout.


16 Comments
I use the Haida M10 system with red diamond filters. I really enjoy focus stacking so I haven't bothered with anything more than a 6 stop. I really enjoy photographing waterfalls and streams. I suppose if I move into bigger bodies of water I'll purchase a 3 or 4 stop and stack them.
Very nice! Where is that, if you don't mind?
That's in Girdwood AK. It's on a trail called "virgin Creek falls"
Thanks!
You're very welcome
Just be careful not to get any light leaks when stacking. :)
Did I forget a letter?
I use Hoya thread on filters with good results:
Nice one. How long did you expose the image?
30 seconds. It was quite windy which really worked nicely for me to get some nice cloud motion. The filter is an ND400.
Indeed, the cloud motion looks nice.
I was calculating the ND400 into stops... it's 8.6 stop. I never heared about a filter that blocks that amount of light.
Is it a variable filter perhaps?
I should have added that the 'ND400' is Hoya's name. It's a 9 stop filter.
Ah yes,
A strange name since the 400 seems to refer to the amount of light it's blocking. A nine stops would be an ND512.
But who cares. That half stop won't make that much difference anyway. You made a great photo with it. That counts.
Here's their description: https://hoyafilter.com/product/ndx400/
Yes, I found it.