

It is easy to feel overwhelmed with the many different features of Adobe Lightroom. Lightroom has so many possibilities, that even after years of using it, I still am consistently learning something new. I have found that there are so many new photographers who either feel too overwhelmed to start learning the intensive software, or they still aren’t confident that they have been using it correctly. Because of this, I wanted to create a simple beginner’s guide to using Lightroom. This is the first of what will be a multiple part series of articles on Lightroom basics.
Lightroom is Adobe’s all-in-one photography software, designed for organizing, editing, and sharing your photos. One of the most important things to know about Lightroom, is that it performs nondestructive edits. What this means is that the changes you are adding to your image in Lightroom are not actually being performed to the original file. The adjustments that you are making are written to a completely separate file as a list of instructions, so that what you see in Lightroom is a preview of the original image combined with the list of changes made to it. This is important for two main reasons. First, you can completely alter the appearance of your photo without ever actually changing the original image. You don’t have to worry about ruining the photo as any step can always be undone. Secondly, you never save your adjustments as you are probably accustomed to in other types of software, since you are never reaching a point when all of your edits are locked in to the original image. This will be explained further in future parts of this series.
Now that we have a basic understanding of what Lightroom is, I want to jump in and spend the rest of this article covering what steps to take to prepare your photos for editing. The first step is importing your photos. There are several ways to go about this, but here is the best method that I have found. After a session, I insert my memory card into a card reader, create a new folder on my external hard drive, and download all of the images into that folder. These folders I label by date, starting with the year, followed by the clients name, and then the type of session. For example, I would call last weekends wedding “2017-9-16-Smith-Wedding.” When you are starting out, the last thing you probably care about is organization, but it will save you stress later on. Having a method that is consistent will pay off in the long run, and I have found the above method to work best with how Lightroom organizes your folders. When all of your images are downloaded to the folder, you can now move on to importing into Lightroom.
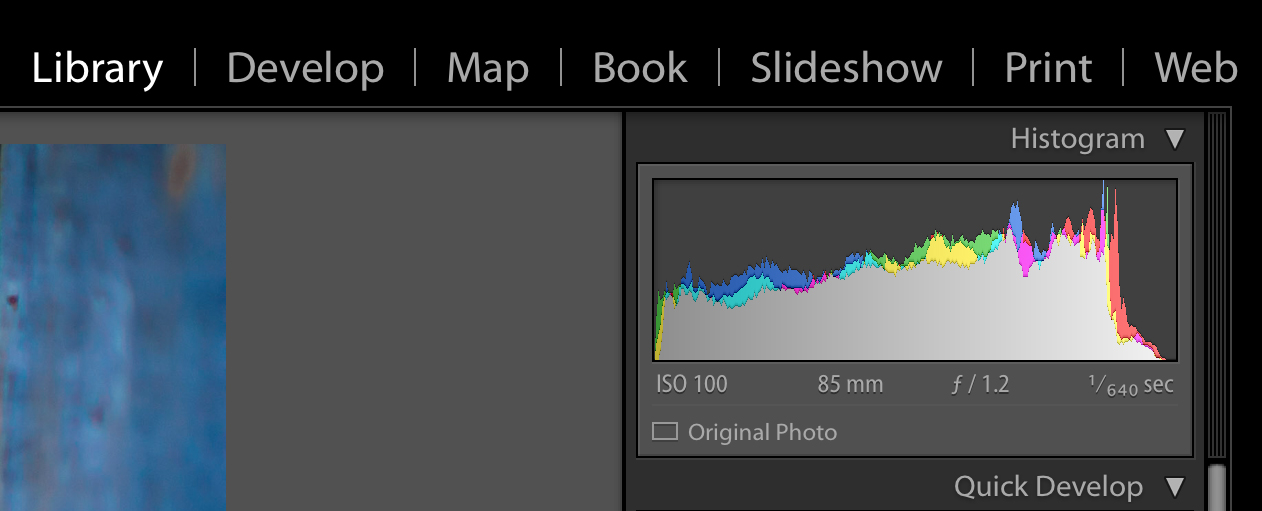
Lightroom is probably going to be intimidating when you first open it up, with all of its options and settings. One of the basic things to understand about Lightroom is that there are several different workspaces, called modules. These are found in the top right corner and have names like Library, Develop, etc. Modules are places in the software where you can perform different actions, but the Library and Develop modules are where you will spend the majority of your time. The Library module is where you organize your photos, add and view metadata (information about your images), and import and export your files.
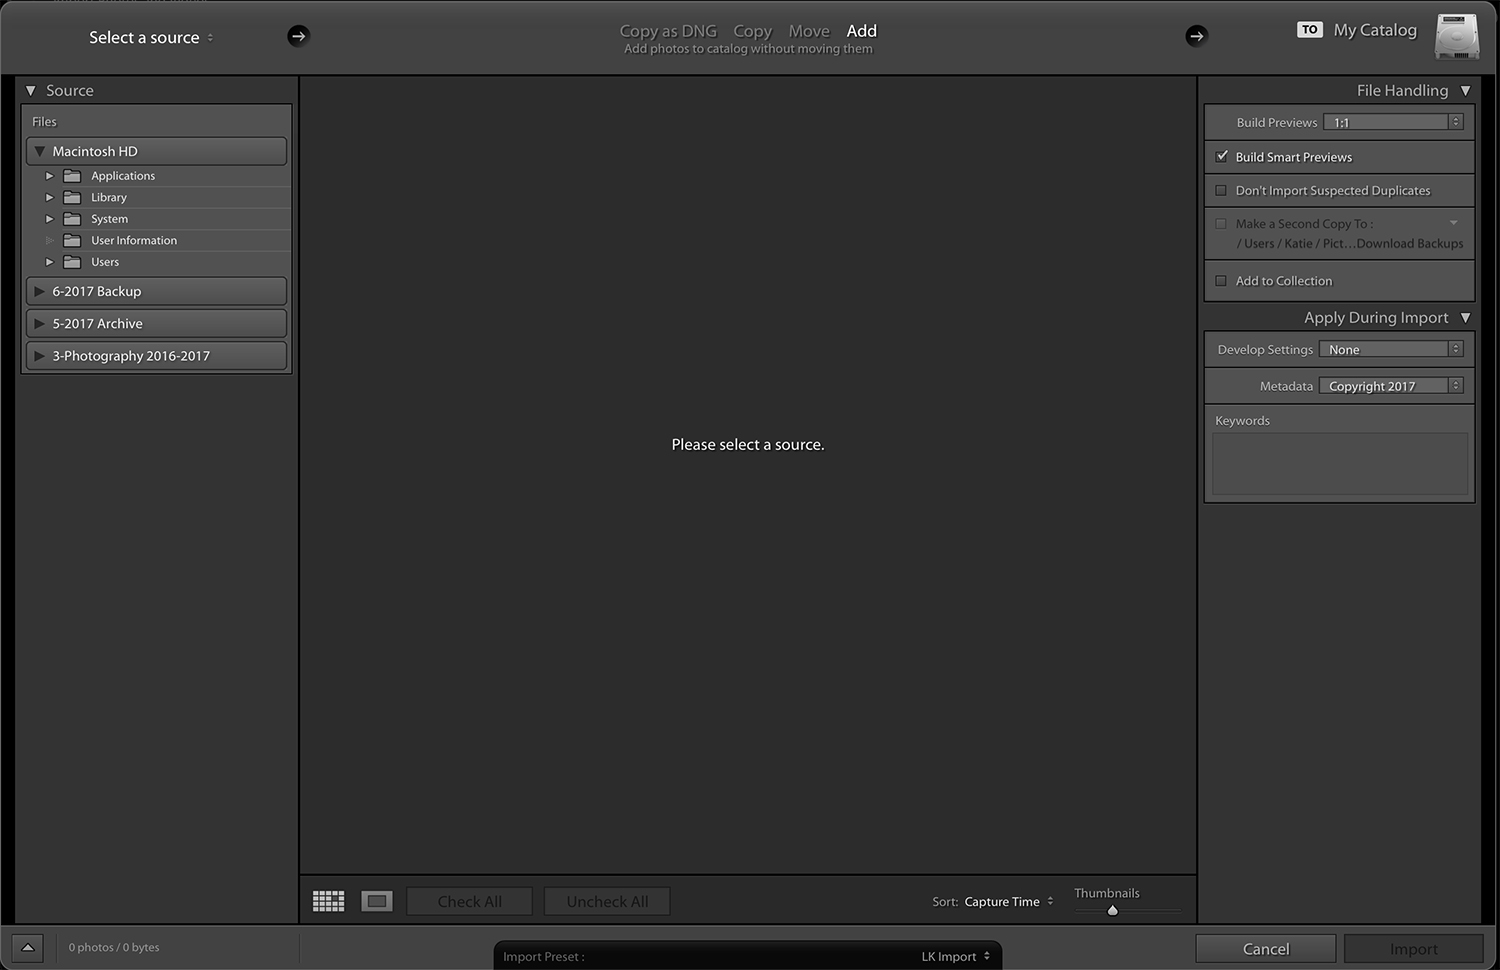
To get started importing your photos, find the “Import” button at the bottom left of your library module. This will bring up a new area with multiple settings for importing. On the top section, you will want to make sure the “Add” option is selected. This will import your images into Lightroom without moving your original file. The right side contains several import settings that you can leave alone for now, but are further covered in my article on Lightroom’s speed. On the left side is the source section, where you will locate your images that we earlier downloaded to your hard drive. Once you’ve selected the proper folder, you can push the import button at the bottom right of your screen.
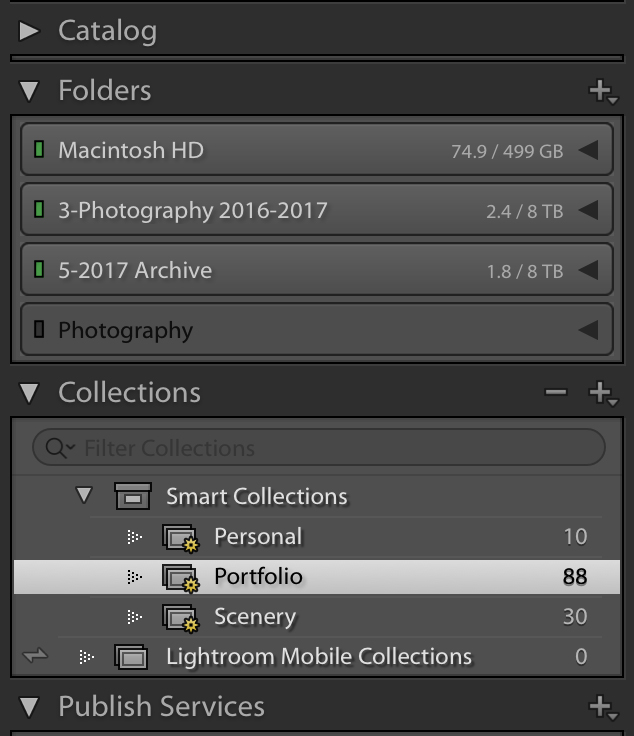
After Lightroom has finished importing all of your photos, you will see on the left the folders of your imported images. Here you will find terms like catalog, folders, and collections. To keep it simple for now, the catalog is the location that stores all of the previews, information, and adjustments that are being used on your imported images. The catalog does not actually contain the original image itself. The folders are the areas where the original image is stored that Lightroom is referring to when applying the changes that are written in the catalog. Catalogs, when starting out, are not as essential to understand, but at this point it is important to note that if you ever move the original files or rename their folders, you will have to relocate them in Lightroom using the folders section.
The last thing I want to cover in this article is how to cull your images. I like to stay in the Library module for culling. You have several options for selecting your photos in Lightroom. One option you could use is as you go through your images, you can push "P" for pick or "X" for reject. The method I prefer, though, is to use the number keys to give it a star rating between zero and five. I use zero stars for photos I don’t want, one star for photos I want to keep, two stars for photos that I like but need further touchups when I’m finished, and five stars for photos that will go in my portfolio. To help select between photos, you can also switch between several different views. The following types of views and their respective shortcut keys can all be used for comparing images.
- Loupe (E): Shows a full sized view of a single image.
- Grid (G): Shows all images in the folder.
- Survey (N): Will show all of the images you have selected on the same screen to compare.
- Compare (C): Will show two images at a time, out of your selections, and allow you to easily choose your favorite of the two.
When you are finished rating your photos, you can now adjust your settings to only show your selected photos. In the bottom right of the screen, you can choose between different filters to show and hide images based on how you’ve rated them.
That covers the basics of what Lightroom is and the necessary steps on how to prepare your images for editing. At this point, you would be ready to open the Develop module and begin editing your photos. In Part 2, I will go further in depth about the Develop module and share a few helpful tips about editing your photos in Lightroom.


Join the Fstoppers community for free
-
Post comments and join in the discussions
-
Browse the site ad-free
-
Share your work and get featured in the community
-
Compete in the photo contests for fun and prizes
2 Comments
I have always found Lightroom far easier to understand than Photoshop. I started with the first version of Lightroom and stayed with it. Most of the features are quite logical in my eyes. I have more problems with Photoshop which I find wildly confusing.
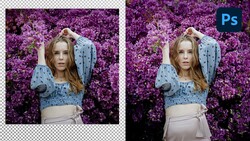
The thing about LR and PS is that, IMO, they have different purposes. You'll get varying opinions on this and, I'm no guru in either. But, from what my usage seems to show, LR is better at organization and PS is way better at working the actual image. PS's "problem", if you can really call it that, LOL, is that there are dozens if not hundreds of ways to do the exact same thing which can be daunting to the newbie/novice like me. I just resign myself to picking the method that my brain can wrap itself around and sticking with it until an easier way comes along.