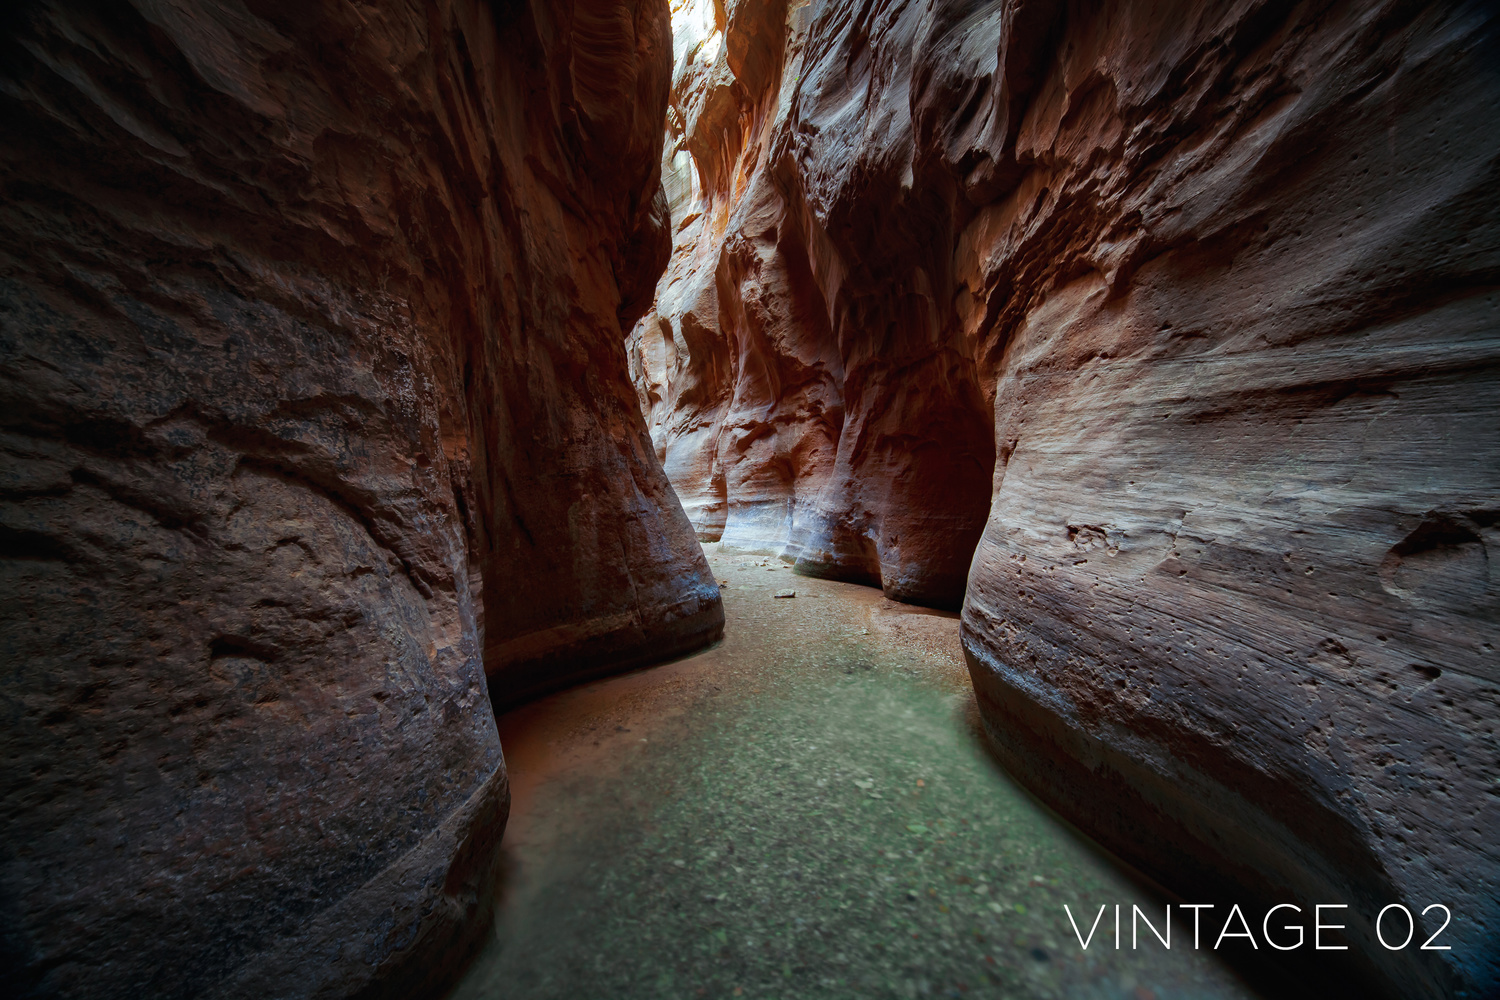
It's not unusual for a software company like Adobe to continually add features and modify preexisting ones to programs with which we are already familiar. One of these features which recently got an upgrade, Profiles, is a tool created to add new looks and styles to your shots which can't be achieved by using the standard sliders or controls in the program.
This little feature has spent its time, up until now, at the bottom of Lightroom. But just recently Adobe put it up at the top of the develop panel and gave it a solid upgrade. Profiles uses lookup tables (LUTs) to give the image the specific look and style that you see. Right now you can't create your own LUTs in Lightroom, unfortunately, but if you are feeling particularly ambitious then there are other third-party software options, like 3D LUT Creator, that allow you to create LUTs which can then be brought into Lightroom. I wouldn't be surprised to see other companies and individuals creating their own LUTs in the near future to sell as digital products, similar to current markets for Lightroom presets.
Here are a couple examples of Profiles being put to use.
Right now Profiles are available both Lightroom Classic CC and Lightroom CC. There are 18 Adobe standard profiles, broken down into 7 Adobe Raw profiles, 5 Camera Matching profiles, and 6 Legacy profiles. There are also 45 stylized profiles built into the programs; 8 Artistic profiles, 17 Black and White profiles, 10 Modern profiles, and 10 Vintage profiles. You can only use one profile and there isn't an option to apply multiple profiles at the same time.
Now you can add some of these custom looks and styles to your images with relative ease without having to resort to an external plugin. For those of you who already use Profiles, make sure to add shots where you've used Profiles to your portfolio and share the link down below in the comments (also, shots added to your portfolio have the chance to become an Fstoppers Photo of the Day).


Thanks. I learned something new. But I can't see the intensity slider. I'm using LR Classic CC ver. 7.4.
There isn't one typically but some of the creative ones do give you the option. It's a feature originally designed to allow you to tell the software how to manage the colour captured in raw so that your pictures match how you preview them on your camera (Standard, Landscape, Vivid etc etc).
"Lightroom has long supported “Camera Profiles,” but they were not very visible, and used mostly to match camera JPEG output. With Lightroom Classic version 7.3, and Lightroom CC version 1.3, Profiles got a nice visual browsing system, and a differentiation between Camera Profiles and “Creative Profiles,” Lightroom Profiles typically apply an overall look to the photo. They leave all the Develop/Edit controls unchanged, so you can adjust them to taste. Unlike Presets, Profiles can create looks that are not possible with the Lightroom controls on their own. You can think of Lightroom Profiles as “virtual film stocks.” "
Also, if you have Photoshop, you can access them in Camera Raw; creating a new layer > Filter > Camera Raw. Then once applying a filter you can adjust the opacity and/or selectively paint them in or out as wanted.
Once you select a profile, it should automatically give you a slider in the profiles panel. Then even after you close the panel, which takes you back to the basic editing controls, you should see a new slider at the top just for controlling the opacity of the profile you selected.
Does anyone else see a lion's head in the pic at the top of this article/post?
I'm just wondering if it's just me.
John
OK, or the Werewolf of London? 😁
Great improvement. Didn't know they were there. I use auto tone, too.