
Creating an image that appears “sharp” is something I struggled with for a LONG time. I read countless articles on the topic and invested heavily in gear thinking that was the cure. While gear can certainly help, I believe there are a few key areas to focus on in order to create images that are tack sharp.
I want to start by saying that there are two types of sharpness in my opinion: real and perceived. The first deals with the more technical aspects of focus including camera settings, lens choice, depth of field, etc. The second focuses on (pun intended) refining your image in post using specific techniques designed to enhance the sharpness in your image for its intended use.
Creating real sharpness in field should be your primary concern as nothing else will matter if your photograph is not in focus from the start. Here are some tips for improving your technique while shooting to achieve greater focus:
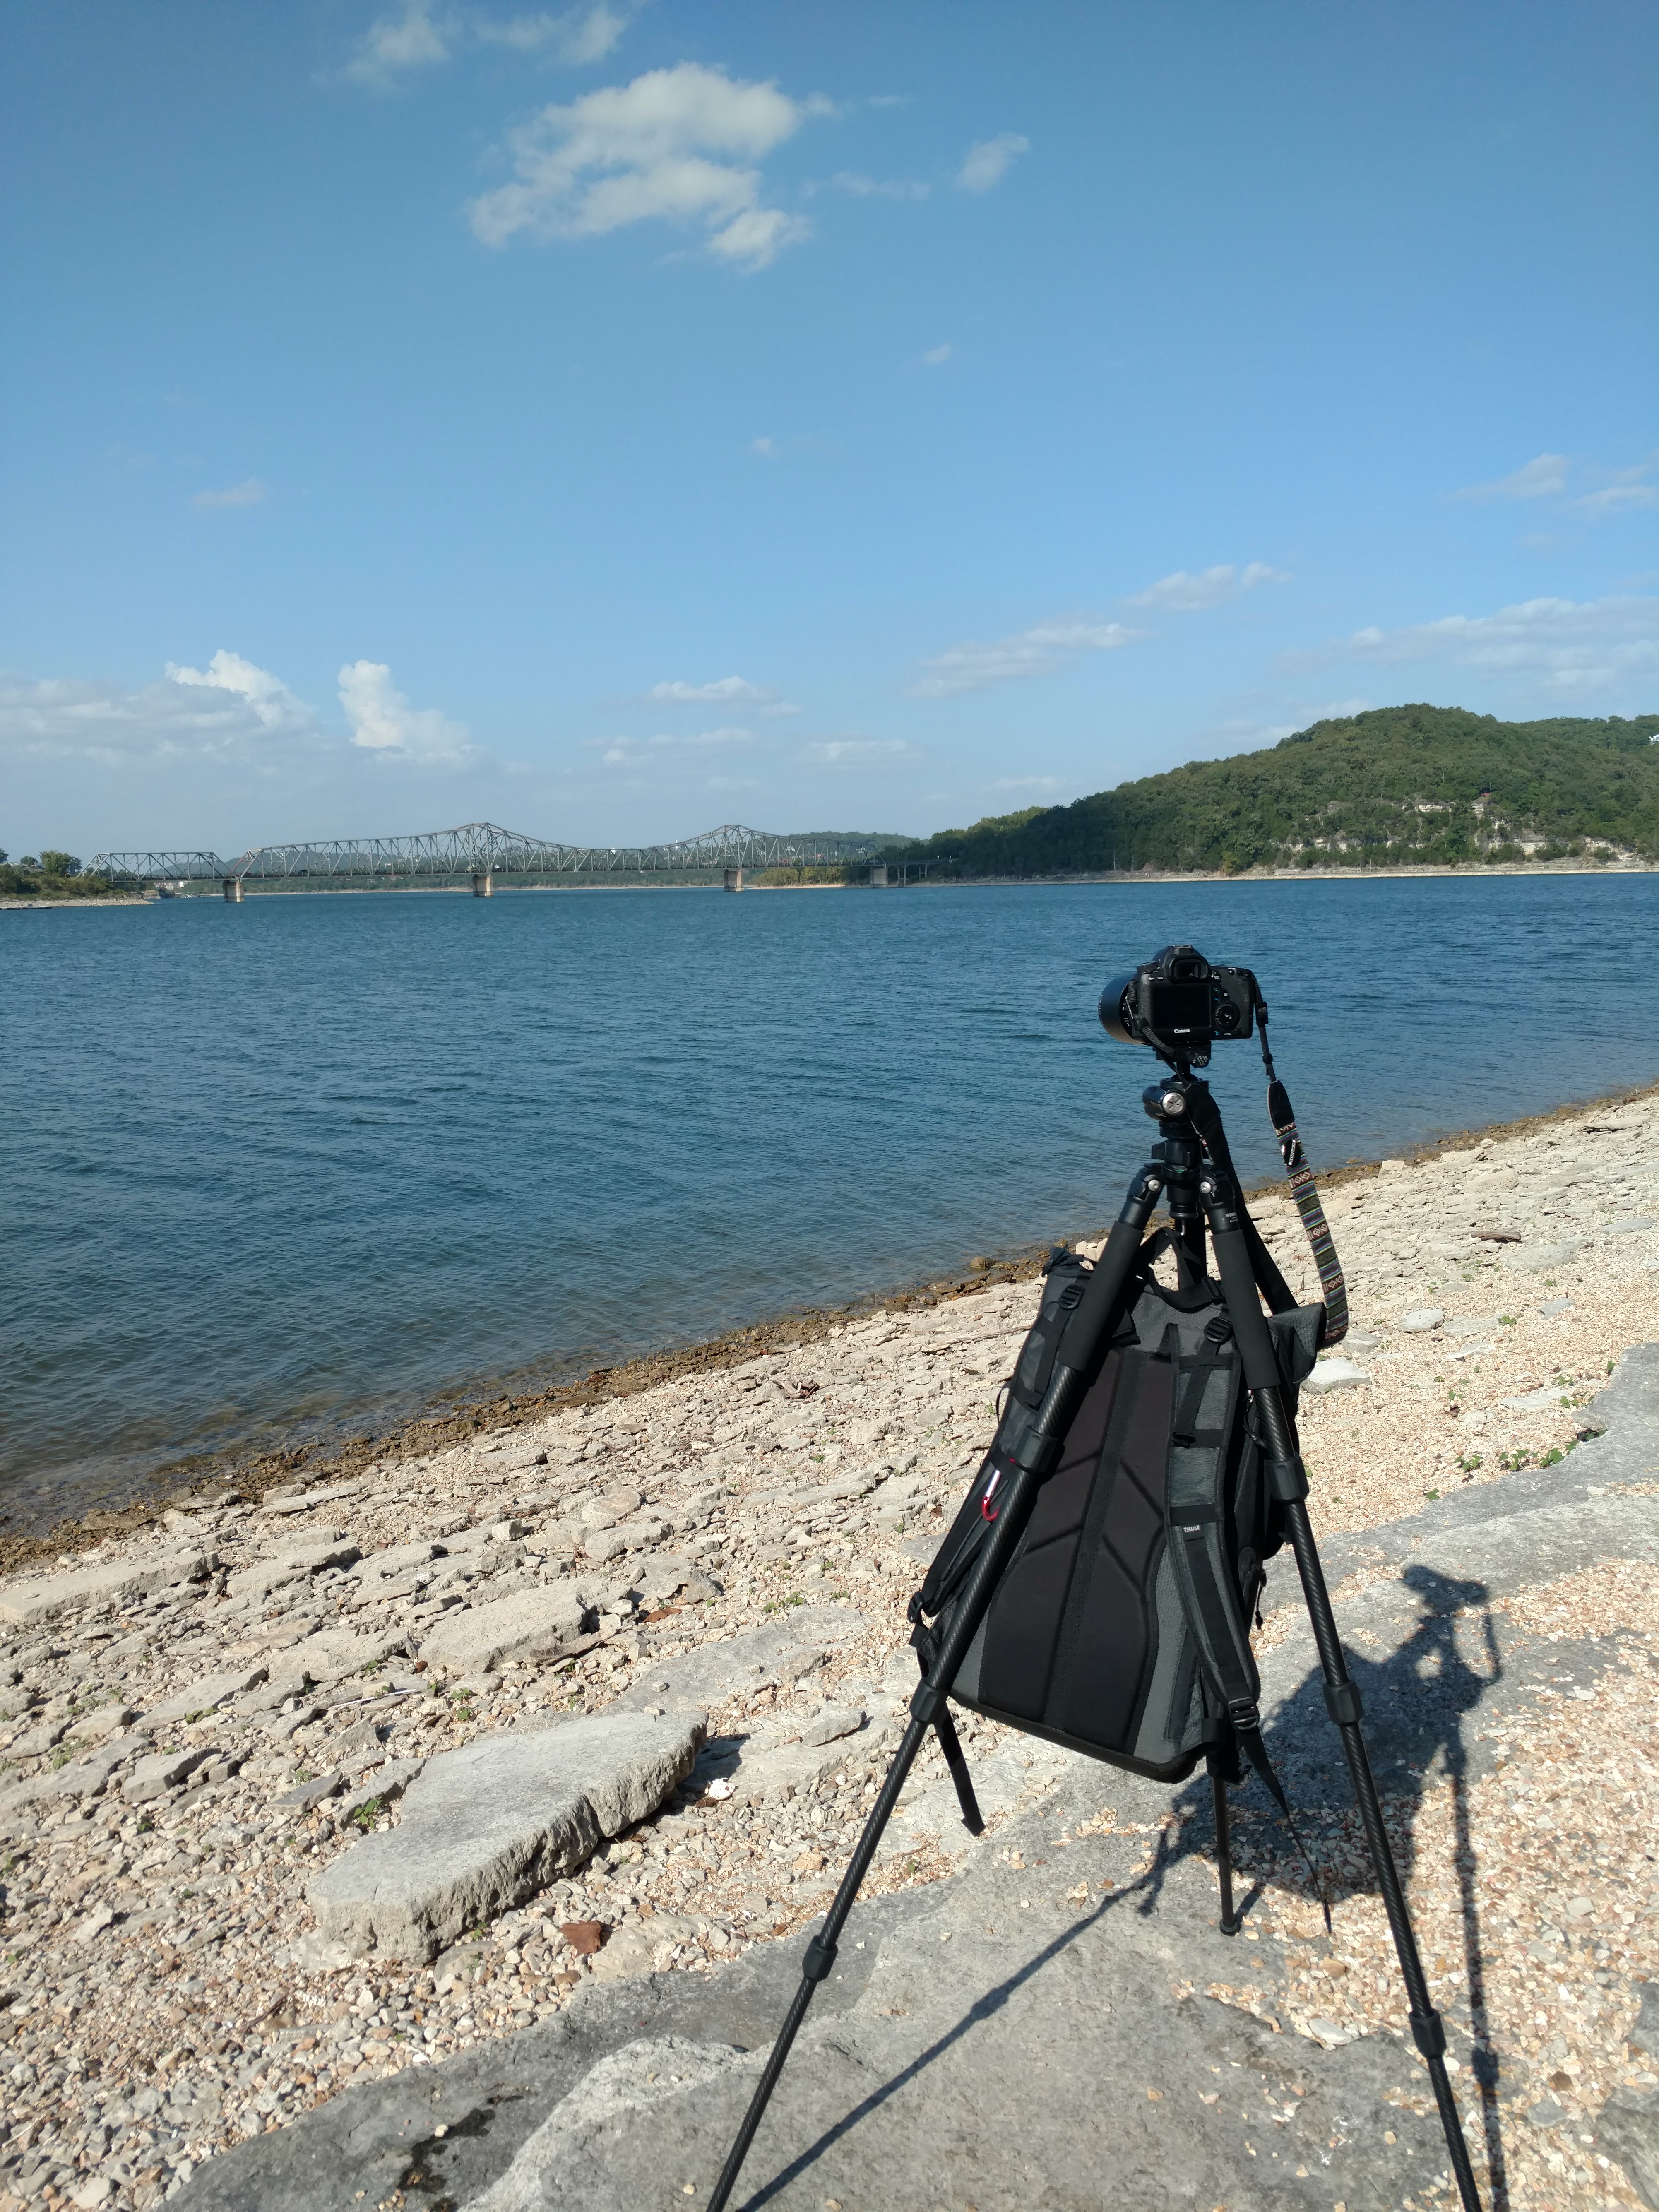
Use a Tripod.
If sufficient light is not available, you will obviously want to use a tripod. In fact, I would argue you should almost always try and use a tripod unless it is simply too cumbersome for the situation. A monopod works well also and is easier for fast moving shoots. Often times we rely heavily on our autofocusing systems, which are incredible these days; but short of having a robotic arm there is simply no way to ensure complete stillness in your shot. You don’t need the most expensive carbon fiber tripod either. The type of tripod matters less than how it used. Avoid extending the center column as this creates an additional area of weakness which is highly susceptible to vibration. I also weigh mine down with my camera bag by attaching it to the hook underneath my ball head which most tripods come equipped with nowadays. Finally, avoid extended the thinnest legs of your tripod last as these are the weakest link and will introduce more shake.
Use LiveView on Your Camera.
By switching to live view, you can zoom into your subject by up to 10X allowing you to manually focus with precision. This is ideal when using a tripod as the focus will not change unless your subject moves after the fact or you change your focal length. By far the most useful focusing technique I have ever learned.
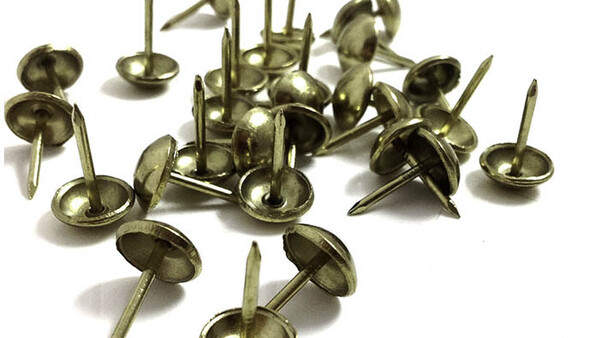
Don’t Shoot at Your Lens’ Maximum Aperture.
I see many photographers shooting wide open at say f1.4, or stopped down to f22 or greater thinking that the largest aperture will give me the blurriest background, or the smallest aperture the most depth of field. In my opinion, this can often work against you. Most lenses perform best when stopped down slightly, even the best ones. For example, an awesome 1.4 lens will definitely produce an awesome background, however; at f1.4 or even f2.0, your depth of field is extremely limited. Even with a very fast shutter, slight movements of your hand or subject will cause the photo to become out of focus. Instead, try shooting at f4.0 using a longer focal length, say 100mm -150mm. Coupled with a minimum shutter speed, double that figure. For example, f4.0 at 100mm, 1/200th of a second. The longer the lens, the more out of focus your background will be even at smaller apertures. Yes, a longer lens introduces more sensitivity to camera shake, however, this is more than offset by shooting in good light with a greater depth of field as more of your image will be in focus. Besides, you can always blur out your background more in Photoshop after the fact.
Use Prime Lenses.
It goes without saying that the gear doesn’t make a good image and that is true. Good technique is without a doubt the most important aspect of taking a sharp photograph. What I will say is that zoom lenses, even the best L series glass, are often times still slightly less sharp than prime lenses. Yes, zoom lenses are very convenient and help you avoid timely change outs when you’re in the middle of a shoot. I use them often and while they do an excellent job, they will never replace a prime lens in cases where ultimate precision is required. The moral of the story is that the most expensive lens is not going to automatically give you sharper results. Unless you are shooting sports or weddings, you may not need a variety of focal lengths all in one package. My suggestion, get a prime or two and see what you think. I guarantee you won’t be disappointed in the results.
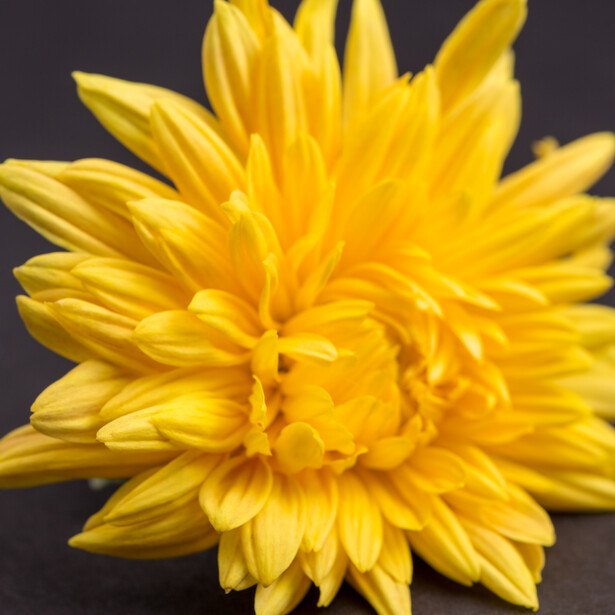
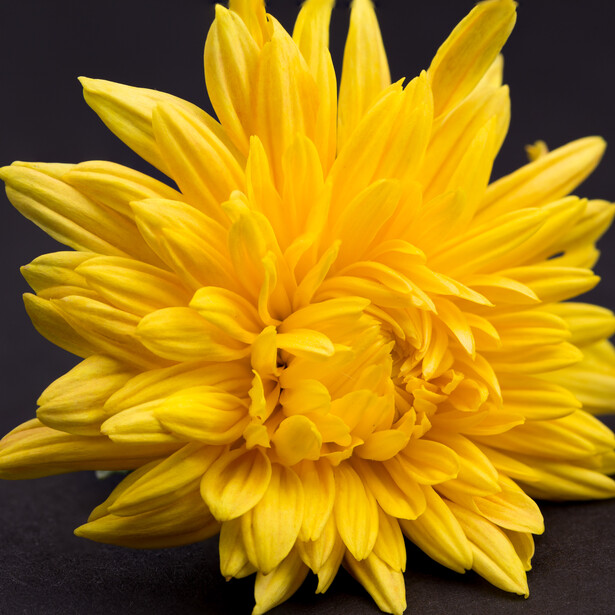
Focus Stacking.
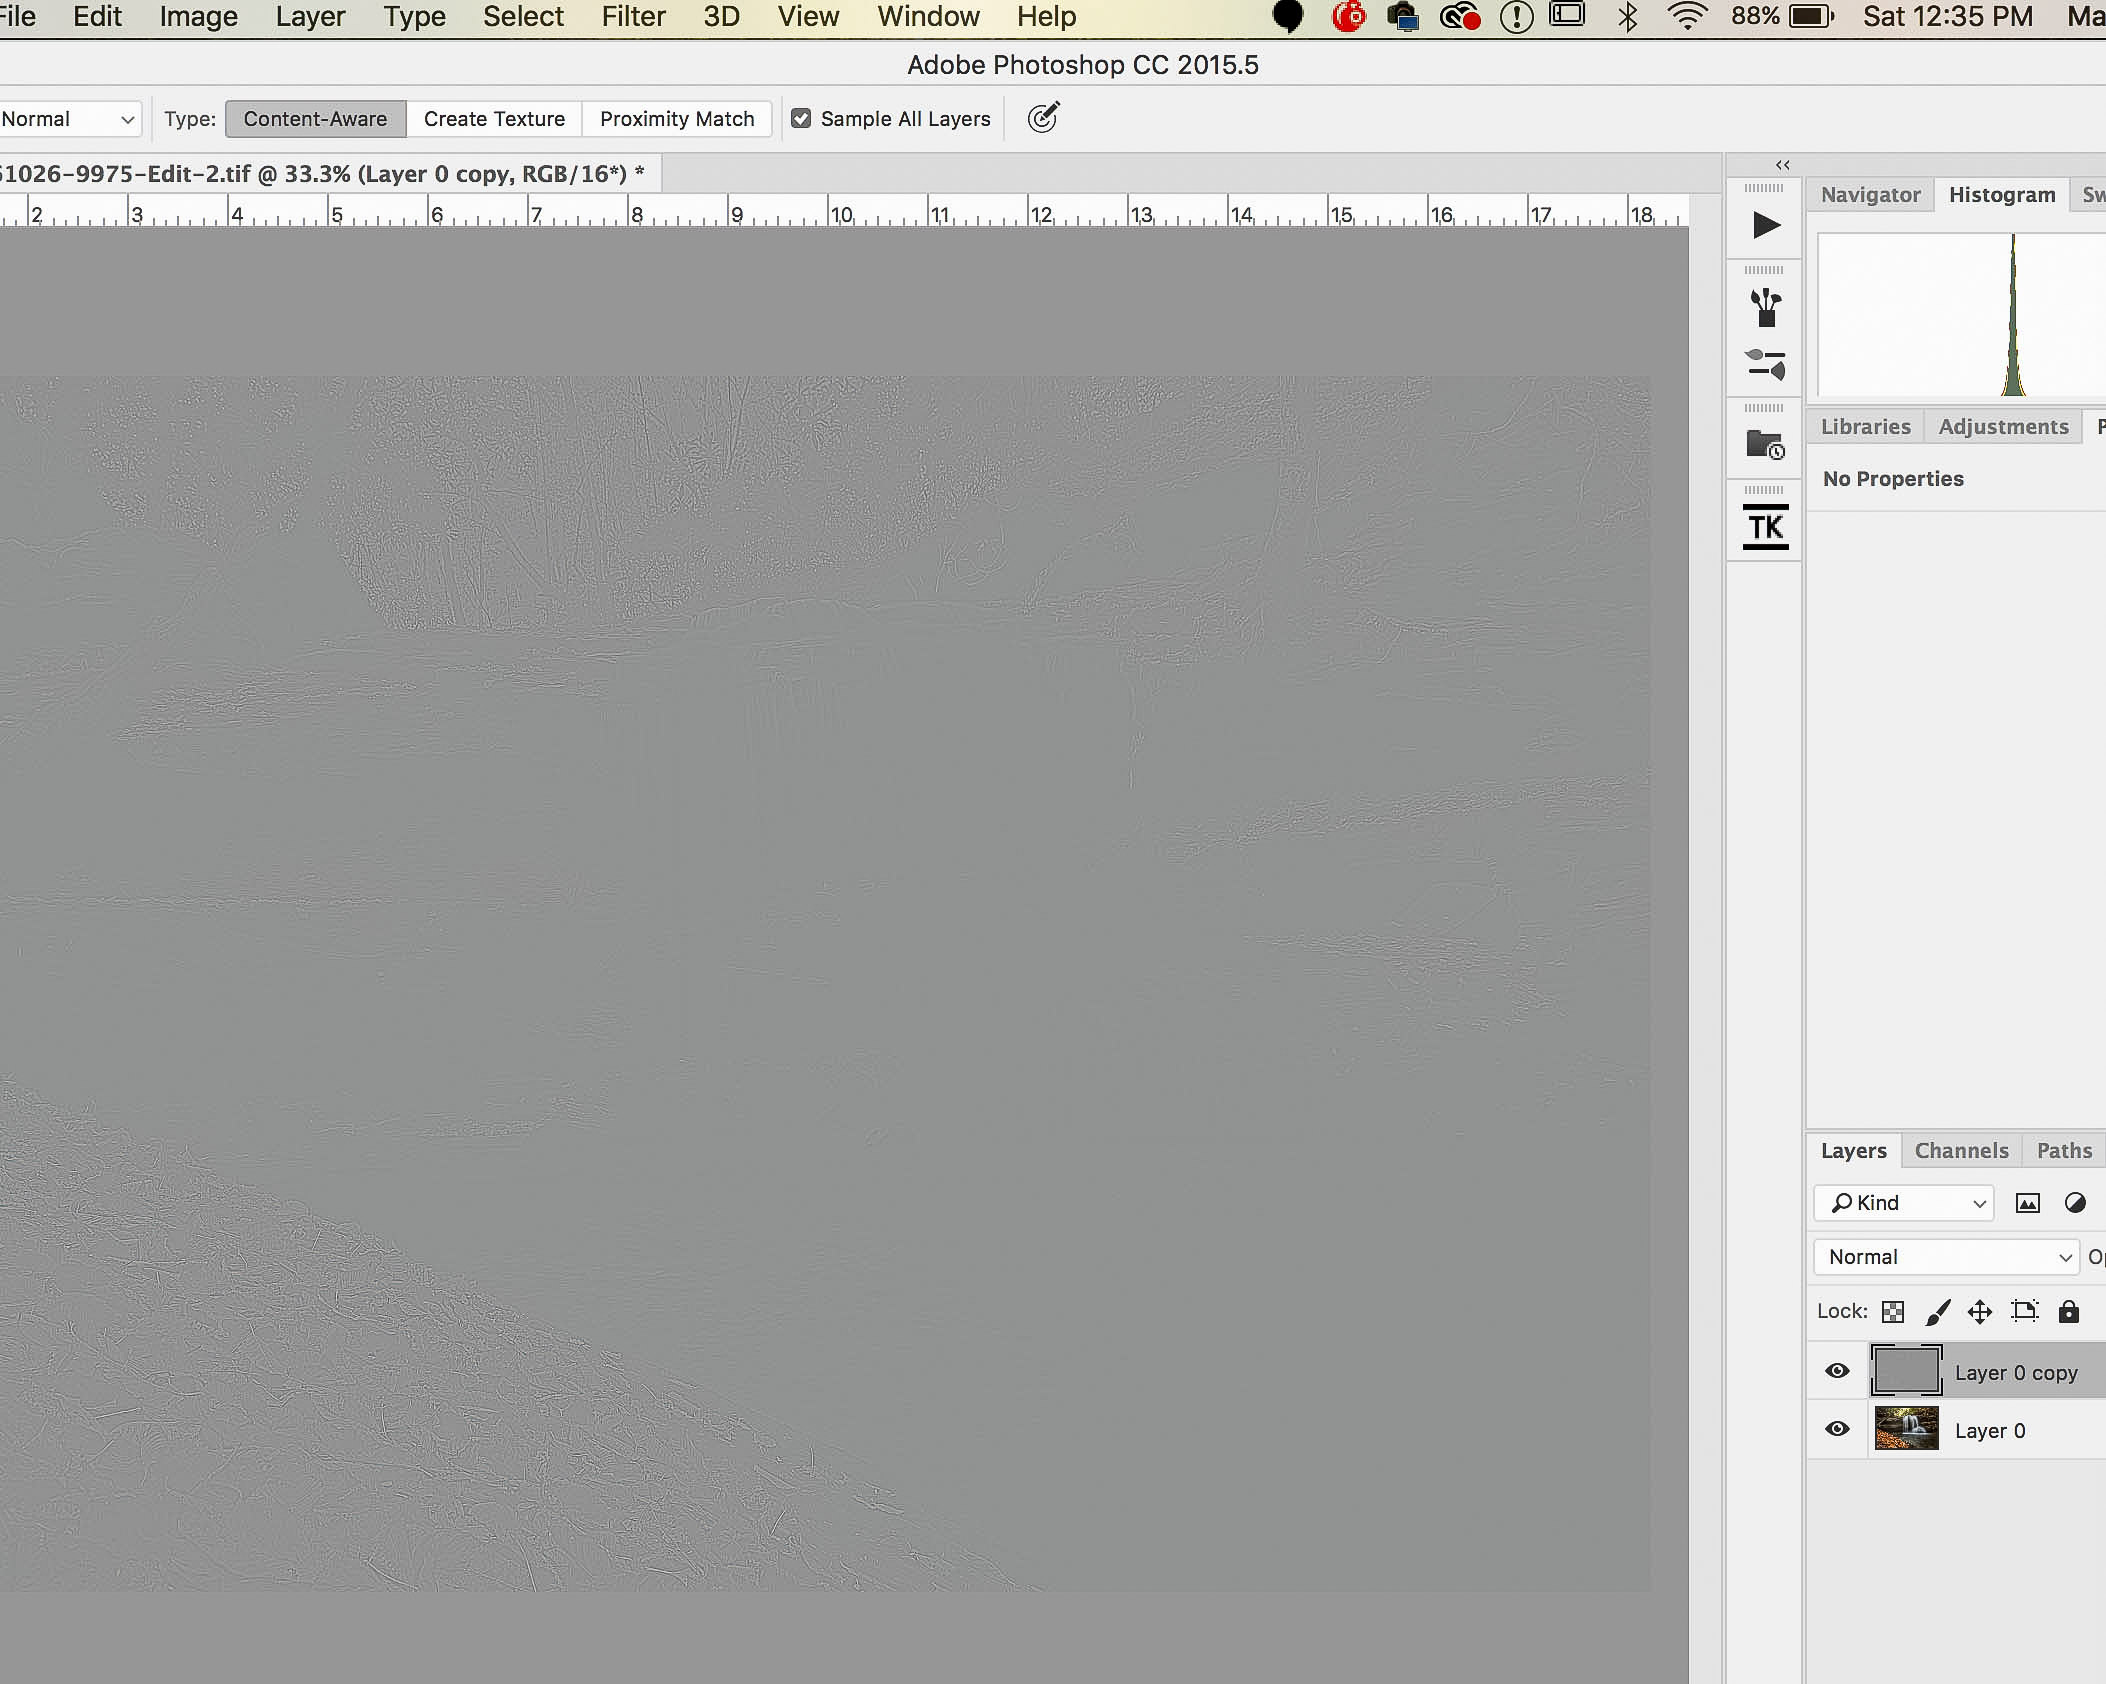
This is a popular technique amongst many of today’s landscape photographers as well as product shooters. Often our foreground and background are of equal importance in an image. When shooting extremely close to a foreground element, as is common in landscape or product photography, it is near impossible without using expensive tilt shift lenses to maintain sharp focus throughout an entire frame. Luckily with digital photography we can overcome this shortcoming without the investment. To do a quick focus stack, determine an appropriate exposure using f11-16. Take an initial shot focused on an element in your near foreground and then a second shot refocused for the far background. Bring the images into Photoshop as stacked layers and highlight layer in the panel. Under the Edit dropdown in your toolbar, select Auto Blend layers and the Stack Images command. Leave the Seamless Colors and Tones box checked as well as the Content Aware Fill dialogue. The function will then run, usually very quickly, and the outcome will be a new layer that contains the most in focus areas of each image used. Of course, you can do this manually but I’ve found that Photoshop does an amazing job on its own for simplicity’s sake.
Having done all you can in camera ensures you will have ample latitude in post to sharpen an image for its intended purpose. Enhancing sharpness in post is what I refer to as perceived sharpness, as it is possible to make something appear sharper than it actually is. This is done through a variety of methods and depends on how you are presenting the image. Here are two techniques I use in my workflow.
Selective Sharpening.
This is a process of applying sharpening to specific areas within an image to draw attention. To do so, I typically use a high pass filter. Edit an image to taste and create a copy of all open layers using Cmd+Option+Shift+C on a Mac, or Cmd+Alt+Shift+C on a PC. With this new layer selected, go to Filter, Other, HighPass Filter, and use a Radius of 1.0. Click Ok. This will turn your image grey so with the same layer selected, change the layer blend mode to Overlay. The image will now return to its final edit but it will be very over sharpened. Apply a mask to the layer and invert the mask to black. Now you can paint in the sharpening with a white brush to the areas of the image you wish to subtly enhance. It may be necessary to reduce the layer opacity as the effect can be quite strong.
Web Sharpening.
Images uploaded to the web, particularly Facebook, can often become dull due to compression standards. Jimmy McIntyre, a traveling landscape photographer, produced a video explaining how to counteract this effect which allows you to dictate the size of the image for its final use with a precise level of overall sharpening. No point in reinventing the wheel so here is his post on YouTube. I use this process to upload all of my images to social media typically using a final image size of 2048 PX wide.
While it may not be possible to use all of these suggestions in tandem, even following a few during you next shoot should greatly improve the overall sharpness of your images. I follow them consistently now and have never looked back.


Join the Fstoppers community for free
-
Post comments and join in the discussions
-
Browse the site ad-free
-
Share your work and get featured in the community
-
Compete in the photo contests for fun and prizes
12 Comments
Nice article! I'd add one more to this list -- don't shoot at your minimum aperture. Diffraction is real; shooting most of my lenses between 3-4 stops off their max aperture seems to be the best way to sharpen, combined with the stacking you've outlined.
Absolutely Anton. I actually had included an example of that as well but it seemed redundant at the time. Diffraction is real!
"It goes without saying that the gear doesn’t make a good image and that is true."
I have to disagree, gear literally makes the image, without it you only have potential. Even a painter will be particular in regards to what paint and brushes they use to ensure the exact look and feel is created.
Yes you can create great images with less than equipment, but, it will always be a better image with "better" gear.
There is a balance and of coures there are diminishing returns, but to completely write off gear is a very odd thing to do and only panders to movement that seem to be adamant on suggesting, it's not the gear it's the photographer.
It's both.
On a more important note, seriously, awesome article, well written and very informative. I enjoyed reading that.
Thank you :)
Hey us man,
Thx for your feedback and praise on my article! You are definitely right, good gear goes a LONG way no doubt. I wasn't dismissing that fact all yogether just trying to temper the idea that it is everything which isn't true. But eventualy yes, u will need better gear to keep up with pros if trying to make a career in this business.
The benefits of auto correct :P.
Thank you for the reply.
High Pass filter radius is dependent on the picture size. Higher the MP you need Higher radius number for the same effect. Correct me if I am wrong, but this is what I found.
Hey Richard,
You are definitely right, I should have clarified that. Often times for me using the full resolution of my Canon 6d with no crop 1px is sufficient for the radius but this will vary and I encourage everyone to try different settings. Sometimes it is tough to get everything you want into these articles without sounding too verbose!
Instead of focus stacking, have you ever tried aperture stacking? I like shooting one image at f/8 and another at f/14.
Tyler,
That is very interesting! Can't say I've ever tried that.... I'll give it a shot next time
"I'll give it a shot" hahaha
"I'll give it several shots". Fixed it for you.
Sharpness is a function of perception of the viewer. I have macro photographs of flowers, where I have had to remove very sharp spider silk from, only to have the judge say they wish the photograph was sharper. Go figure.
One other quickie technique is to use warp-shrink with a very small radius..