
Adobe's Camera Raw sliders make global tonal adjustments easy. But when working in-depth on a single image in Photoshop, we have even more tools at our disposal to customize and maximize our tonal ranges.
What Are "Tones" in Photography?
Tones in photography may refer to values hue, saturation, or more commonly, the luminance. Since this article will deal with luminance or brightness/exposure issues, we will refer to tone only as the latter.
You may have also heard of "tonal ranges." Tonal range regarding exposure is the span of tones between the darkest and lightest points of an image. Examining your histogram provides a visual representation of an image's tonal ranges. The horizontal axis of this graph represents the range of tones, rated from 0 to 255 (0 being total black, 255 being pure white). The vertical axis represents the number of pixels in each horizontal level of tone.

So what's the ideal tonal range? There is no absolute answer; it depends on the goal of the image. However, two things should be avoided: loss of detail in shadows and blown-out highlights. Several shooting and editing techniques exist to mitigate these problems: HDR processing, exposure masking, and highlight and shadow sliders, to name a few.
How Do We Maximize Tones?
In my most recent post regarding a B&H video, I addressed the various challenges that come with photographing in harsh lighting conditions. This is just one example of a photograph that might suffer from problems with tonal detail, specifically blown-out highlights or lost shadow detail. Other variables that can affect the quality and range of tones is the angle and size of your light source, its diffusion (if any), and the subject's reflectivity.
In this article, I'd like to share with you some simple yet valuable editing skills helpful in overcoming the common challenges of tonal ranges and detail.
1. HDR
HDR (High Dynamic Range imaging) allows photographers to increase the range of tones beyond what the camera can capture in one frame. A bracketed (adjusted by steps) set of exposures is taken, then processed together to combine the captured data. HDR processing is typically done via software in the post-process phase. When processed on a computer, one can further manipulate the luminance and color values with a process called tone mapping.
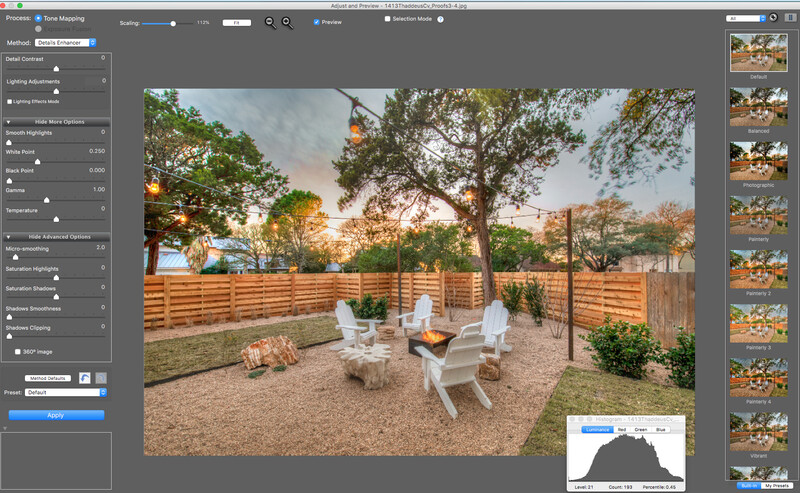
But be careful. That opportunity to manipulate images is where HDR often "goes wrong.”
The HDR approach is more a band-aid than a solution to the tricky issue of a complex exposure. Sure, employing HDR might result in a "wide" tonal range, with little-to-no loss of detail. But HDR is often misused.
Photos employing HDR often end up over-processed and garish. Some photographers jokingly critique HDR photos with terms like "overcooked" and "Chernobyl effect," suggesting that highly over-processed photos look like they were burned in a nuclear power disaster. That's not always an exaggeration

Some smartphones now come with HDR capability. The frames are automatically blended for users, with subtle but often good results. Since tone mapping isn't involved with cell phone HDR, there is less chance to push the details or improperly tone map it.
Unless you're already invested in the software and the processing skills of HDR, I’d recommend you use other techniques for tonal adjustments.
2. Exposure Masking
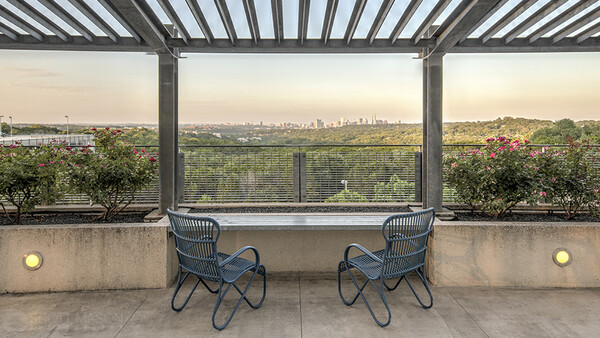
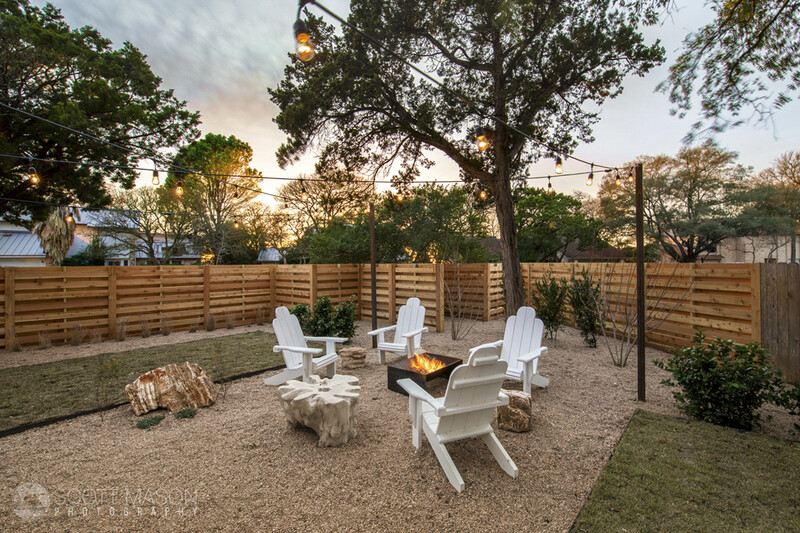
Although this technique calls for more operational skill from the photographer, exposure masking is a great way to maximize tones and achieve a natural effect in your photographs. Similar to HDR's first step, a set of an image is taken in several exposure steps, or bracketed. Later the frames are hand-blended together in Photoshop via Layer Masking. When done properly, the result is a realistic, detailed photograph with a large range of tones. This method allows us to pull shadow detail without suffering noise, as compared to shadow sliders and even HDR done poorly.
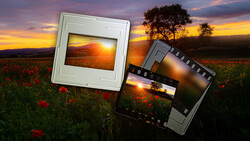
In the before/after above, we see a single exposure compared to a batch of exposures layer masked in Photoshop.
Now that we’ve reviewed some options for adjusting tonal values, let's look at a few different ways we can manipulate and check on these values.
3. Shadow and Highlight Sliders
ACR (Adobe Camera Raw) sliders were developed as a simple, visual approach to global adjustments. Although they were initially developed for editing raw photos, these sliders can now be used on jpeg. However, processing raw, uncompressed files will always yield better results.
The shadow slider exists to "pull" data out of the darker areas of a photograph. Experiment with this slider, as it can bring out hidden details in photographs with high contrast or dynamic range. But be careful, because going too far with the shadow slider can bring out noise in an image.
Shadows have less signal-to-noise ratio. This means that less tonal detail generally lies in darker areas of an image compared to lighter ones. Therefore you should exercise caution when dealing with a shadow push. While processing this way, be sure to zoom in and examine shadow details carefully.
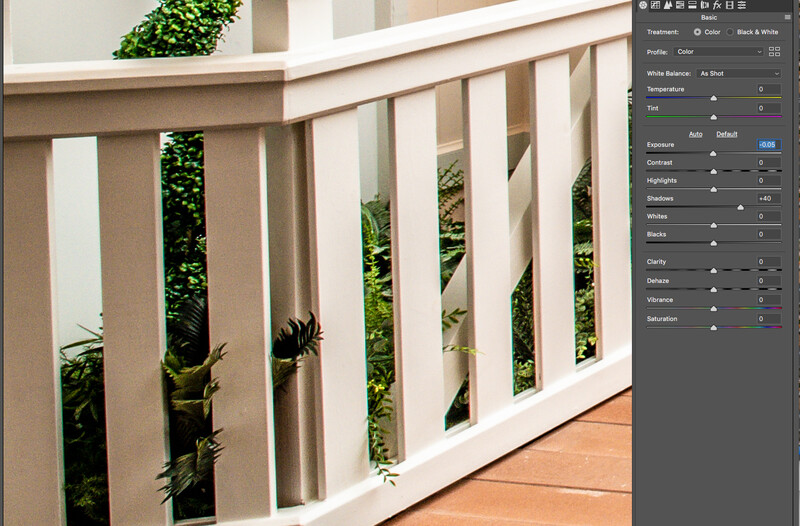
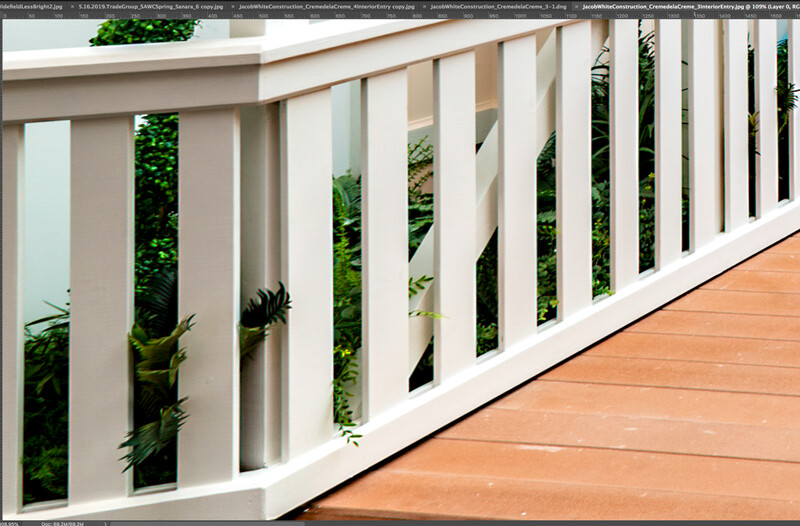
The first image in this comparison slider shows a single raw file with its shadows being pushed via ACR. The second image is a layer masked version, with the shadows brought out naturally. Notice the lack of noise in the layer masked version.
The highlight slider can be used to reign in blown-out areas of your image. Bringing in highlight data can be great for correcting specular highlights, or even help recover a washed-out sky. But it's wise to be cautious while using this slider, too. Improper highlight reduction can end up producing a flat, gray wash over an image.
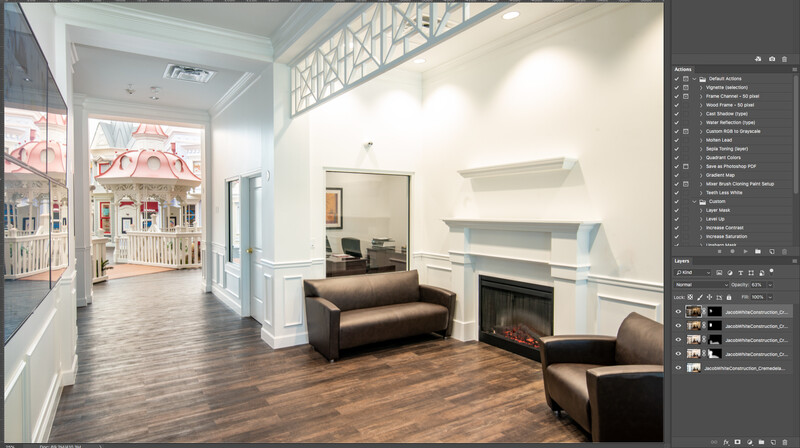
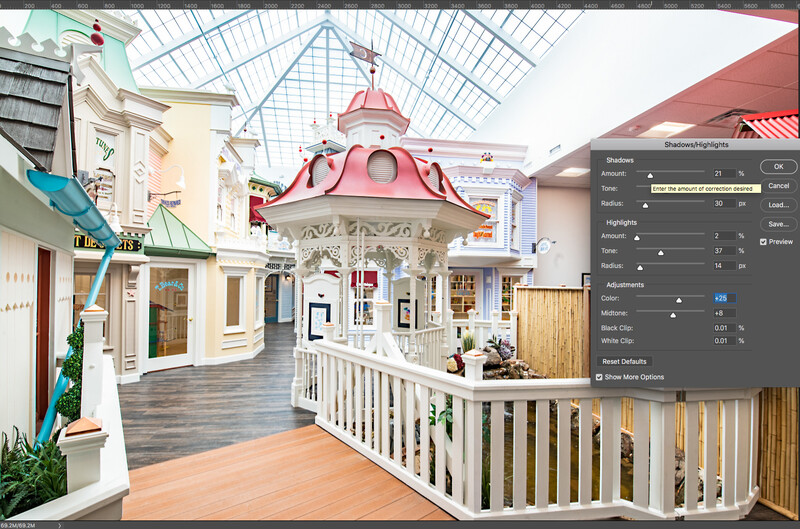
More advanced shadow and highlight adjustments can also be done via Image > Adjustments > Shadow / Highlight in Photoshop. This accesses more customizable options dealing both with tones and adjustment radii.
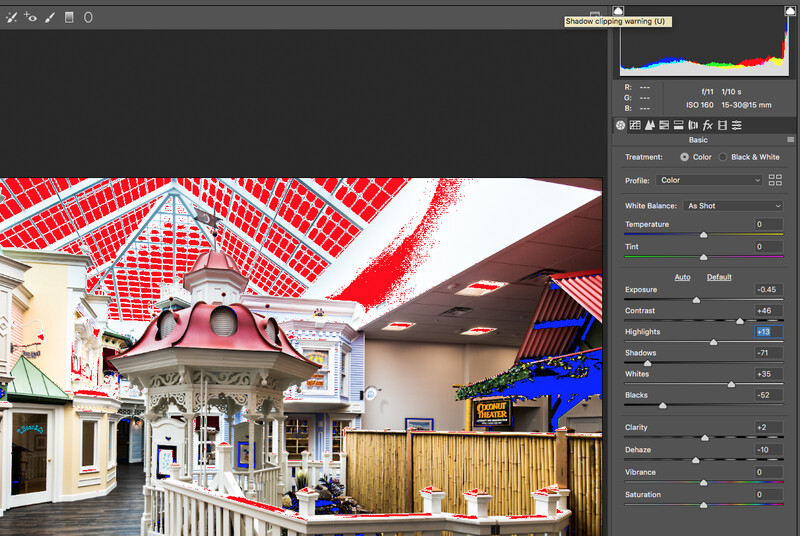
4. Shadow and Highlight Clipping Warnings
Shadow and highlight clipping warnings are great tools for monitoring lost tonal values. This feature can be toggled on and off in the ACR sliders of both Lightroom and Photoshop.
For both Photoshop and Lightroom, locate your histogram at the top of your ACR slider panel. Notice the two triangles: one on the left, representing the shadow clipping warning, and one on the right, for highlights. Clicking on the left triangle will reveal any lost data in the shadows, displayed as solid blue in your image preview. Clicking on the right triangle will reveal lost data in your highlights (blowouts), shown as red areas in your image preview.
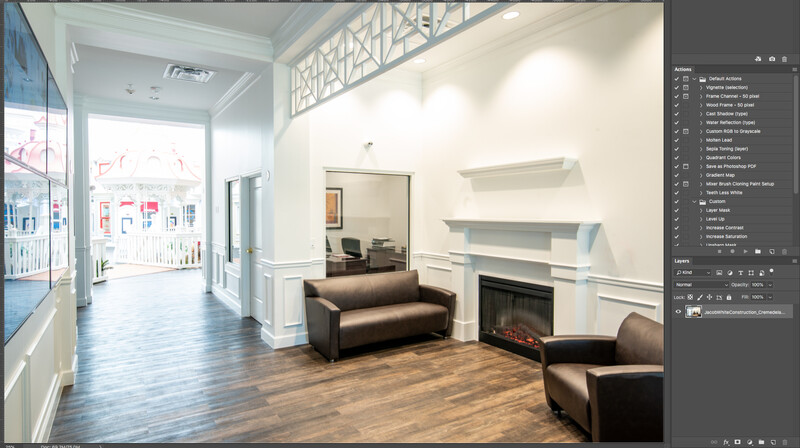
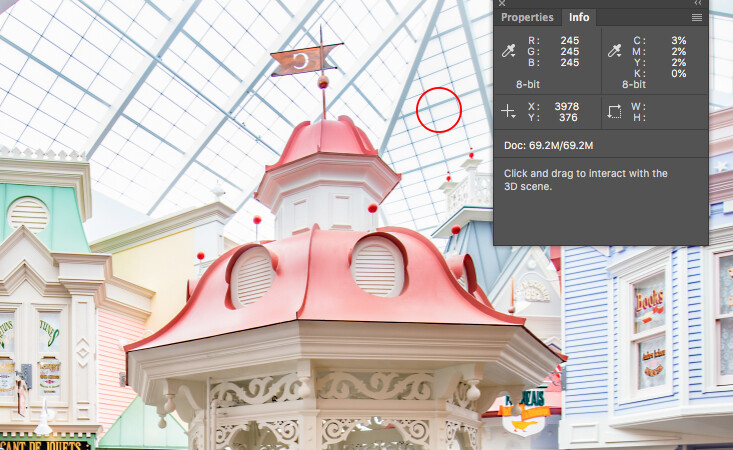
5. Info Panel
If you'd like to be extra thorough in checking your shadow and highlight detail as well as any color tone adjustments, open the Info panel in Photoshop. When retouching a specific part of an (8-bit) image, hovering over highlights and shadows with your cursor will reveal tonal values of colors in the Info panel. This info can also be seen in the top of the ACR slider dialogue.
A good rule of thumb when working in 8-bit: Any values read as below 10 are nearing too dark and risk losing shadow detail. Values reading over 245 are on the verge of highlight loss, and might benefit from being dialed back in. You can do so with any of the aforementioned sliders, exposure masking, or the burn tool.
Summary
Photographers have a number of techniques and technologies for maximizing tonal values in post processing. Mastering these is an important part of the photography process and increases the visual appeal of your work.
If you have any additional tips for tonal optimization, please share them in the comments section below.


Join the Fstoppers community for free
-
Post comments and join in the discussions
-
Browse the site ad-free
-
Share your work and get featured in the community
-
Compete in the photo contests for fun and prizes
7 Comments
Demystifying the terms that make me say... augh! Thank you. :)
"Where Are My Mid-tones? Deriving Hidden Baseline Exposure Compensation" is a good
article on how LR/ACR adds adjustments to you RAW file on import.. :)
Adding this to my study list... thank you, Viktor. :)
I've been living under a rock... wow. I just went to the Photography Life site. I've got the time... now I just need to study and practice. Cool.
You go to camera calibration tab set it version 2 then set all settings to Zero and the tone curve to linaer. then you go back to camera calibration and set the version back to 5 or what is you higheset number. then save it as a preset..
Scribbling as fast as I can... and finding the translation to my Pentaxian world. Haha.
Luminosity masking has been the single biggest improvement when facing dynamic range challenges (other than adding light). A much more nuanced and automated way of blending multiple exposures or even just adjusting one.