If you are a wedding photographer, then at some point in your career you will be faced with the challenge of making great images with conditions that are less then ideal. These tips can help you make the best of any situation.
A Little Introduction
When we first got the idea to film this tutorial, we thought it would be a great idea to do it in Las Vegas. David and I were going to be there at the same time for WPPI so it just made logistical sense. We scheduled the shoot for a date during the trade show where we would both be free, found an amazing model, and had a start time that would give us plenty of time to create magic. So we thought.
The first mishap we ran into was when Google maps took our model to the completely wrong location. This set our start time back an hour or so, but we made the best of it and recorded the intro while we waited. When the model showed up, we loaded our gear into the car so we could drive to the shoot location. This is when real tragedy struck. Somehow, we managed to lock the car keys inside the trunk along with all the filming equipment. So we get on the phone with the car rental place and they send someone over as fast as they can. Unfortunately, as fast as they can still ended up taking more than an hour. By the time we got all the gear and started filming, the sun had set.
This Is Real Life
Even though the sun had set before we could start filming, we pressed on. And in reality, this is a situation wedding photographers deal with all the time. Either the ceremony runs late, the bride takes to long to get ready, or the timeline was just way too unrealistic. No matter the cause, we still need to shoot and make amazing images under any circumstance. Our ability to do that is what separates us from the uncle Bob photographers and that “friend that takes great images”. Even in these conditions, you can get away without the need for off-camera flash if you really needed. But for me, I just don't see the point when flash is so easily accessible. You can get a totally workable off-camera flash setup for a couple of hundred dollars. The ability to control and shape your light is invaluable. Especially when your shooting conditions become less than ideal.
Image One
Let’s finally talk about the shoot. The first image was the only shot where there was still a decent amount of light in the sky. The sun had set for us, but we were down in a valley, so the sun was still up a little bit longer for the rest of the area. Because of this, I knew I wanted to try and showcase a bit of the sky. To make that happen while down in the valley, I knew I needed to shoot from a much lower angle than the model. So I positioned her on top of a larger bolder and then I shot from down below. I wanted the light to be soft yet controlled, so I knew I’d place my Godox AD200 inside the new MagMod MagBox with the FocusDiffuser attached. The great thing about the FocusDiffuser is that there is little to no loss of power in comparison to the traditional diffusion material. Instead, you get the benefits of using a grid without any of the drawbacks.

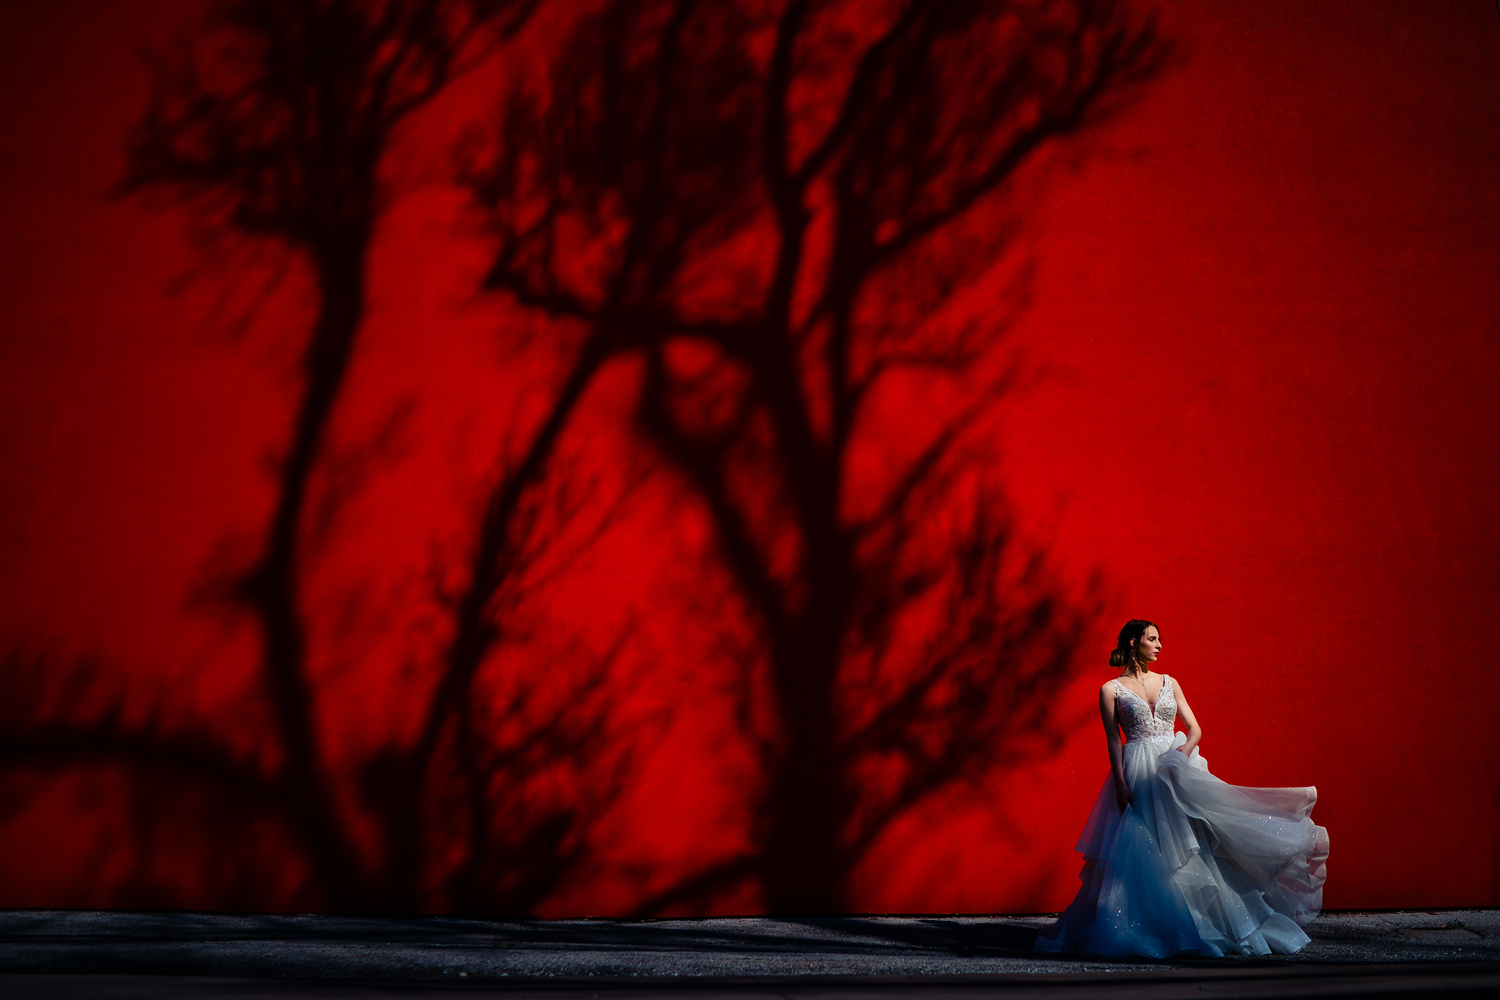
This image is very similar to what I try and do on wedding days. One of my favorite things to do is create a dark and dramatic background and then light my subject to make them really pop out of the scene. What this does is makes the viewer's eye be drawn to the brightest part of the frame as well as the area with the most contrast.
Image Two
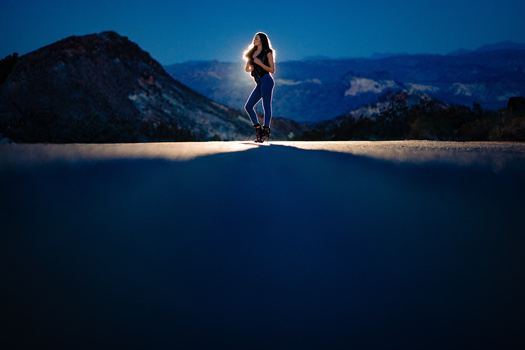
For the second image, I knew I wanted to create a silhouette. The problem is that down in the valley, there was no way I’d be able to frame the model within the sky. Not only that, but at this point, the sky was almost too dark to even make that an option anyway. To get around that, I searched for a nearby rock that was large enough to frame our couple. I then used my Godox AD200 with a MagMod MagGrid and MagSphere to light the rock. Because the light is only hitting the rock and not the couple, they become a silhouette.

This was one of the easiest and quickest images of the shoot. Likewise, on a regular wedding day, it’s extremely easy to throw some light at a wall, door, or even a tree to quickly make something that is totally different and unique. It's also a great way to showcase a large environment while still making your subject stand out in the frame.
Image Three
At this point in the shoot, we have basically lost all of our available light. We actually need to use our video lights and cell phone lights to walk around the location. Because it was so dark, I wanted to try and make it look like the sun was still out. So I framed the model in front of a large bush and placed a light behind her firing directly into the camera. I used a Godox AD200 with a full CTO MagGel attached in order to mimic the color you generally see during sunset.

Of all the images, this is the one I’m least excited about. The location we had access to wasn’t really ideal for this type of image. I normally try and have objects behind and in front of the subject in order to really help sell the look. Unfortunately, it would have taken a decent walk in the dark to find something that was ideal so we made what we had work. Lastly, I like to have a bit more ambient light to help fill in the shadows so the subject isn't a complete silhouette. To do this, I chose to shoot at 1/4th of a second using the in body image stabilization on my Sony A7III. This is totally doable for this type of image, but you really only get one sharp image out of maybe 5-10 frames and I just didn't take enough images to get a really sharp image for all the examples and final frame. But I think the idea behind the shot is good enough to keep it included in the tutorial. You can see some more examples of this type of image below.
The Edits
Because most of the work was done with the way these images were lit, there really wasn't a ton that needed to happen in post. But the foundation of these edits (and all of my editing) is centered around DVLOP presets. Not only do they offer a large variety of styles, but these styles are created in partnership with some of the most amazing photographers in the industry. My favorite and go-to packs being from Two Mann Studios and Davina and Daniel.

Image Edited With DVLOP's Two Mann Amerone Preset
The thing that really sets these presets apart from any other on the market has to do with their custom camera profile. Normally, when you edit an image in Lightroom, you are editing with the Adobe Standard Camera Profile. When you apply a DVLOP preset, that profile switches to a DVLOP profile. This profile is custom built for each model of supported camera based on the characteristics of that camera. The profile for your specific camera is also applied automatically when applying a preset. This is important because traditionally you can shoot the same image with the same settings and the same white balance on two different cameras and still see differences in color between the two final images. In short, the DVLOP custom profile fixes that problem by aligning all cameras to the same calibration. This is huge for wedding photographers that use second shooters or for anyone that uses two different models of camera (even if from the same manufacturer).

Image Edited With DVLOP's Two Mann Amerone Preset
Because these edits were fairly simple and we only had time to go through three images, I recorded another almost 20 minutes of editing walkthrough that is now on the DVLOP blog. Here you can see me edit the below six images from start to finish.
If you try any of the techniques in this video or from the DVLOP editing video, I’d love to see what you get. Share images to the comments below or tag me on Instagram so I can check them out! Also, make sure to check out the deals being offered by MagMod and DVLOP . I also highly recommend checking out the DVLOP and MagMod Facebook groups. There is a ton of great example images as well as educational content available.


Your links to your products don't work FYI.
fixed! thank you
I always admire other photographer's work, as it inspires and motivates me. You certainly have earned my respect!
Which triggers do you use for the Godox AD200?