
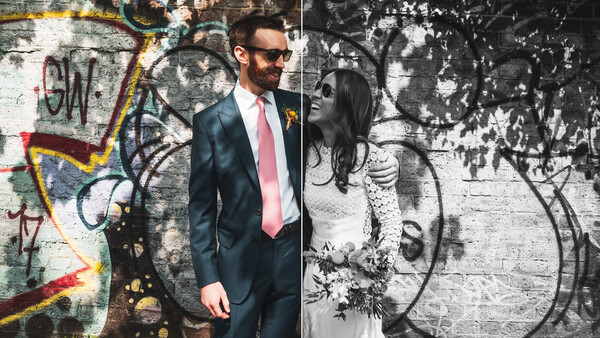
Before sending wedding galleries to clients, I like to add a black and white alternative of every photo. Clients love this! So, here’s a quick time-saving trick to create black and white duplicates of an entire folder or collection of images in Lightroom CC.
Rate All of Your Edited Images
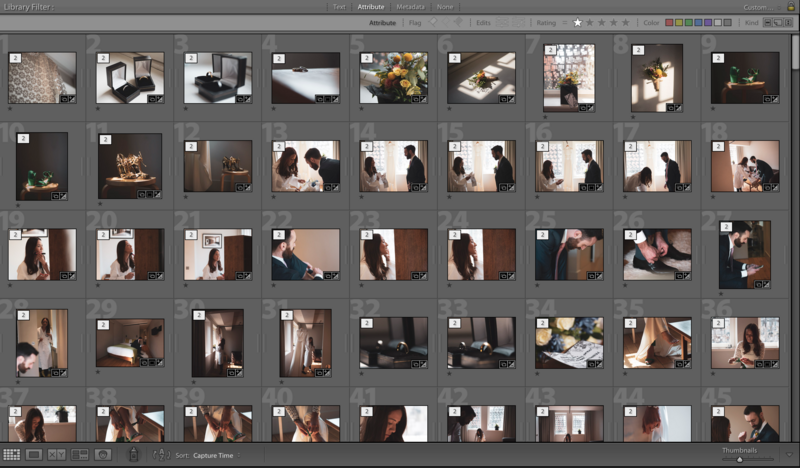
This step may vary for different workflows; some photographers may have a star rating system once photos are uploaded, but this is what works for me. After uploading all the images taken at a wedding, go through and rate the images you will edit with one star. Next, use the filter tools to display images of one star and above. After the color edits are complete on all of these images, you now have a collection of final edited images to create black and white duplicates of.
Make Virtual Copies
In the Library Grid view, select all of the images, right-click and select "Create Virtual Copies." The great thing with Lightroom CC is that you are not doubling your memory requirements when doing this, hence the “Virtual” part of the tool's name! This will take a minute or so for large galleries, but once it’s done, you’ll have all the new copies selected; don’t select anything else until the next step!

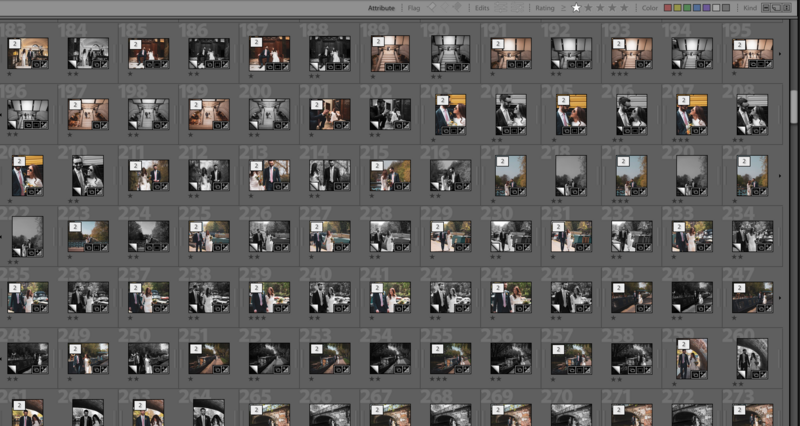
Rate Your Copies and Sort
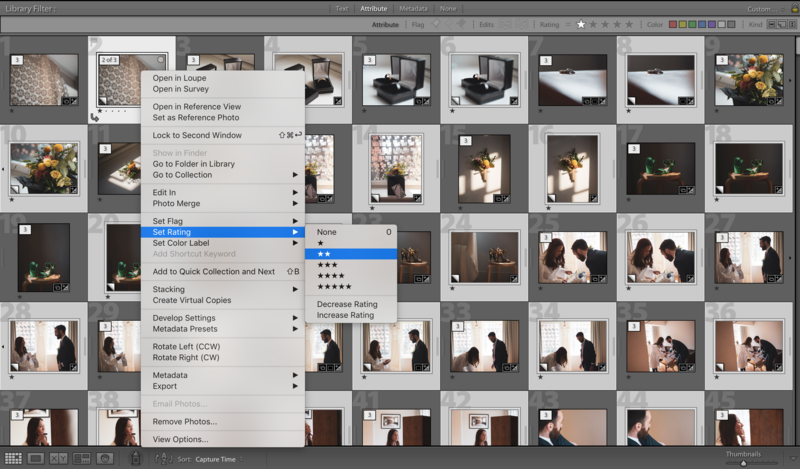
Now, with your copies selected, right-click and select a two-star rating so that all of the copies are now uniquely identifiable from the original edits.
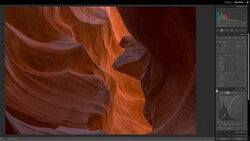
Black and White Edit
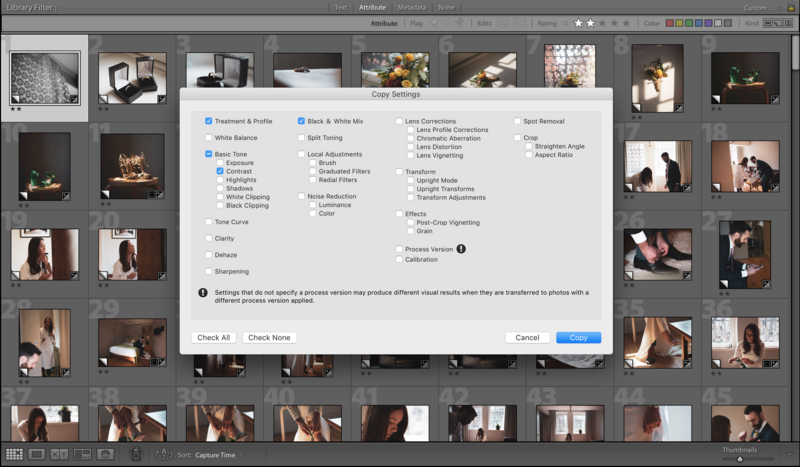
Select the first image and enter the "Develop" window. Convert the image to black and white and change the mix to taste. I usually bring the skin tones up slightly and add a little extra contrast. Next, go back to the Grid window, right-click the edited black and white image, go to “Develop Settings” and then “Copy Settings.” Select only "Black & White mix" and "Contrast" if you’ve changed this. All of your "Basic Tone" changes were done in the original edit, so by just copying these settings, you retain all of your original tonality edits. Now, select all of the images in the Grid view and paste your settings to all of the images by right-clicking “Develop Settings” and “Paste Settings”.
Eyeball Gallery


Join the Fstoppers community for free
-
Post comments and join in the discussions
-
Browse the site ad-free
-
Share your work and get featured in the community
-
Compete in the photo contests for fun and prizes
No comments yet