It’s officially hot outside in my neck of the woods, but that doesn't mean I can to take a break from shooting outside! I still have to sweat it out, hauling my gear around from location to location and that means my clients have to feel the sting of the summer heat as well. Although it’s steaming out, I don’t want my images to look like they were taken inside the nearest oven set to broil. Thankfully, there is a super quick and easy way to fix those heat flushed skin tones.
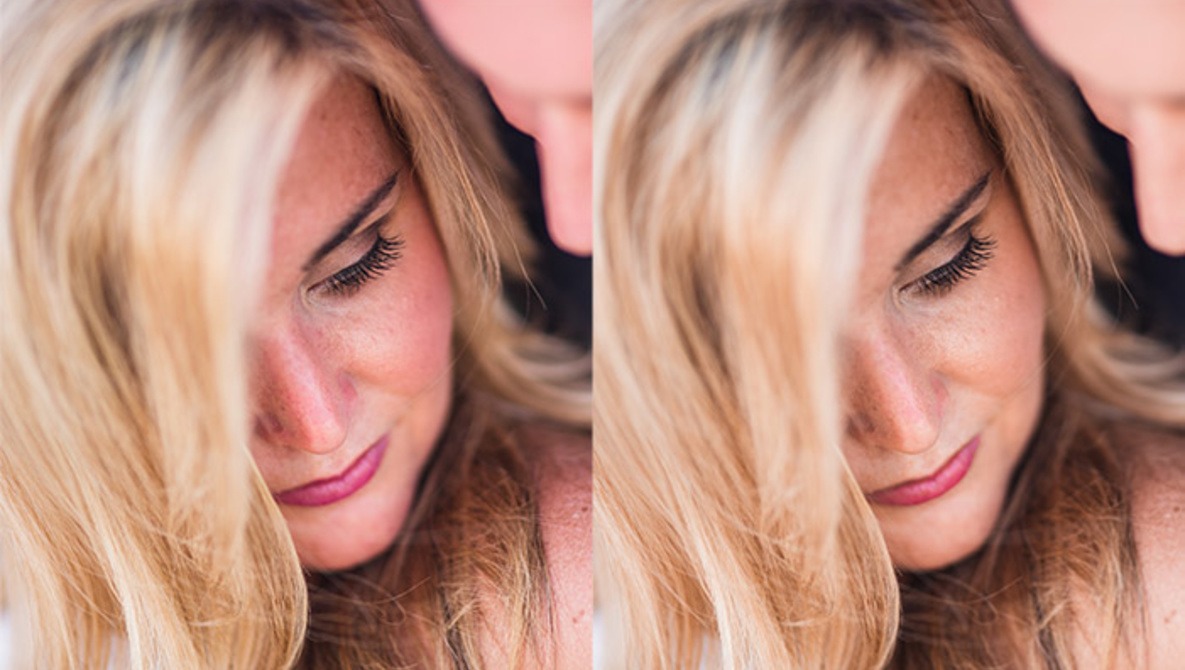
When I’m editing photos, I try and get the majority of my work done within Lightroom. For a wedding, I might need to take less than 5% of my photos into Photoshop. So I was pretty excited when I found out how I could fix slight colors casts right from within Lightroom. Below is the image straight out of camera (SOOC) along with what the image looks like with my custom preset applied upon import.
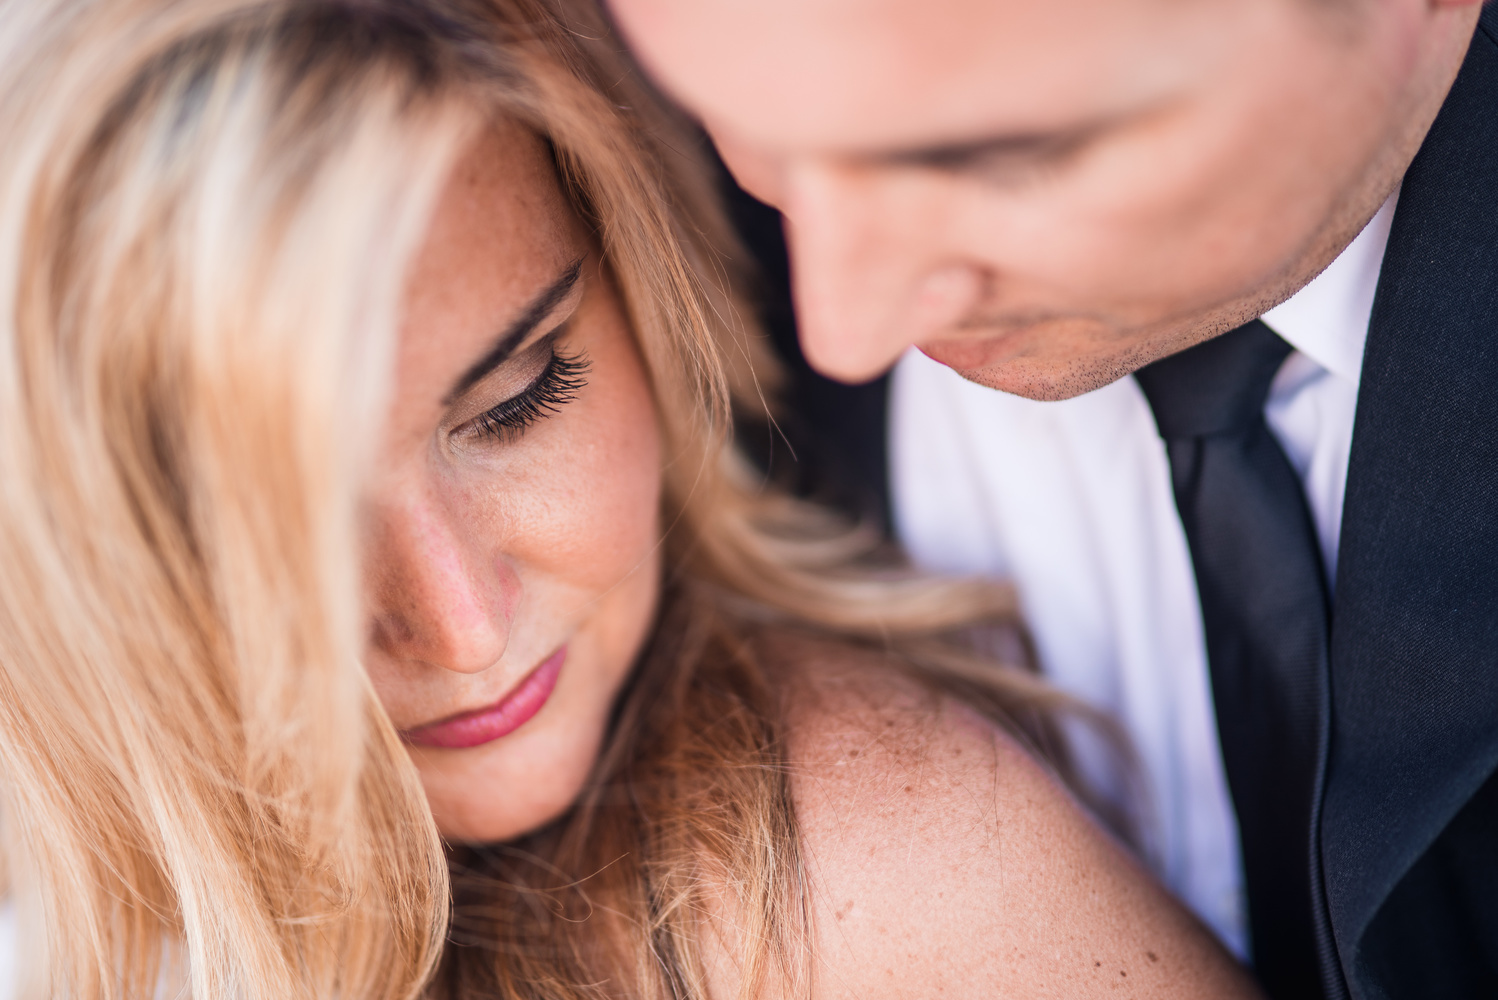
It’s looking pretty good at this point, but the first thing that stands out to me is the slight red cast on their faces. We did this shoot in Oklahoma when it was 95 degrees and 85 percent humidity so it’s understandable. I don’t want to try and fix this with color balance though, because the color in the rest of the image looks good. The trick is to use the hue and saturation panel within Lightroom.
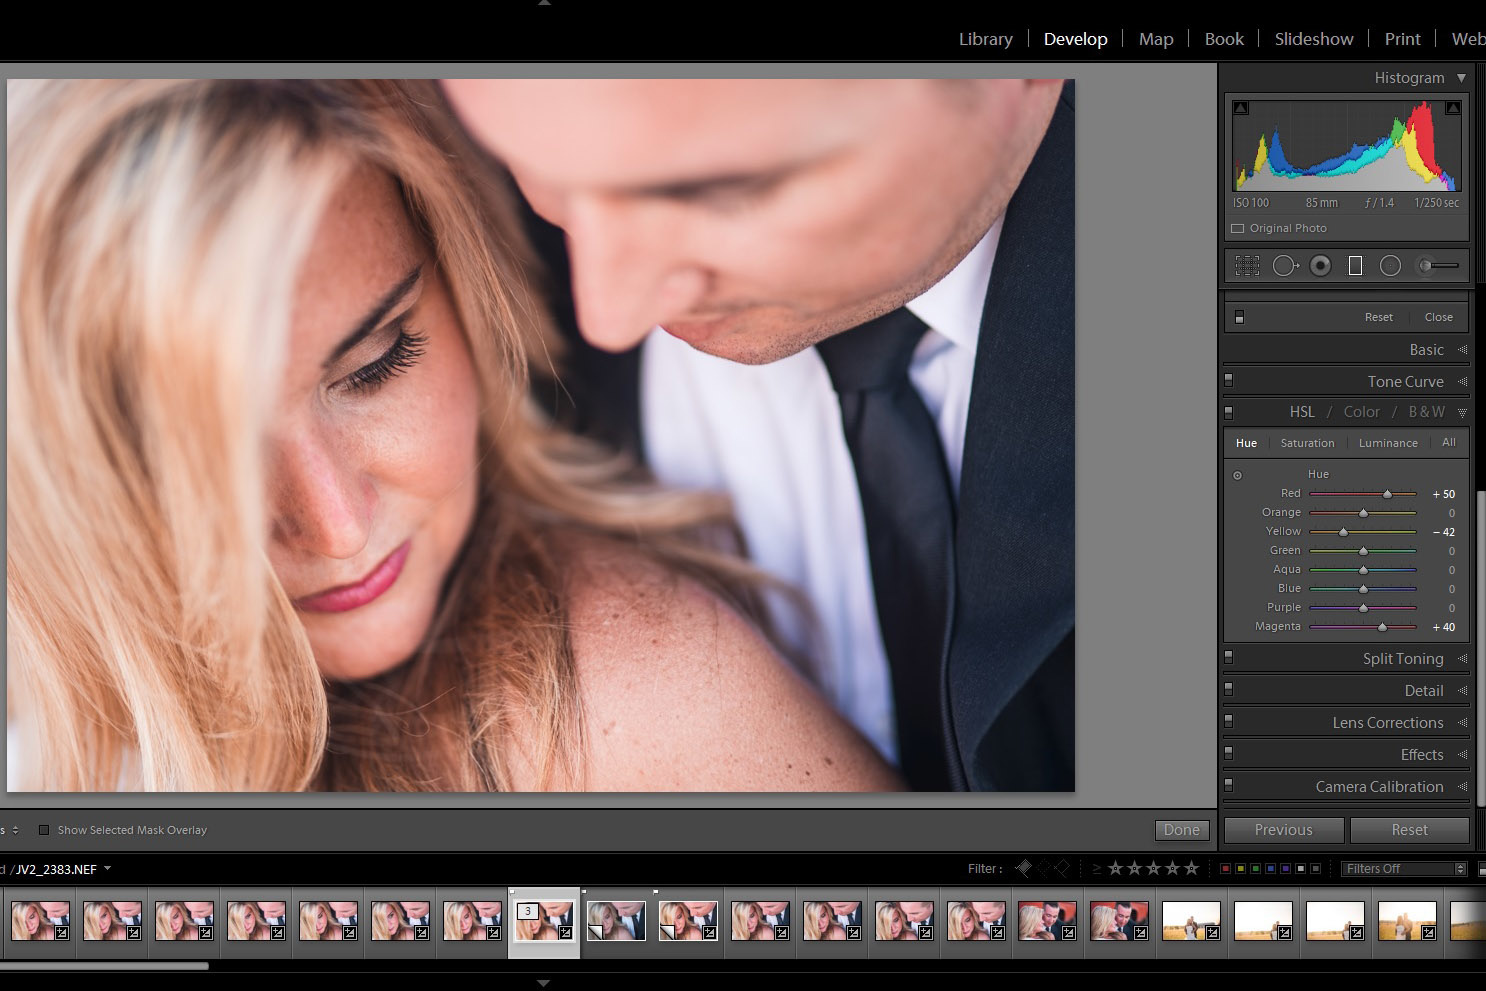

There is no real science to this part. I just grab a slider and push and pull in both directions to see what it effects and then dial it in till I like the effect. For the flushed skin, I just dialed the red slider more toward the orange side of the hue to make a better match for the rest of the skin tones in the image. I could have stopped here but since I’m playing around with these sliders I might as well see what else I can do. Since her lips were also red, I affected the color of them when I fixed the skin. So when playing with the Magenta slider, I noticed that I could take that value closer to the red side and it would bring back some of the color in her lips. Lastly, I noticed the Yellow slider only affected her hair, so I used this hue adjustment to give her hair more of a golden blond color.
When playing around with these sliders, it’s important to remember that they will affect the entire image. This image worked out very well because there was no other red colors in the image. If the groom had on a red tie, then my adjustment to fix the skin would also affect the tie. I would then have to decide if that color change of the tie was acceptable to me. If not, then I could open up multiple versions of the image in Photoshop and blend them together. Maybe one day Photoshop will add the hue saturation adjustments to the adjustment brush… I think that would be pretty awesome.
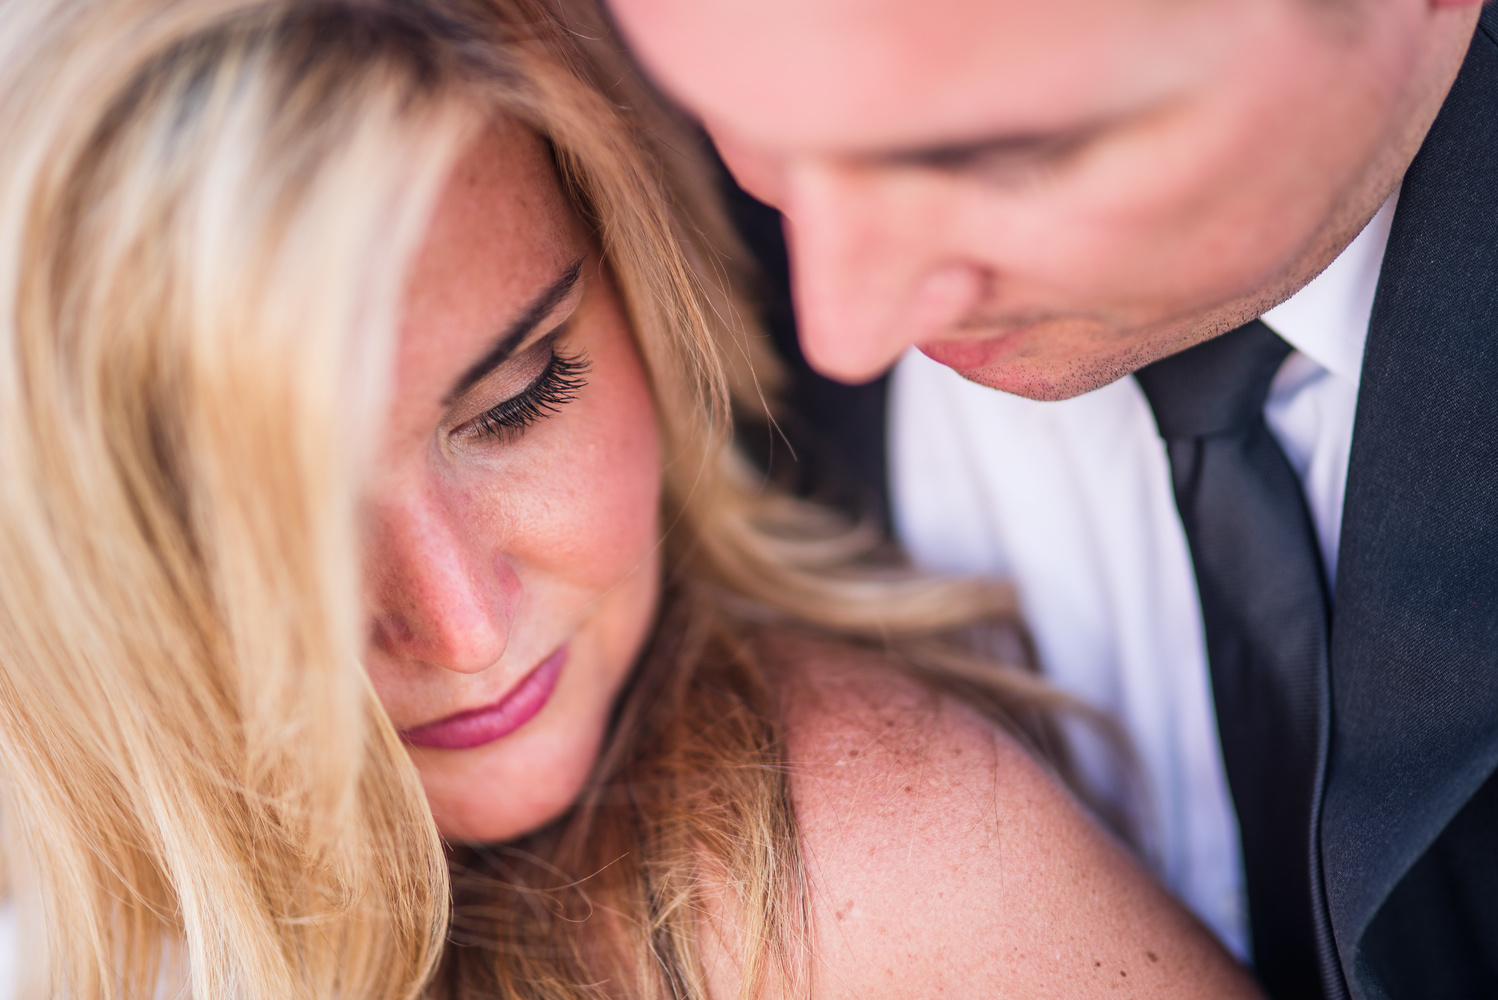
For the final edit, I only did two more things. I slightly darkened everything around her face with a radial gradient filter to draw the viewer's eye more to her face. I also used a gradient filter to take away some of the sharpness from her shoulder because I found it to be a bit distracting. In all, the image took about 30 seconds to fully edit.

What technique do you use to fix red flushed skin? What else do you use the hue saturation sliders for?



Thanks for sharing Jason. I think we can all agree, this is one area I wish Adobe would change within Lightroom, add a brush to the HSL/Color/B&W panel.
The day that comes I'm doing backflip of joy!
… or you could switch over to CaptureOne. Just saying ;)
That's why I set your article as one of the relevant articles ;) I still have not gotten myself to sit down and give Capture One a try... it looks nice, im just so fast with LR that its hard to find a good time where i can slow down and use it...
I know the feeling… I have used C1 for studio work for over 2 years but didn't make the switch for weddings and engagement sessions before this year. Now that I did, I couldn't go back. I probably lost time on my first 2-3 weddings, but now that my workflow is in place, I find my final images to be way closer to what I have in mind. My process in LR used to look way too strong and unnatural :)
maybe come winter time ill make myself use it for a couple months and see how it goes...
What I sometimes do when the Red Hue slider affects more than I want it to is to use the adjustment brush and shift the WB of the specific area over to the green side a little bit. It can get rid of a lot of the red/magenta tint if use sparingly.
But yeah, I wish they'd make their adjustment brush a bit more powerful.
Thanks for the post and re-affirming the process I use Jason. I basically take the same approach as you but in CS6/CC. Create the Hue/Saturation Layer and use the sliders to adjust for reds in the skin tone. I prefer using PP over LR for this so I can use masks to keep reds in my backgrounds where needed.
ya I'll do the same thing if the adjustment is going to affect a bunch of other stuff in the image. But if not, then i try and stay out of Photoshop as much as possible.
Makes sense, plus saves the extra step of exporting to PP.
ya! export to photoshop... wait... do your adjustments and save.... wait.... back to lightroom.
You can do this one better by using the Targeted Adjustment tool. Click on the dot to the left of your slider set and it becomes Target Adjustment tool, your curser now looks like a cross target. You put it on the area you want to correct, click and slide it up and down, note that only the colors under the curser will change. See the image.
definitely another good way to do it Michael.
Was going to post this myself! Some great extra tips here in the comments. You can put me in the same group that's intrigued by C1 but feel a bit too invested in Lightroom to switch. Maybe if someone wants to gift me a Phase1 system, it might tip me over :P
Thanks a lot.
I'm always looking for techniques to reduce the excessive red/magenta in skin from The Canon 5D. It's one of the few things I don't like about the camera. I'm tempted to try Capture One.
Capture One ftw! I've switched from Lightroom to Capture One mostly because of color correction tools and sharpening tools (which are really awful on LR). I still miss some features of Lightroom (I prefer noise reduction on LR, sharpening mask is really great feature on LR and so is healing brush), but I can do these in CO and Photoshop relatively easy.
Does Capture One work with DNG files ?
They say: "DNG 1.4 support" (https://captureintegration.com/download/release/Capture%20One%208.3.1%20...)
Thank you - I didn't know that :)
In some instances (if you're lucky) you can brush in or out temp, but the method you outlined above is the bees knees in LR. If I can't get skin tones dialed with those sliders, the camera calibration slider (red sat and blue sat) is a HUGE helper too