Have you ever wondered what that obscure tab called “Channels” in Photoshop does? You know, the one with black and white layers of your photograph that are anything but red, blue, or green? Turns out they do some pretty amazing things and aren’t really that hard to understand once you get familiar with them.
At their most basic, channels are simply selections of tonal values within your images. These selections or masks, when combined with the color information in the pixels of your photo, determine how red, blue, or green your photo appears. For example, if the red channel appears flat or washed out, red will be more prominent in your image as there is very little black masking it away. Conversely, if the red channel is very dark, it means red is being masked out of your image, leaving more of a greenish tone, the opposite of red on the color wheel. The same goes for the blue and green channels.
This is all great, but what does it mean for your post-processing workflow? The beauty of selections generated via channels is that they are perfectly feathered, meaning they provide a near imperceptible transition in your edits. We can use channels as a means of creating selections that will help us refine selective areas within our images. Here are just a few examples.
Dodging and burning is a widely used technique that enhances or diminishes emphasis on certain areas in a photograph. The problem you will inevitably encounter is that the areas requiring emphasis at some point intersect with those that you wish to de-emphasize. If you try to dodge or burn those areas freehandedly, you will have a hard time doing so without affecting one or the other in a manner you wish not to.
What we can in these situations is create a selection using the red channel that contains most of the contrast information within your photograph. To do so, go to your Channels tab and command+click or control+click on the red channel thumbnail. This will create a selection of the red channel as indicated by the marching ants. Because this selection emphasizes the contrast within your photo, you can use it to enhance the contrast within your image selectively. Below is an example in which I applied this technique to the soft, flowing lines of a waterfall. First I created the selection using the red channel. Then I created a new 50% grey later set to a blend mode of “soft light” to serve as my dodge/burn layer. With my brush set to 10% opacity and a foreground color of white, I set out to enhance just the flowing portion of my waterfall. Because I was using a selection created based on the brightest tonal values in my image, only those areas would be enhanced by the dodge effect.
Conversely, the selection can be inverted using command+I, or control+I, which will select the darkest values in the image only. Using these values allows you to burn selective areas of your image, like black in-between the fall lines, to further enhance contrast and add emphasis. I often use this technique for landscape photography, but it can be applied to any genre you desire.
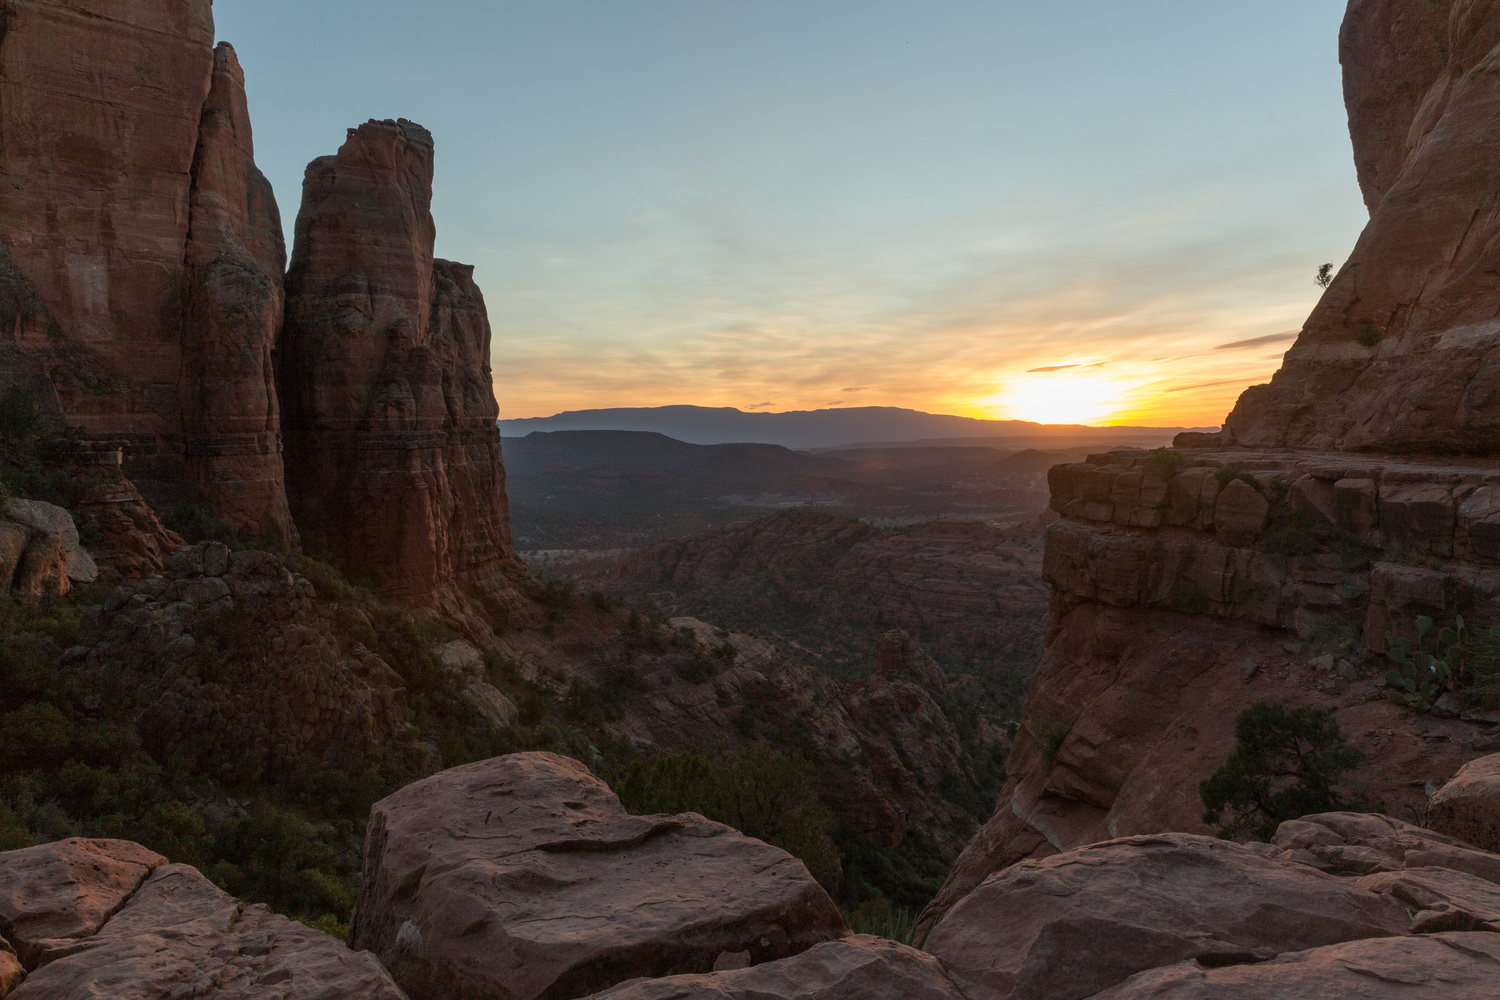
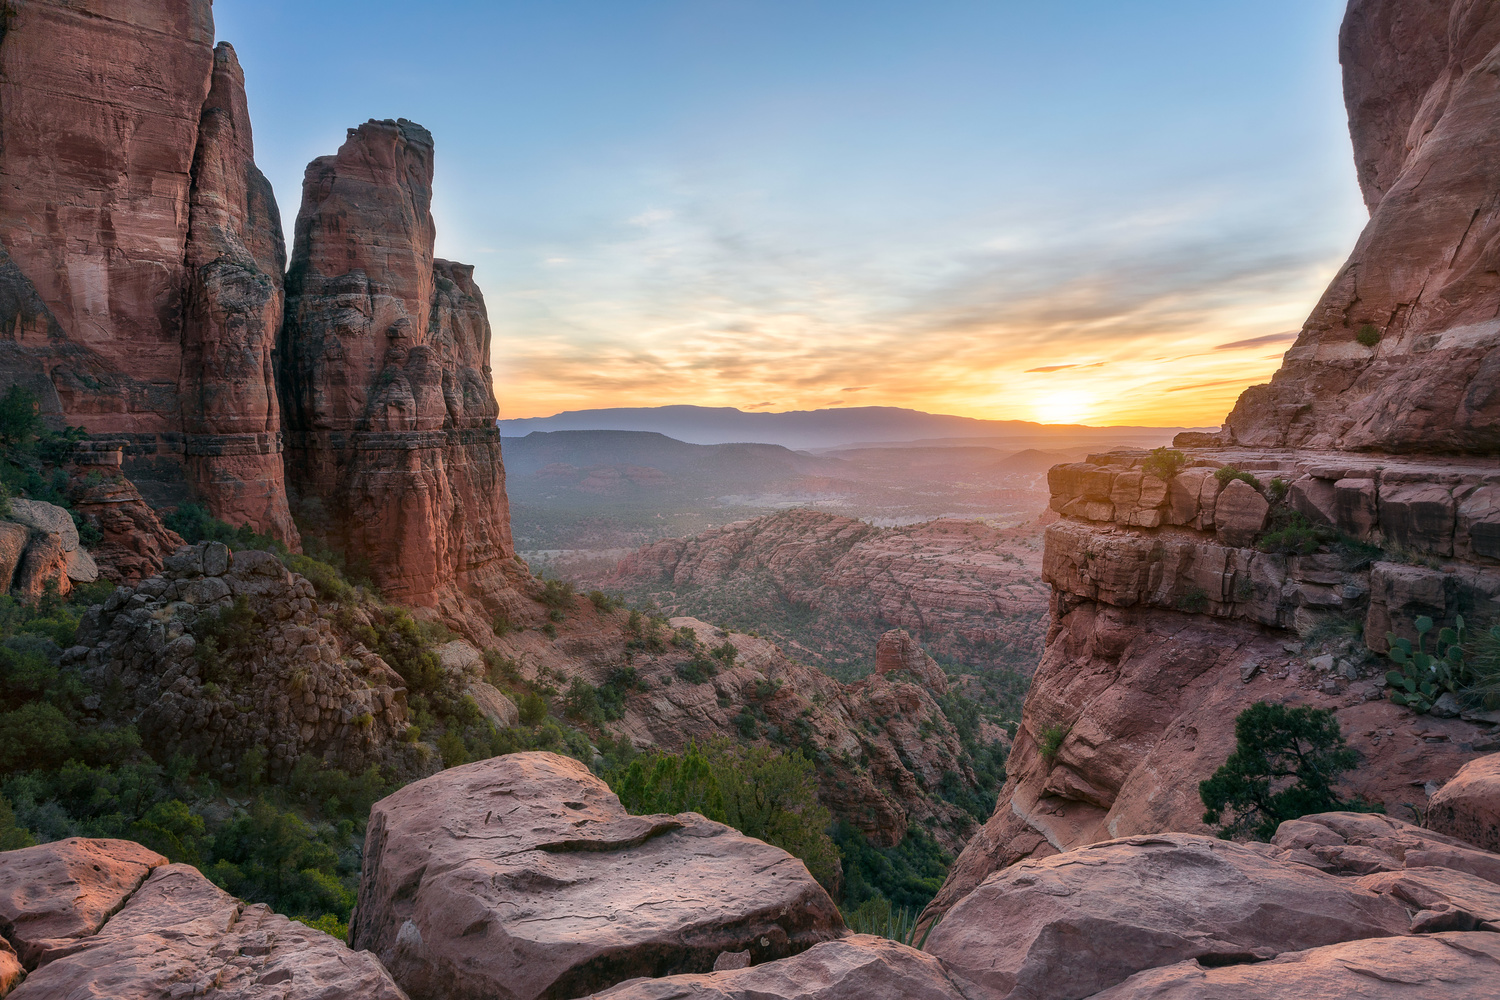
Another use is in exposure blending. This is a topic that primarily applies to landscapes; however, the process may lend itself to other applications as well. Some scenes contain both very bright and very dark values that most digital cameras have a difficult time capturing in their entirety. You are left exposing for one or the other, which is not typically desirable when shooting landscapes. Aside from shooting early morning or late afternoon, your need a way to capture both in one image. Again, we can use channels to create unique selections that will help us blend two images together for a perfectly balanced photo. In the shots below, I encountered a scene where I was forced to shoot into the setting sun as that was the only composition available (and a good one at that). The problem was that there were all these incredible rock formations framing the sunset that would be left underexposed if I wanted to capture the detail in the sky. The solution was to take one exposure for the sky and another for the rocks and add them together in Photoshop.


On the surface, this might seem easy enough, but it presents a set of unique challenges. Simply drawing a line around the sky to create a mask would create a harsh edge. Using automated HDR software generally works well but doesn't leave a lot of room for making adjustments to how the images are blended.
The first step is to get both exposures reasonably similar to one another in Lightroom or Camera Raw without losing the precious detail you are trying to maintain. Once this has been achieved, open them as layers in Photoshop and stack the exposure of the rocks on top of that for the sky. This is where things can get tricky. Using the red channel, click and drag the thumbnail to the new channels icon at the bottom of the tab. This will create a copy. With this new channel highlighted, go to your menus and under "Image," go to "Adjustments," then "Levels." This brings up the Levels dialog box, which will allow you to make changes to the brightness values in your new channel. In my example, I wanted to create a selection that would allow me to mask in the new sky with the image for the rocks. By adjusting the middle arrow in my levels dialog to the right, you will notice that the darker areas of the channel becoming even darker and the lighter values becoming even lighter. We can take this one step further by moving the arrow on the far right to the left, which makes the lightest values on the channel become very bright. This is a subjective process and may take some trial and error, but the goal is to create a channel whose brightest areas are what you want to mask into your photo. This is what mine looked like after it was complete:

You will notice that the sky is very white, which is the area I want to mask into my image of the rocks. Next, I added a layer mask to my rocks image and then went back to the channels tab to create a selection using my new channel by command+clicking or control+clicking the channel thumbnail. Going back to the mask on my rocks image and using a brush at 40% opacity, I slowly masked in the sky until achieving a natural look. Because the selection we were using was based off of tonal values using channels, the areas around the rocks, clouds, and sun were perfectly feathered, leaving no visible blending lines and a smooth transition. After some additional adjustments, here was the final outcome.

These are just a few of the ways channels can help you selectively edit your photographs for unique effects. The possibilities are truly endless and with a little creative effort, you will likely uncover a use for them in your day-to-day workflow.


Awesome article! There is going to be a change in my landscape images from now on! I always see these beautiful sunsets and end up bracketing to create an HDR but it never captures it like I see it! Thank you and God bless you!
You are very welcome Nii! It will change the way you shoot once you figure out how to use the channels. Follow along and I will write another one soon about luminosity masks!
Awesome!
Great article Mark, Thank you 😊
Just a question, what are the pros and cons compared with the luminosity masking??
Thank you Ahmed! In my opinion, luminosity masks are a great tool as well and basically an extension of this technique. They certainly have their place in post but are more complicated to master as you often have to subtract darks from lights masks etc... To get a desirable result. They are more useful for masking in very specific areas I'd say vs an entire sky. That's my take!
That make a good sense to me. Currently I am more into getting the look done using whatever makes me comfort, they are all tool that we need to be aware of to make our life easier. For masking, I will stick to this method you shared with us until I reach the skill level which I call " it could have been better if you took this way".. Thanks again Mark :)
Great article Mark!
Thx Tihomir! Trying to stay relevant here lol
Extremely useful article, thanks a lot for posting!
Thank you Ashwin! I hope to post another soon regarding luminosity masks which is an extension of channels, stay tuned
This is a great tool for landscape photography, I will definitely have to try this on my next shoot. Thanks for also providing us with the exposure shots so we can try it ourselves in photoshop.
Brendan you are very welcome! Thank you for taking the time to comment, pls share with others if you think it will be helpful for them as well