When you finish editing an image, how you export it matters as much as the edit itself. The wrong choice can leave you with bloated file sizes, poor quality on the web, or no way to make changes later. Knowing the right workflow keeps your edits flexible and your exports ready for print, social, or client delivery.
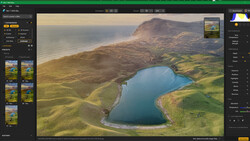
Coming to you from Aaron Nace with Phlearn, this practical video focuses on the best way to export images from Photoshop. Nace explains why you should always keep two versions of your file, one layered and one flattened. The layered version, typically a PSD, keeps every adjustment intact so you can go back and tweak later. The flattened version, usually a JPEG, is what you’ll use for sharing or printing. He also walks through how to use Photoshop’s “Export As” feature and explains the critical settings you need to pay attention to, including quality sliders, resolution, and color space.
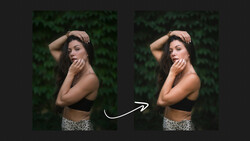
Nace demonstrates how the new Firefly Image 3 generative fill can transform an image, such as swapping a distracting city background for a more natural scene. He then shows how to refine edits with Camera Raw filters, adding a vignette, adjusting tones with radial masks, and subtle color grading in shadows, midtones, and highlights. Because he converts the working layer to a smart object, those adjustments remain editable. That flexibility highlights why keeping a layered file is so important. It gives you the ability to return and fine-tune at any point instead of being locked into a flattened export.
Beyond editing, the real focus is on preparing files for different uses. In “Export As,” Nace compares formats like JPEG, PNG, GIF, and TIFF, but makes it clear JPEG is the standard for most web and social sharing. He shows how to balance file size against quality using the slider, pointing out that most of the time you don’t need to push it to maximum quality. The file size gain isn’t worth it, especially when viewers can’t see the difference. He also explains scaling options so you can export multiple sizes at once, such as a full resolution file alongside a smaller half-size copy for faster uploads. Checking the “Convert to sRGB” box ensures colors display correctly across web browsers, a detail often overlooked but essential for consistent results. Check out the video above for the full rundown from Nace.


Join the Fstoppers community for free
-
Post comments and join in the discussions
-
Browse the site ad-free
-
Share your work and get featured in the community
-
Compete in the photo contests for fun and prizes
No comments yet