
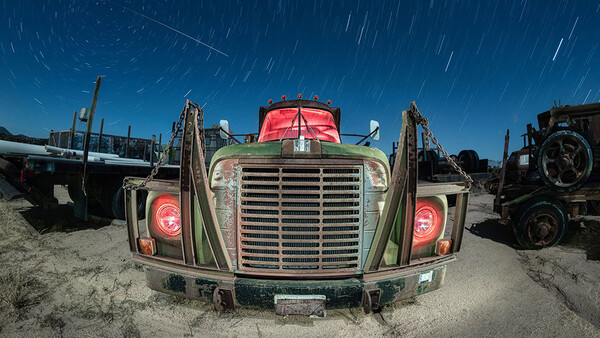
The Perseid meteor shower is often the most spectacular meteor shower in the Northern Hemisphere due to frequency as well as its appearance in summer. Here's how to photograph it!
Find Dark Clear Skies
Find the darkest skies you can, away from light pollution, preferably with large open spaces to view the night sky. Obviously, you also want to find a place with as few clouds as possible. Typically, they peak in August. However, you can see plenty of meteors on other nights surrounding the peak. The most important thing is that you have dark, clear skies, preferably when the moon is not out.

When Is the Best Time to Photograph the Meteor Shower?
This year, the Perseids can be seen from mid-July to August 23. They will likely peak around the night of August 12 and before dawn on August 13, 2025. However, the moon will be 84% illuminated for this peak, rising at 9:38 p.m. (Pacific Standard Time). Because a nearly full moon gives off a lot of light, you will likely not be able to see most of the meteors. Consequently, if you are going out during the peak, the best time to catch them is in that short time during twilight and before the moon comes up.
What you could consider is trying to view the Perseids earlier, such as between July 22–29. The moon will not be present during the hours that you would most likely be out photographing the sky. This creates darker skies, increasing the chances that you see more meteors, despite this not being near the peak.
When you have dark skies, you may see as many as 60–75 meteors per hour during the peak.
What Do You Need to Photograph the Perseid Meteors?
There are a few pieces of gear that make life great when photographing the meteor shower:
- A camera that has manual mode. This includes just about any DSLR or mirrorless camera.
- A wide-angle lens will capture more of the night sky, increasing your chances of capturing the streaking meteors. You can read more about camera gear for photographing at night here.
-
A sturdy tripod for keeping your camera still.
-
A remote shutter release cable or intervalometer.
-
Gaffer's tape (I like bright-colored tape so I can see it at night)
-
Headlamp (try to use this as little as possible to preserve your night vision; use a red headlamp if possible, but keep the red light away from other photographers, as it can ruin their photos easily)
-
Lawn chairs, especially one that reclines so you can watch the universe's glorious light show
-
Blankets
-
Favorite beverages
-
Snacks
-
Friends
Where Do You Aim the Camera?
I could be snarky and say "the sky," but no, you want more information than that!
The Perseid meteor shower is named after the constellation of Perseus because that's the location in the sky where the meteors appear to originate. This is sometimes referred to as the radiant point. Perseus will appear more or less north and drift northeast if you are in the Northern Hemisphere, where the meteor shower will be most visible.
However, I should mention that the meteors will be visible in many places in the night sky. You are not restricted to pointing your camera north or northeast. Think about composition as well. There may be an interesting foreground nearby that adds interest to your photo. Or you may want to point your camera to the south or southeast so you can also capture the Milky Way.

Keep Your Camera Clicking!
You can't wait for a meteor to streak across the sky and then try to trigger your camera. It would already be too late!
-
Tip 1: Keep your camera continuously clicking, then lean back and enjoy the meteor shower.
-
Tip 2: Turn off Long Exposure Noise Reduction (LENR) on your camera. Why? Because it will pause for the length of the exposure to apply noise reduction, and we don't really want that here. We want the camera to continuously photograph.
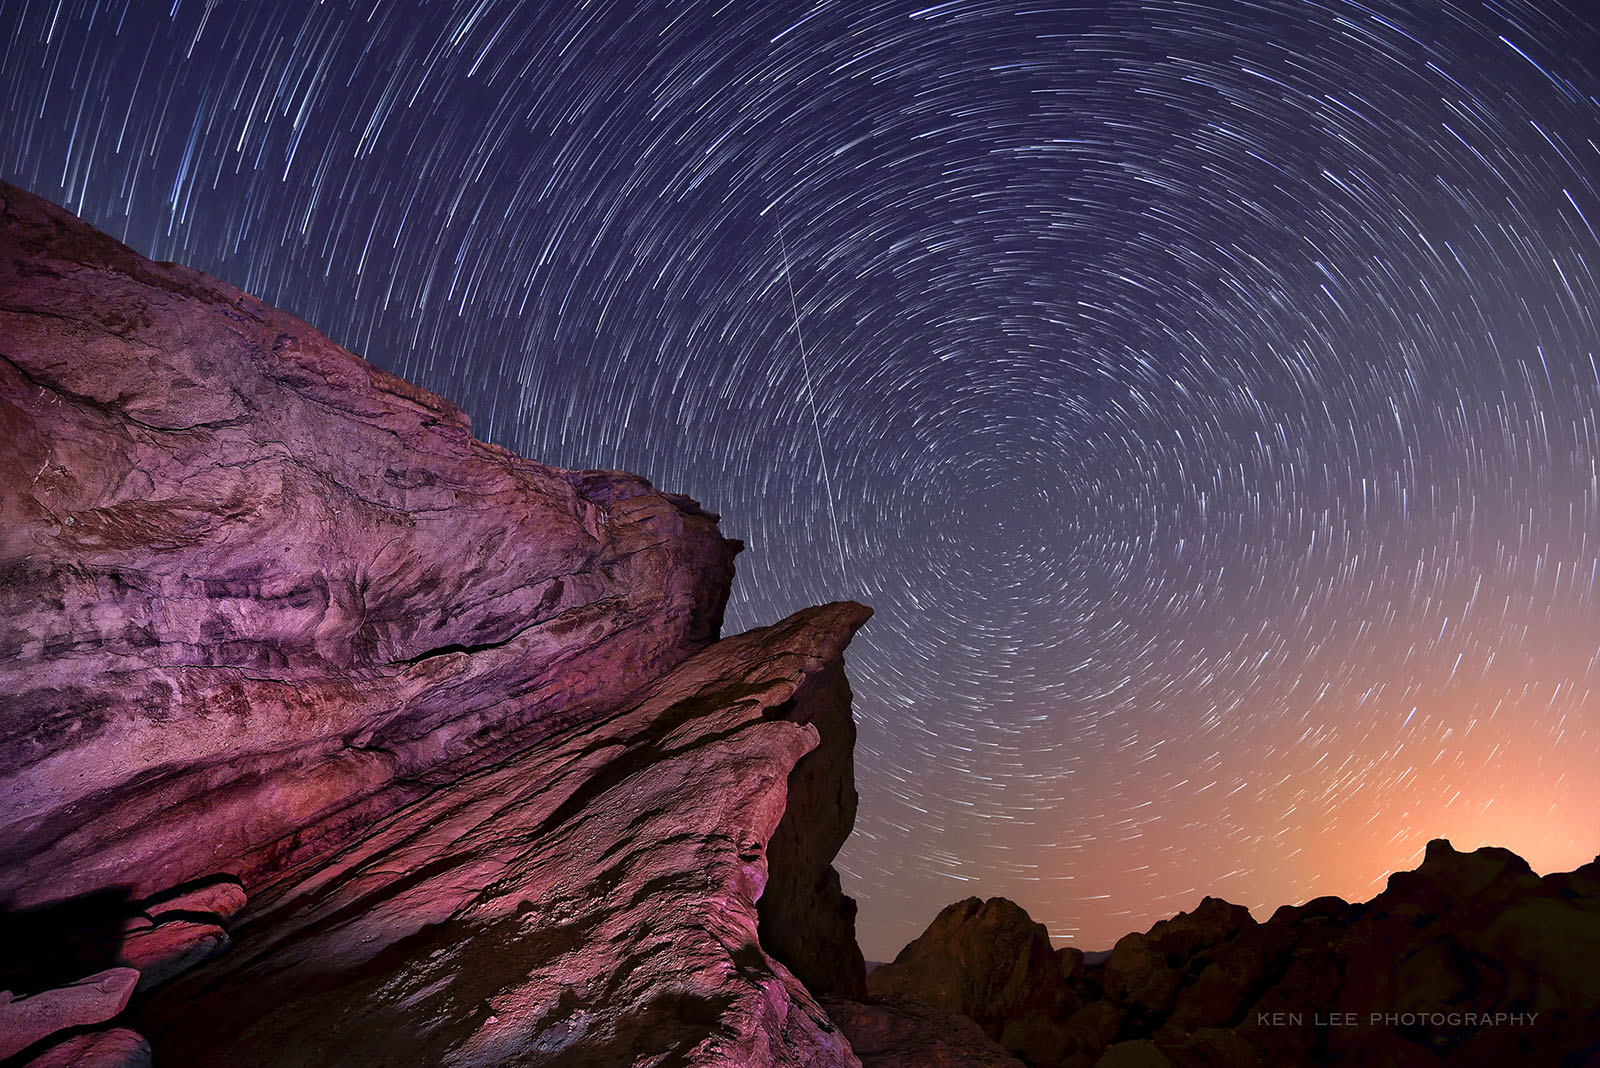
Bonus: Keeping the camera clicking also allows you to create star trails! In fact, as you've seen in a couple of these photos, that's exactly what I've done with the other photos! If you want to learn more about creating star trails, have a look at this article. If you take enough of these photos, you could also create a video time-lapse of the stars moving across the night sky!
Two Simple Devices to Use to Keep Your Camera Firing
1. Wired Remote Shutter Release
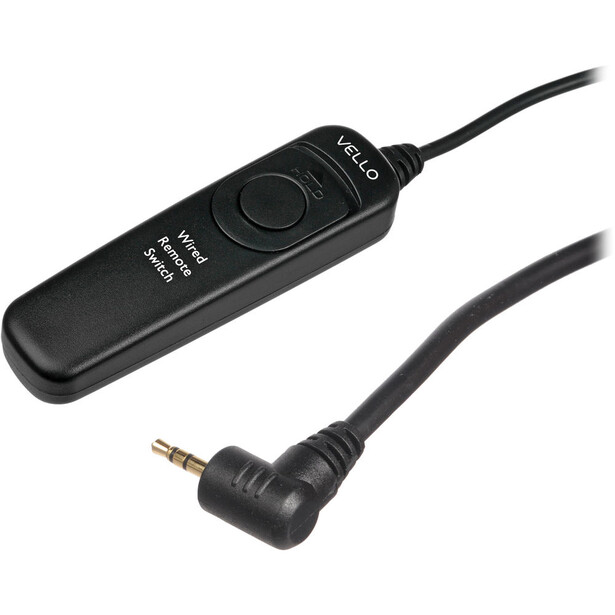
You may use a cheap remote shutter release such as the one shown above. You can get one that attaches to your camera via a cable. Once you have this, set your camera to Continuous Burst mode. This is the same mode that allows you to shoot rapid-fire sequences like what sports or wedding photographers do. We night photographers can use these too, but in slooooowwww motion.
Simply set your camera to your ideal settings, such as a 20–30 second exposure, f/2.8, and ISO of 1,600–6,400, depending on how bright the scene is (or how wide your aperture is). Lock down your remote shutter release. This should keep your camera clicking merrily away, taking one photo after another. Many cameras have a limit of 100 consecutive photos, so be aware of that and set a timer if you wish. Then when your camera stops, simply start it up again.
2. Intervalometer
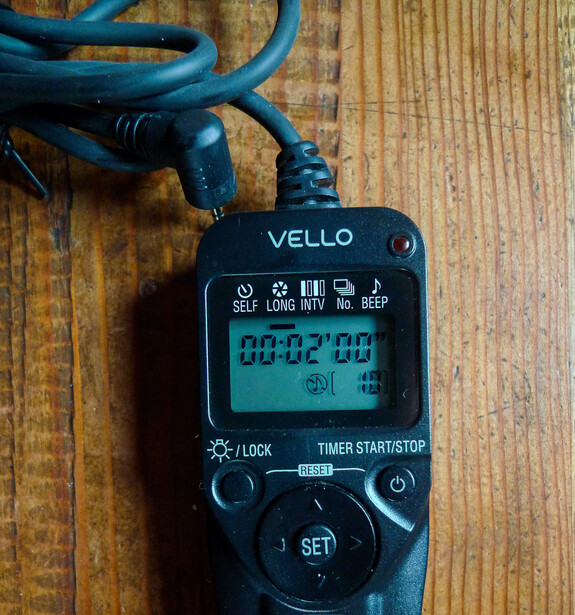
Your camera may have a built-in intervalometer already. Or you can purchase an external intervalometer and attach it to your camera. There are myriad options, including Bluetooth camera controllers as well. You can set the time of exposure, time between each photo (which should be as short as possible, typically one second), and how many individual photos you wish to photograph.
Read our essential guide to using an intervalometer here.
Optimal Camera Settings for Capturing Meteor Showers
Set your lens to infinity. If you are not sure how to focus on infinity and the stars in the sky, this article on focusing on the stars may help you!
Dark Sky Settings
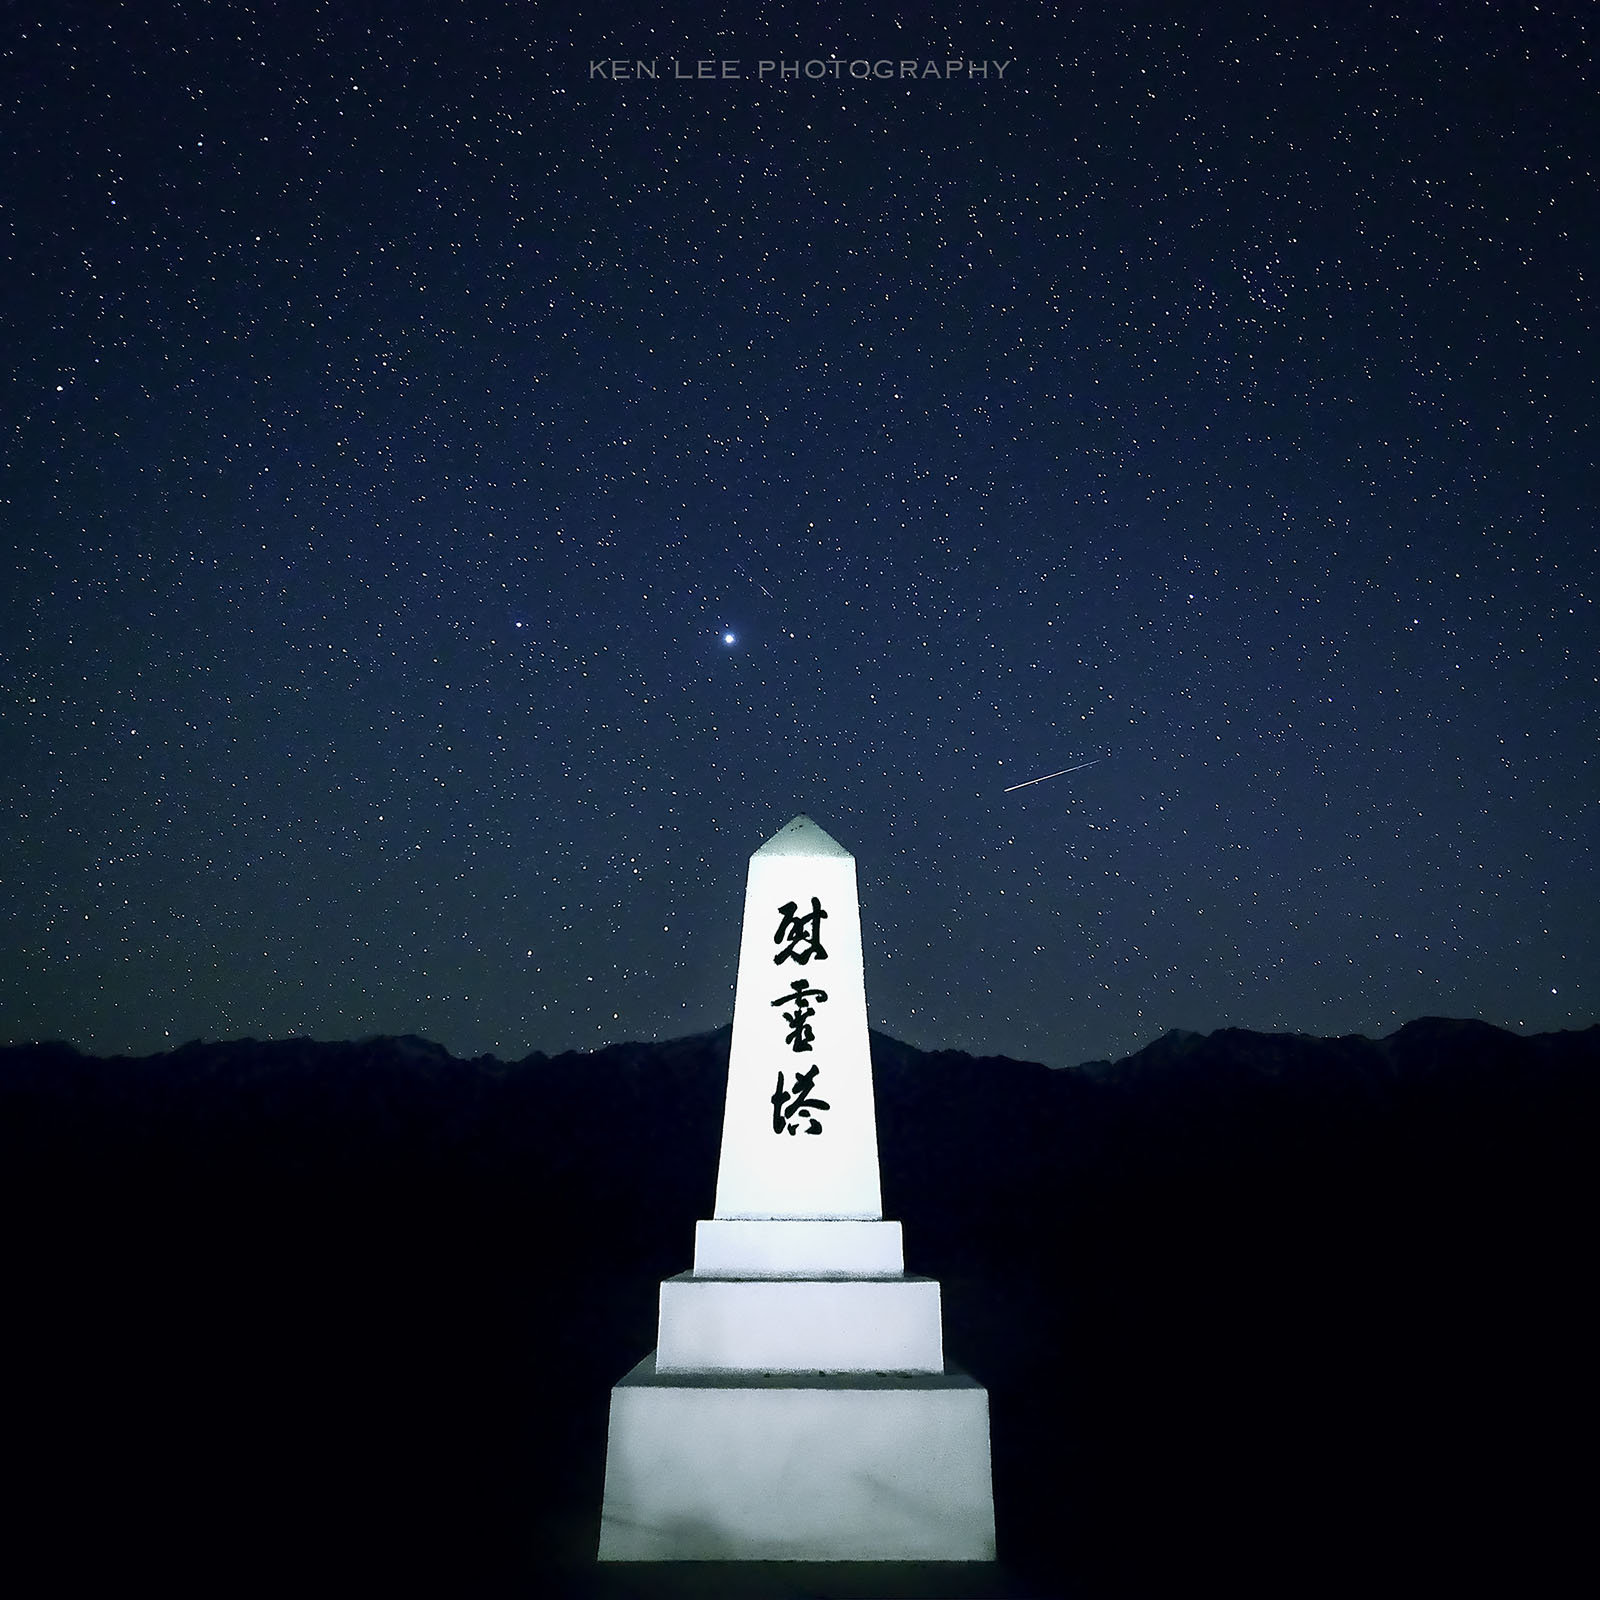
If you are using a wide angle lens and the moon is not out, try a shutter speed of around 20–30 seconds. Choose a large aperture for your lens, something like f/2.4 or f/2.8. Then adjust the ISO to something relatively high, such as ISO 3,200 or 4,000—whatever works for getting a decent exposure and lots of stars.
Take a test shot. Can you see the night sky, the stars, and everything else? Is everything exposed reasonably well? If you cannot, adjust something in your exposure triangle, such as the shutter speed or the ISO.
Remember this, though: if you adjust it much past 30 seconds on an ultra wide angle lens, the stars will begin appearing elongated rather than as pinpoints. And if you adjust the ISO to a very high setting, it will become noisier and have less dynamic range.
Keep people away from your tripod. Don't shine lights around the area. Relax and watch the heavenly show.
What Should I Do With All These Photos?
You'll have possibly hundreds of photos of the night sky. Hopefully some have meteors! If so, congratulations! Cherry-pick those and show them off to your friends and family!
But wait, there's more! You can do some other great things with all these photos!
-
Whether you have meteors or not, you may also take all these successive photos and make an image of long star trails that may or may not feature shooting stars!
-
Or you could create a time-lapse video from these images as well, particularly if you've taken many of them.
-
Share a few with the Fstoppers community!
Join the Fstoppers community for free
-
Post comments and join in the discussions
-
Browse the site ad-free
-
Share your work and get featured in the community
-
Compete in the photo contests for fun and prizes
2 Comments
Thanks Ken!
I found this article interesting and informative.
Great to hear, thanks. I’m glad it’s helpful.