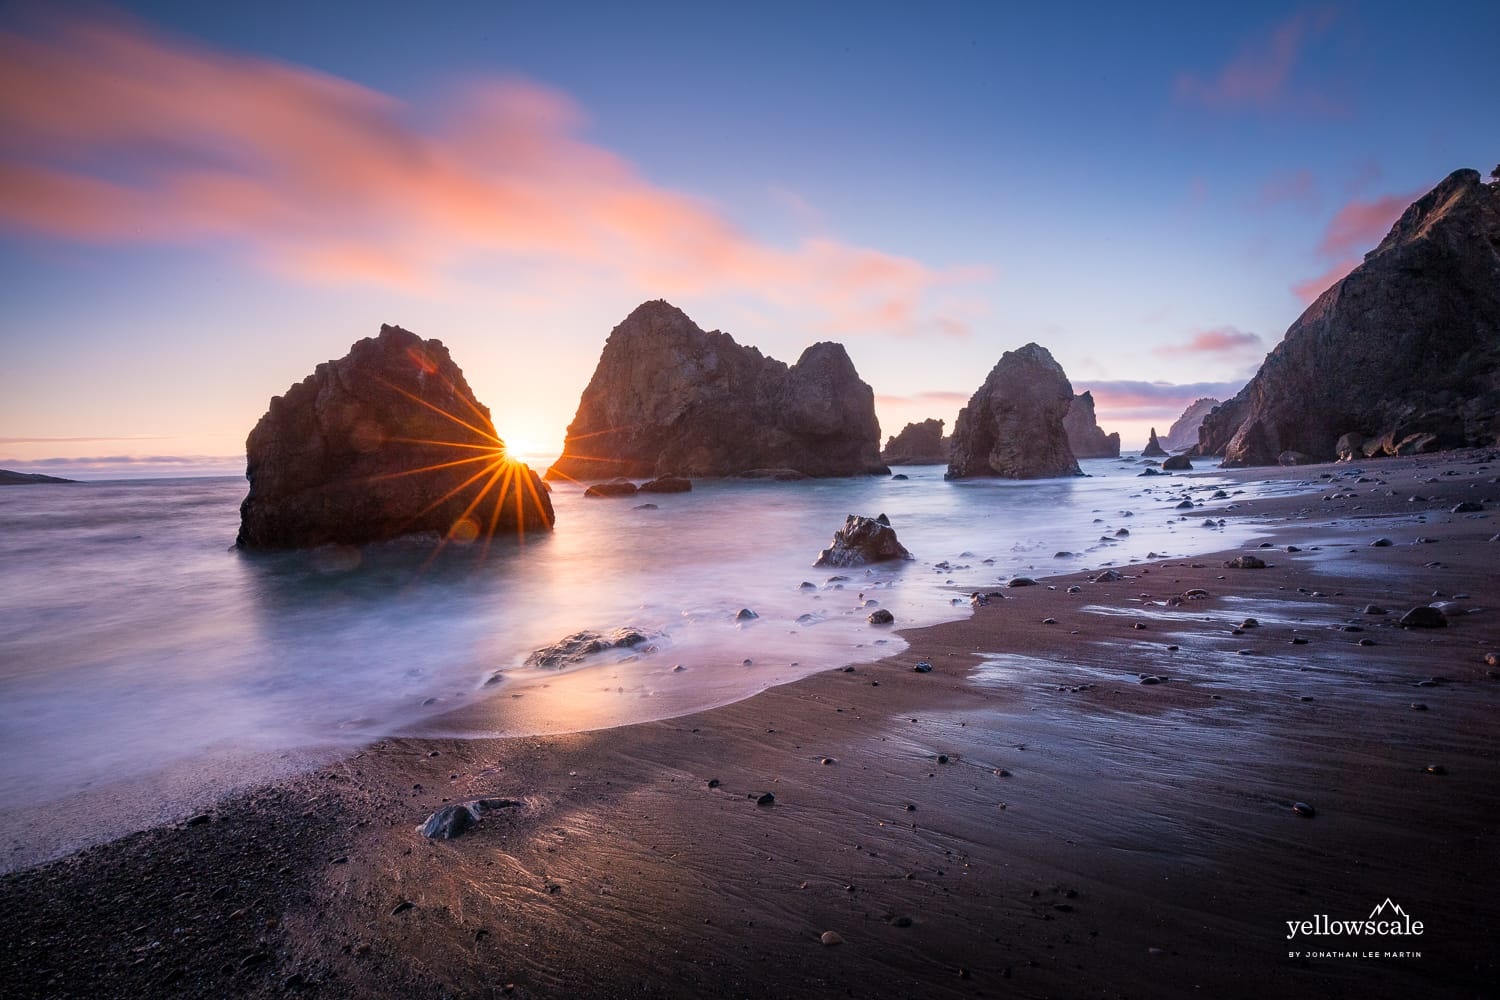
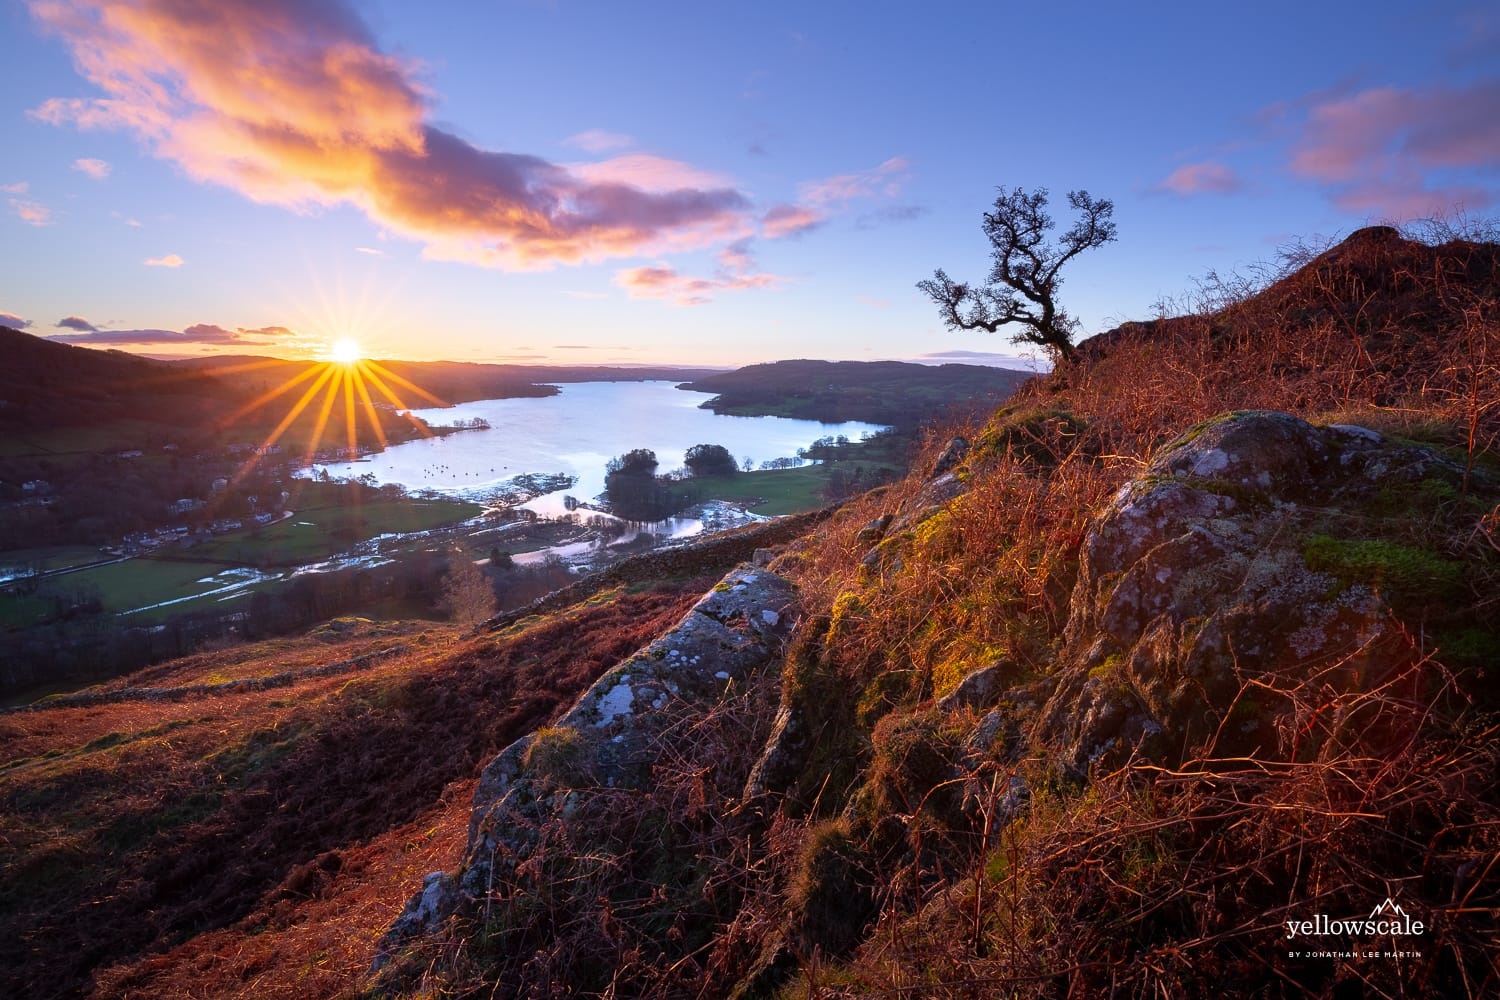
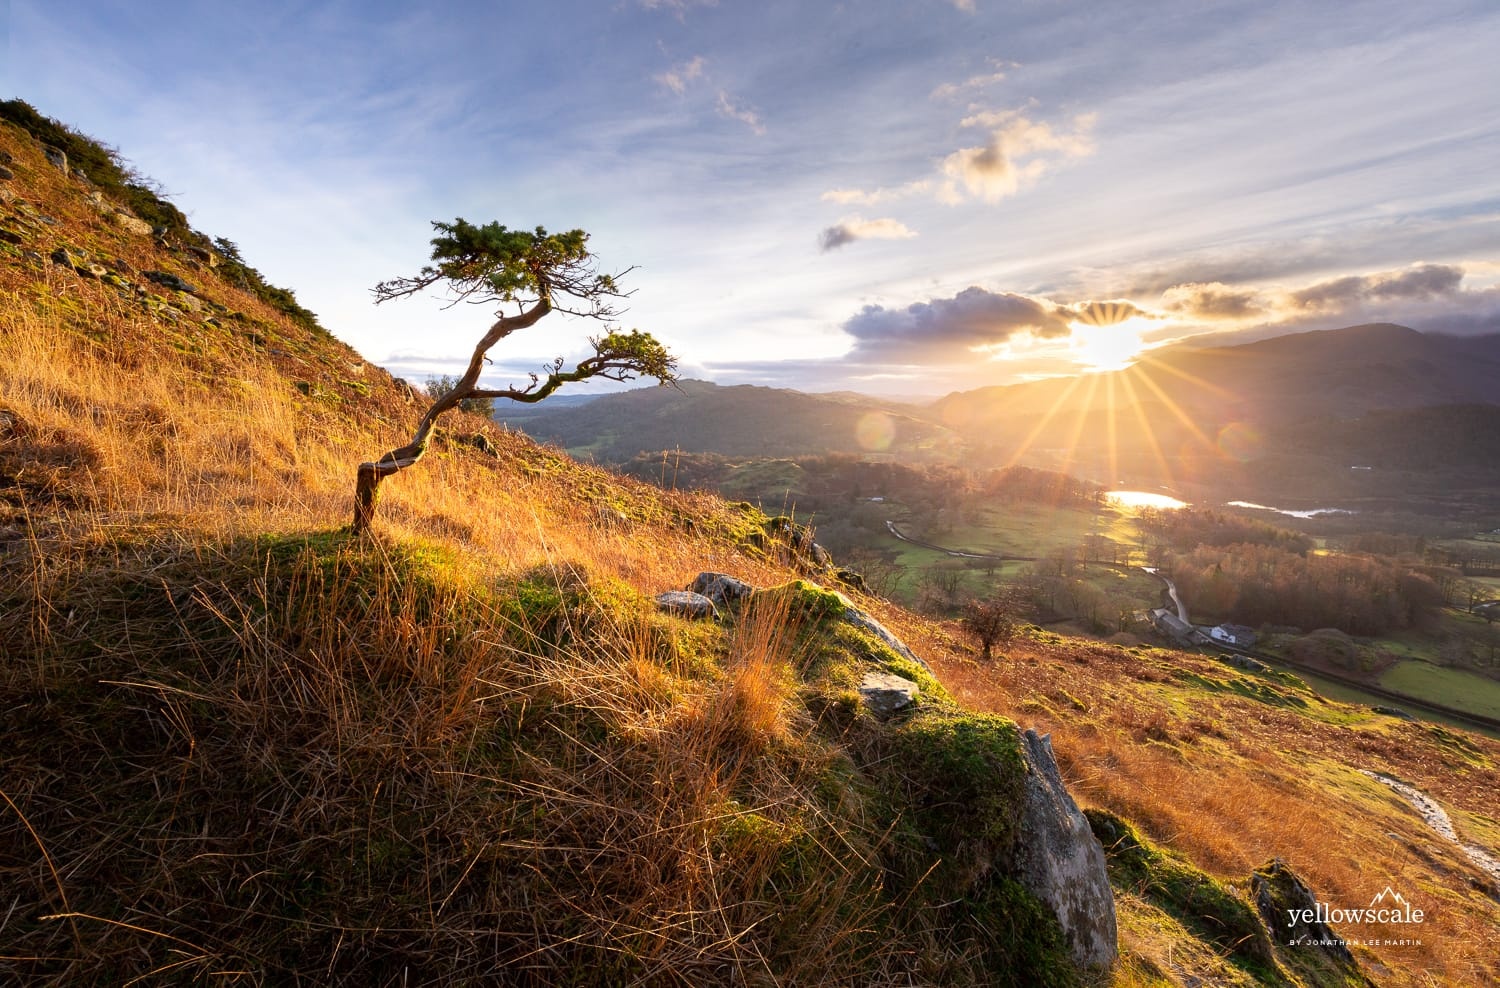
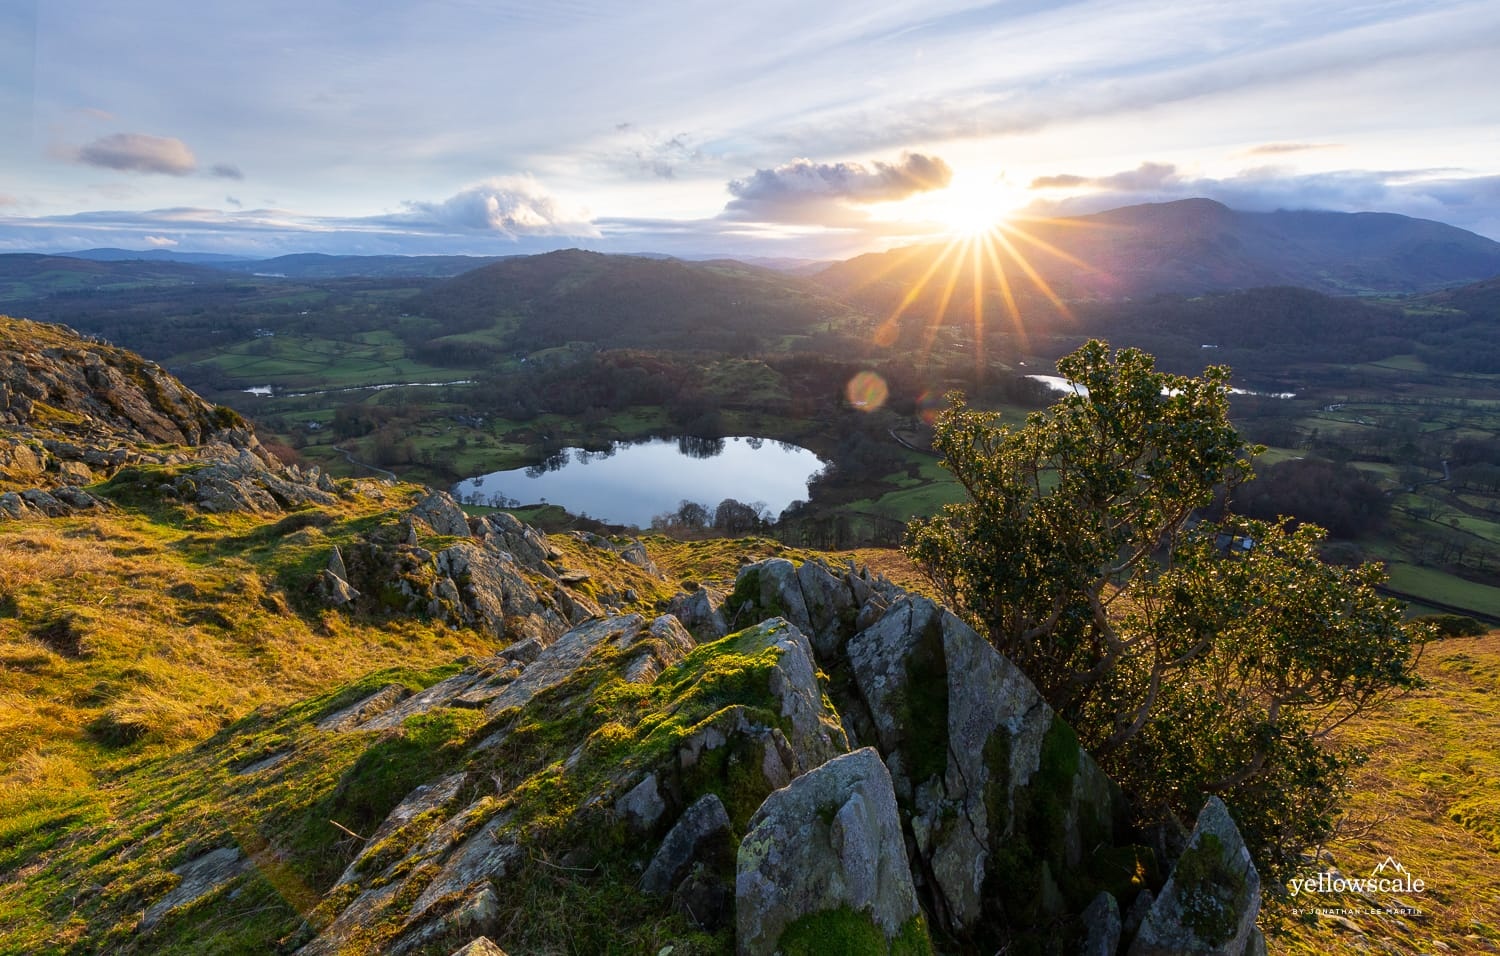
There’s nothing quite like a sunburst to add that last punch to a fantastic landscape. Last week we covered the composition, settings, and environmental factors needed to snap a crisp sunburst. Today, we will finish up in Lightroom and Photoshop.
When dealing with extreme dynamic range, it’s usually sufficient to shoot a few bracketed exposures and use Lightroom’s HDR merge feature to combine them into a single DNG. Sadly, HDR merge won’t work with our finger trick, so we will need to manually composite the exposures in Photoshop.
While many photographers process their landscapes entirely in Photoshop, I prefer a Lightroom-centric workflow. The limitations and non-destructive nature save me time by helping me focus on global adjustments over tedious local adjustments.
This tutorial covers some tricks you’ll need to enjoy a Lightroom-heavy workflow while compositing the exposures in Photoshop. If you’re new to compositing in Photoshop, you’ll want to check out a previous tutorial with some tricks for aligning smart objects manually.
Honestly, I’m pretty frustrated with the tedium of working between Lightroom and Photoshop. I’ve spent weeks trying every possible angle, and run into mostly dead ends:
- No guided deghosting for HDR merge
- No syncing between Adobe Camera Raw and Lightroom catalog
- No separate sidecar file for DNGs
- No auto-align for smart objects
- Unusable editing of the Photoshop document in Lightroom
- Buggy support for linked smart objects
Better support for any one of these features would make the roundtrip workflow much simpler. Until then, you may decide to bite the bullet (and bigger hard drive) to process the composite entirely in Photoshop, but I’m hoping Adobe fills in the gaps in upcoming releases.
How do you process your sunburst shots? Have you settled on a post processing workflow you like? If you know an easier non-destructive roundtrip workflow between Lightroom and Photoshop, feel free to share it in the comments!


Join the Fstoppers community for free
-
Post comments and join in the discussions
-
Browse the site ad-free
-
Share your work and get featured in the community
-
Compete in the photo contests for fun and prizes
4 Comments
Nice video. I work with Capture One Pro for RAW processing and Affinity Photo for exposure blending. First, I blend the shots with the sun blocked, then the shots with the sun star and mask the sunstar in. The sunstar images are mostly shot between f11 and f22 while the "normal" frames with f8 to f11. After the full post processing I only import a jpeg back into Capture One (only to "complete" the catalog). To block the sun, I don't use my finger. In order to loose as little image information as possible a made a DIY sunblocker with a longer toothpick (around 6 inch) and a bit of gaffa tape at the end.
Thanks for sharing, Jens! I'd love to see this sunblocker, I wonder if it might be small enough that Lightroom's HDR merge would get away with it?
That's it, compared to a pen.
Any Lightroom > Photoshop work I've been doing recently has been hampered by a bug (I assume) that I can't hardly do anything to the file once it's in Photoshop till I save it, close PS and re open a second time from Lightroom. You can't flatten, you can't align, you can hardly do anything but paint and save. Even standard keyboard shortcuts don't work like deselect. Nearly everything is grayed out! Anyone else having this problem? Export to PS or Export to Layers in PS both have this issue from Lightroom right now for me.