The Clone Stamp tool is without the shadow of a doubt one tool that everyone who works with Photoshop uses on a regular basis. It’s quite an incredible tool, and it can help save some tiny mistakes without too much work. Despite being easy to use, there are times where it doesn’t do exactly what we’d like it to. For example, in the case of recreating a pattern or texture that needs perspective correction, the tool won’t match your image vanishing point to the T. At least that’s what we are usually taught when learning Photoshop. However, there is a way to make the clone stamp tool smarter and correct the perspective for us.
Glyn Dewis is a portrait photographer and retoucher based in the U.K. He’s also an excellent educator and offers tons of tips on his YouTube channel, one worth subscribing to if you wish to learn more Photoshop techniques. In the video above, he showed a technique I personally wasn’t aware of before. It’s such a timesaver when working on composites or images where you need to use the Clone Stamp tool and have the result matching the image’s perspective. Forget about the Transform tool and leave the hard work to the computer.
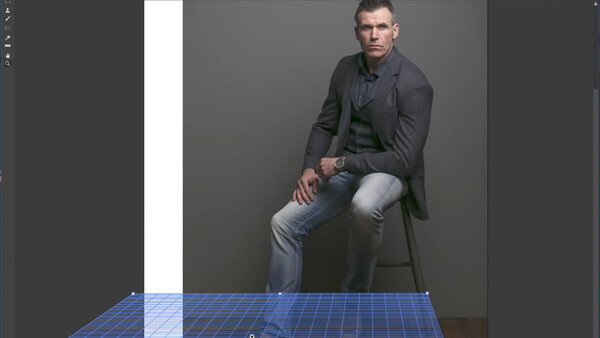
The method isn’t extremely complicated. In the filter menu, you’ll find a tool called Vanishing Point. Click on it and then trace a grid along the lines of your image. Once it’s done, drag the grid over the area you want to edit and finally, use the Clone Stamp tool found in the Vanishing Point tool. That’s it. Nothing more complicated. There are few things to be aware of such as the color of the grid that will let you know if Photoshop can recognize the perspective and find a vanishing point or not for your image. To learn all about it, be sure to watch the video above and for more useful Photoshop techniques, check Dewis’ YouTube channel.


4 Comments
What I do, because I am lazy and like to work as fast as possible:
-is create a new layer
-clone sample "this layer and below layer"
-Manually free transform that layer to fit how i want superimposed onto the background layer.
It is a virtually identical process I have been doing since I learned Photoshop and I am sure it is faster.
Is not identical. The method you use, the transformation is "handmade" with better or worst results. Using Vanishing Point allows cloning in real perspective.
The example in the video is for educational purposes only and is poor. Don't make you realized the power of the tool.
Usually I cringe when I see a video is 11 minutes, but this was compelling and very educational. I have to rebuild walls for a particular corporate client and the floors are linoleum tiles, and I end up just cloning out all the lines between the tiles and re-drawing them by hand. I will try this technique the next time and see how it works.
Thanks for posting this Quentin. I've definitely had this problem before and while I had a vague feeling that there must be a solution to the problem I never knew what it was until now.