
Learn how to avoid these common portrait retouching mistakes in Adobe Photoshop and Lightroom to make your image editing look more natural.
Editing software like Adobe Photoshop and Lightroom is so powerful that it's easy to overdo your portrait retouching, whether it's turning a slider up too high, warping a body part and bending the world around it, or making eyes seemingly pop out of a subject's head. We've all seen those portrait edits that make us cringe.
There are a few common mistakes that many beginner portrait retouchers make that are easily avoided. I've put together a short list of the editing pitfalls to look out for and how to spot them so that you don't make the same mistakes. If you've been doing any of the below then take a moment, breathe, and go back a few steps before continuing, because nothing I'm about to show you should be shared with clients or the internet.
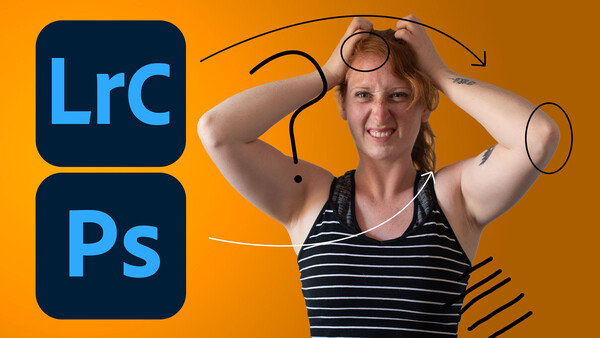
Removing Every Stray Hair
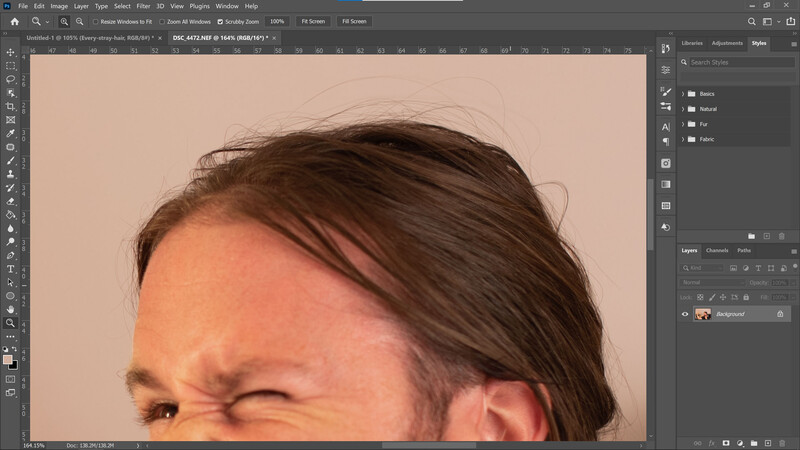
Hair retouching is probably one of the most difficult parts to master when retouching a portrait. It's full of texture, waves, curls, highlights, and shadows, which make it very complex to clone or reshape. However, one of the most common mistakes beginner retouchers make is cloning out all the fly-aways. Strands of loose hair can often make hair look untidy, but simply clone-stamping them out is not a good move. One or two strands can be removed this way, but you're either better off tidying the hair, styling it in a way that these fly-aways don't happen, or just leaving them alone. An alternative technique would be to take hair texture from elsewhere, duplicating the selection and then using a mask to blend it in with the existing area of hair, but this is high-level retouching and not something beginners will be able to do well at first.
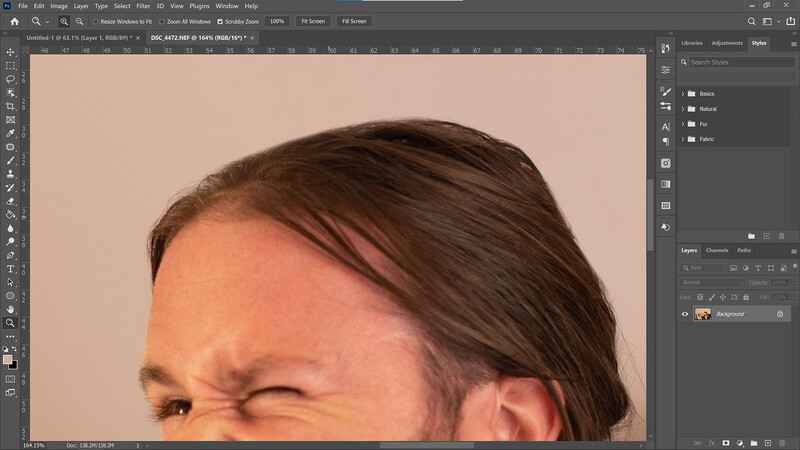
Softening Baby Skin
It makes me cringe every time I see it: photographers softening the skin of babies. There are several reasons why not to do this. First, baby skin is usually pretty perfect. Their yet unblemished, soft skin is not something to mess with, because there isn't anything to edit. Now and again, you might get the odd spot or dried milk around their mouth, which is fine to patch up, but softening all the skin of a baby is unnecessary. In fact, you want to see the pores of the skin, because this indicates the level of sharpness and detail in the photo, and it brings a sense of realism to the subject. Second, by editing the skin of babies, you're potentially adding to the pressure of body-shaming. True, babies aren't going to understand what this is at a young age, but the implications of softening baby skin soon leads to infants and teenagers.
Some editors will soften the skin of children too, which I'd advise against. It's fair enough if you have a teenager who's dealing with a skin problem or they specifically request you retouch their skin, but unless someone asks for a specific correction to be made, then the best advice is to leave it alone.
Eradicating What Is Natural
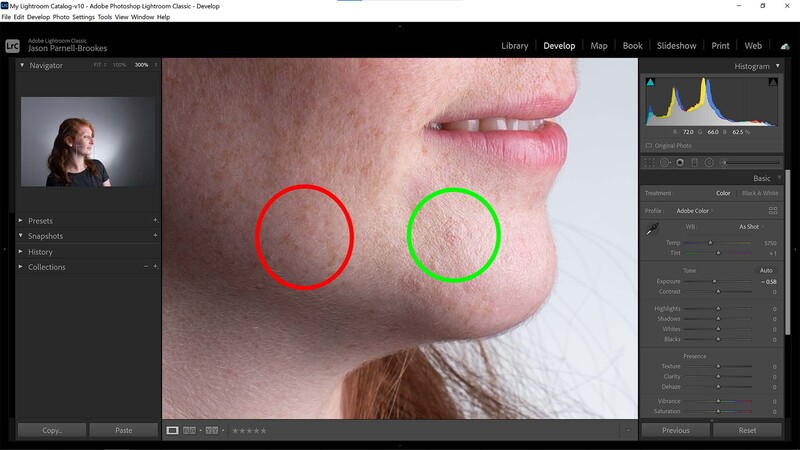
On the topic of retouching skin, here's a good guideline to follow: remove what is temporary, leave what is permanent. For example, in the image above, our subject has a small red patch of skin around the chin, likely a spot starting to form. As long as you and your subject feel comfortable removing this, then you can use the clone stamp tool (or similar) and remove the blemish. However, cloning out all the freckles on someone's face is somewhat of a no-go. Of course, this depends on the intended use of the photo; there are plenty of fashion brands that want that porcelain skin, but on moral grounds, it's not a great place to go. Freckles and other permanent facial differences are personal to everyone, and it's part of what makes us unique, so avoid removing this stuff if possible.
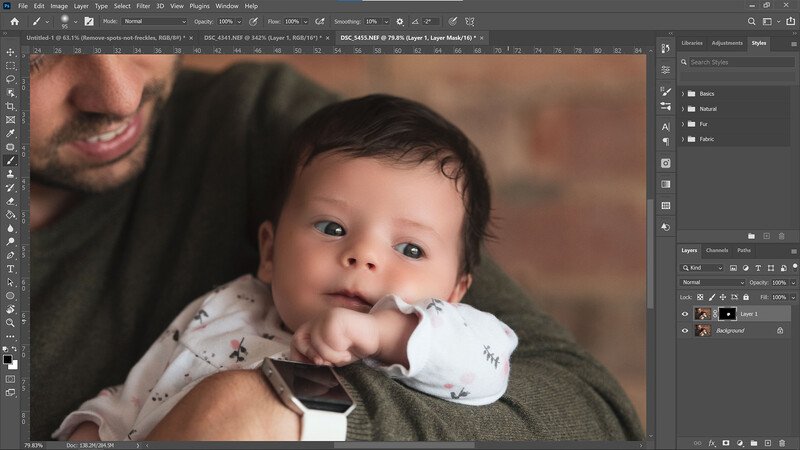
Overdoing the Iris Contrast
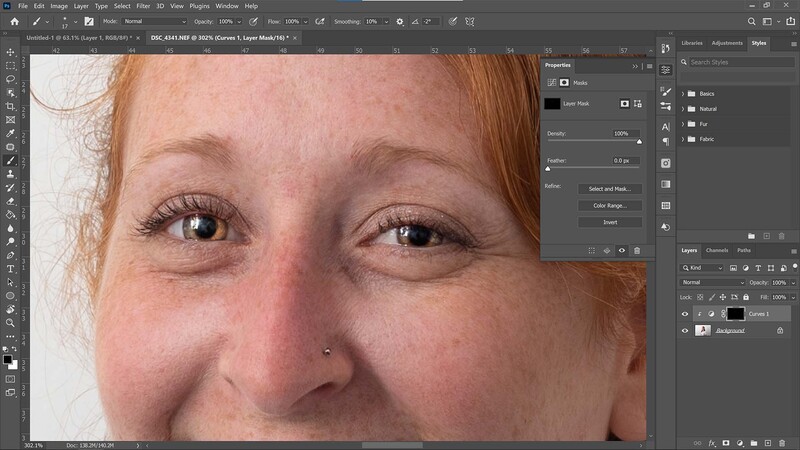
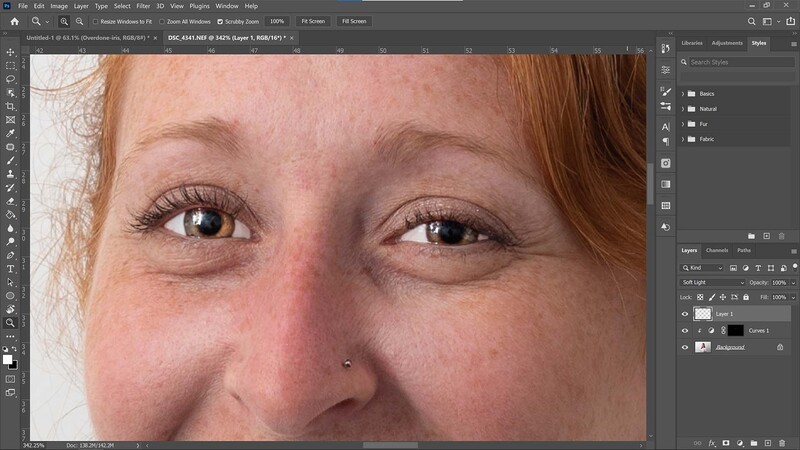
When I started retouching portraits, I was taught that the eyes are everything. It's true what they say: "the eyes are the window to the soul." So, it's important to get the eyes right. A little boost to the sparkle or enhancing the eyes with some contrast can be a good thing, but avoid overdoing it. You'll see what I mean if you zoom out and take a wider view of your edit. If the eyes look like they've been pasted on, then they're overcooked. Here, I've put a curves adjustment on the iris (with the help of a layer mask) and have pushed the adjustment too far; the eyes look unnaturally bright when compared to the surrounding light on the face.
Making Eyes White
Distorting the Environment
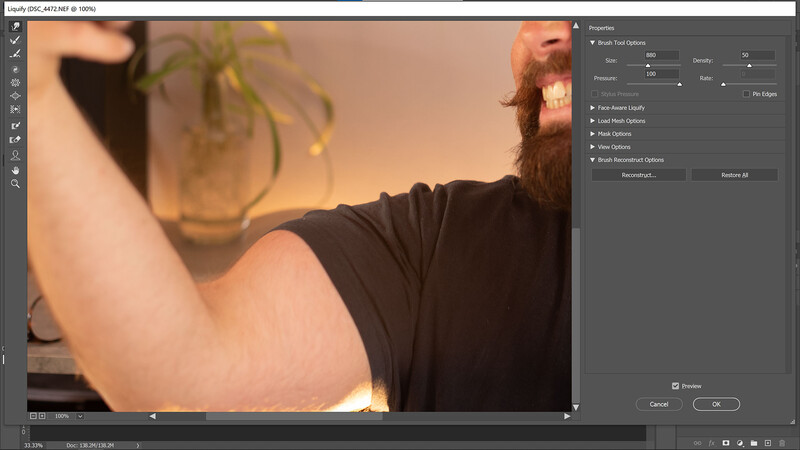
When there's no background to distort, it might be tempting to push things with the liquify feature, but it's easy to stretch fabric and skin, making things look unnatural. Be aware of the texture of things you're warping and avoid going too far with an adjustment.
Conclusion
This list is by no means exhaustive, and I'm sure there's plenty of other mistakes that new image editors make when retouching portraits. But the six examples above appear again and again all over the internet, and it's easy to avoid them. Most of the time, the best option when retouching a portrait is: if in doubt, leave it alone. You probably don't need to retouch as much as you think. Less is more, especially when you're just starting out.


3 Comments
Good Post, made the same mistakes. Thanks for the reminders , and still over do at times
I agree with all points, especially bothersome to me are the whites of the eyes. I call them atomic eyes because they glow. It's incredible how common that is.
i like this post