Night photography is something that every budding photographer will play around with at some point in their learning process. It’s a great way to get star-filled nighttime landscapes or to capture the light-painting shots in which you write in the air with sparklers. Most people don’t associate night photography with wedding photography, though, which is a shame, because it can be a good way to capture some non-traditional wedding images. These nonyraditional wedding images can help you stand out in the sea of wedding photographers and can help you book more weddings.
Learn the Basics
The first thing to do when starting out in nighttime photography is to practice. This is definitely not something you want to try for the first time on the day of a wedding. It’s not really difficult, but there is a learning curve, especially if you want to throw light painting into the mix.
There are a few things you need to know about your camera before starting. First, what is the acceptable high-ISO range that will not leave your images a noisy disaster? You also need to know how low of a shutter speed you are comfortable hand-holding. If you have a camera or lens with some type of image stabilization, you may be surprised by how slow of a shutter speed you can get away with.

This information is good for situations where you are moving locations and want to grab a quick shot. Beyond that, I recommend always using a tripod. By removing the chance for camera shake, you make it possible to use longer shutter speeds, which in turn, allows you to use a lower ISO. Tripods also open the door to using longer shutter speeds, which is required for light painting.
When you first start experimenting with light painting, it’s important to get a feel for how movement affects the light. When moving very slowly, the light has more time to burn into a single area, which can cause the light to become too bright. On the flip side, moving too fast can cause the light to not be bright enough, leaving your subject under exposed or making your painted light not as noticeable. Both of these situations can be fixed by changing the speed at which you move the light, adjusting the aperture to allow in more or less light, or by altering the brightness of your light painting tool.
Once you have an idea of how to take night images and how to paint with light, it’s time to start thinking about lighting your subject. I normally do this in three different ways, depending on the situation. The first way is to let the ambient light do the work. This only works with shorter exposures or if your subjects can stand very still.

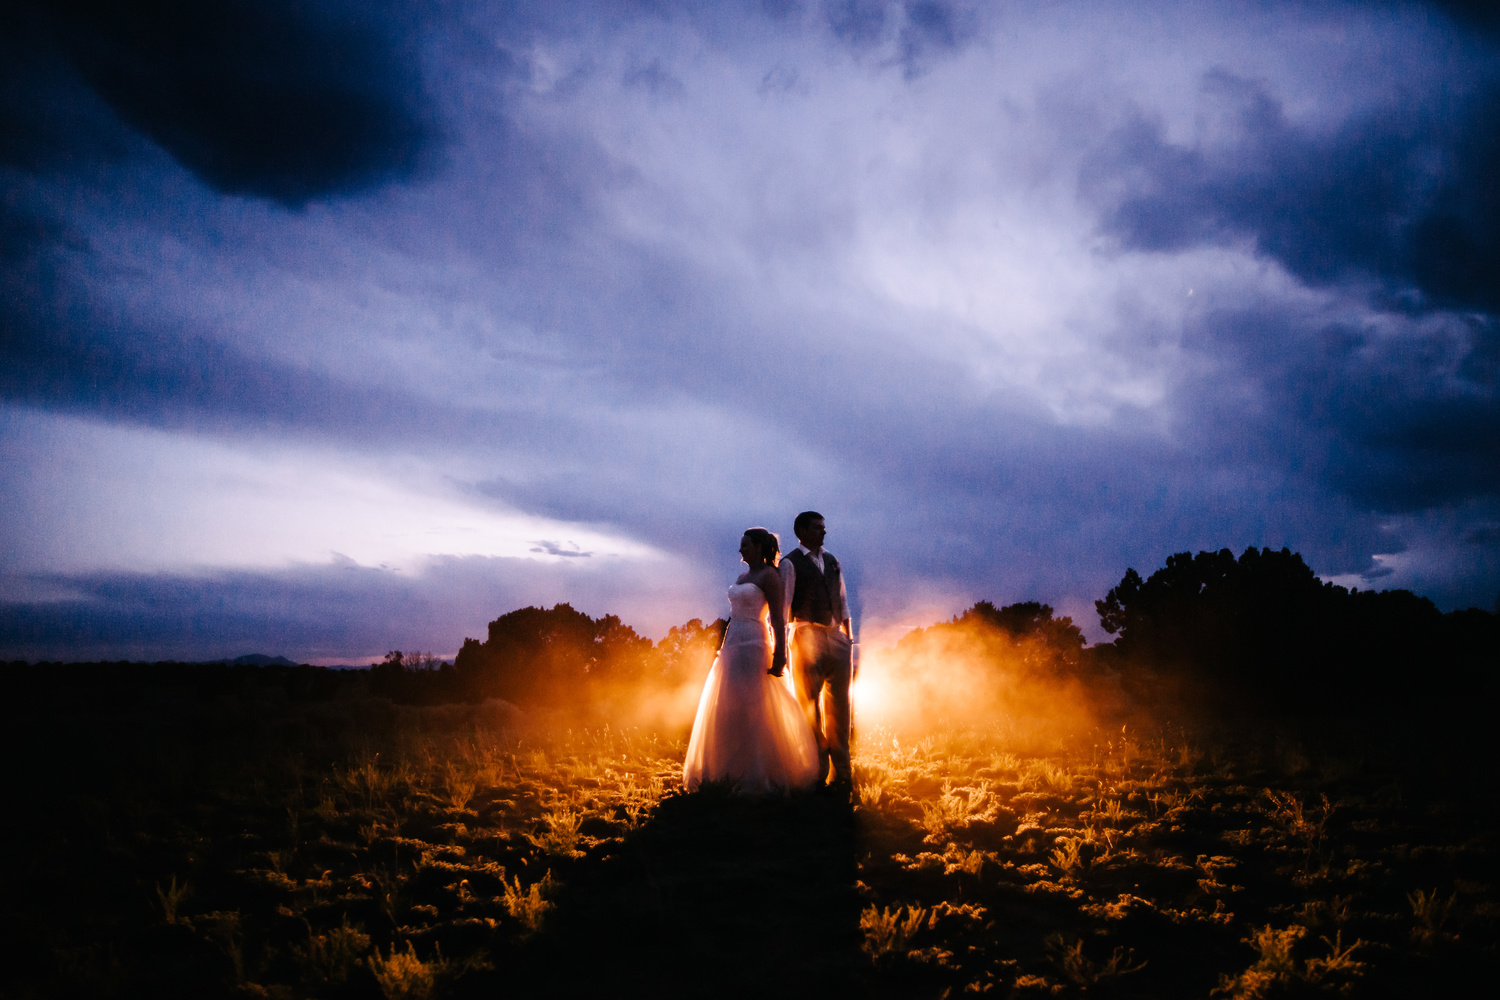
Subject lit by ambient light.
The next way is to use an off-camera flash. When I do this, I simply hold my off-camera flash in my hand. I will set my flash to a lower power so I can build up the strength of light. To start, I press the test button while holding the flash at a higher angle, then again at a lower angle, and finally, I flash one last time at an even lower angle. This makes it so I can freeze my subject with the quick bursts of light from the flash and I also get the added benefit of having a soft, even light, because I’m firing the light at different angles.

Subject lit by flash.
The last technique I use is to paint light onto the subject with whatever tool I’m using to light paint. I’ll either do the painting with the light out of frame so that it can't be seen, or I’ll paint the light onto the subject with the light in the frame. It just depends on the look I’m going for and whether the subject lighting adds or takes away from the end goal.

Subject lit by video light outside the frame.
The Day Of
Now that we know what we are doing and we have some ideas, it’s time to incorporate this into a wedding day. Since it has to be dark, the opportunities are pretty much limited to before, during, and after the reception. Since clients do not normally want their picture taken after four hours of drinking and dancing, I generally try to stick to before and during, depending on the time of day. Before the reception is a good time to get those after-sunset images in which there is still a decent amount of ambient light. Typically, there is too much light at this time of the day for light painting, so I resort to using my flash to add lighting effects.

My favorite time to do these images is during the reception. It allows enough time for the sun to go into hiding and it gives me enough time to find a location to shoot. I don't want to miss anything that's happening inside while I’m looking around, so I wait until all the traditional first dances and bouquet/garter tosses are finished. There generally is a good 30 to 60 minute window, during which the traditional things are already done and the fun party dancing has not gotten into full swing.

When looking for a location, I try to find an area that doesn’t have a lot of ambient light. Therefore, I steer clear of light poles or exit doors where someone could walk out and ruin an exposure. Once I find my location, I set up everything and I take a couple of test shots. This is where you figure out all your camera settings, as well as how quickly you need to walk with your light painting tool. My goal is to only steal the bride and groom away for a couple of exposures and then let them go back to the party. The last thing I want to do is pull them outside and have them watch me set things up while they miss parts of their reception.

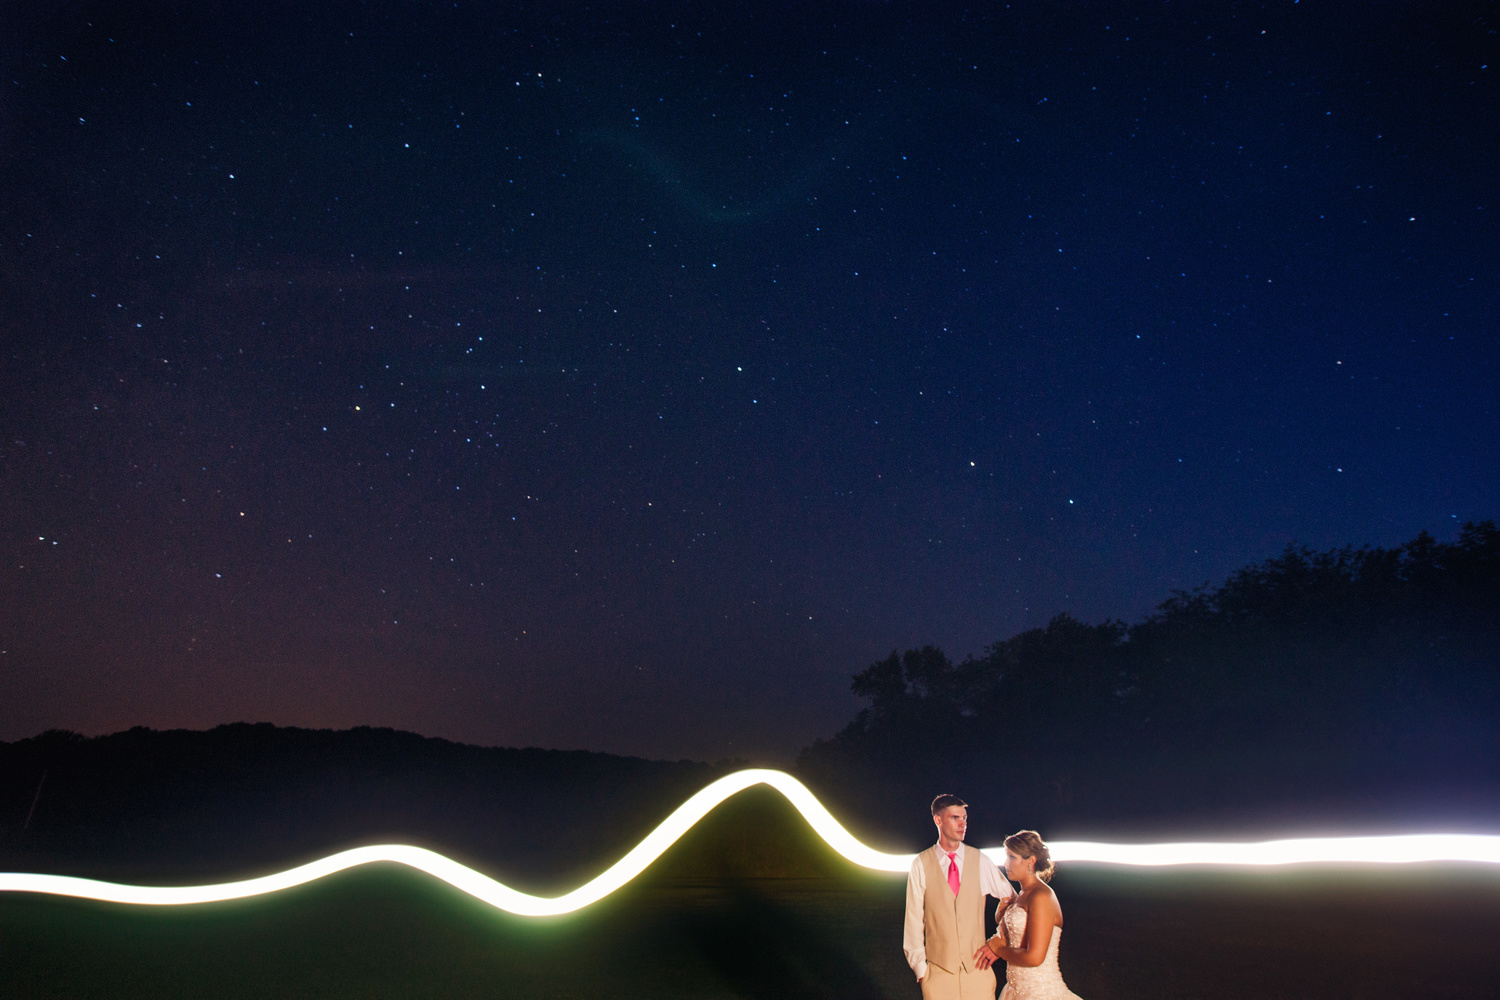
My first light-painting image from a wedding.
I try and take these types of images at every wedding, but sometimes, that's just not possible. Some receptions start too early in the day and it never gets dark enough. Other times, the couple is having too much fun on the dance floor and I never want to be the person asking them to stop. This idea ties into my last article about not getting stuck into a set plan.
Is night photography currently part of your wedding day shoots? Do you use light painting at all during a wedding? Share your images and thoughts in the comments.


Great article! Is there going to be a part 2? Now that we know how to "incorporate" it, can you do one on "How to Shoot Night Photography on the Wedding Day" You know, with camera settings, flash setting and placement? Thanks!
yeah that would be kinda useful
The how part kinda comes from the "Learn the Basics" section. There are also a few "How To Light Paint" type articles here on Fstoppers. Take a look around and if you don't see anything that answers your questions then I'm more then willing to answer them here or write a part 2 with more in depth details.
a photo I was able to get from my best friend's wedding in august!
Here's a little something I did at a friend's wedding a couple weeks back. The BG is all the guest remaining at the reception holding up their cell phones and I used a 430EX with a hotshoe cable....and prayed haha
https://www.flickr.com/photos/paulbisaillon/21348006626
Jason love reading your nuggets of wedding wisdom! I was wondering what light modifier are you using for the light streaks specifically that funky colourful one?
I'm not sure what its called, but its one of those foam sticks that they pass out at concerts and night clubs. The one I got has an LED in it that can you can select the color on.
99% of the time my clients ask...Can we do a night shot.
With me now, everyone expects one
awesome!
Very good article, cool shots!
Couple night shots I took at an Austrian wedding in May with sparklers! Took many shots trying to get a heart and didnt quite work (in the end had to fix it with two images). Then took one last shot and tried writing love which worked first go! Showed the wedding couple the back of the camera and they were delighted!! :)
https://flic.kr/p/yJzSmB