
Retouching in photography has many forms. Everything from skin work to background manipulation. With the latest software abilities to retouch and manipulate an image, there is an endless source of possibilities to create. Even with all the tools available, there is a fine line and perhaps sometimes too much is too much.
Enough is Enough
It is no secret that I am a big proponent of making new, creative images in Photoshop such as location changes, or creative new looks underwater. It is not only fun and creative, but it also can transport a client into a world she or he may not have envisioned themselves.
On the flip side, when I work on boudoir or beach images such as below, I stick to the theory that less is more. I see the liquefy tool being overly used, color work that falls into the "jaundice" realm in terms of skin tone, and eyes that are dodged so high they look almost ghostly. We all go overboard every once in a while on an image, but if you see a pattern emerging in your work that is always the same, perhaps it is a good time to sit back and reflect. Skin tone should be subtle and natural with retouching, allowing texture to be visible.
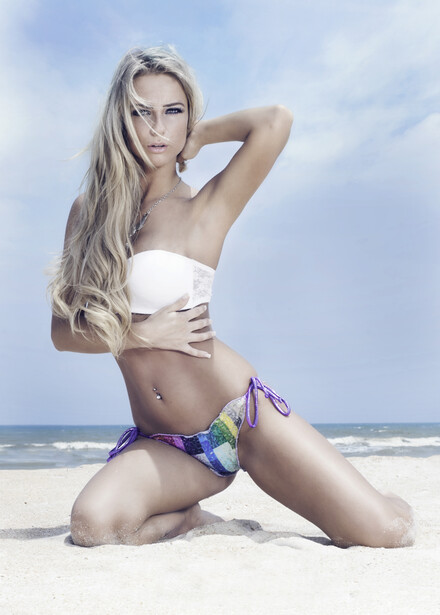
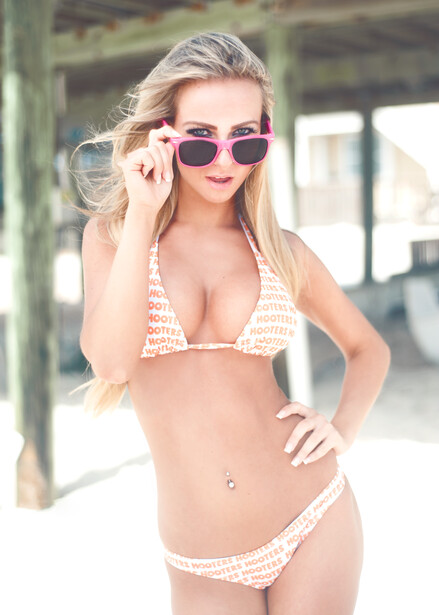
Of course, we all know "get it in camera" is the ideal way, but lets be honest; it doesn't always work to where our vision might have been that day. This shot was taken during workshop with Nino Batista in St. Augustine I hosted last spring. While it was taken with a Alien Bee 800 Strobe, perfect timing of the day, and next to no one in the background, I still wanted to add a little pop to the final product. But what I did not want to do was go overboard with an image that already looked stunning with much thanks to our model Aneta Kowal.
Shoot At The Right Angle
During any beach shoot, a great angle to shoot is low and eye level. Most beach goers were hidden here by the slight hill heading towards the water behind Aneta. By getting very low (literally laying on my side in the sand) they were invisible to the camera. This was far easier than having to clone a few men in Speedos out of my image.
Second, shooting at eye level or slightly up will get the viewer to feel that dominating stare that Aneta perfects in her modeling. Shooting above her will give a presence of submissiveness and lets face it, in this day and age woman have worked hard enough to get rid of that presence (ok that was my little soap box).
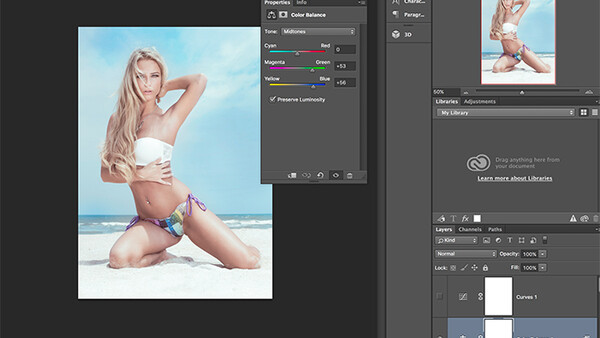
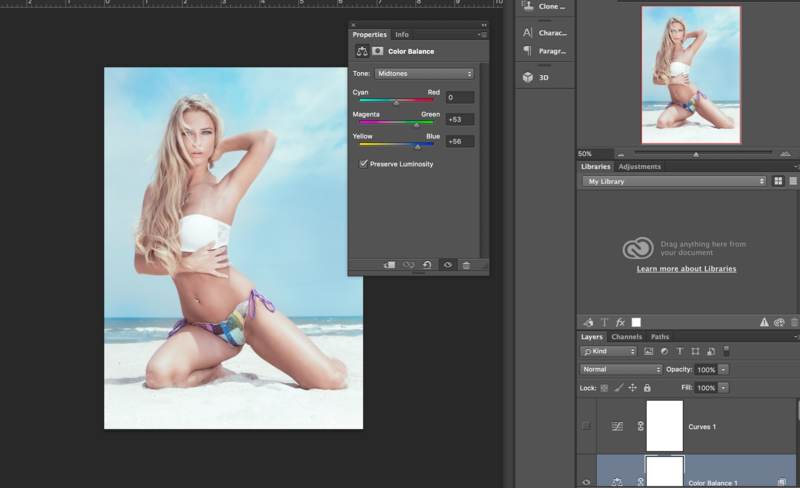
Color Balance
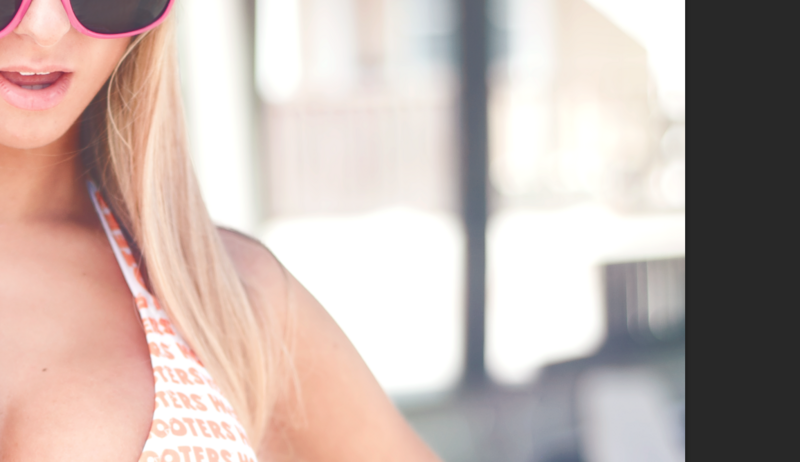
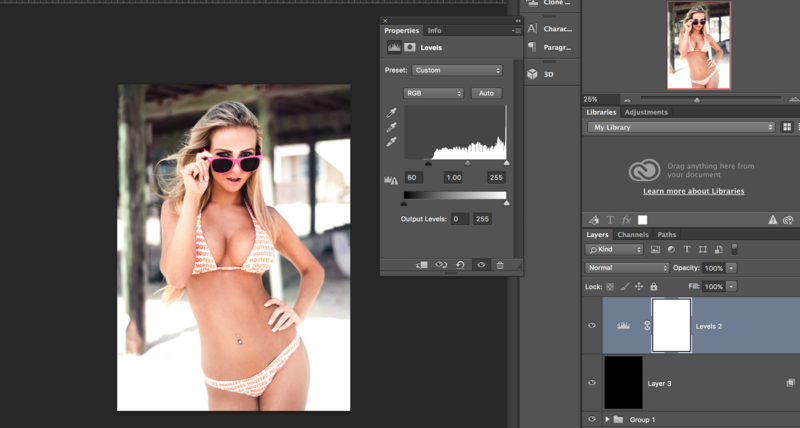
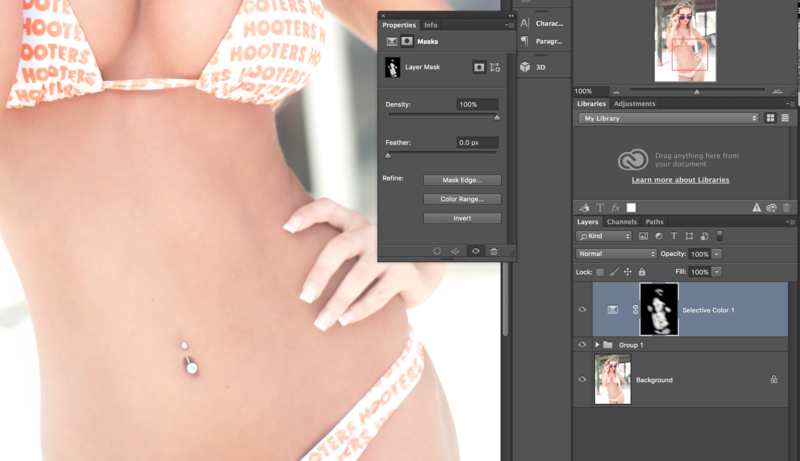
Small tweaks in the color balance for the background as seen above was then inverted (command "I" on mac, control "I" on PC) to apply directly to the background and a few places on her wardrobe. It allowed the background to feel warmer and once I worked the skin tone it blended well together.
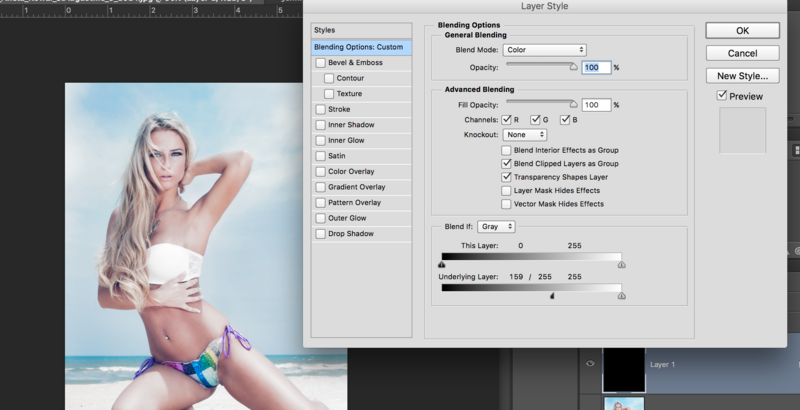
Next I used a new layer colored black with the blend option of "Color." Opening up the blending properties dialog, I was able to "Blend If" to specify which pixels of the active layer will be opaque based on the brightness or darkness of the layer. This helped with a quick simple tweak for certain areas. In this first image, the underlying layer needs to be split in order to blend away the harsh lines.

Clicking on the scale slider and holding "Option" will separate the two in order to blend the look.
These few small options and layers gave just the right amount of contrast and color balance I was looking for in the final image. I did not chose to remove any sand off of her leg as it worked well with the scene.

Small Distractions
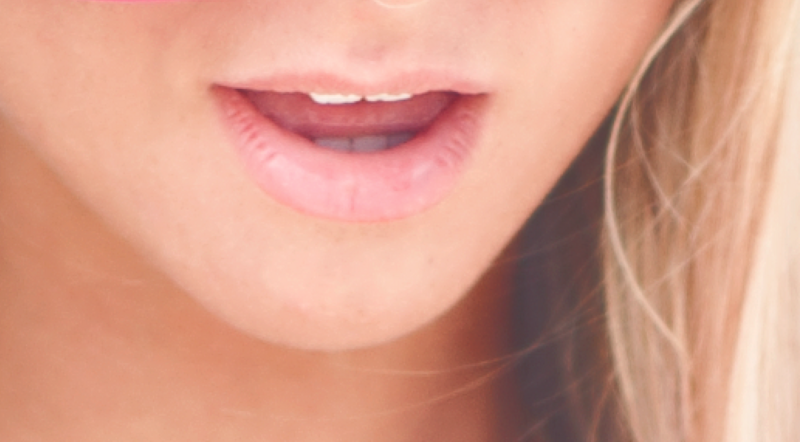
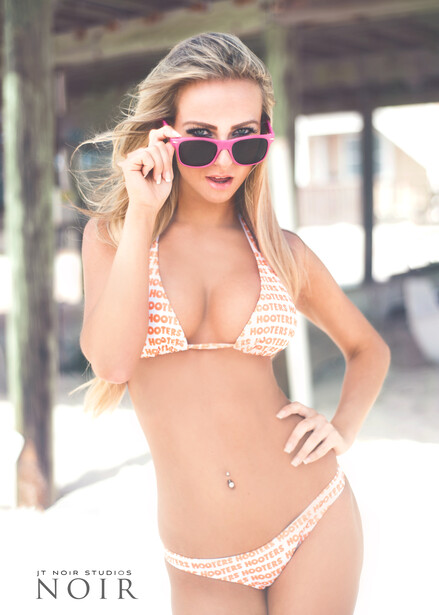
While most viewer may not even notice the small distractions in the background, I do. It is my image and I notice them to a point that I cannot "unsee" them. In the image below, we were shooting under a dock on a connector water way from the inlet to the ocean that had been dry for a few years. The garbage can while blurred out, still needed to go. While I wanted to keep the movement and the breeze going in the image, I did want to soften and remove a few fly away hairs and cracked lips. The last distraction was the cracked paint on the sunglasses. I was not looking to change the image, just to smooth out anything that just did not work for me as the artist.
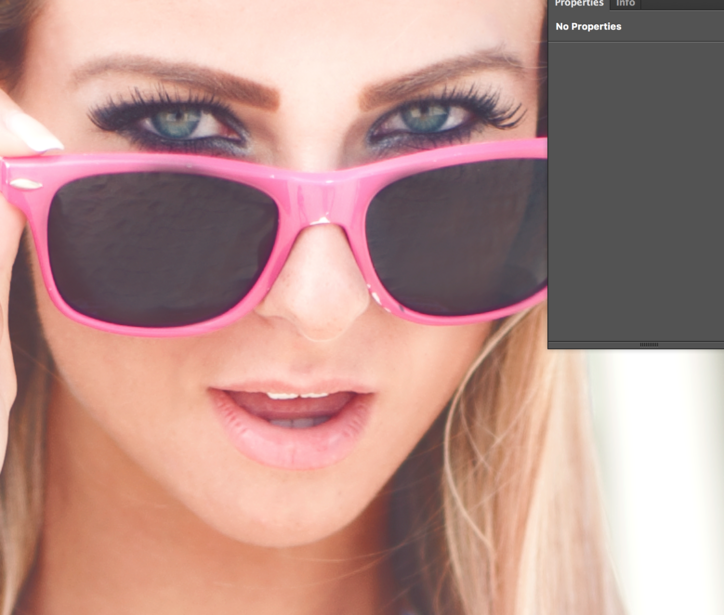
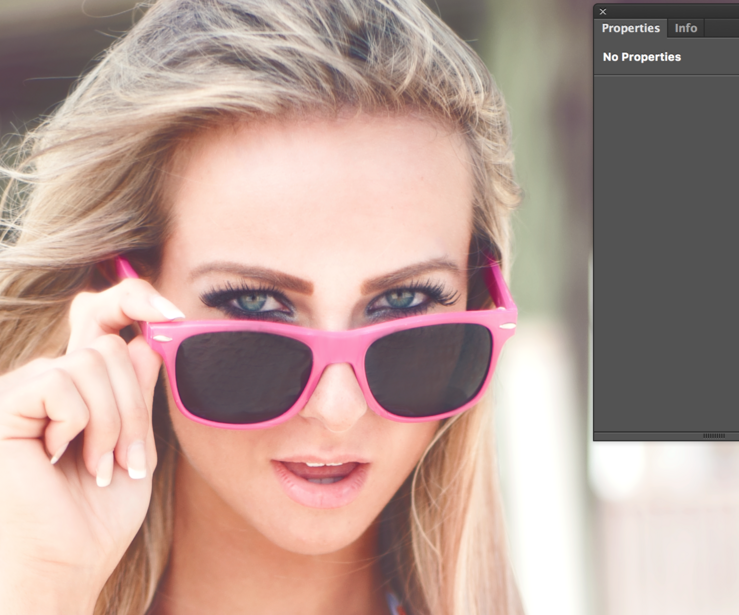
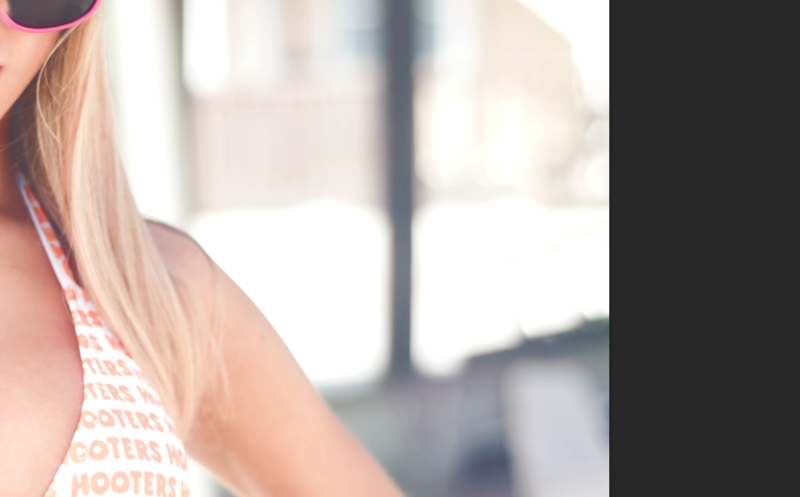
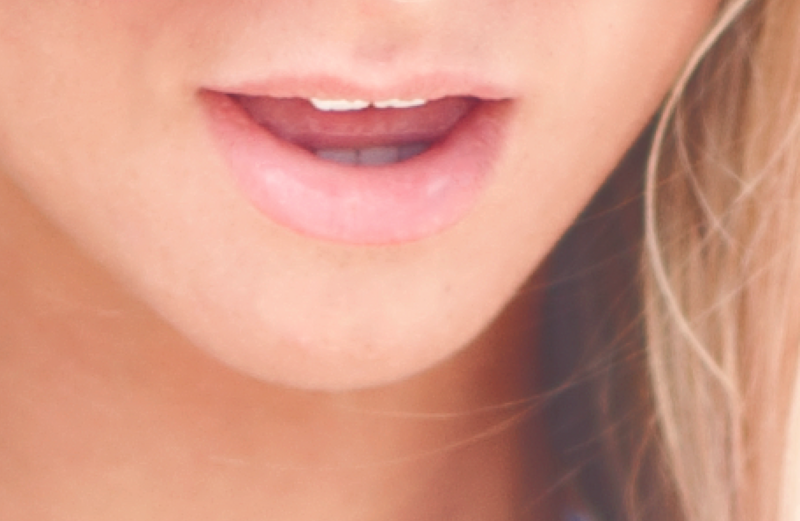
Once all the small distractions were removed, the color balance was worked just as the image on the beach above. With this image however, the sky was no longer visible and care had to be taken to work the pilings in a way as not to take over the image. I did not want it to overpower the subject. There was a scrim being held above the models head and leaning towards camera left as to help with the ambient light diffusion.
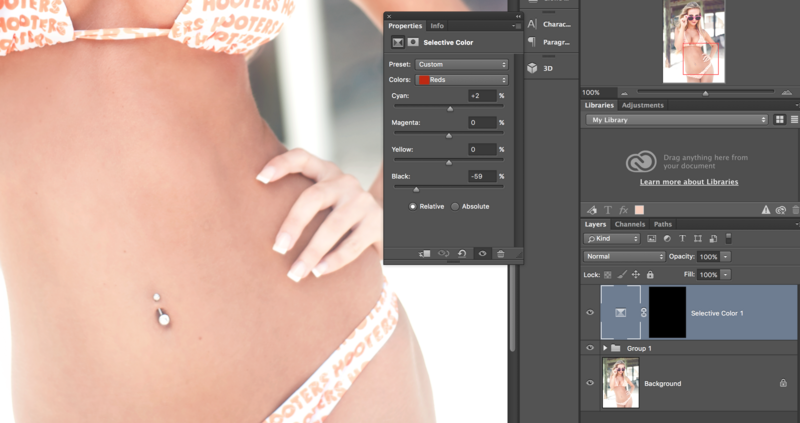
Using Levels to pull some darker pixels to the mix, and blending techniques as the first round worked great for the majority f the image, but left her skin tone very aggravated. Using some selective color to pull a few red spots out of the abdomen.
Retouching does not need to be an ugly word. It can be simple and fun. Yes, there are retouchers out there worth their weight in gold. And yes I have used them in times of busy seasons. They not only help with allowing me more time to shoot, but also work that might need some extra care. But for small quick fixes such as color tone or light skin work, these simple edits can save you time and money. Blending options play a big role so do not forget to get off "normal" mode and play around.


1 Comment