
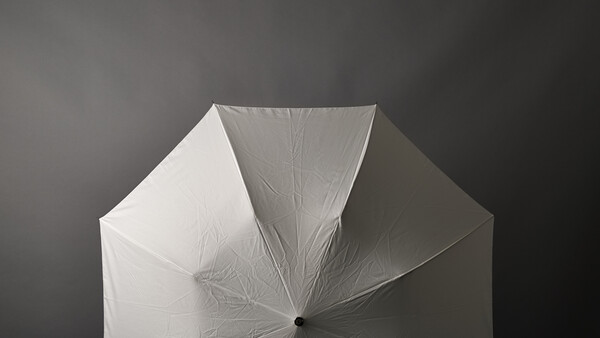
Last week, we talked about how to understand the difference between your bare flash unit and a flash fired through an umbrella. We learned that adding the umbrella would drastically change the light, creating a much softer glow to aim toward your photo subject. We also learned that we could use a white umbrella in a shoot thru position or a reflective position. But there is so much more to learn.
All that information is great, but who wants to sit around and only shoot plain gray backgrounds as photo subjects? Not many of you, I’d guess. In Umbrellas 102, we are going to work to understand how distance between your photo subject and your flash will change the look and feel of your photos.
Basic Inverse-Square Law Pointers
First, we need a quick lesson in physics. Listen, I hate math just much as the next photographer (I just wanna take pretty pictures!), but we really do need to briefly address the inverse-square law.
Inverse-Square states that the intensity of a light source will diminish as the light is moved away from the potential subject. This luminous drop off is not exactly even, but it is highly predictable. Inverse-square law says that the fall off from your light is inversely proportional to the square of the distance.
So as a photographer, here’s an easy way to think about inverse-square law. You compose your photo and set your flash to the desired setting. Your flash, at a one-meter distance, is producing 100% of the luminosity you requested. By two meters, you’re only seeing 25% of the luminosity. At three meters, you’re down to roughly 11% luminosity. After three meters, the drop off isn’t as rapid as you approach 0%.
Our beautiful little law tells us we need to be conscious of how close we place our light to our subject for reasons beyond just how it might look in the photo. The fact is that placing our light excessively far from our subject means we are potentially wasting most of the light our umbrella produces. When we look at the light meter and decide the subject is improperly exposed, guess what we have to do next? We have to crank up the power on our flash, change our aperture, adjust our ISO, or manipulate the shutter speed. Within the context of a real photo shoot, that can wreak havoc. Cranking the power because you decided to set the umbrella too far away means you will eat through your batteries at a faster rate. Remember, you’re asking that flash to push more wattage, which means you’re going to draw power faster from the batteries.
Also, you’re going to wreck your chance at having a decent recycle time. What is recycle time, you ask? It’s that brief period of time that your flash needs in between uses to recharge and produce the next burst of light. Every flash source has a recycle time. Some units, like the top-of-the-line Profoto units, will recycle fast enough that you’ll never miss a frame. Others, like the SB900 I’m using in these examples, have a longer recycle rate. That is especially cumbersome if you ask an SB900-Umbrella combination to blast a bunch of light from the other side of a room. You might get something useable, but you sure are wasting a lot of light and power in the process.
Last, but certainly not least, you can use the inverse square law to your advantage. We are going to talk about this in a future article as we illustrate how your umbrella is interacting with your background. You can, in fact, determine just how much light is hitting your background, or use the inverse-square law to provide even light across a larger area, like a grouping of people or the large wall of a building. It’s all in how you choose to approach the photo.
Flash Power Settings Today, Ratios for the Future.
One of the biggest steps you can take, as a photographer, is to move past relying on the power settings on your flash to explain your lighting technique. Instead, start to understand and note the ratios of light used to create the photo.
It’s easy to say, “Well, I took this portrait of my friend. It was in the evening, and I had the flash set to 1/16th power. I used an umbrella. The camera was set at 400 ISO, the shutter was at 1/200th and my aperture was f/2.8.”
What that tells me, when looking back, is that you stumbled upon something that worked for that particular moment only. What that babble doesn’t tell us is anything that is really useful. Power settings from flash to flash are different, meaning your 1/16th setting worked specifically for your flash at that moment. If I put any other brand of flash unit in your hands at 1/16th, your power setting is unlikely to produce similar results.
Instead, start to see your photo world in terms of ratios of light. If you were to tell me that you composed a photo and determined that you wanted a two-stop difference between the background and your subject, I would immediately be able to understand what you were after. Then, of course, you used your flash and umbrella to light the subject, creating your exposure. I don’t even need to know your settings. It could be f/22 and 1/2000th of a second for your shutter. My point is that the settings do not matter if you can begin to understand and manipulate your photos by employing ratios. This will pay off later when you begin to use multiple light setups.
The camera settings will not change as we move through each example. However, we will have to change the power settings on the flash to keep a consistent exposure. I have noted the power settings, but this is the only time I’m going to reference flash power settings during our umbrella discussions.
Up Close and Soft
You’ve probably heard the old adage that any light source set close to a subject will produce “soft” light. It’s absolutely true, and a very important rule to keep in mind when you are lighting your subject.
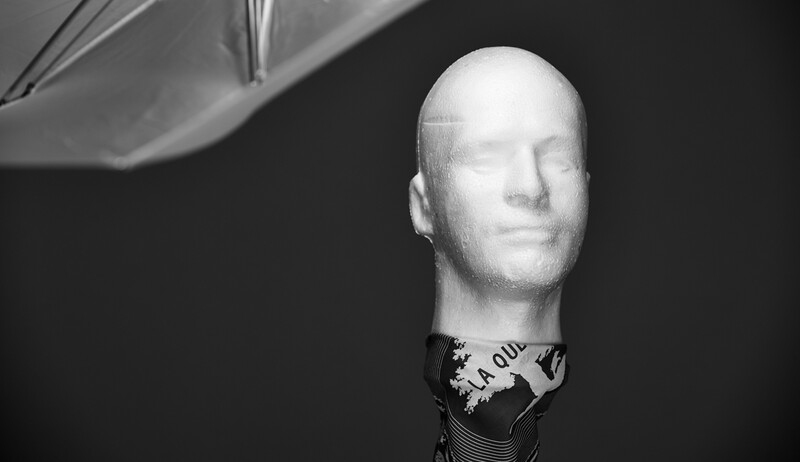
Let’s take a look at some examples I made to illustrate how distance and angle are going to change the look of our lighting rig. By the way, we are using the same flash and umbrella as our 101 article: Nikon SB900 and the 43-inch umbrella as a shoot-thru. We’ll return to reflective positioning next week.
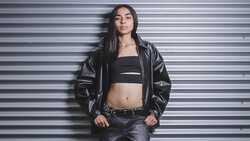
While each example is labeled, let me first explain what is happening. Our subject, Manny Model, is not going to move during this exercise.
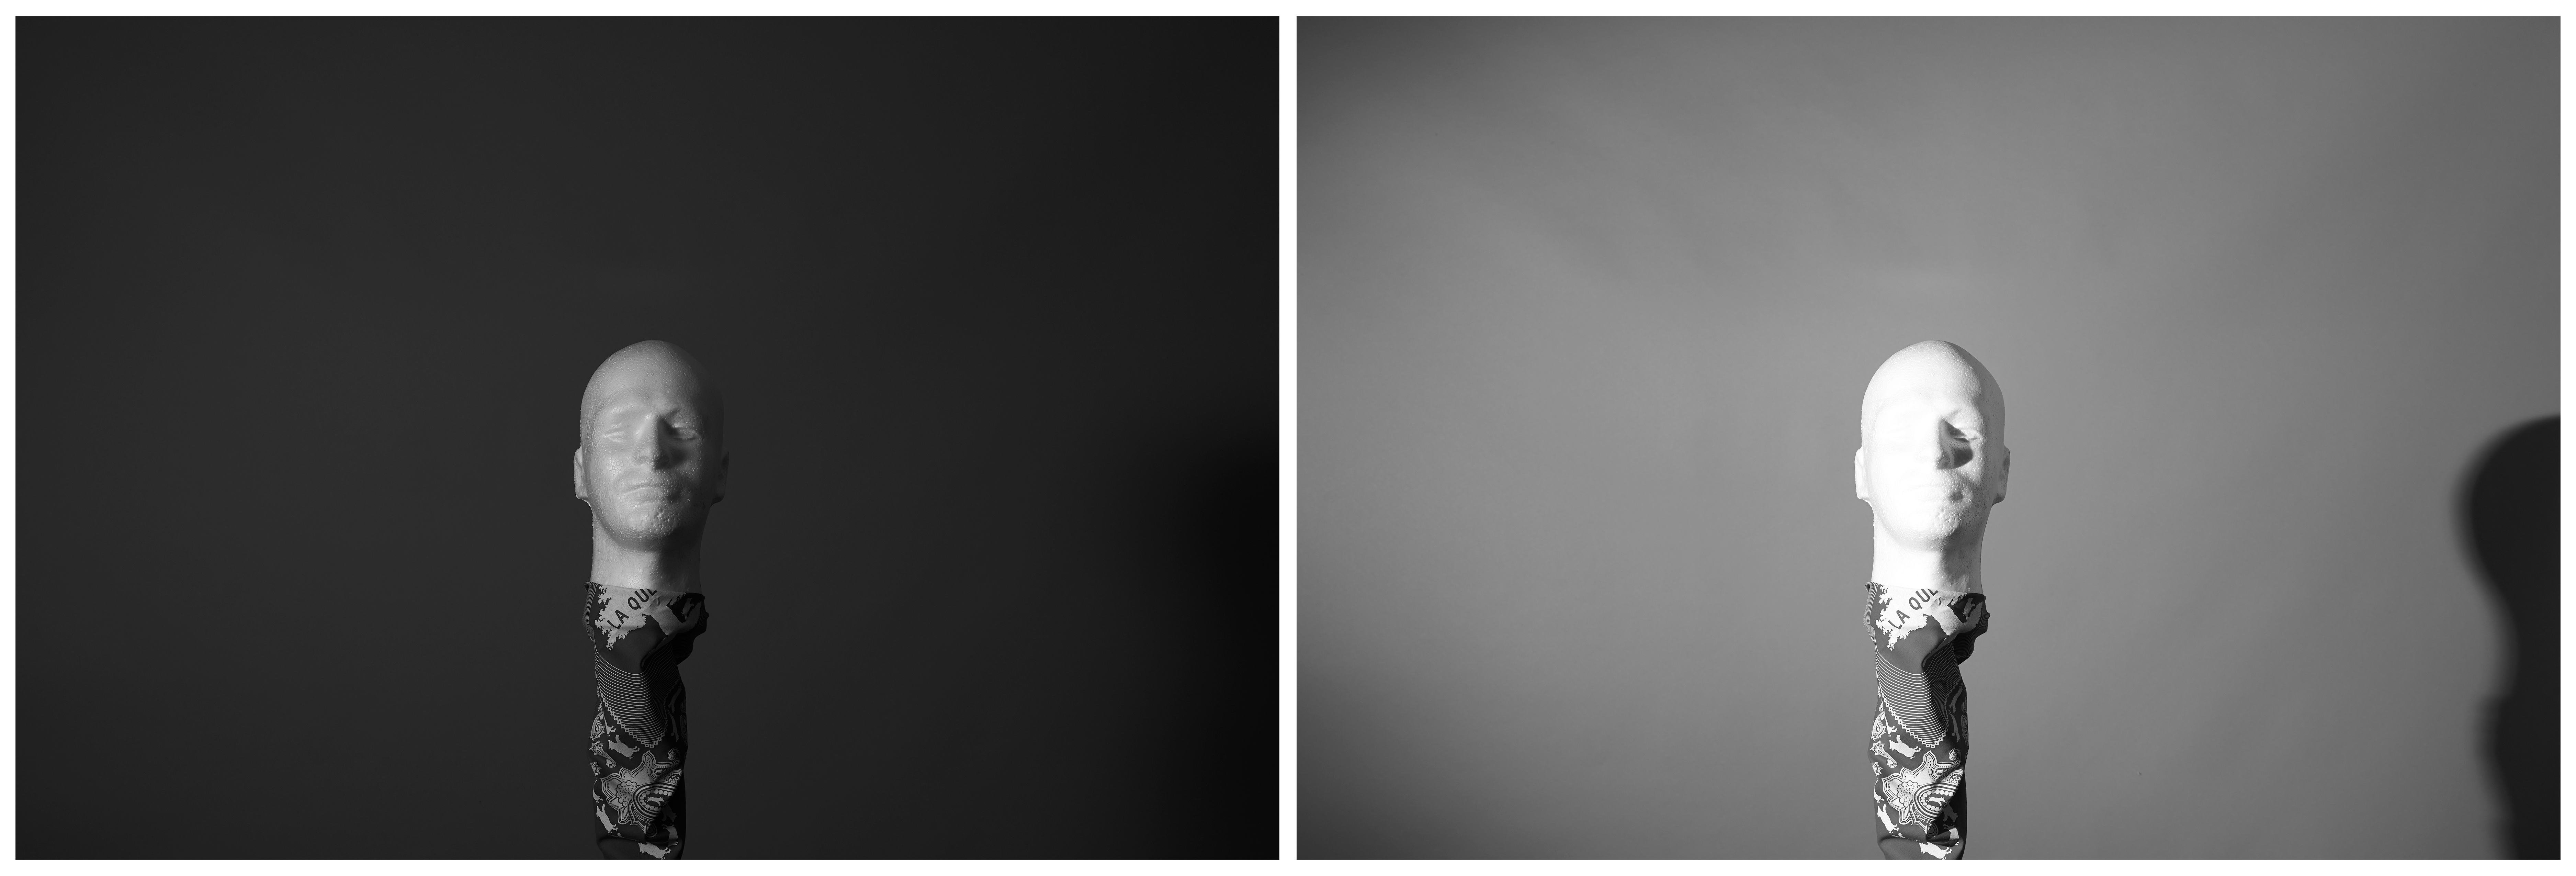
The first chart shows what hard light vs. umbrella light looks like at different distances from Manny. The light was placed at a 45-degree angle from Manny’s face, and is firing downward at a 45-degree angle. You can see from six inches away to two feet.
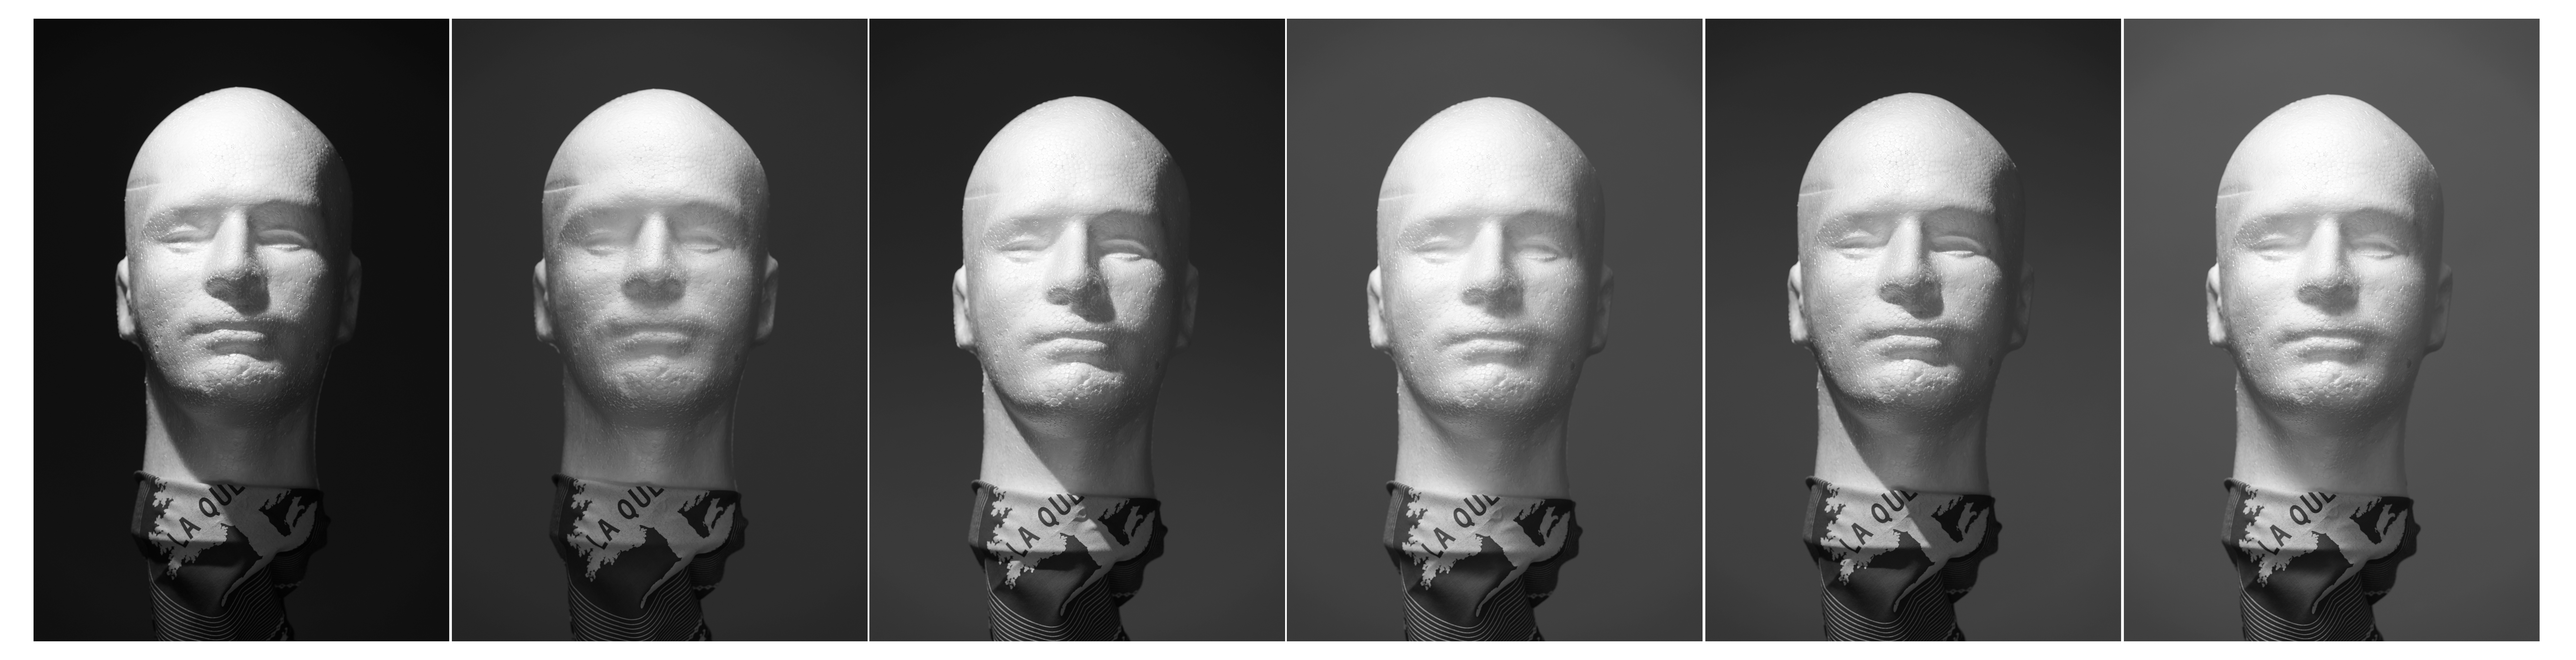
The next example starts with the bare flash firing right at Manny’s face. Next, you’ll see the addition of the umbrella. The first chart shows what the image could look like with the flash placed six feet away from Manny, aimed right at his face. The second chart shows the flash at four feet from Manny, still aimed right at his face.

The next pair is the direct flash at a 45-degree angle aimed downward at Manny’s face, followed by the 45-degree umbrella shoot-thru image. Again, examples are set up at six feet away and four feet away.

Next week, we are going to venture into different umbrella sizes. I have a load of examples featuring the 43-inch umbrella, a 60-inch umbrella, a 7-foot parabolic, and a silver reflective umbrella. We’ll also begin to touch on how the light produced by our umbrella is actually lighting our background, too, and how inverse-square law helps you see the changes.


Join the Fstoppers community for free
-
Post comments and join in the discussions
-
Browse the site ad-free
-
Share your work and get featured in the community
-
Compete in the photo contests for fun and prizes
4 Comments
this article is golden !
Thanks, Julien.
I love this series! I learned studio lighting in school 10 years ago and never really used it. Now that I'm getting more interested in studio work, this is amazingly helpful to see the side by side comparison.
Nice article! Thank you!