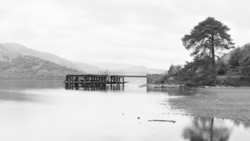
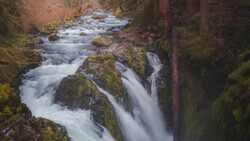
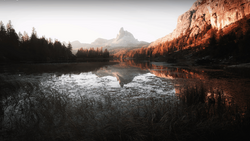
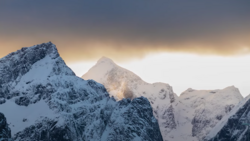
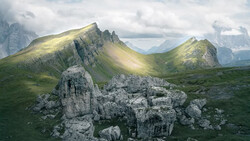
Two of the most fundamental and yet deceptively tricky aspects of landscape photography are knowing where to place your focus point and what to expose for. If you are new to the genre and looking to improve, check out this helpful video tutorial that will walk you through the two topics with a variety of helpful examples.
Coming to you from Anthony Morganti, this great video tutorial will show you how to expose a landscape photo and where to place the focus point. One important technique to learn is using the hyperfocal distance. The hyperfocal distance is simply the closest focus distance at which objects at infinity are still in focus. In other words, it is the focus distance that gives you maximum depth of field. While you might sometimes want to focus on a super-close element, the hyperfocal distance will allow you to tackle a lot of scenarios and come away with a sharp image. An app like PhotoPills typically has a hyperfocal distance calculator built in. Check out the video above for the full rundown from Morganti.
And if you really want to dive into landscape photography, check out "Photographing The World 1: Landscape Photography and Post-Processing with Elia Locardi."
2 Comments
Focusing methods 1a and 1b make sense and are useful even if they do not give "the most" depth of field.
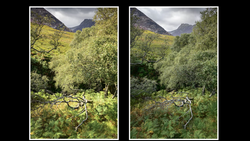
Focusing one third of the distance into the scene will give you two different distances depending on the camera being on landscape or portrait position. Landscape position will give you a distance further away.
The hyperfocal technique may be more exact but there are problems. First, you need to have your lens checked by a technician to see if it is properly focusing at infinity when the focusing ring is on the infinity mark. Then the depth of field markings will indicate correct distances. But today's autofocus lenses have short focusing movement ranges, making DOF scales crowded and causing their incompleteness. It's pretty common that you don't have markings for the optimal aperture. It's more frequent that you have markings just for the last aperture before diffraction sets in and the next smaller aperture. So in reality you would need a laser rangefinder to identify the distances given in a DOF table and use live view in a tripod mounted camera too set hyperfocal distance, as you can bet that it's not marked in the focusing ring.
And it has to be remembered that DOF scales are calculated for 8x10 inches prints viewed at about two feet, as this was once the best average for print size and became an industry standard. But it means that if you look at a 4x6 print at the same two feet you'll see more DOF and if you look at a bigger print you'll see less DOF. You would have to carefully adjust your viewing distance to see the same DOF in the three print sizes. Not practical in a gallery.
So except for the good first focusing recommendations this lesson is no better and no worse than several others and the later parts on focusing really don't help.
.
Please Include link to the Author portfolio website.