
Five years ago, I made a video about creating time-lapses solely in Lightroom Classic using the Slideshow Module. It was an experiment in pushing the boundaries of what Lightroom could feasibly do, and over the years it has garnered over 175K views, which was completely unintentional, but a very welcome surprise.
Looking back at that video (which still gets over 1,500 monthly views) I completely ignored the technical part of how I achieved something that Lightroom was never intended for. I only provided the templates I created for others to use, but I never fully explained how to do it yourself. So after five years, I thought it was about time to share that information now that I have access to a much wider audience.
First of all, I have to break some bad news. Lightroom was never built to make time-lapses, so we have to work within the boundaries of its programming and bend the rules a little. Using the Slideshow Module, you can make individual images appear like they are at any desired frame rate, but Lightroom is only capable of exporting a slideshow movie at 29.97 fps.
Second, the Slideshow Module is only capable of exporting to the whole second, never fractions. So in effect, regardless of the number of images you use in a slideshow, Lightroom will always round the exported movie down to the nearest whole second. For example, if you wanted to create a ten-second video at 30 fps, you would need 300 images (10 seconds x 30 frames per second = 300 images). But if you only had 290 images, upon export, Lightroom will trim the final video to nine seconds because it's missing the last ten frames to make it to the next whole second (9 seconds x 30 frames per second = 270 images).
Third, you will be limited to horizontal video only, with a maximum resolution of 1920x1080. What's more, there are only four preset options for exporting. If you want more options, you’ll have to consider using Photoshop or something more advanced like LRTimelapse.
If you keep these three limitations in mind, Lightroom can create very simple and fast time lapses at any “frame rate” you desire.
How Do You Make Your Own Templates?
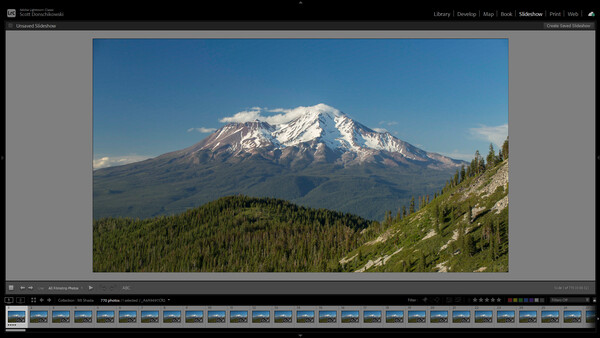
First, navigate to the Slideshow Module. The right-hand side of the module shows all the options available to customize the slideshow to your liking. Since the goal of this tutorial is to make a simple time-lapse video from still frames, you’ll want to uncheck every box in that left panel except the first option, which is “Zoom to Fill Frame.”
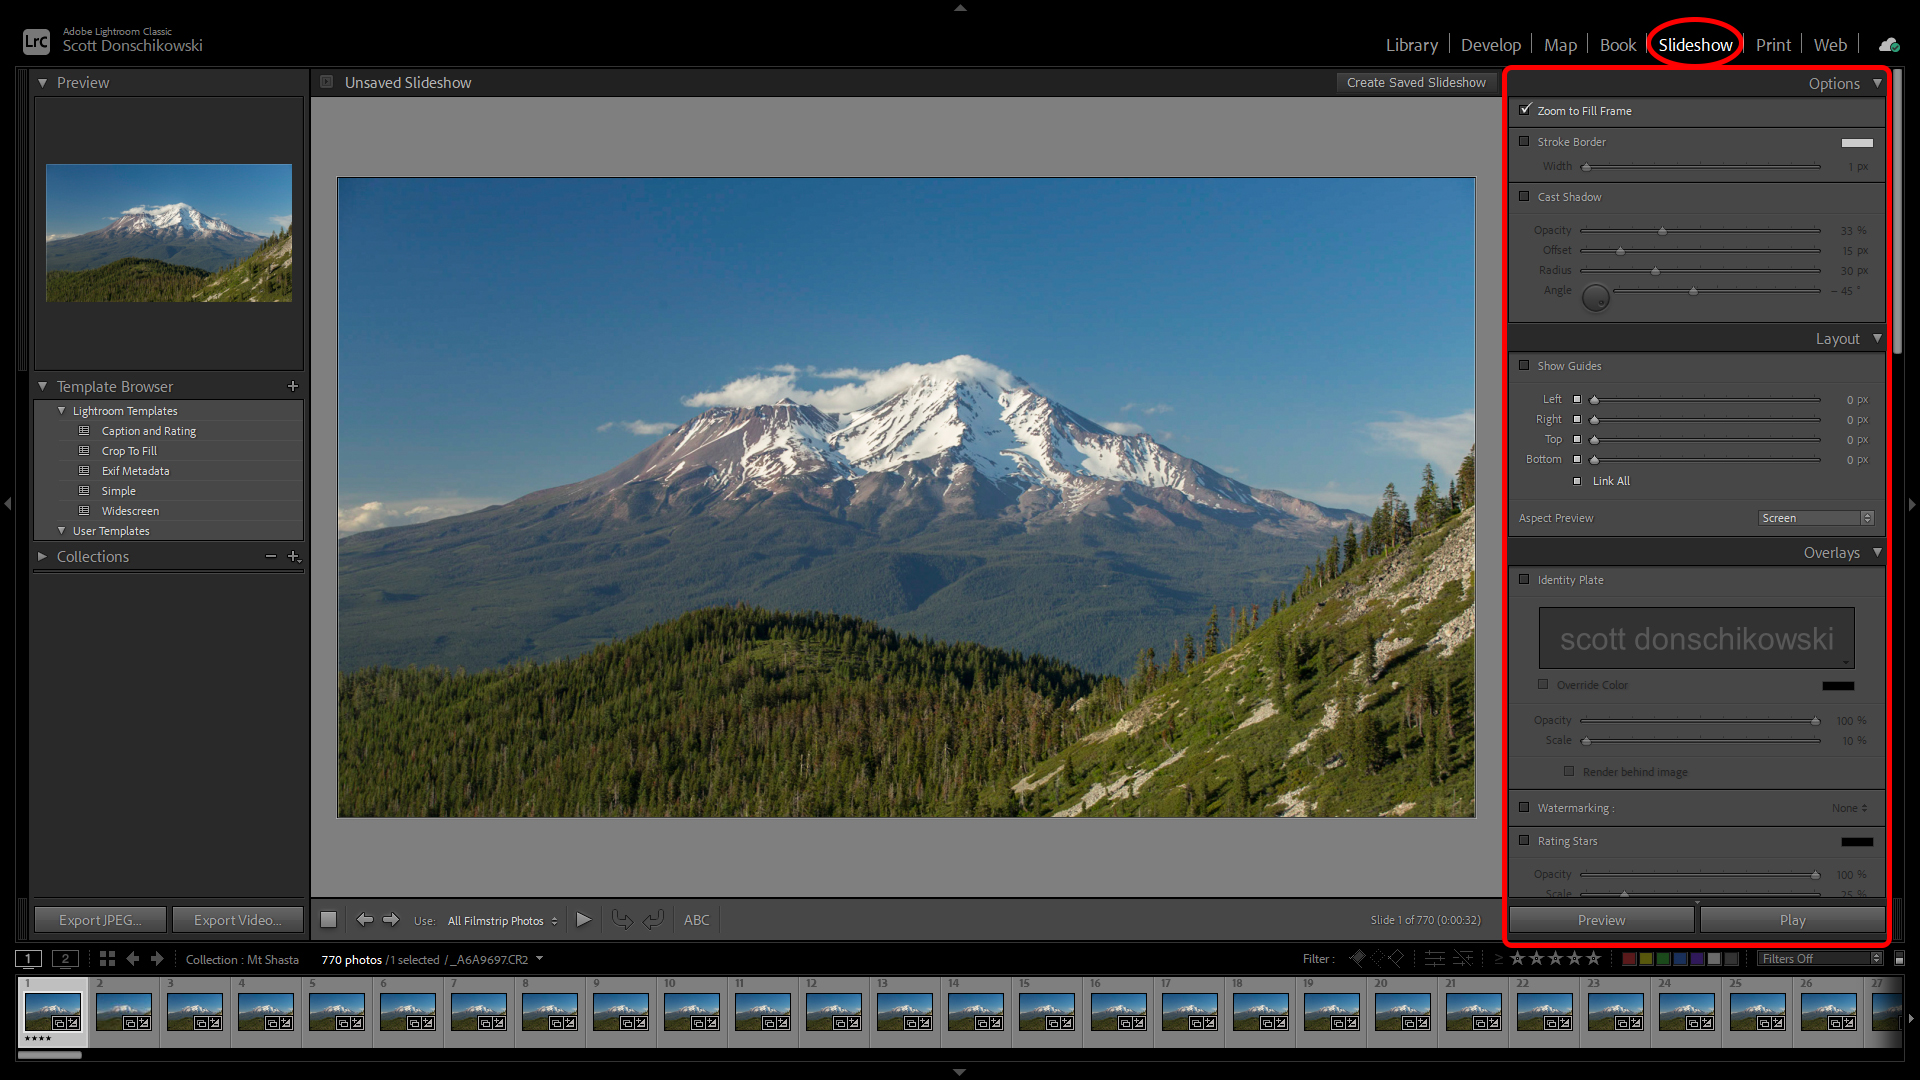
Next, click on the “+” symbol next to the Template Browser on the left-hand side of the module. Name your template, decide what folder it should go in, and click “Create.” Now your basic template is created, but the default slide length is 4.0 seconds. That's what we have to change, but we can't do it in Lightroom, because the minimum slide length we can set here is 1.0 seconds.
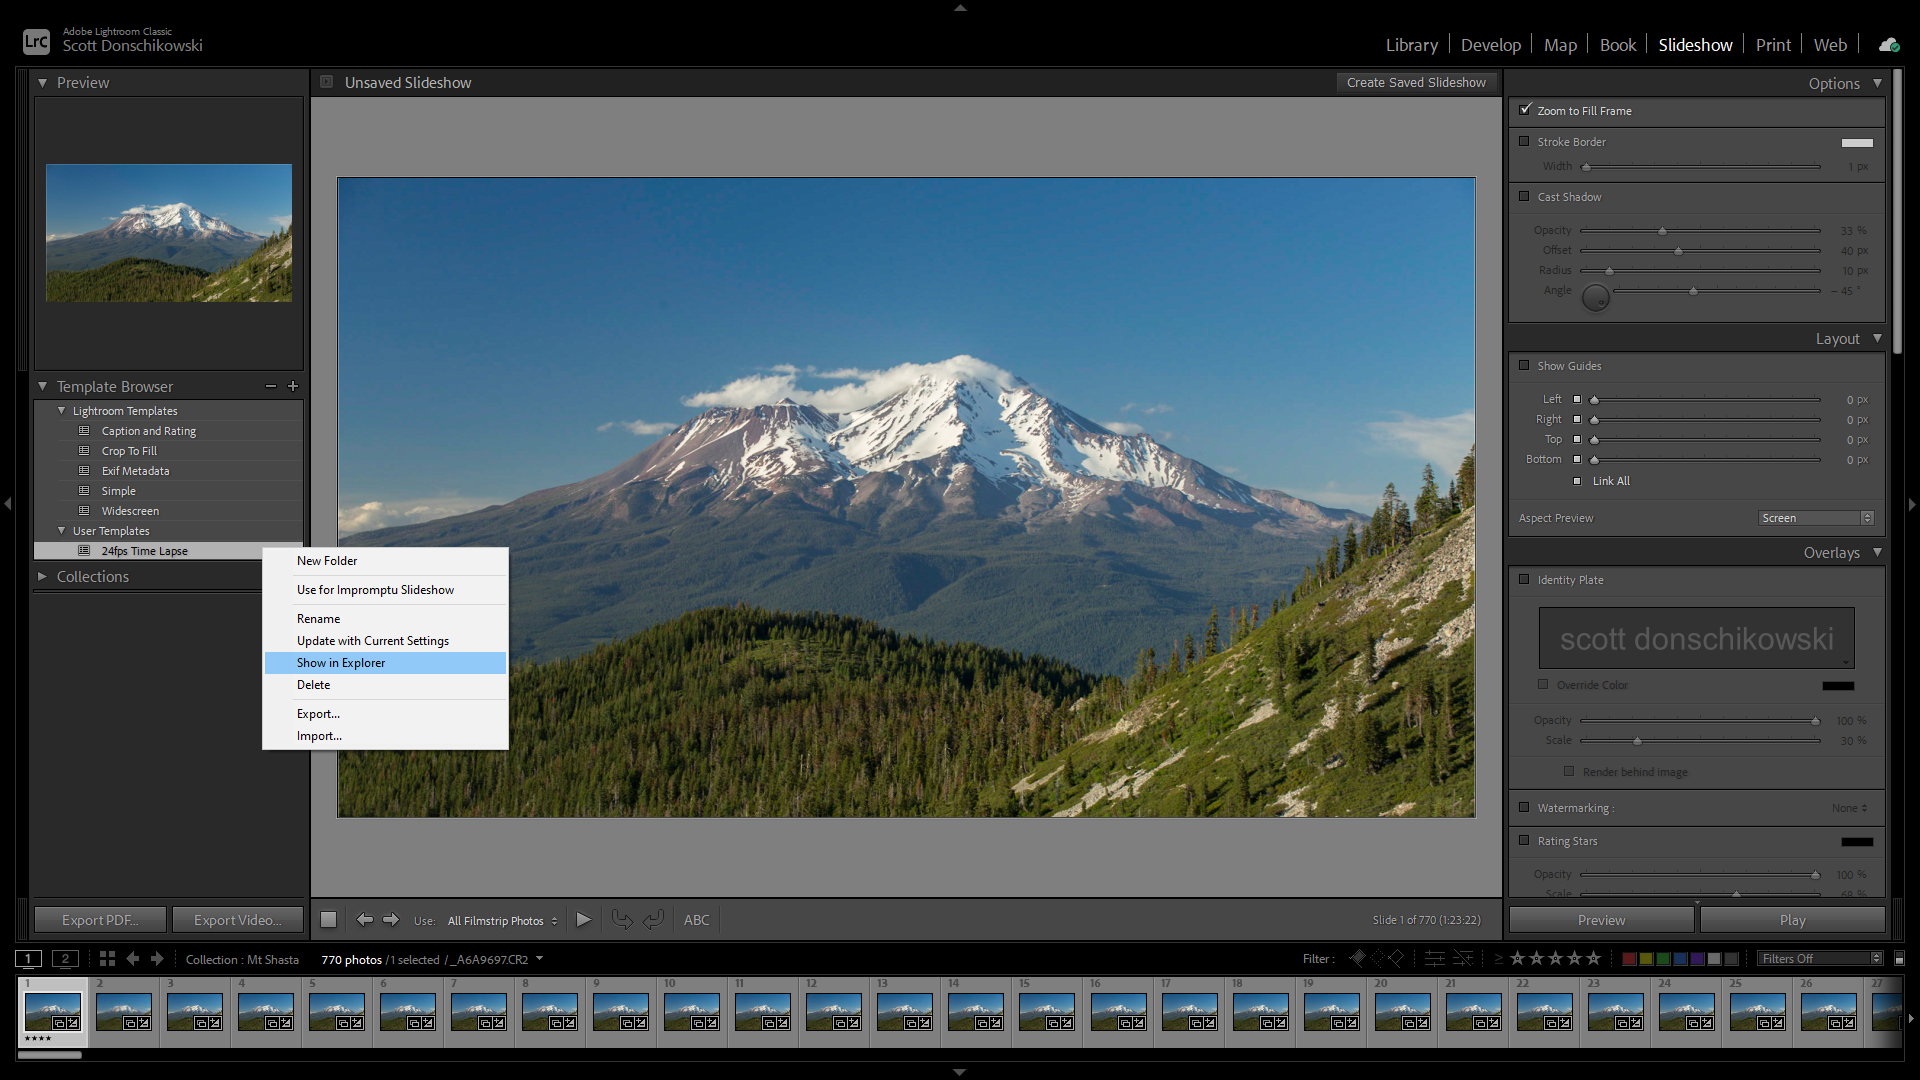
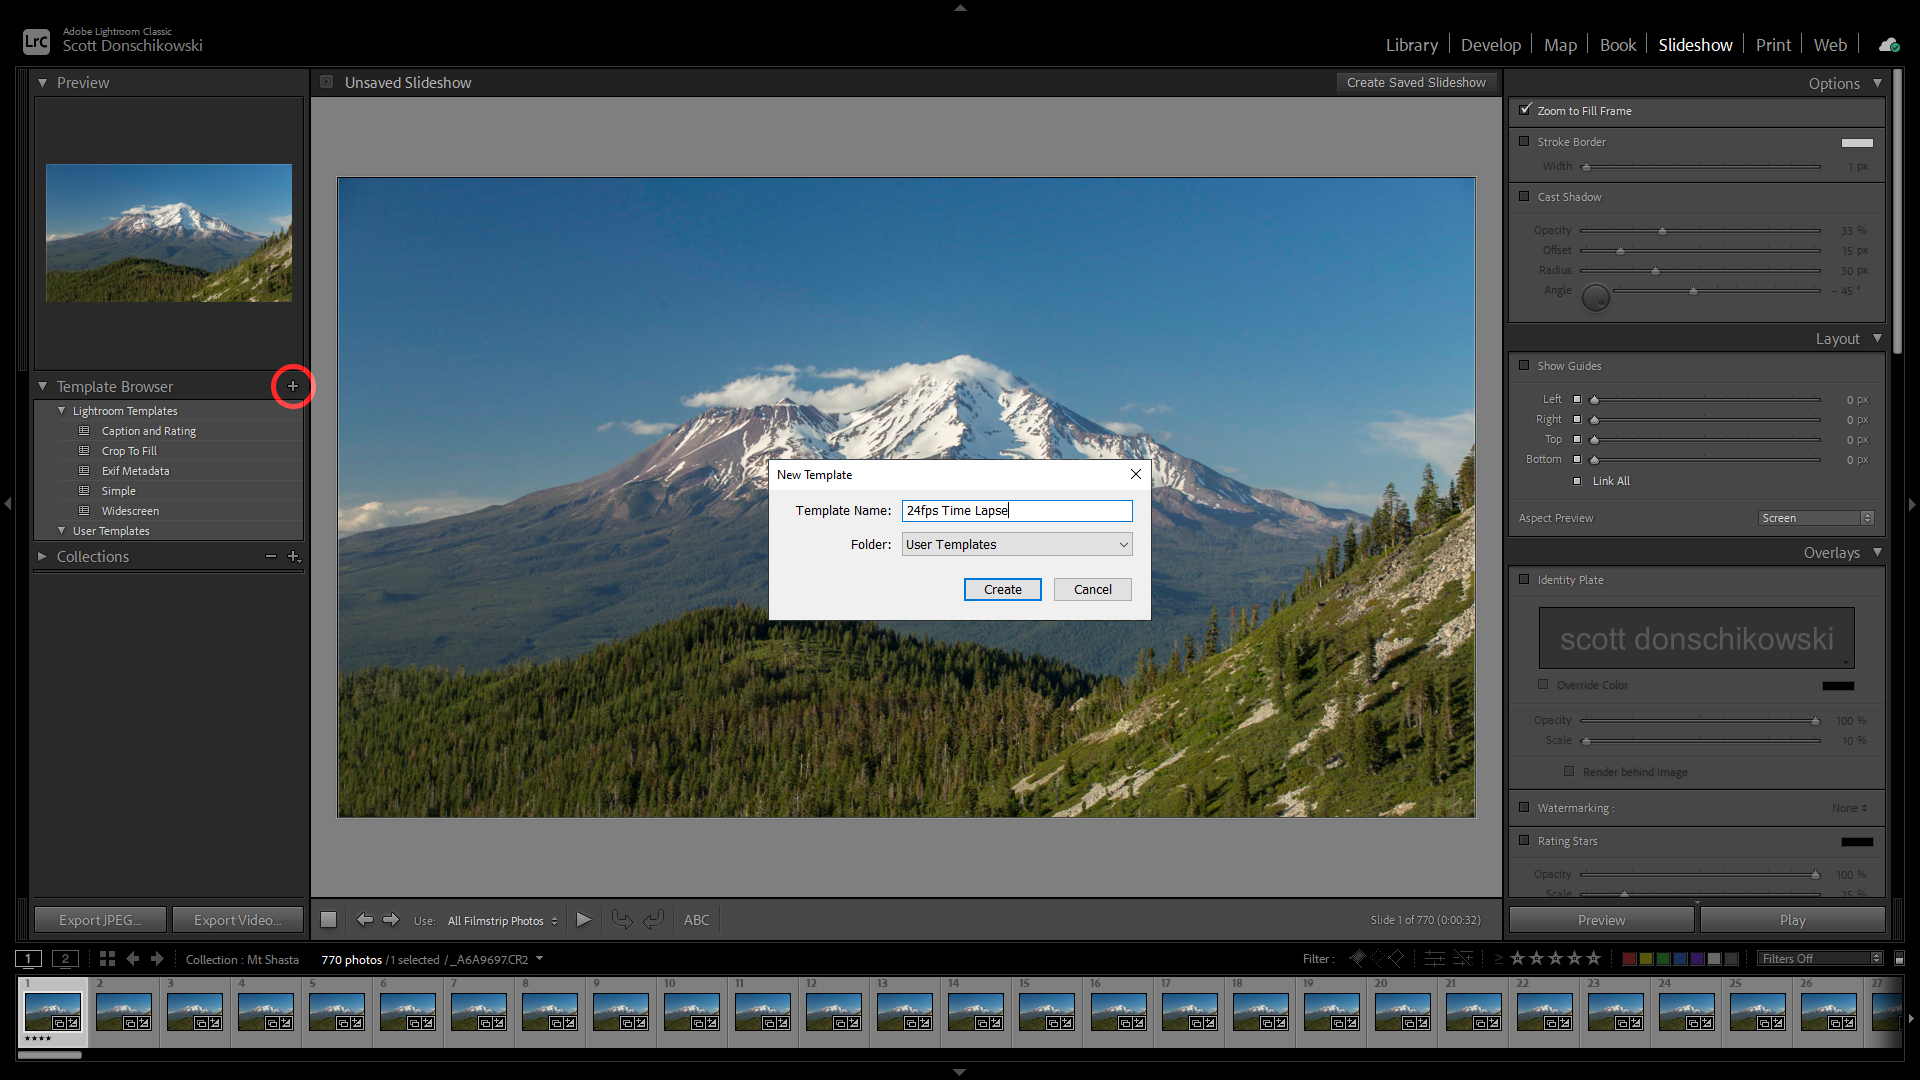
Right-click on the template you just created and select “Show in Finder/Explorer.” A new window will pop up showing you the folder where this user-created template is stored. We now need to edit this template using a simple text editor like Notepad (WIN) or TextEdit (MAC). So right-click on your template again, and open it with your desired text editor.

Scroll down to the bottom of the code on the page and look for the line that starts with “speed” (line 178). It should read “speed = 4,” if you left the default value from the beginning. The value here corresponds to how many seconds each frame will appear on the screen. All you have to do is change this value to get the desired fps appearance. So if you want your time-lapse to appear like its 24 fps, just divide 1 by 24 and you get 0.0416666666666667. Enter this number in place of the 4 (don't delete the comma!). The line should now read “speed = 0.0416666666666667,”
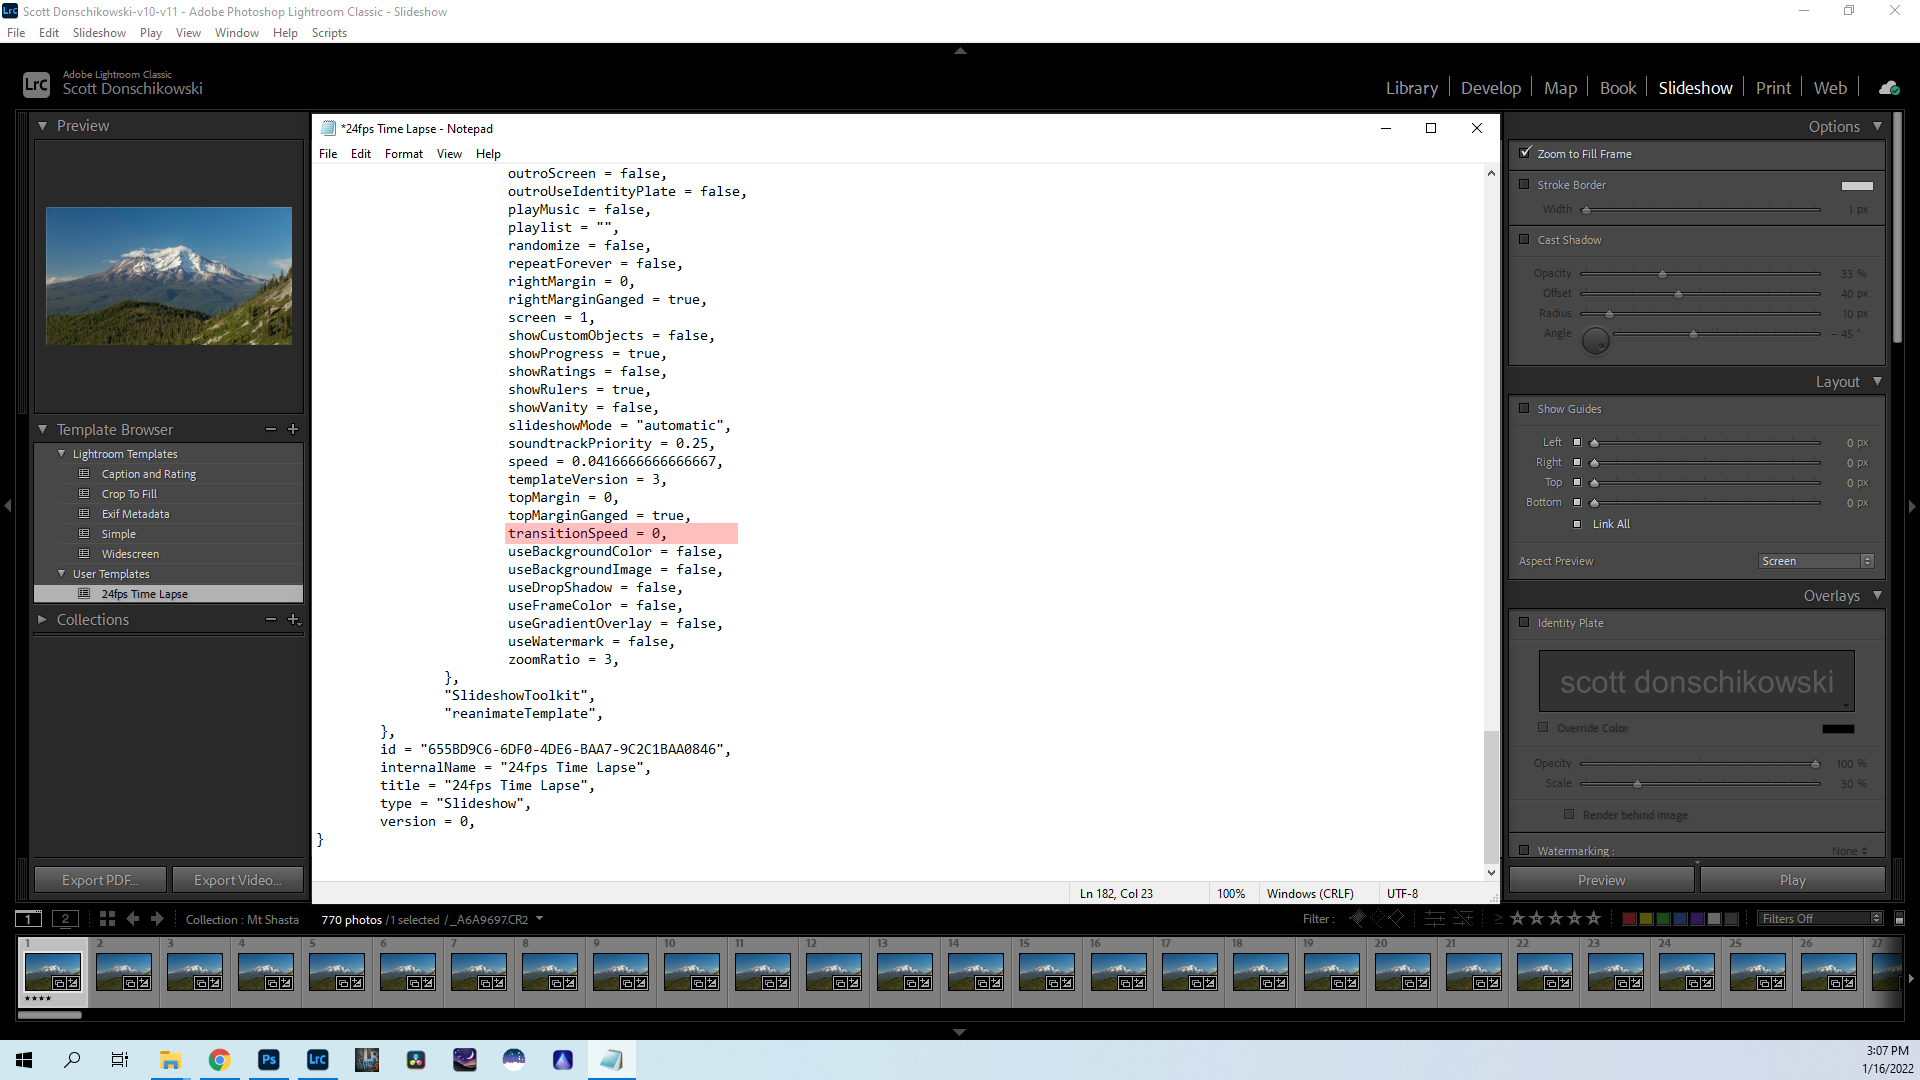
Next, find the line that starts with “transitionSpeed” (line 182). Change its value to 0 (again, don't delete the comma!). This line should now read “transitionSpeed = 0,”
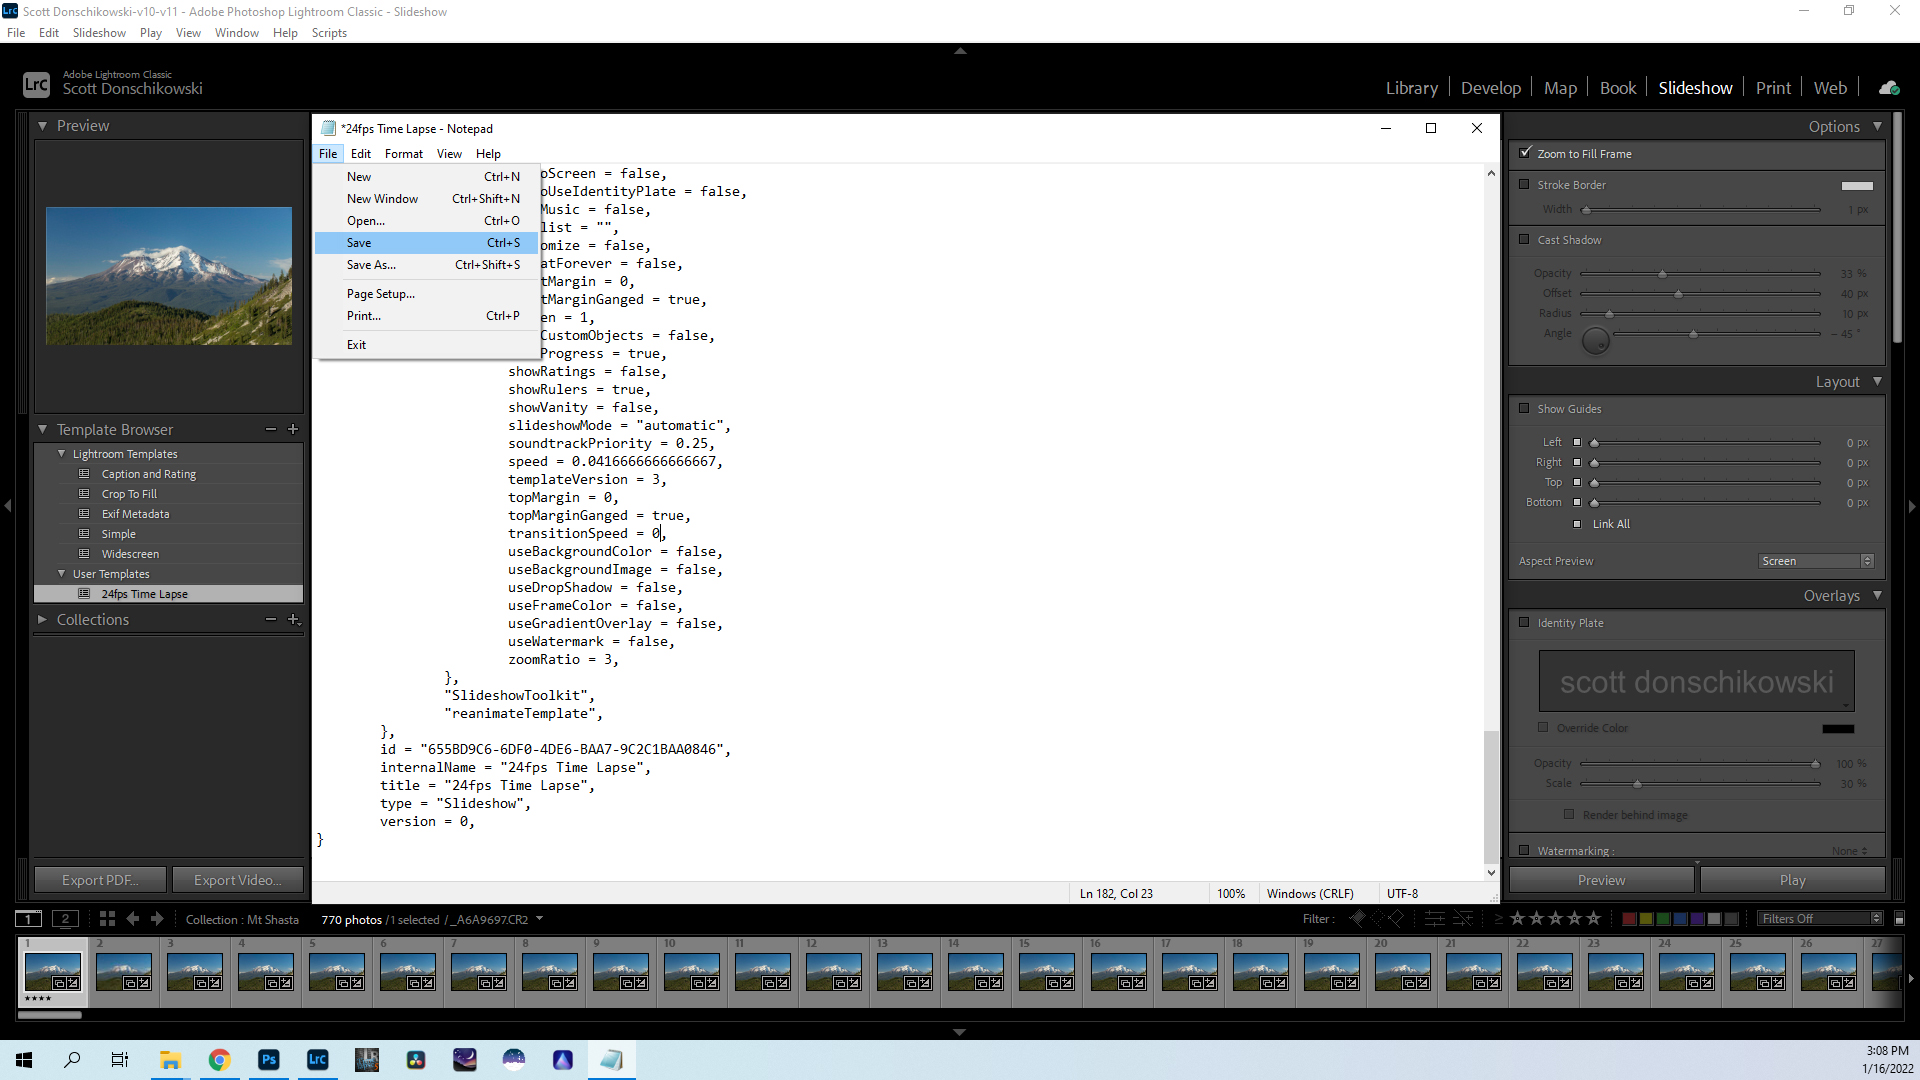
You must now save the document, close your text editor, and restart Lightroom before you begin using the template, otherwise your changes will not take effect. After you restart Lightroom, you can rename the template if you wish.
That’s it! You’ve just created your own personalized time-lapse slideshow template. You can create as many different variations of this as you like, all by changing the numbers on just those two lines in the template file.
Troubleshooting Tips
If Lightroom hangs up, or seems to take forever when exporting your slideshow, it’s most likely due to your images being too large. Try exporting all your time-lapse images as .jpegs at 1920x1080, then re-importing them and try exporting the slideshow again.
If your result video has really nasty flickering, try creating a different template with a different fps value. I have seen this result only when using 30fps (speed = 0.0333333,).
If you are seeing any other kind of flickering, like drastic increases or decreases in brightness between frames, you might need to retake your time-lapse images. This kind of flickering is most likely the result of your camera being in an auto exposure mode. To get the best results, you should be shooting in manual mode with manual ISO so the settings stay consistent from shot to shot. If that's not possible because the lighting will change drastically during your shoot, then you really need to invest in a program that will fix the flickering automatically for you, like the aforementioned LRTimelapse.
If your result video looks like a regular slideshow and not a time-lapse, open the template again with a text editor and double-check that the “transitionSpeed” line has a value of 0. This is most often the line people forget to change. But you should also check the “speed” line is not a whole number. Remember that his line defines time, in seconds, that each frame appears. So this number should most likely be a fraction.
If your time-lapse video appears out of order, remember to change the sorting of the images in the Library Module to sort by Capture Time before switching to the Slideshow Module to export it. A good practice is to start in the Library Module and make a collection of the images you want to include in your time-lapse video before you begin, and set the sorting to Capture Time.


Join the Fstoppers community for free
-
Post comments and join in the discussions
-
Browse the site ad-free
-
Share your work and get featured in the community
-
Compete in the photo contests for fun and prizes
2 Comments
Great! I tried last week with Lightroom but didn’t know it was possible to go below 1 sec by editing the template. I ended up working with Photoshop. This article explains exactly what I needed, thank you!
So glad to hear it helped you Marc-Andre!