
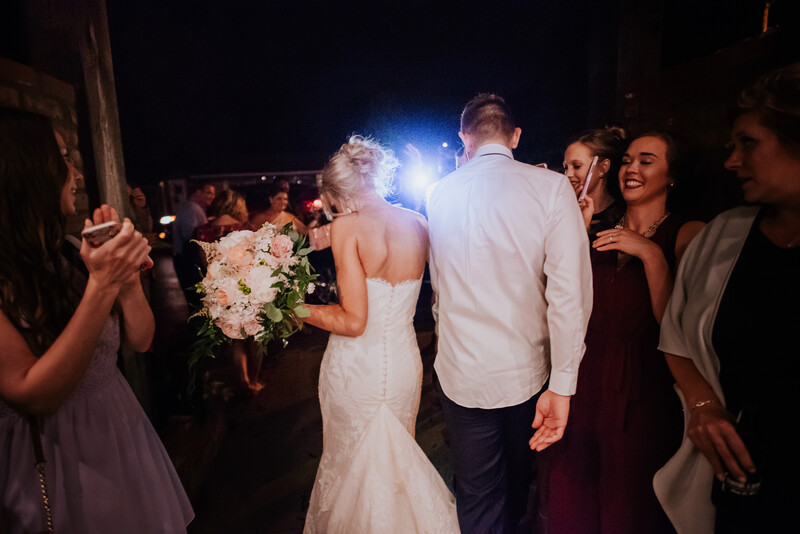
Without a doubt, Lightroom is an extremely powerful editor. So much in fact, that I can edit an entire wedding without ever leaving the program. The main things I find myself doing that cause me to leave Lightroom and enter Photoshop are multiple exposures, liquefying, more advanced cloning and healing, and adding certain overlays. What Advanced Lightroom Effects from Lens Distortions does is make it so I no longer need Photoshop to add these overlays. It saves me time from switching back and forth between programs and having to create multiple copies of the same image.
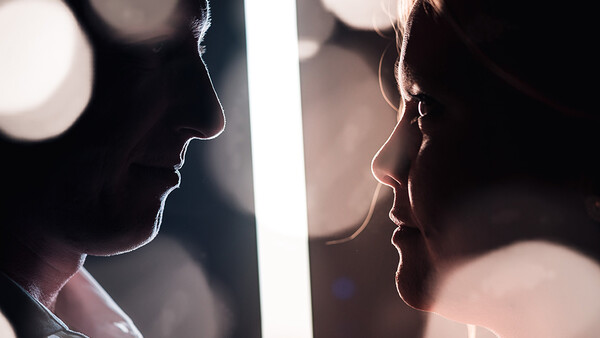
Advanced Lightroom Effects is essentially a set of overlays that you can add to your images. These overlays are split into three separate packs. The first pack is Forecast, which allows you to add fog, snow, rain, and stars. The second pack is Skylight, which allows you to add sun flares and glows. The last pack is Accent, which allows you to add stylized glass effects and bokeh. While adding overlays like these are nothing new, the ability to add them in Lightroom is.
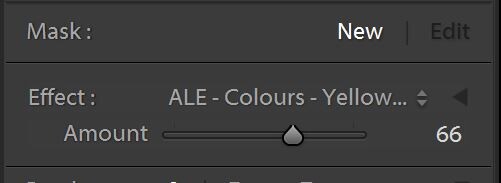
The way these packs work is actually through the use of presets and the brush tool. By simply scrolling through the pack in the preset panel, you get a quick preview of the effect in the navigator window. Once you apply the preset, you can edit and move the effect from within the brush tool by selecting the edit pin. The cool thing about each of these packs is that all the overlays are produced from actual images of each effect. What Lens Distortions has figured out how to do is to convert real images into whatever file type is used by the brush tool. So if you add stars to your image, the overlay was produced from a real image of stars. Some of the effects are also split into multiple pieces. So if you add a set of bokeh balls, you can move around the individual elements instead of having to move them all around as a group. These effects also have quite a bit of range and seem to work with any sized image from a cell phone image to a medium-format file. The only issue with this amount of detail and resolution though is that it can cause a slight slow down when adding the overlay or when moving things around. For me, it was easier to use the navigation window to get a preview of where an effect was being moved to instead of waiting for the main display to catch up my movement. Once the overlay is added into place, Lightroom runs as normal and it’s still drastically faster than opening the file in and doing the same process in Photoshop.

If an effect is not strong enough, or you want more elements of the effect, you can also duplicate them by right clicking on the brush pin in order to duplicate the element. The downside of this tool though is that you can only add one effect to an image. So if you want to add stars and bokeh to an image, you would have to do a weird process of adding one effect, rendering it as a TIFF file, then adding the second effect. So while adding one effect is faster than going into Photoshop and doing it, if you want two effects, you are better off using Photoshop.
When an effect is added you have a handful of ways that you can edit and manipulate the elements. The main way to change the appearance is by adjusting the normal sliders found within the brush tool in order to change things like the white balance, tint, color, exposure, etc. Another option is to use the set of prebuilt brush presets that have been made for each effect. These make it possible to quickly change the color, darkness, and lightness without having to mess with each slider to figure out what change it may or may not cause.
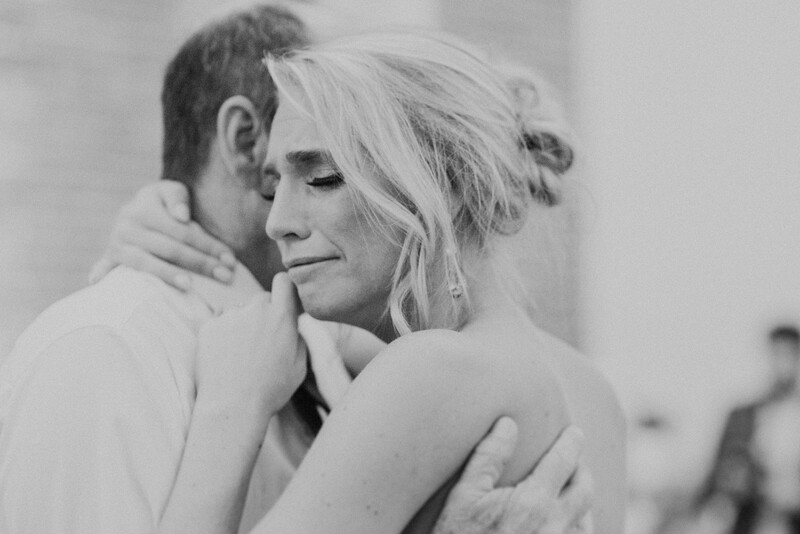
Once you have the effect placed where you want it, you can then click the little black arrow next to the effect name to reveal the amount slider. Similar to adjusting the opacity of a layer in Photoshop, this allows you to easily adjust the appearance in order to make the effect blend more naturally with the image. You also have the ability to erase the effect from within the brush tool so that the effect won't show where you don't want it. This also makes it possible to make an effect appear as if it is coming from behind the subject instead of always being on top. The problem is that you are stuck using the Lightroom brush tool, which can be a bit laggy and does not do as well on fine brush detailing. Getting things to appear natural around hair and detailed edges will also be difficult or impossible. Another drawback is that you cannot resize any of the effects. What you see is what you get. In order to combat this, they supply different sizes for most elements, but it would be nice to have the ability to fine tune the sizes.
What I Like
- Easy to use
- Easy to modify, change, and move around
- No longer need Photoshop, which saves time
- Plenty of options for size and style
What I Don't Like
- Can be a bit slow to add and move effects
- At $99 per pack or $249 for the three pack bundle, it's on the expensive side
- Can’t add multiple effects
- Cannot resize
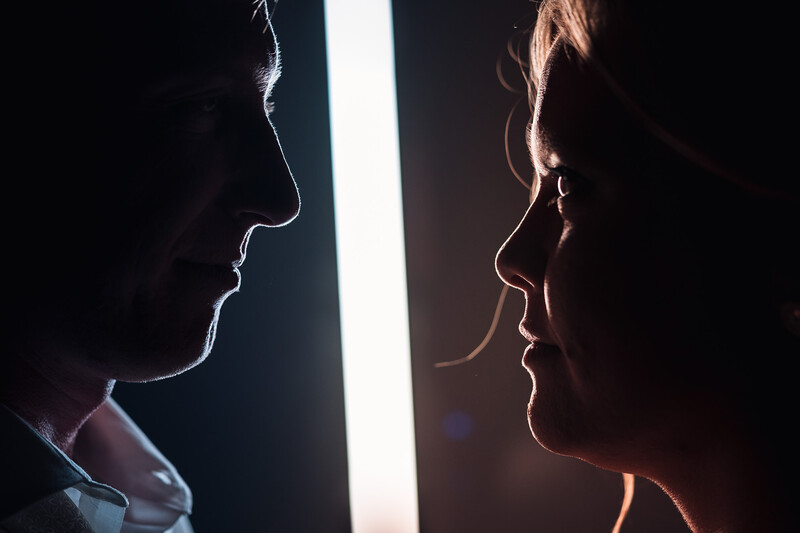
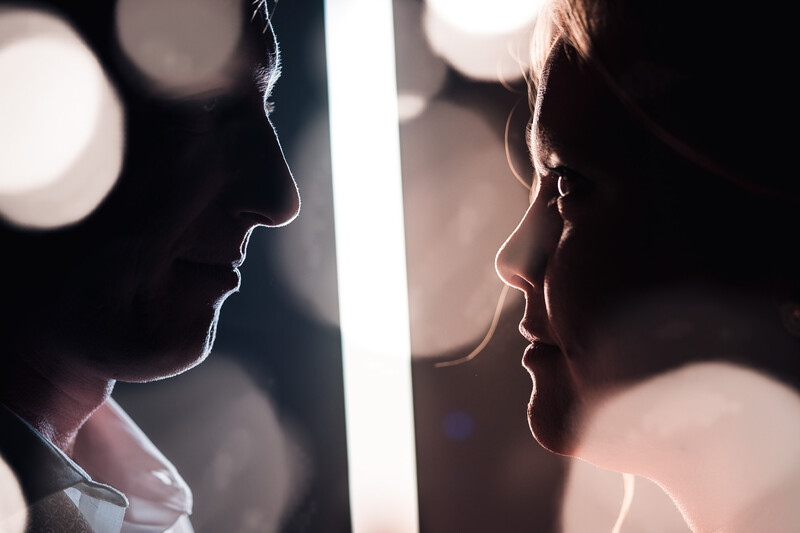
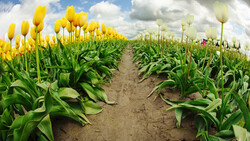
In conclusion, this Advanced Lightroom Effects pack may be a bit expensive, but the results it provides are worth the purchase. If you find yourself spending a lot of time in Photoshop, then you may be better off purchasing some of Lens Distortions' cheaper Photoshop effects. But if you are like me and try to spend as little time in Photoshop as possible, then these packs are for you. While the Forecast pack doesn't see much use from me, I can see its application when dealing with landscapes. For me though, the Accent and Skylight packs are must-haves.


20 Comments
I don't use overlays often, but I do love this. I try to stay in LR as much as humanly possible. The slowdown while adding/modifying is a mild annoyance. The only real bummer is the inability to resize and rotate. Unfortunately that means a lot of these are going to look the same in a lot of photos. All the more reason to use it sparingly.
They have a facebook group as well and there looks like there is some cool stuff in there. Personally I love the stars, very cool to be able to pep up a night image.
https://www.facebook.com/groups/AdvancedLightroomEffects/
so that's how it's done.
It's just one of the ways it's done. All of it can also be done in camera. Like this one was done in camera.
nice, is this with a glass prism?
I can't remember what I used... may have just been a water glass.
So it's $99 for something that is already achievable in lightroom using a bunch of radial filters?
It's not exactly a compelling value proposition is it?
And that's completely ignoring that a large number of lightroom users already have Photoshop, so the myriad approaches to creating this effect in there are available too.
Time is money for a pro. If this is something that saves you measurable time, then it's worth the money.
And no, it's definitely not just something the average (or even above average) person is going to be able to practically reproduce with "a bunch of radial filters." It's hard to explain without seeing it actually implemented, but they took realize flare effects and somehow reproduced them using brushes and strokes that LR understands. It's pretty clever.
Yeah, this is nothing like a bunch of radial filters. It's real optically captured lens flares converted into highly detailed brush masks. Each one has about 10,000 detail points in it so good luck mimicking that!
It's wayyyyyy more complicated than just "a bunch of radial filters". It's obviously taken innumerable hours, over the course if many days, to come up with the intricate detail that is captured within the effects. I just recently got one of the packs and looked through it, and it's very clearly taken way more time to create than any pro or hobbyist has the time to figure out on their own.
Having said that, you're right, doing it in Photoshop, or in-camera even, is also a ($0) solution.
Groovy! it's the selective color, tilt shift blur of 2019.
Awesome!! now you can get on the cool train 2 years early!
As mentioned here Lightroom is sluggish in itself so how much do you really save in time? And the Bokeh rendering looks weird when it is in front of the subject like that. Not very realistic. I’ll pass this one.
Bokeh shows in front of the subject in natural situations all the time. So it's definetly realistic. As for speed issues, Lightroom is sluggish absolutely. But this is still faster than opening the image in photoshop, applying a layer, making adjustments, then saving the file and waiting for the edit to make it way back to Lightroom.
This is pretty cool. Couldn't you add multiple effects to an image by exporting it and re-importing it? Not ideal but easily doable.
The big question for me is can you rotate these??? I know you cant change the size!
Good photographers either get it in camera or do it in PS. These are just inflexible gimmicks you won't be using a year from now. Lots better uses of that $$$. Buy some great brushes or fonts or actions for PS.
This article is more than a year old and I'm still using these... Think it was worth the investment.
The results look no better than cheap phone app filters tbh
Definitely prefer the in camera method. And it’s free!