
Getting ready for your next trip? Travel is hard enough as a tourist, but as a nomadic photographer, a lot can go wrong. Whether the plane runs out of overhead storage or you’re in a car crash, solid packing will help you to comfortably face the unexpected so you can shoot from dawn till twilight, then change plans last minute with as little inconvenience as possible. Here are some techniques that have helped me nail ultralight packing to travel indefinitely as a nomadic photographer—or skip to the end for my one bag packing list! Travel is hard enough as a tourist, but as a photographer, a lot can go wrong. Here are a few scenarios that have happened to me in the last 10 months:
- The plane’s overhead storage is full: do you have to check your delicate camera equipment?
- Your next layover is canceled: is it stressful to drag all your luggage to a hotel half a mile away and return for an early morning flight?
- You’re in a car crash: is it stressful to gather all your luggage and walk to the nearest bus stop?
Although a crash or canceled flight is unwelcome no matter how prepared you are, effective packing will help you to comfortably face these scenarios. (Here are 19 ways to make travel logistics less painful).
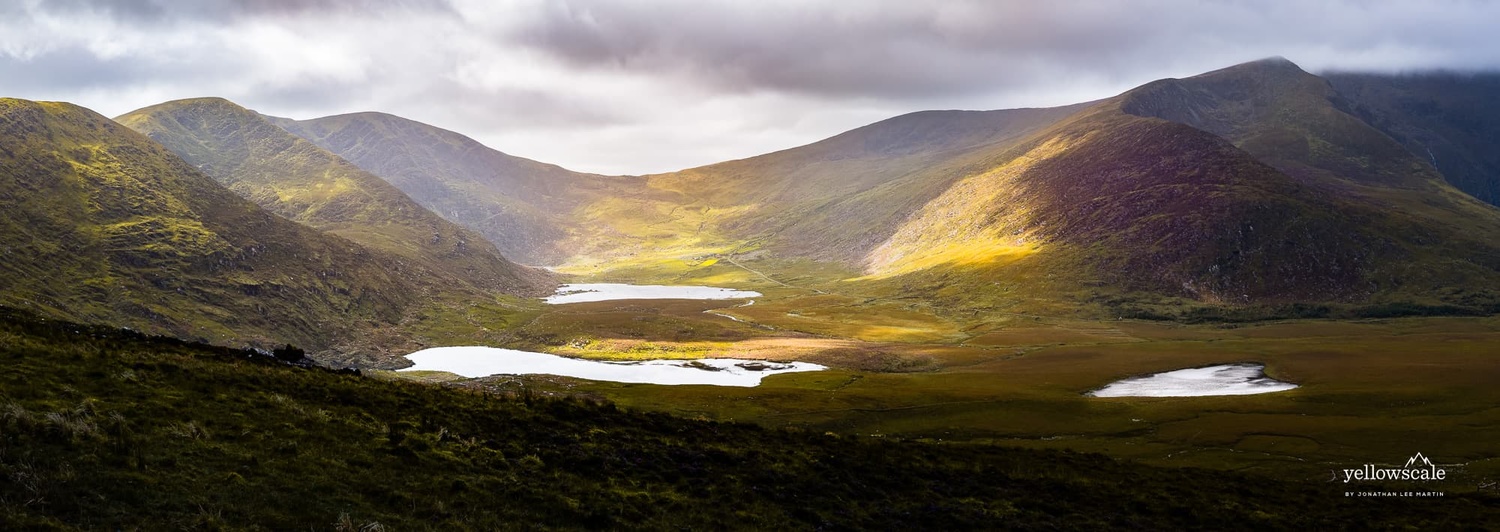
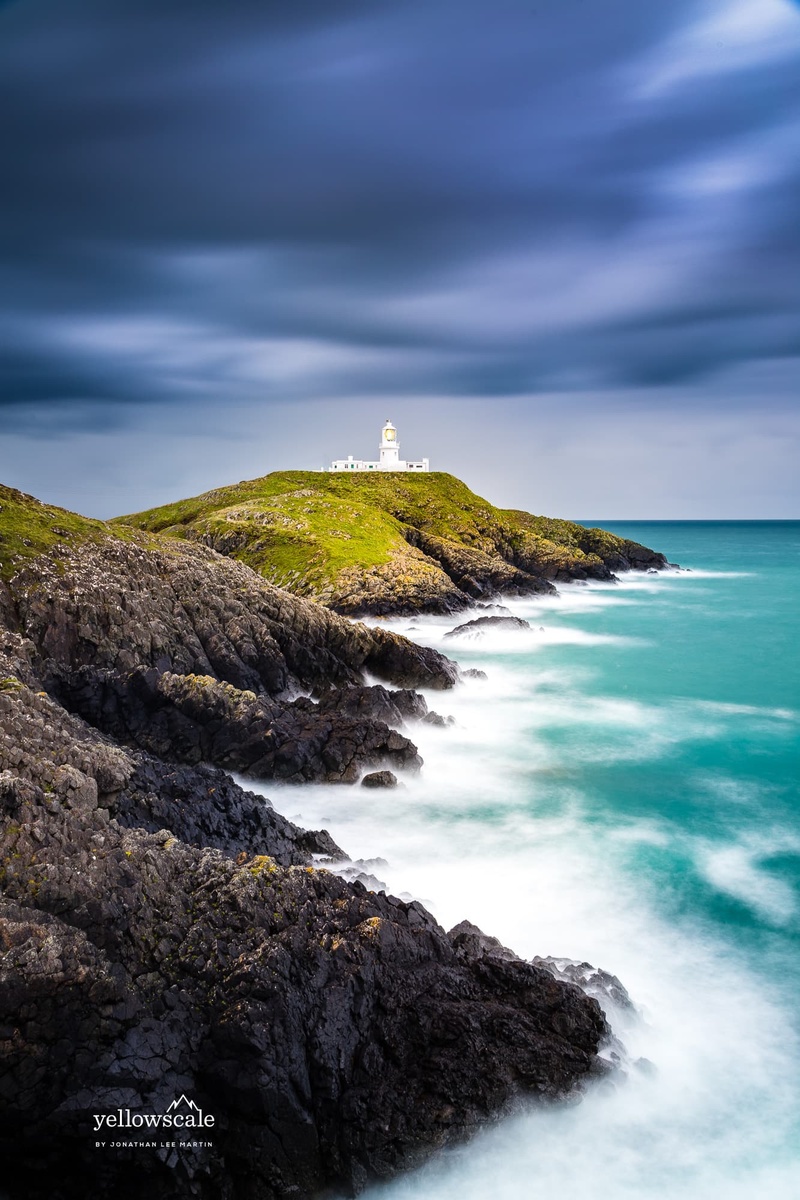
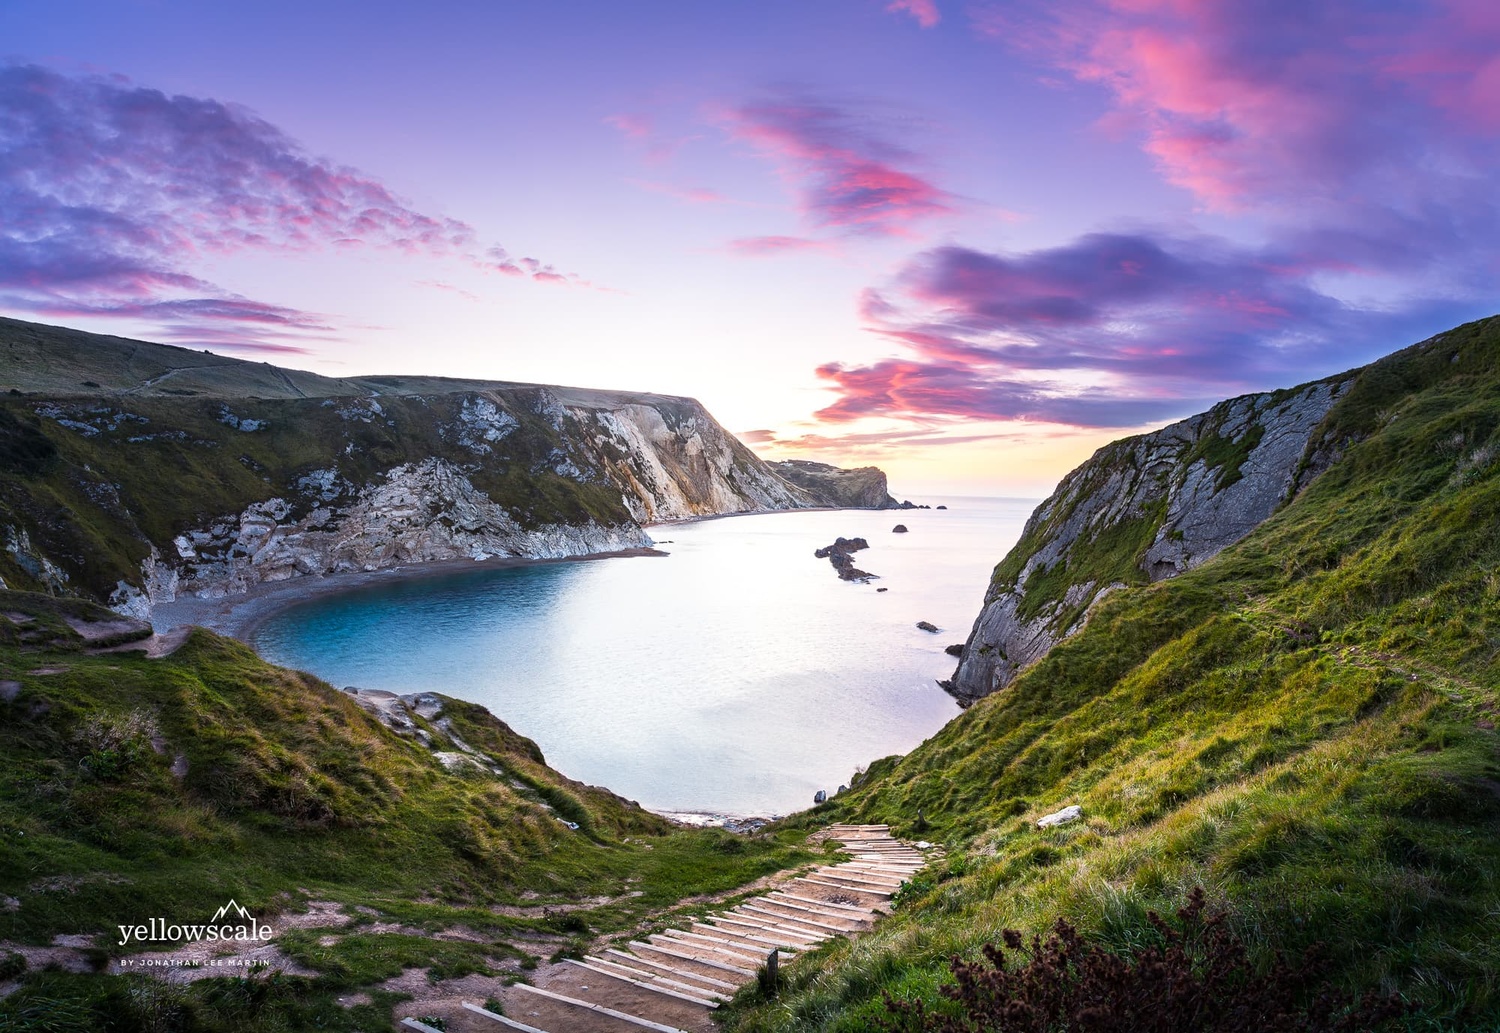
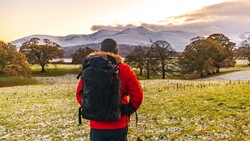
Transit isn’t the only area your luggage will get the better of you. Landscape photography is fundamentally riskier than many other genres since you can’t control the weather, lighting, or crowds. With solid packing, you can shoot from dawn till twilight without making hotel stops, then change plans or rebook accommodations with as little inconvenience as possible.
Are you getting ready for a trip or starting the journey to becoming a digital nomad?
1. Laser Focus With Realistic Shoot Goals
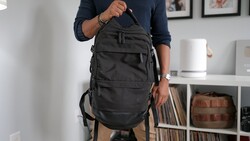
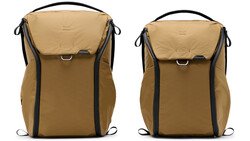
The best way to travel is with a single carry-on bag and zero checked bags. It’s better yet if the carry-on is a small daypack that will fit under the plane seat and weighs under 10 kg (22 lbs).
Sound like a pipe-dream? I thought the same a few years ago. Since becoming a nomadic photographer, I’ve frequently nerded out on gear trying to get down to one bag. By the time I packed my camera equipment, I had already filled a dedicated duffel bag—forget weight restrictions!
But the lightest equipment is the equipment you don’t bring.
Pick a genre and medium, then commit to it 100% for that trip.
I used to take a drone and video stabilizer. But after lugging around two bags on several trips, I noticed a recurring pattern: most of that equipment was only used 10% of the time, and I produced publishable work with it on only one occasion.
I decided to focus 100% on wide-angle landscape photography. That meant leaving the drone and glidecam at home. This got me down to one bag, but it was still on the heavy side. Which lens(es) and filters would I bring? Would a lighter ballhead do the trick?
Brainstorm how you want to improve your craft. Before the trip, I outlined how I wanted to improve my landscapes:
- Create a sense of depth with elements like fog and haze
- Root the viewer’s interest with stronger foregrounds
- Consciously focus on shapes in the composition
- Capture the energy in water and clouds with long exposures
- Take 20% fewer photos with a higher ratio of winners
- Enhance the print’s impact with skewed aspect ratios like verticals and panos
My cumulative “mission statement” for the trip became: I focus 100% on wide-angle landscape photography, primarily verticals and panos for greater dramatic effect in large-scale prints.
Not only did brainstorming my goals help me shoot with more intention, it meant a handful of filters and lenses became superfluous. Bringing laser focus to your equipment can feel limiting, but it also means fewer decisions when you’re out in the field.
2. Pack Just Enough Equipment to Shoot 90% of Your Focus
After perusing my photo library, I found a common focal range for 95% of my top landscape work. With that in mind, I set aside my nifty 24-105mm and travel with one lens: an ultra-wide 16–35mm.
It’s strangely alienating to see all my photographer buddies carrying around two to four lenses, but I love the freedom of carrying a single lens.
One lens = one set of filters! I own two NDs—a 6-stop and 10-stop—but after some testing found the 6-stop covers all my use cases. So in total, I pack just two filters: the 6-stop ND and a CPL.
For the shot goals I had in mind, I would need to bring my tripod on every hike without hesitation, so I grabbed an ultralight tripod and ballhead that fit in my daypack. To shrink the tripod further, I removed the center column extension—the reduced max height of 49” cut down weight and space without compromising stability.
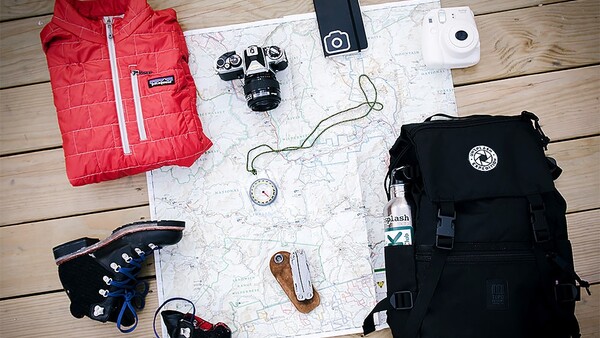
3. The Complete One Bag Packing List
All told, here’s (almost) everything I pack in one bag for indefinite travel as a nomadic photographer:
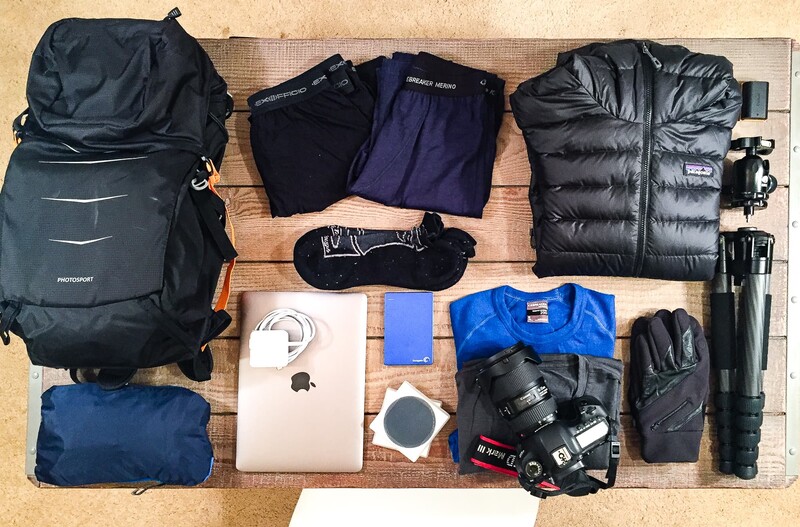
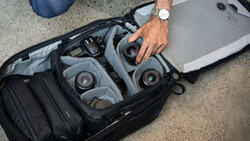
Camera equipment:
- One camera body
- One lens
- Ultralight tripod and ballhead
- 6-stop ND filter (brass B+W)
- CPL filter (brass B+W)
- Plenty of SD / CF cards for backup
- One extra battery
- Neck strap that doesn’t scream Canon or Nikon. I haven’t had success with shoulder straps, but I’m considering these straps by Peak Design.
- Fantastic gloves. I love cold climates, so I’m not sure how I went three years without them. My family got me merino wool gloves from Vallerret—the fit is a bit weird on me, but they are exceptional otherwise.
After equipment, clothing usually takes the most room. But unlike your camera equipment, you can ruthlessly cut down clothing without compromising the quality of your work.
Eliminate 100% cotton, no exceptions. Cotton is miserably uncomfortable when you sweat and turns to rock when air dried. Instead, opt for nature’s miracle fabric, merino wool. It insulates in cold or warm weather and resists odors—sometimes for weeks at a time. It’s definitely pricey, but one shirt will replace five others in your pack. You can easily find merino wool clothing at half price in spring and summer.
- Two to three pairs of merino wool socks. They’re worth their weight in greenbacks—insulating, odor resisting, and hand-washable. I’ve worn the same pair almost every day for 2 years.
- Two to three merino wool shirts: a short sleeve and long sleeve will cover a wide range of temperatures.
- One pair of merino wool leggings to line your jeans in chillier weather. I found a pair for $20 at a T.J.Maxx.
- One pair of jeans with > 20% polyester. Polyester mix jeans are my favorite budget hack for travel clothing: they are incredibly lightweight, compact, stretchy, and dry out quickly—yet they wear well for business travel! It’s pretty easy to hunt down a pair for $20 at a department store.
- Three pairs of underwear that aren’t 100% cotton. I still haven’t found any I particularly like, but for now, I use some polyester pairs that are easy to sink wash.
- Lightweight down jacket. Combined with merino wool base layers, you can comfortably hike in 20–80 degree weather with the same wardrobe. Down jackets are pricey, but I did well with a $50 REI Coop jacket for a couple years before upgrading to a Patagonia down jacket. Both were a fabulous investment and easy to squeeze in my camera bag.
- Compact rain jacket. It usually stays in the bag, but for icy climates like Iceland or Norway, the wind protection is indispensable. Your down jacket may already double as a rain jacket with its DWR treatment, but it’s best to have separate layers that “do one thing well” so you can mix and match. Sadly, my North Face Venture jacket gets crazy clammy—I’m considering the Outdoor Research Helium or something with Gore-Tex, but they are quite expensive.
- One pair of waterproof hiking shoes. Leave the shoe gallery at home and invest in one pair you can wear everywhere. My Gore-Tex low-cut hiking shoes have been through bogs atop Lake District fells and slush puddles in the Pacific Northwest. They’re caked in mud but haven’t leaked once.
I squeeze just a few more must-haves in my bag:
- 12” MacBook. Since I edit on the go, lugging around a 15” brick is out of the question. I loved using a 13” for a couple years, but the 12” is the last word on portability—albeit editing is painfully slow.
- Compact 2TB backup drive. I make daily backups of my photos for a total of three copies: originals on the SD cards, imports on my laptop, and a copy on the backup drive. In case my bag is stolen or my camera drowns, I keep backup devices in at least two locations. When driving, I keep CF cards in my pocket and the backup drive with the rest of my equipment. Most car accidents are rear-end collisions, so put your equipment in the rear passenger seats or on the floor instead of the trunk.
- Foldable nylon daypack to shove clothes in on arrival.
- USB car charger. I live off Google Maps and cellular data—a dead phone is my panic button. A poor converter can damage your phone, so opt for a thoroughly reviewed charger.
4. Iterate, Introspect, and Improve!
After compiling my packing list, I did a quick Google for “one bag travel,” and James Clear’s packing list came up. His list is remarkably similar, one would think I had plagiarized it—I think it highlights that in time, one bag travel tends to converge on many points!
But ultimately there’s one way to find packing that suits you: try it! Get out in the field, jot down any complaints that detract from the trip and synthesize your learnings to remove fluff or make additions.
With a couple iterations, your packing will enhance rather than hinder your craft.
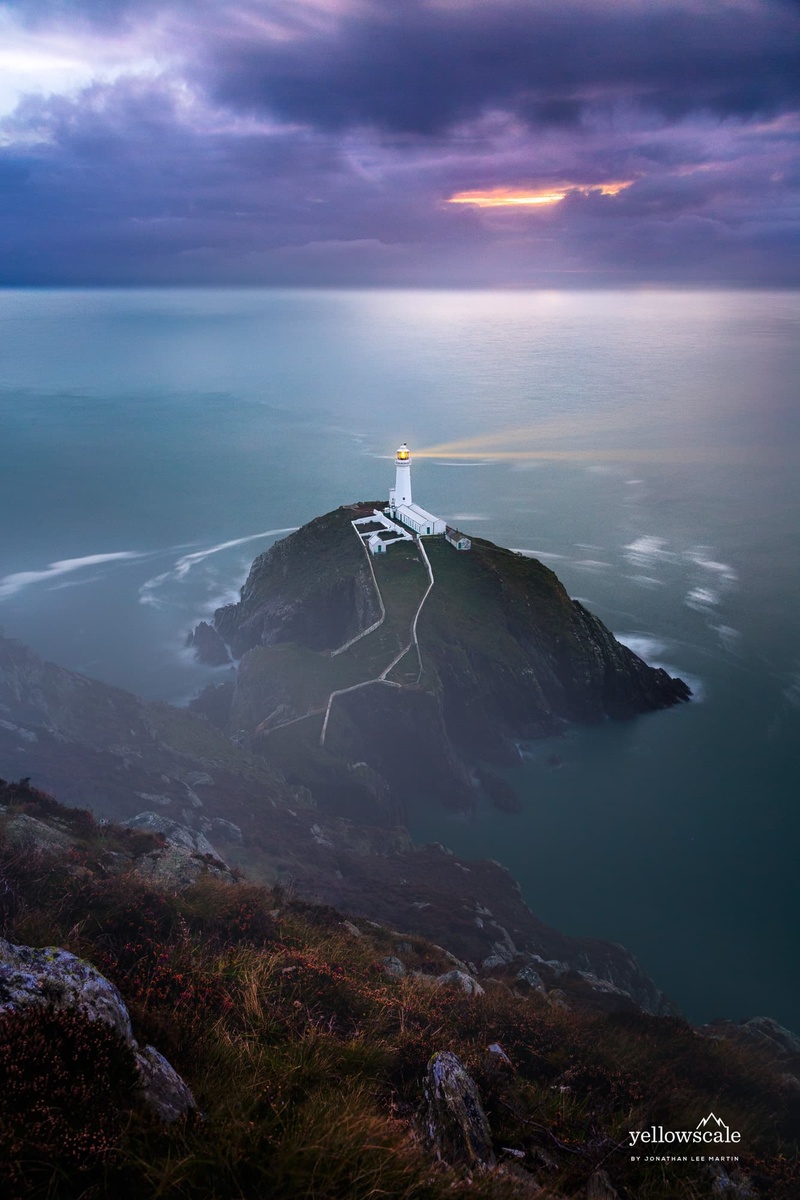
Lead image by Alice Donovan Rouse via Unsplash.
Join the Fstoppers community for free
-
Post comments and join in the discussions
-
Browse the site ad-free
-
Share your work and get featured in the community
-
Compete in the photo contests for fun and prizes
52 Comments
Thanks for the links, Timothy! *adds to list of bags to research*
There is absolutely no way I'd go on a major trip (one to four weeks for me) without a camera backup (I've had two failures in the past 10 yrs, one Pentax and one Nikon) and never ever with just the one lens.
I had TWO lens failures just on my last 2 week trip (both were AF failures so at least I could keep shooting, one was a CPU failure and the other a motor failure), these weren't even avoidable. Imagine if you damaged (dropped, lost, water, stolen) your ONE lens. In most locations it's not like you could even go out and buy one.
As a digital nomad maybe it could work for you because if anything happens you could stay there until you had a replacement but for most landscapers that is horrible advice as it simply wouldn't be an option. I always pack for redundancy and it's saved my skin on a handful of occasions.
For filters just by adding a 3 stop (which is going to have virtually zero affect on your bag weight), to your 6 stop and CPL, means you can double up and get 11 stops from your 3+6+CPL (or 9 stops without the CPL). That's far greater flexibility (CPL, 3, 6, 9, 11).