I took a look at Radiant Photo when it first came out in September. I found it a capable editor, aimed mostly using AI to improve your color and the overall look of shadows, highlights, and other image parameters. It uses a pixel-by-pixel approach, which the developers claim gives you more creative control of the final result.
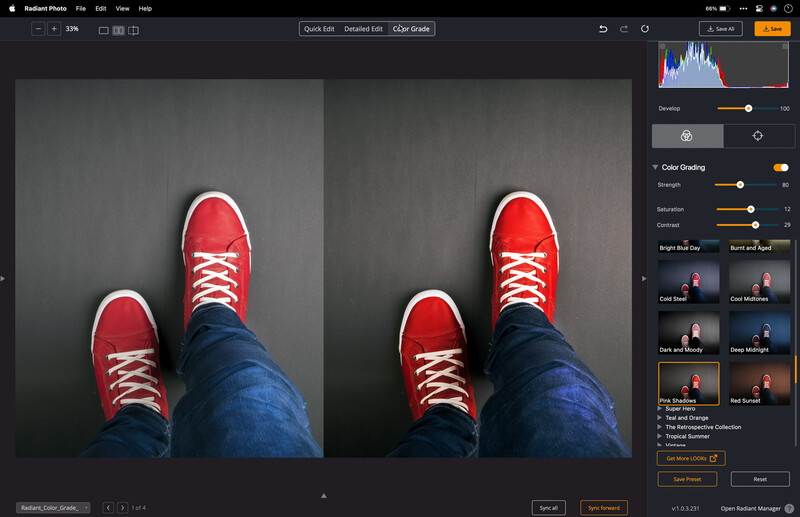
This latest version of Radiant Photo offers a new color grading feature. Color grading started in the film/video industry and was a way to give a unique look to your output by remapping specific colors to get a distinctive feel. Think of color grading as what you do when you've already done a good color or black and white edit.
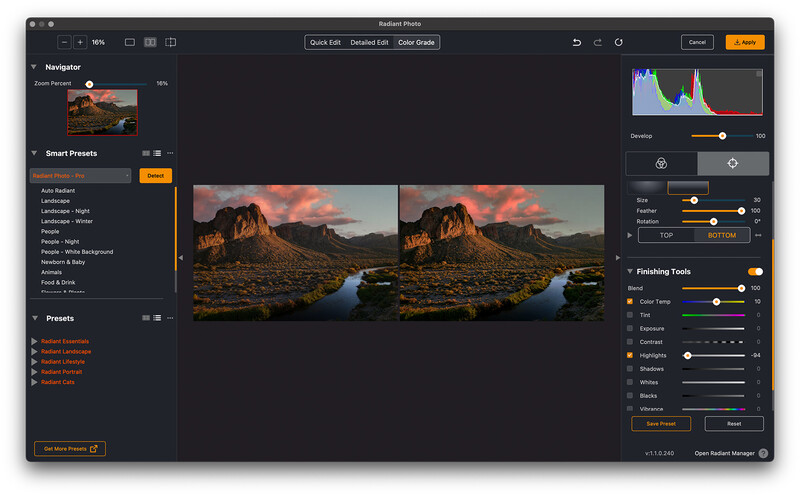
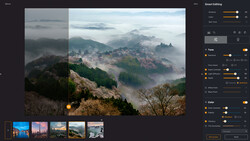
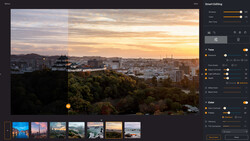
When you open an image, it detects its content and optimizes it accordingly. In “Quick Edit” mode, users can tweak the automatic result with just a few sliders. In “Detailed Edit” mode, every aspect of photo enhancement can be changed with a combination of unique intelligent settings only found in Radiant Photo and some common in image-editing software. With version 1.1, Radiant Photo gets a full “Color Grade” workspace that allows users to create with easy-to-use "Looks" and adjust them to their liking. It also features a robust gradient editing toolset for refining lighting and color.
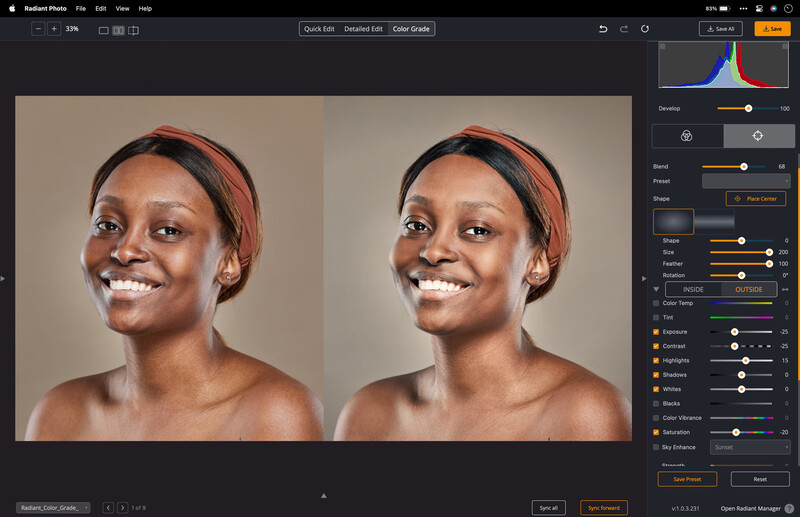
Radiant Image contains what they call "Presets" and "Looks." Presets are designed to develop an image based on predefined settings. Simply put: a Preset moves the sliders available in “Detailed Edit” mode. In “Color Grade,” Radiant Photo’s Looks remap colors (tone, saturation, luminance) and give the image a new look while maintaining all the corrections done manually or by applying a Preset.
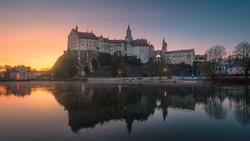
This post isn't a review. I'll get to a detailed review soon, but I did take Radiant Photo for a quick spin with one of my own images.
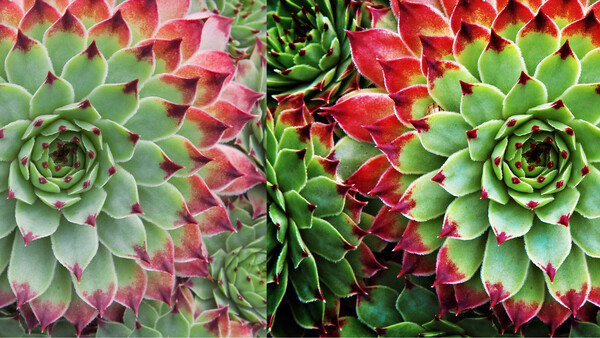
The software is also effective on portraits, photos of objects, food, anything really.

I don't see it replacing any of my usual editing tools, like Lightroom and Photoshop, and it happily runs as a plugin inside the Adobe suite. It has some sloppy GUI habits though; for example, when used as a Photoshop plugin on an M1 Mac, it leaves the original Photoshop image in front of the Radiant Photo plugin. The only was to get to the Radiant Image plugin is to drag the original image mostly off-screen. It's an odd quirk.
As mentioned above, Radiant Photo runs as standalone software on Windows and macOS. Radiant Photo is performance optimized for ARM processors, which are used in Apple’s M1 and M2 computers. It can also be used as a native plugin inside Adobe Photoshop, Adobe Lightroom Classic, and Corel PaintShop Pro.
Radiant Photo is available online from Radiant Imaging Labs. It includes six-month buyer protection: no matter when you buy, you will always receive six months of updates for your purchased product. While most software companies only offer this level of buyer protection for 15 or 30 days for purchased products, you will get the full updates for free for six months no matter what. Also, there is a 30-day money-back guarantee in place, so every customer has 30 days to try everything out and decide if they want to keep using Radiant Photo or not.
Pricing for Radiant Photo starts at $129 / €139 / £129 for either the standalone version or the plugin version. Those customers who want both options, standalone and plugin, can opt for the bundle at $159 / €169 / £159. European prices include VAT.


Join the Fstoppers community for free
-
Post comments and join in the discussions
-
Browse the site ad-free
-
Share your work and get featured in the community
-
Compete in the photo contests for fun and prizes
2 Comments
Hi Mel
I work on Radiant. That Photoshop glitch you are seeing is only if you have the Application Frame turned off (under Window menu). Adobe recommends you run the app in a single frame.
We will eventually do the work to make it float above all those undocked windows if you do it the other way, but Adobe official for 10 years has been to use the Application Frame.
Hope you have fun with the new tools and LOOKs.
Good info, and I was unaware of that issue as no other plug-ins I have display that issue.