
took a look at the first version of Color Theory Pro last year and found it interesting and useful. Now, version 2 is out, and I find it more interesting and more useful.
The app is a plug-in for Photoshop and is aimed at landscape photographers and astrophotographers. This is the first version that deals with night sky images, so I'll start there.
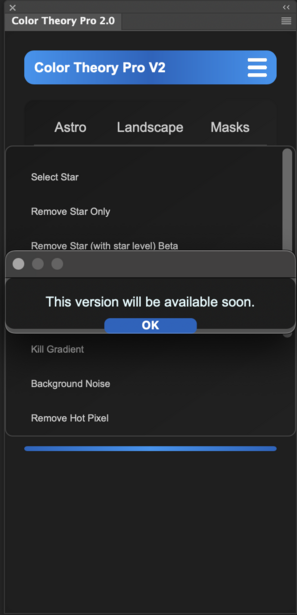
There are tools for enhancing nebulas, removing or even moving stars, removing sky gradients (helpful when you are in light-polluted skies), a background noise remover, and what the developer calls intelligent light—adjusting lighting to maintain balance between shadows and highlights without losing detail, enhancing local contrast, and sharpening without creating artifacts.
Like many Photoshop plug-ins, you can think of this one as a collection of macros, harnessing features already built into Photoshop but making them quicker and more accessible. There is also some proprietary code in the plug-in, allowing it to do some things Photoshop can't do on its own. Many of these tools are one-click or require repeated clicks to get the effects you want.
Using Color Theory Pro Version 2
I tried Color Theory Pro v2 on some of my astrophotos and got good results.
Here's an unprocessed Milky Way photo:
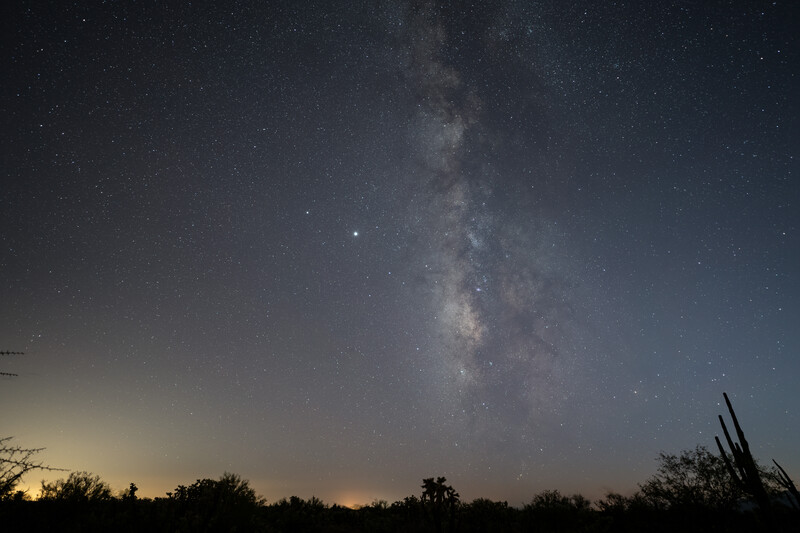
Using the noise reducer, the gradient tool, and the local contrast and sharpen tool, I got to here:
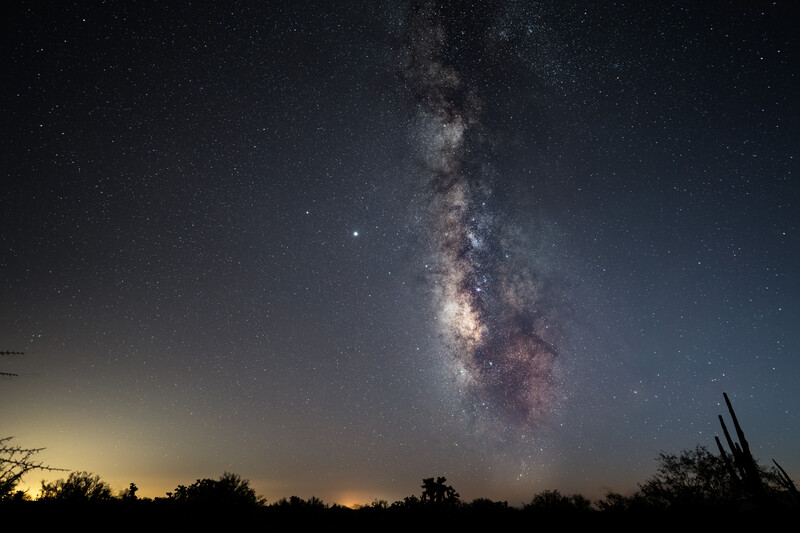
So, a good result. Now, with effort—especially using the Adobe Camera Raw tool—I could have gotten to a similar place using the brush tool, contrast, and other enhancement and color tools, but Color Theory Pro v2 got me there faster.
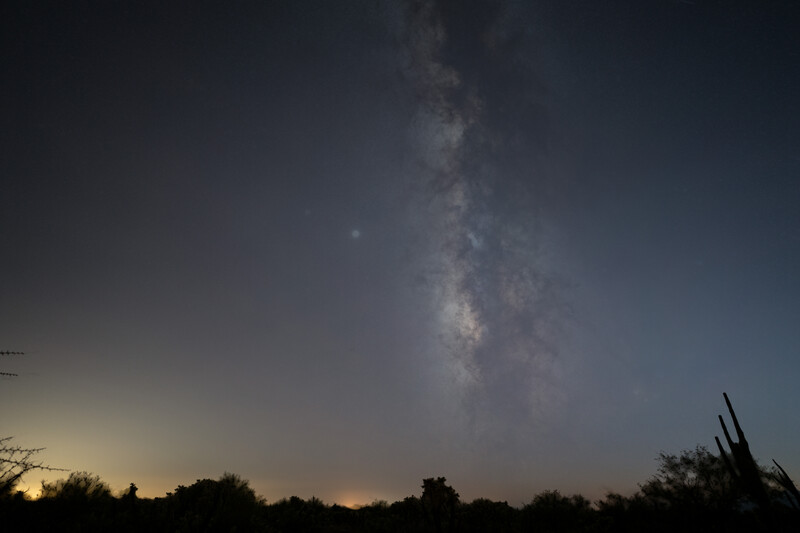
Star removal also worked well, and it's a function astrophotographers use all the time so they can work on the underlying nebula or galaxy without the stars being affected. Then, they are added back after editing. Here's my original image with the stars removed in a single click:
On the landscape side, many of the tools from version one have been carried over. Here's what's offered in version 2:
- Orton control
- Tone control
- Blue tone luminance
- Orange tone luminance
- HRLA contrast
- Lab sharp
- Haze control
- Aberration fix
- Sharp clarity
- Dynamic contrast
There are also some handy masking controls, including:
- Color Masks: Pick a color directly from your image with the color picker, and CTP generates a mask for it.
- Light Masks: Levels 1 to 5
- Mid Masks: Levels 1 to 3
- Dark Masks: Levels 1 to 5
In addition, Color Theory Pro v2 has the ability to clone a color palette from one photo and apply it to another. It's a powerful and useful tool. When I tested it in version 1, it worked well, and it is still good in version 2.
Here's a drone photo I took near Superior, Arizona:
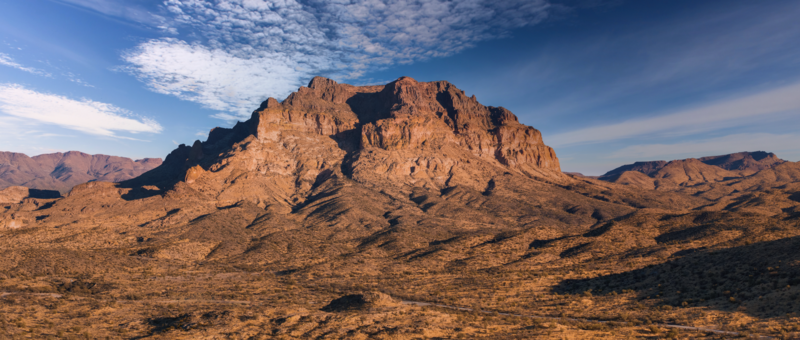
Then, I found a Hawaii sunset image with a tonality I liked and cloned it into the photo.
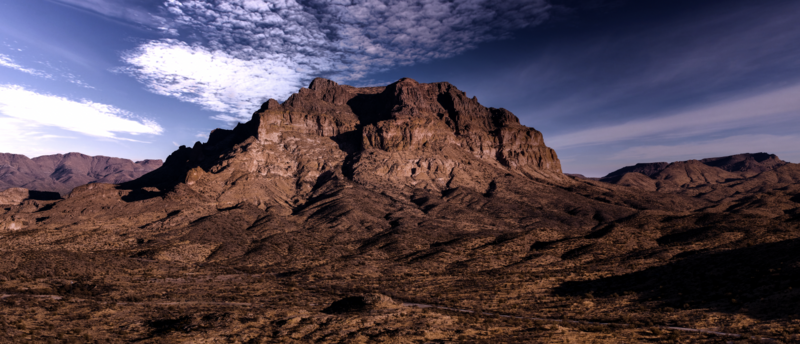
Not a big deal, but I liked this tonality better. Yes, you could get to a similar look just using Photoshop tools, but this is quick and effective.
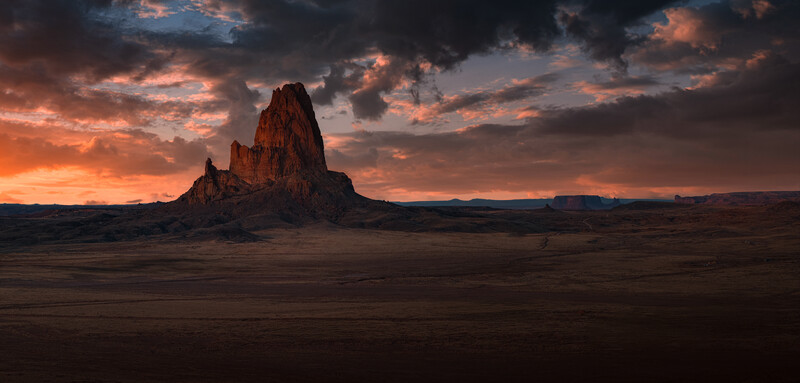
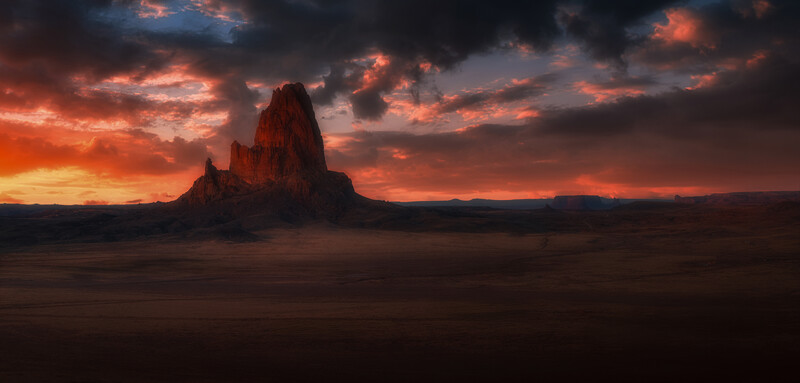
Here's a drone photo I took in Northern Arizona of Agathla Peak:
My Thoughts
n total, this little plug-in will give you a lot of one-click tools to enhance both daytime and nighttime imaging. Again, you can do much of this from within Photoshop, but a plug-in like Color Theory Pro v2 will get you to your final image faster, and it includes features Photoshop does not have built in.
There are some video tutorials for this plug-in, but I think it needs a manual. Users should not have to watch a lengthy video to get a particular question answered about how a function works.
Still, Color Theory Pro v2 has improved a lot from the first version, which was already quite good. Adding the night sky functions is a very good idea, and they seem to work well and reliably.
Version 2 is available from Mike Ruge's website here. It's $29 (U.S). Recommended.

Join the Fstoppers community for free
-
Post comments and join in the discussions
-
Browse the site ad-free
-
Share your work and get featured in the community
-
Compete in the photo contests for fun and prizes
2 Comments
Hi Mel,
Thank you so much for your wonderful review! Knowing that my work is appreciated in this way truly fills me with joy. This project initially started as a personal tool to optimize my workflow, without any intention of making it commercially available. However, after seeing the enthusiasm and interest it generated during my workshops, I decided to share it with the public.
With this second version, I aim to push innovation even further. There will be numerous free updates, including the "Nebula" feature you mentioned—an advanced AI system capable of detecting and post-processing nebulosity with unprecedented precision.
My goal is to provide high-quality tools designed to enhance the work of artists and creatives like myself. Your support and feedback are invaluable in helping me continue to innovate and push boundaries. Thank you from the bottom of my heart—it truly means a lot to me and my journey!
Mike Ruge
Good Price 27,00 € about $30 US. The example of the Milky Way shot before is workable in Lrc with brush work but the result shown of this if correctly what you end up with is a great surprise and worth a experiment. I have not really gotten into using PS for my Astro Milky Way processing but may be a good play time product. Most MW images captured (my me) are along the East and Gulf coasts and even with very dark skies over an ocean and early morning like 5 am for a February beginning or ending of the month you face low level fog. Editing with fog in the air is very hard to get a clean sharp Pegasus wing and shape of the horse along with the magenta of the wings and the blue of the horse that is way different color of the over all sky. And if doing a MW Arch the trail through the stars is also hard to bring out with fog in the air.
What I have seen from many Pro's of stacking with many images doing noise reduction and using trackers while capturing and working without stars then bringing back as well as doing one capture for ground without a tracker and putting together sky and ground is a lot of work after watching many editing videos.
1.This image my first for a June capture in 2015 along the a beach in North Florida Jacksonville always has some fog where surface light is a glow in the air. My point is you can neither see the fog or the stars with one eyes just a point to a place in the sky and look at the image on the back of the camera LCD screen and go YEH! but processing and getting the right color for the sky where others just use gray or black and not the blue that is really there along with the Yin and Yang colors of Pegasus that using just a little slider movement saturation and vibrance will pop. The thing is the human eye can not see colors at night lights yes but a beach or even the lifeguard chair is not seen. This image was edited in Lrc of the version of 2015 before brushes and what not.