
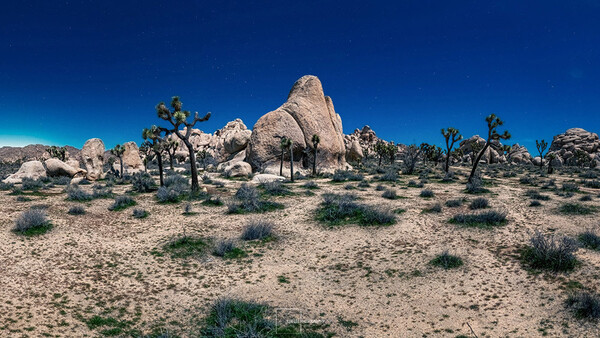
Take a peek behind the scenes at how I created several enormous, detailed night panoramas in Joshua Tree National Park. The surreal landscapes are perfect for this sort of work. Below, I'll walk through the process, gear, and a few discoveries that make panoramas better.
First, I'll briefly cover the gear. Then I'll explain the process of capturing the panoramas, including how to do this with a "normal" ball head. Finally, I'll share two simple tips that improved consistency.
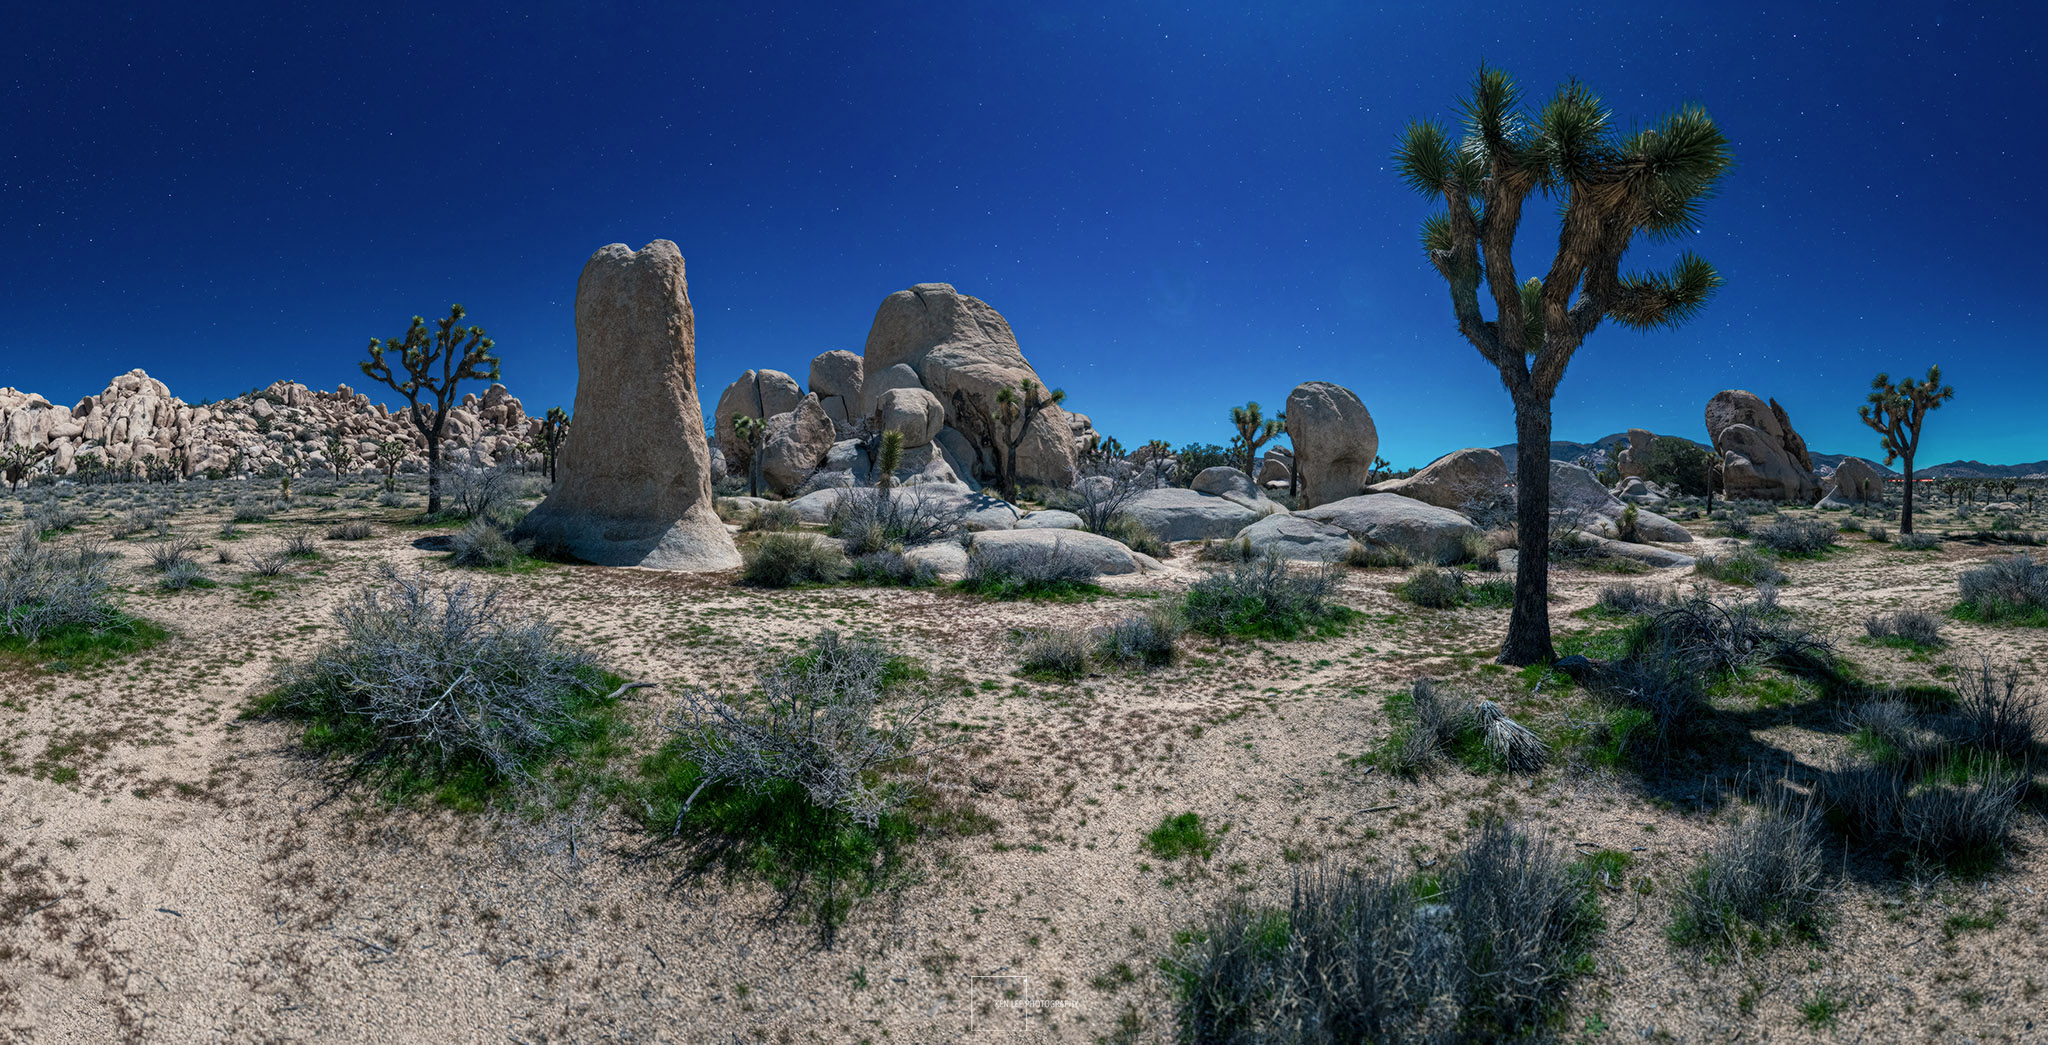
Although I'm describing night panoramas, every technique here applies equally well to daytime shooting.
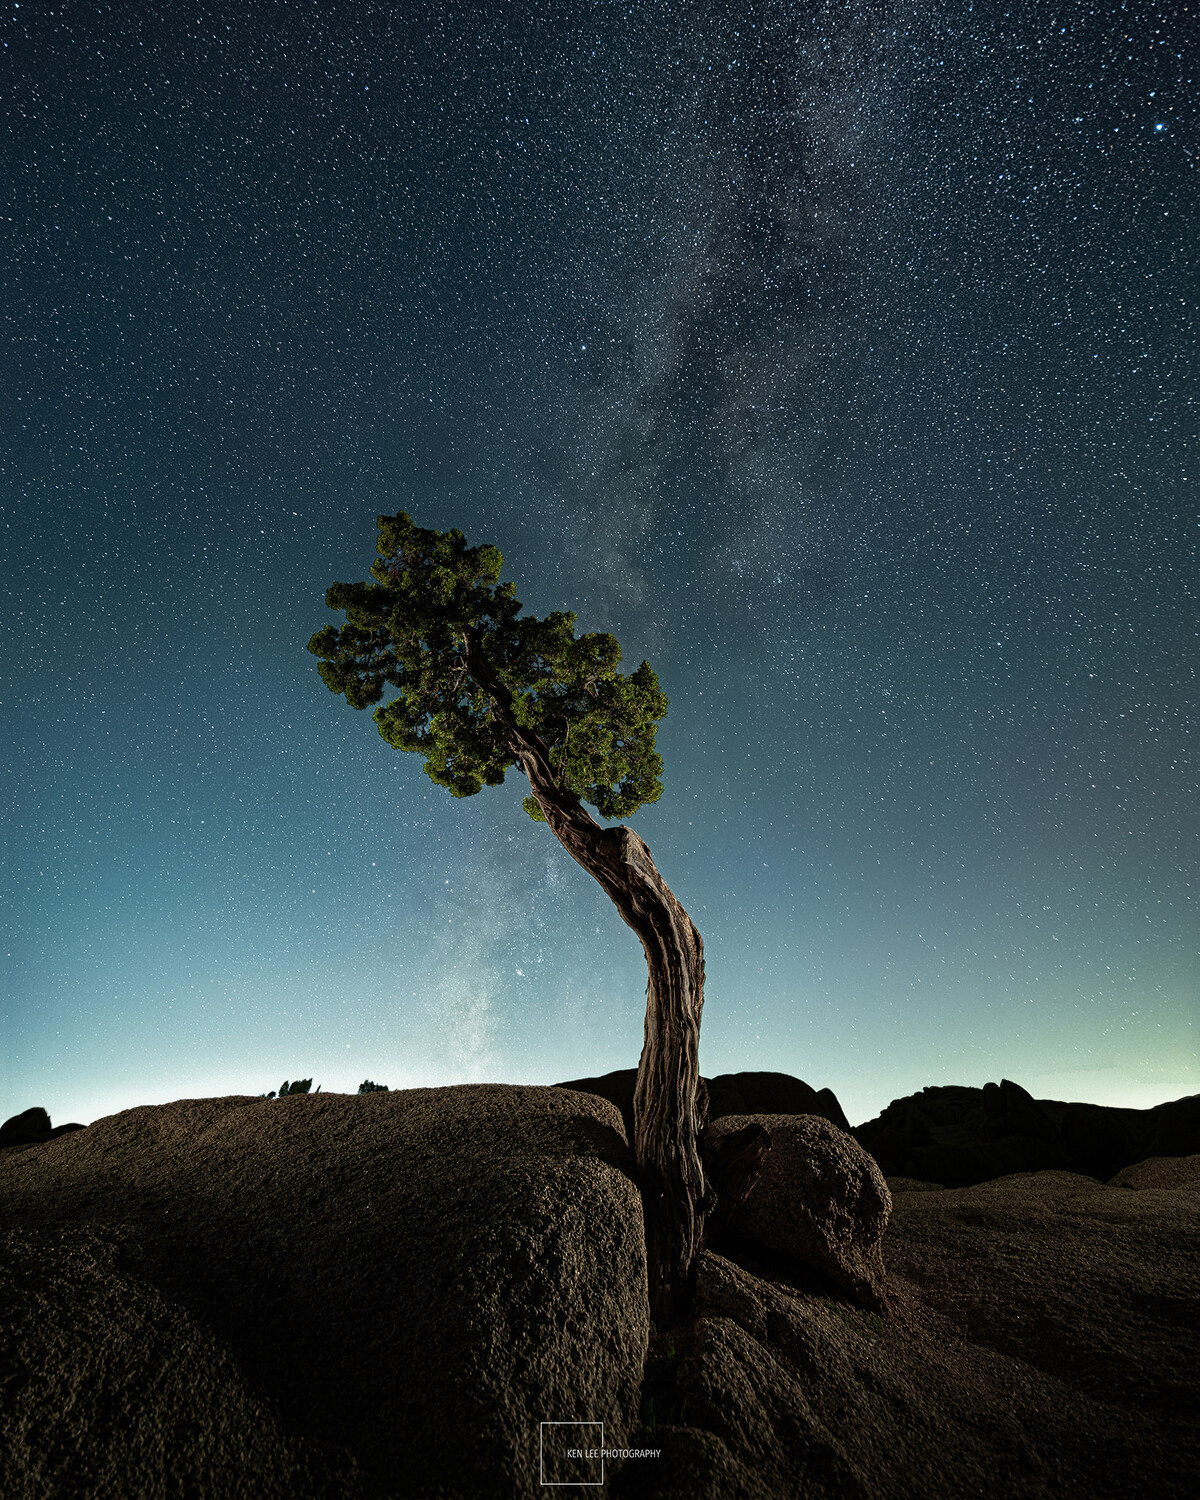
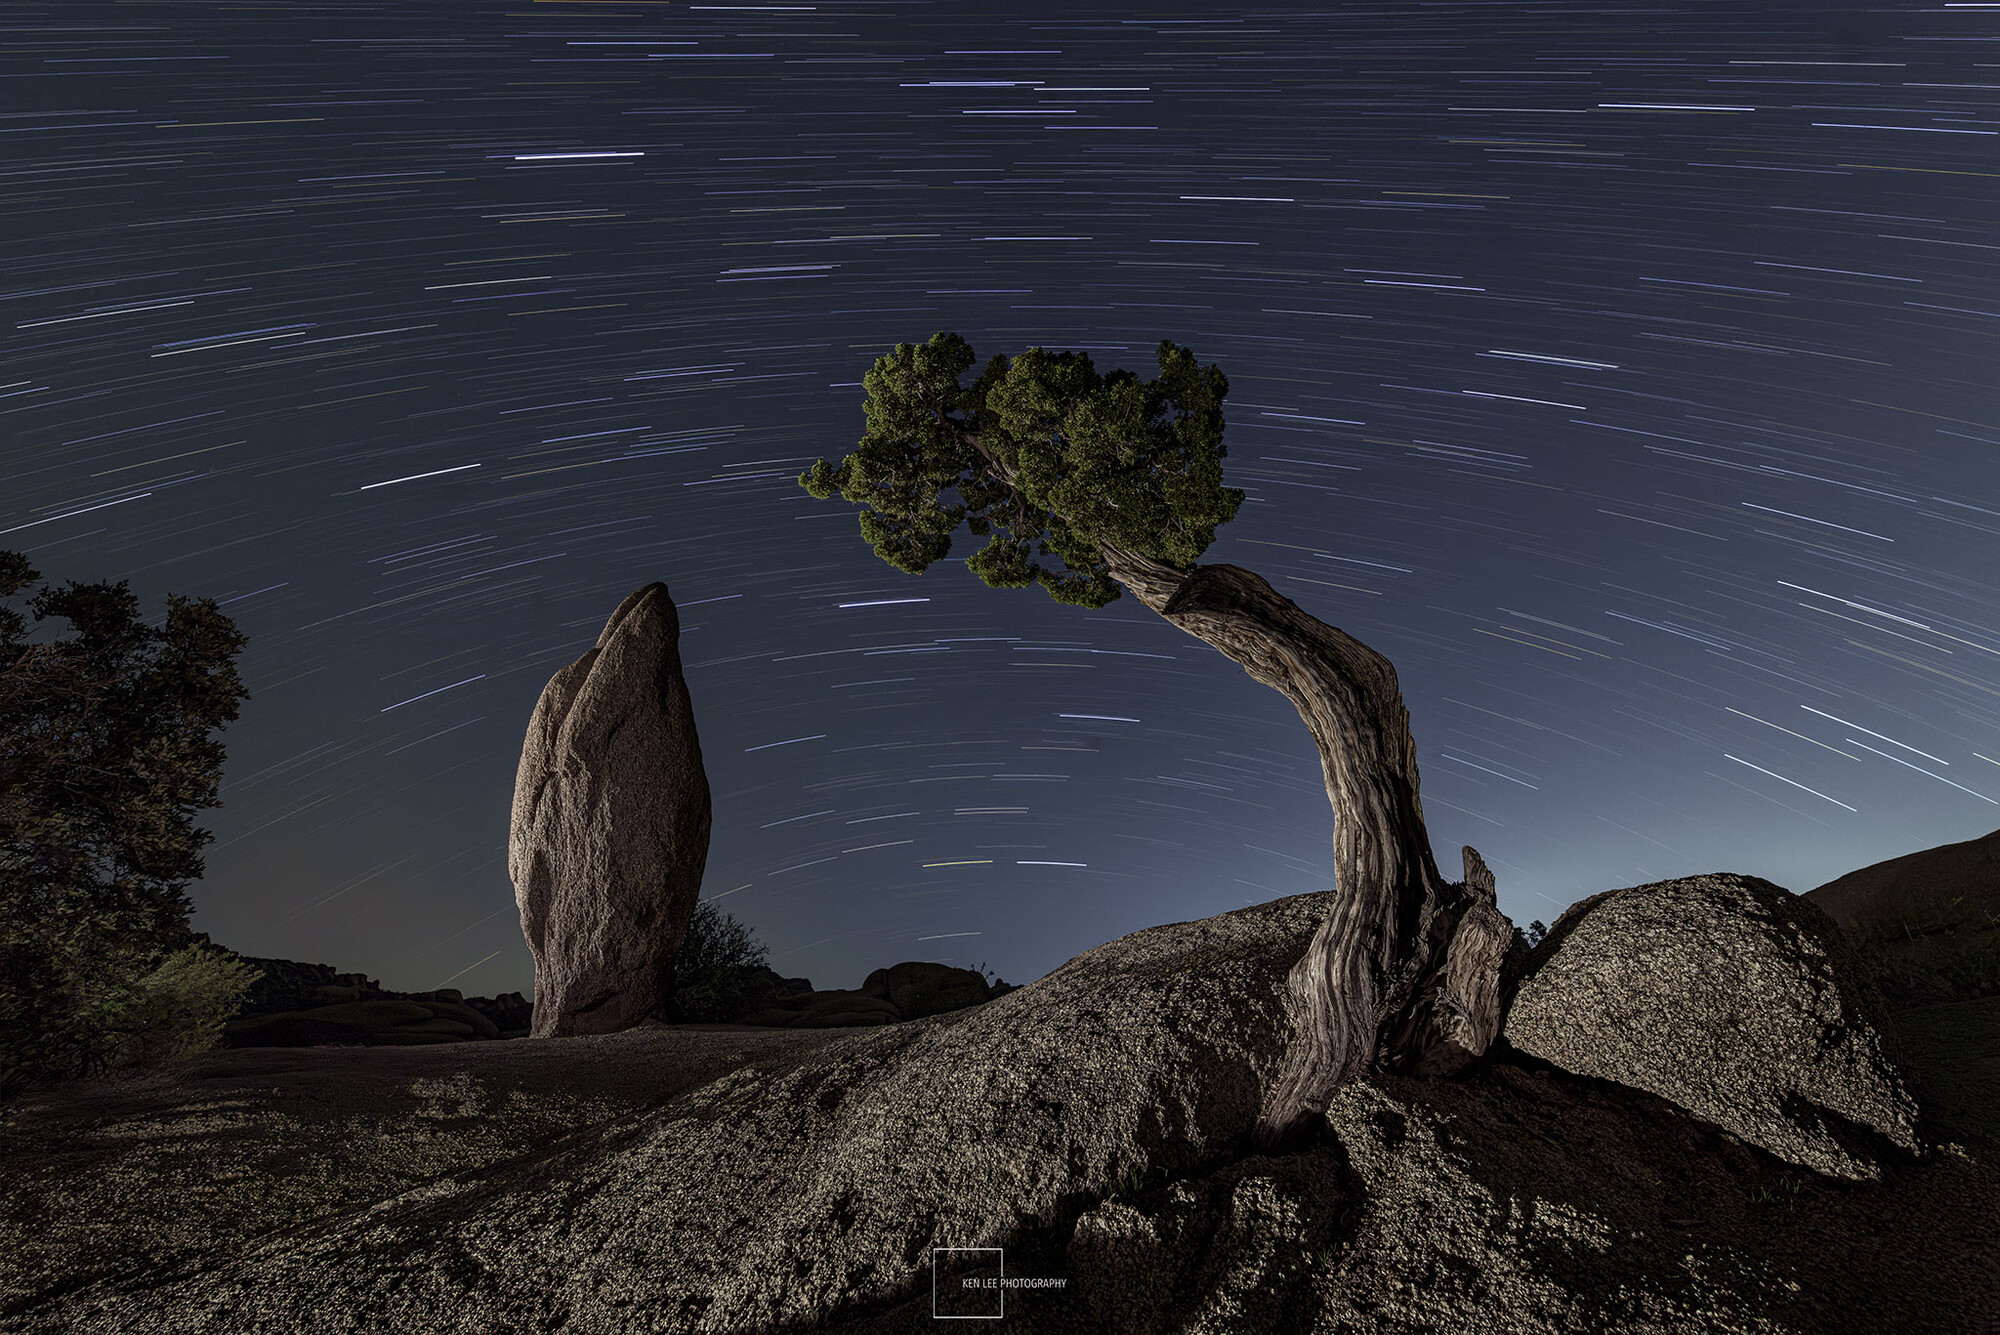
I photographed on a bright, cool winter night, three days before a full moon. I loved the way the unusual rocks and Joshua trees looked when washed in moonlight. I chose a location with plenty of otherworldly shaped rocks and trees for added visual interest.
The Gear for Photographing Panoramas
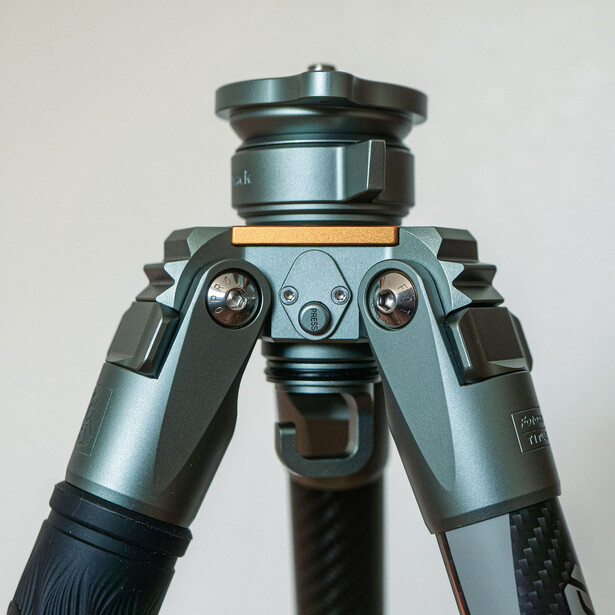
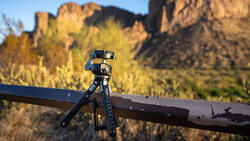
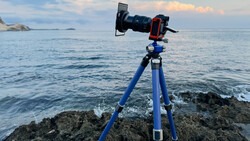
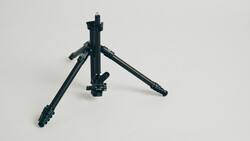
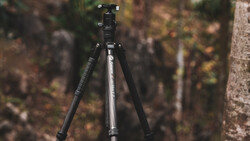
I used a Fotopro Pantour T1 Plus carbon-fiber tripod with a T-Track leveling bowl. What is a leveling bowl, you ask? It's essentially an adjustable bowl with a tightening collar. This makes it easier to get a level horizontal plane so your final panorama doesn't "bend" or distort. The leveling bowl lets you correct for uneven terrain quickly, without fiddling with individual tripod legs multiple times.
But it gets even better.
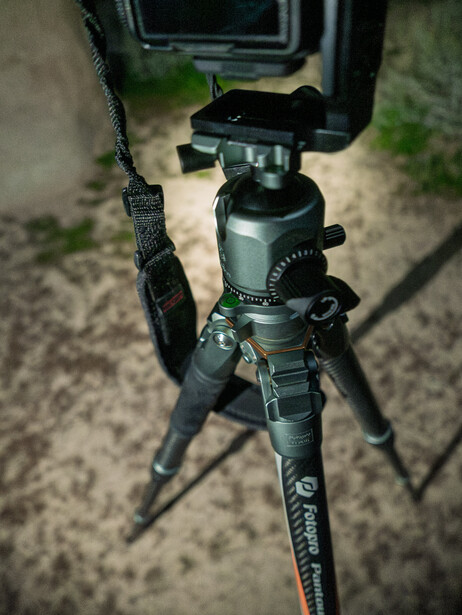
The ball head included with the Fotopro tripod has a pan-lock lever. Once you align the camera's built-in two leveling axes — the roll axis (side-to-side tilt) and the pitch axis (front-to-back tilt) — loosening the pan-lock lever allows you to rotate the camera without changing its tilt or main ball-head position. In other words, you can leave the ball head completely untouched after alignment. Just tighten the lever, shoot, loosen, rotate, tighten, shoot — fast and easy. The advantage of this was that the actual photographing process went quickly, with one shot after the other.
The Process for Photographing the Panoramas
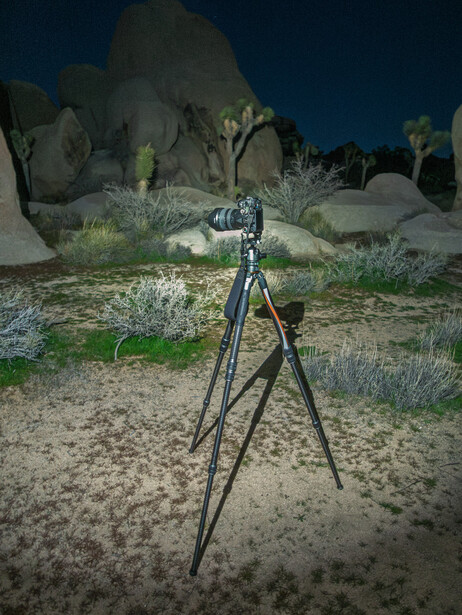
Leveling the T-Track Leveling Bowl
Using the bubble level, I leveled the T-Track bowl, tightening the collar when getting the bubble exactly in the center. My headlamp battery died, so it took longer than it normally would, but still only a couple of minutes. I found that I took approximately the same amount of time to level the T-Track whether the tripod was on flat or uneven terrain. Even better, this time was considerably shorter than it would have taken to adjust each individual tripod leg.
Leveling the Camera on Both Axes
Next, I made small adjustments to align the camera's built-in roll and pitch axes indicators. I did this by carefully loosening the ball head and moving the camera around. I made certain to turn the camera to check the two axes from the farthest left and farthest right positions of where I was going to photograph the panorama. This worked extremely well, and I was able to get the camera level in just a couple of minutes each time.
Although the ball head has a bubble level, I found that using the camera's built-in electronic leveling indicators instead produced a flatter panorama with noticeably less bending.
Shooting the Panoramas
Each exposure was around 12–13 seconds at f/2.8 and ISO 800, since the evening was quite bright due to the nearly full moon. With the pan-lock lever, the rhythm was simple: shoot > loosen > rotate > tighten > shoot.
For each panorama, I captured 14–15 frames with 15–20% overlap. I wanted to make absolutely certain that there was sufficient "information" for Lightroom to have when it "stitched" together the panorama. Many photographers use 30–35% overlap, so admittedly 15–20% might be on the conservative end.
If you're interested in taking your night photography further, the Fstoppers tutorial Photographing the World 2: Cityscape, Astrophotography, and Advanced Post-Processing covers astrophotography and night techniques in depth.

How to Photograph Without a Leveling Bowl or Pan-Lock Ball Head
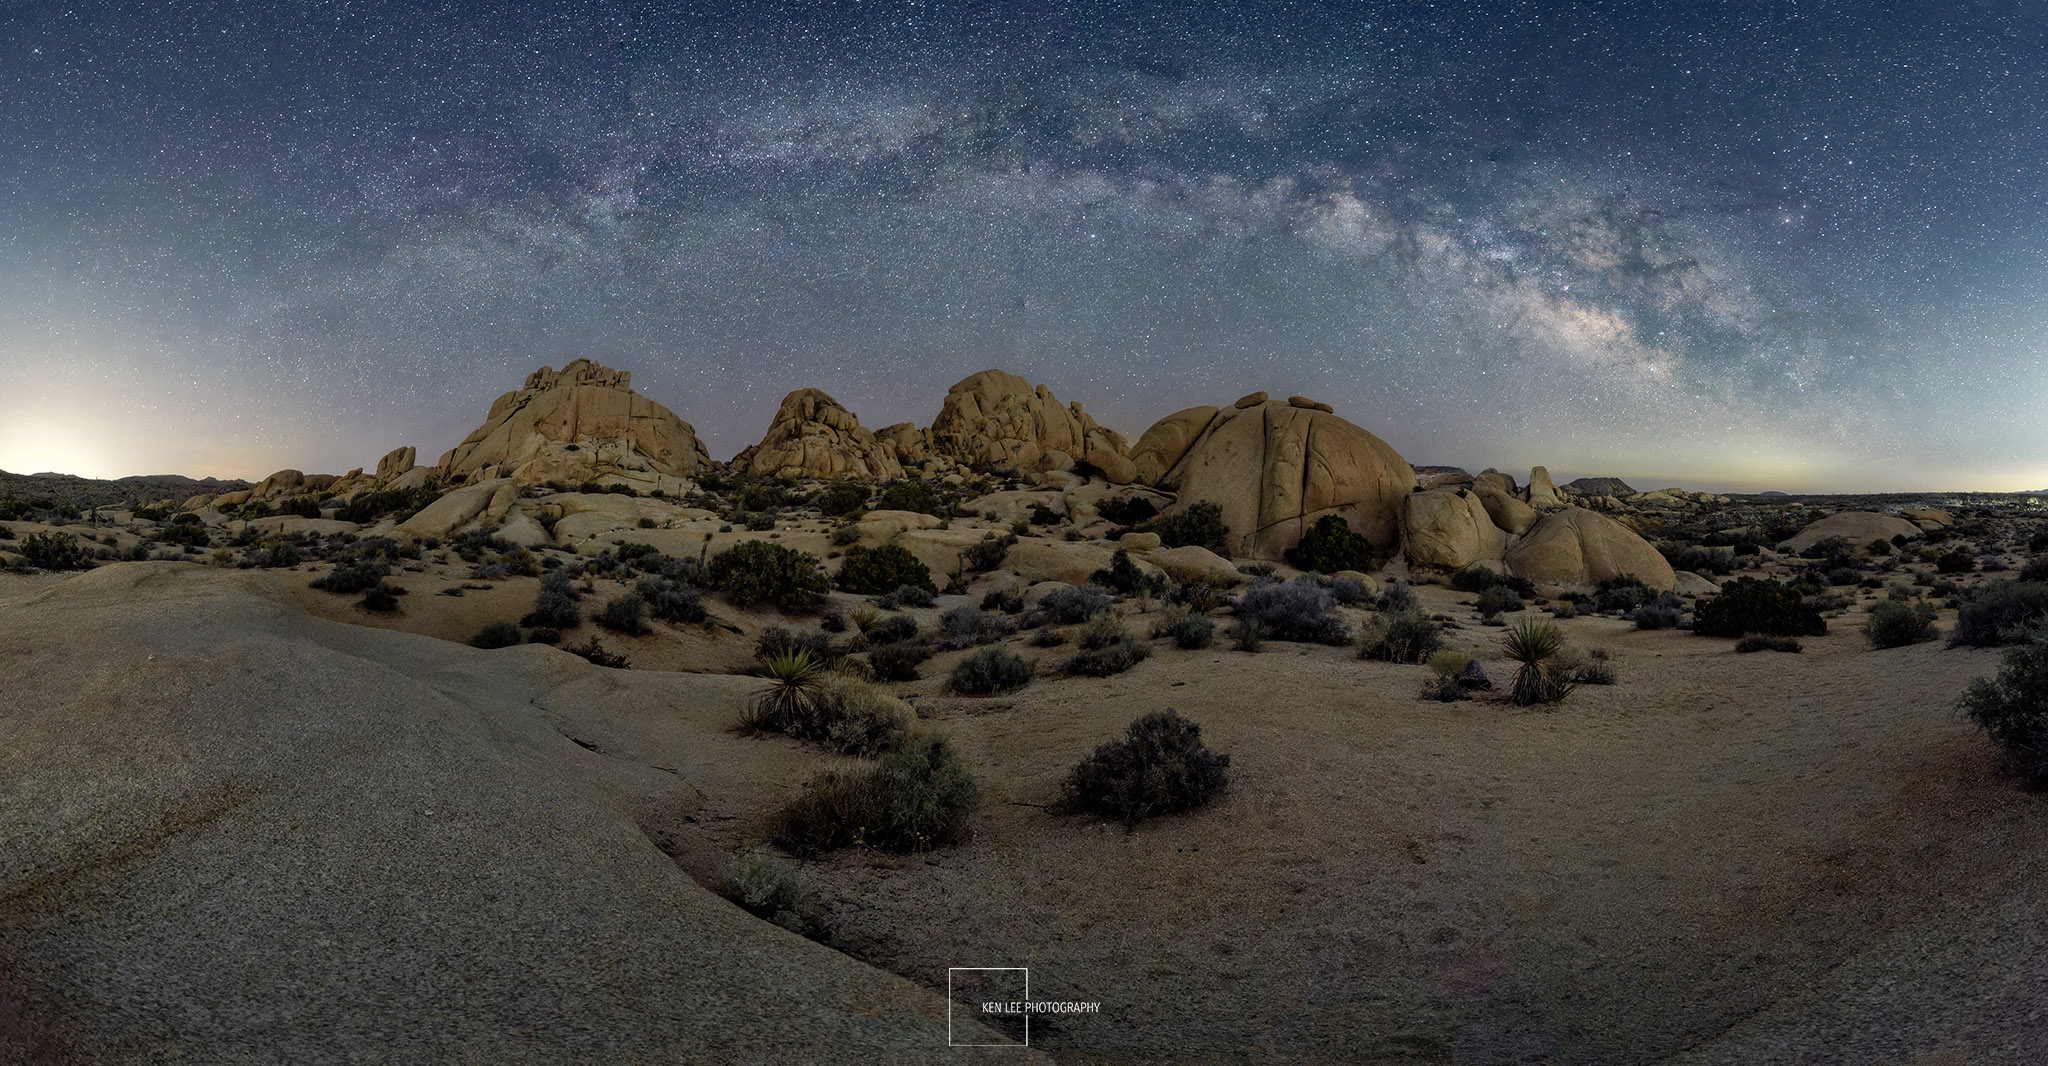
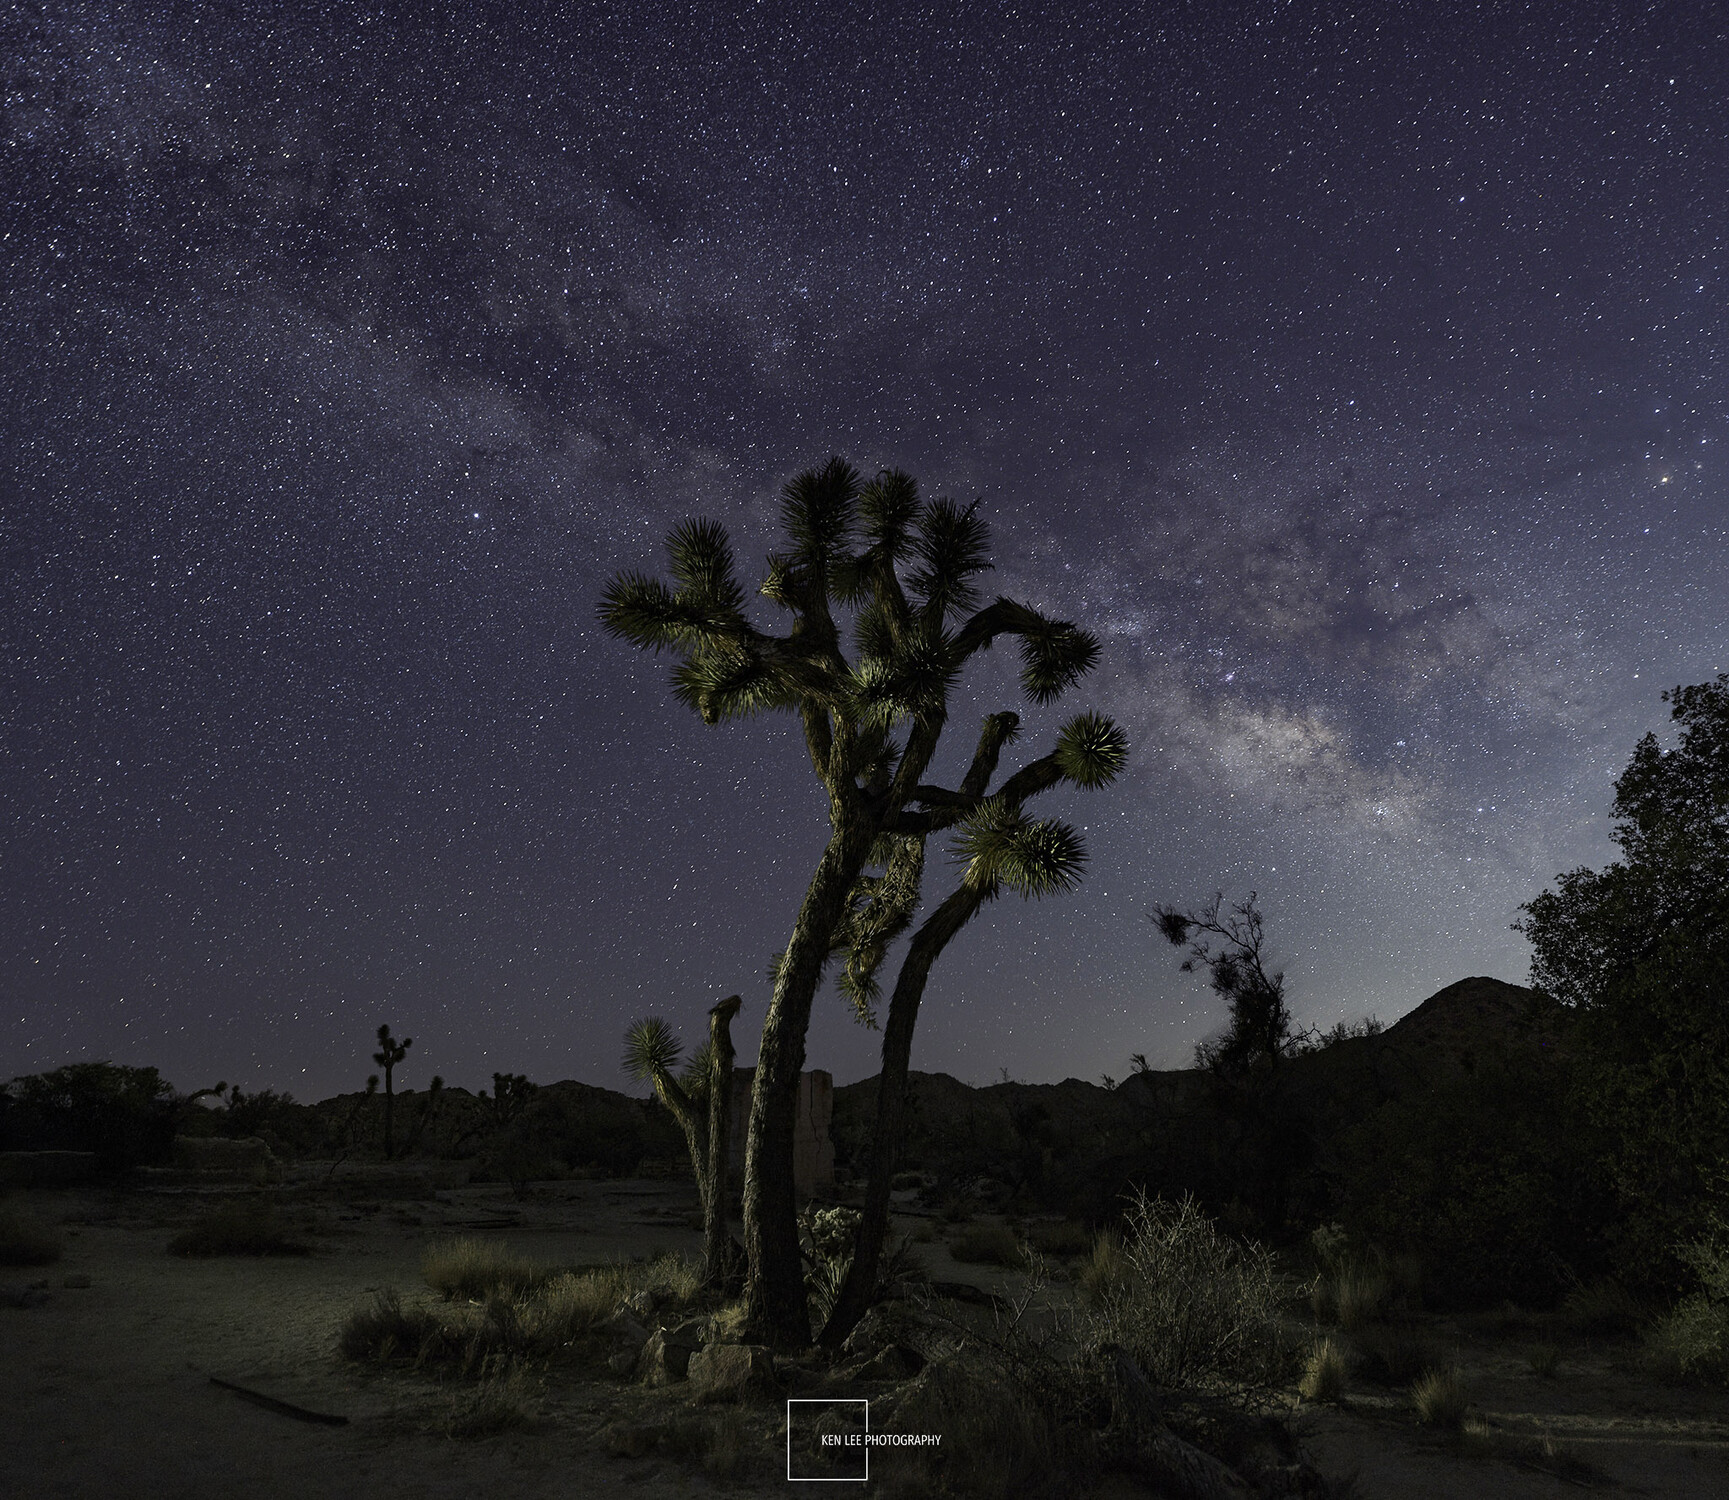
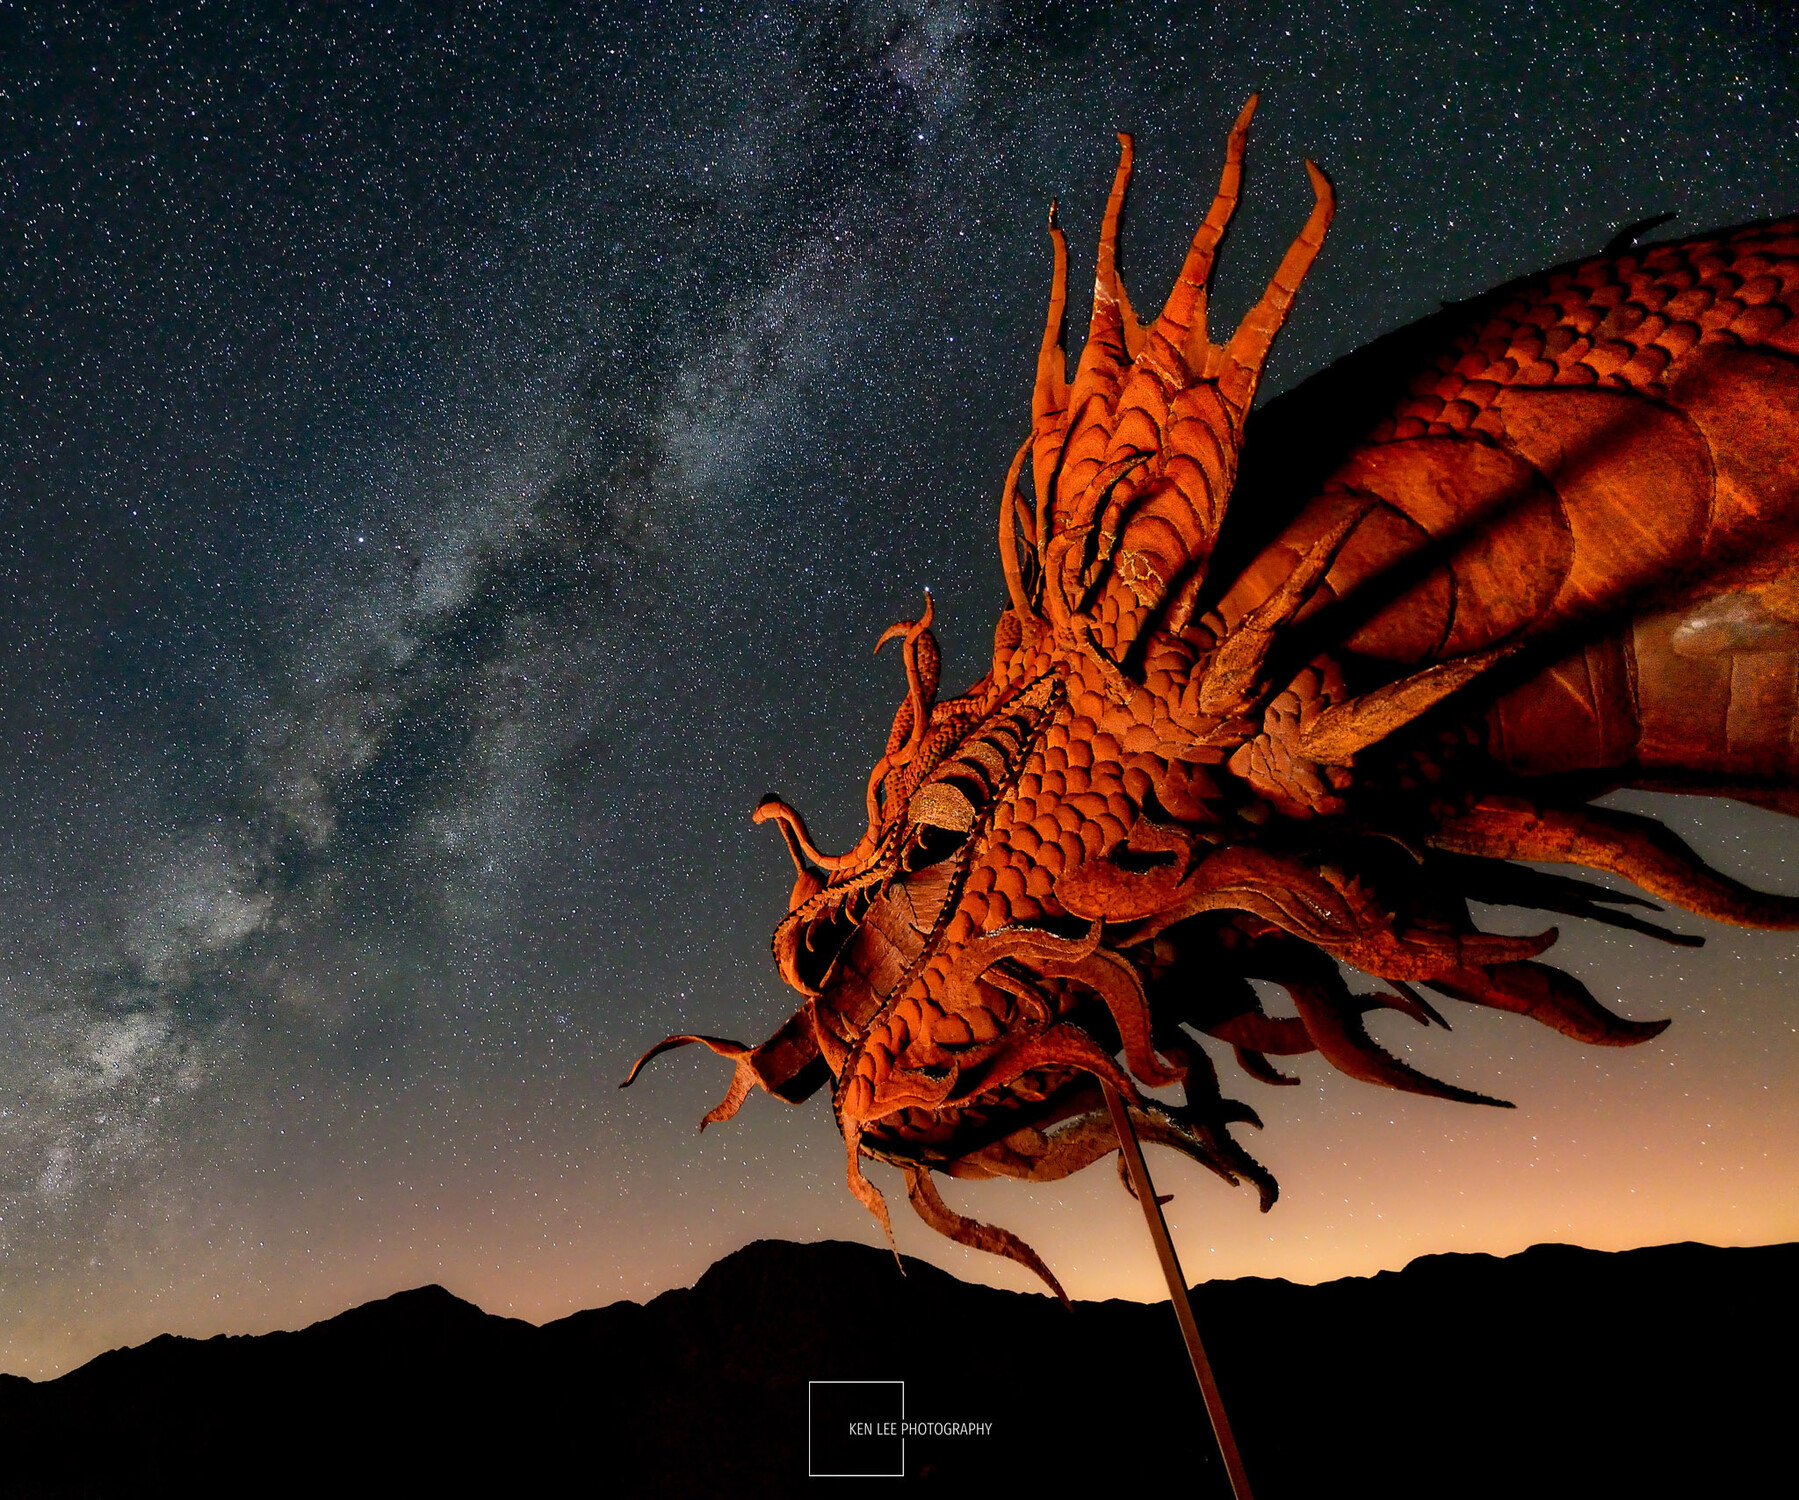
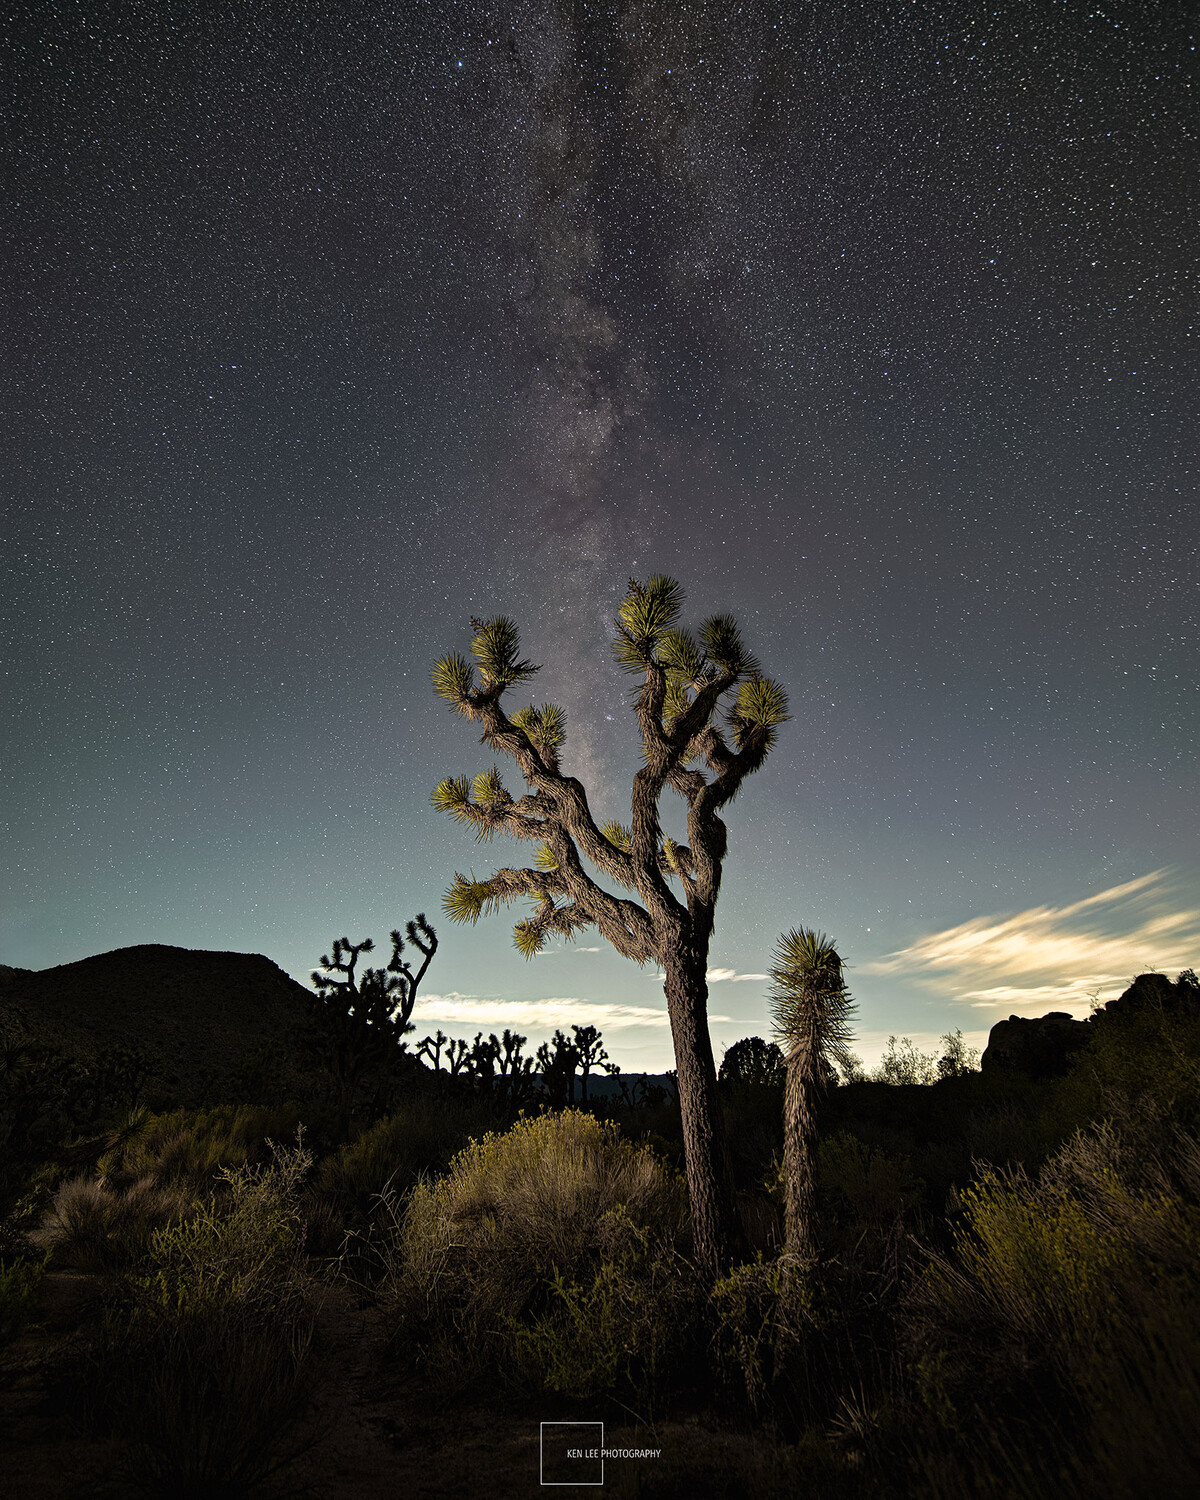
Next, I'll tell you about how I went about my very first attempts at panorama photos. These were done without a leveling bowl or a ball head with a pan-lock lever. This is a slower and more finicky process, but it can be done! These dark sky panoramas were photographed in June 2025, also in Joshua Tree National Park. The idea was to capture the Milky Way arching over a central feature.
Leveling the Tripod Base
This time, instead of adjusting the leveling bowl, I had to adjust each of the individual tripod legs to try and get the base as horizontal as possible. My tripod had a bubble level on the base, which is relatively common on most decent tripods, so this is what I used. This is typically more time-consuming and tedious than a leveling bowl.
Leveling the Camera Axes
I then aligned the camera's built-in roll and pitch axes using the ball head. If the axes were off at any position in the panorama, I would need to readjust the tripod legs.
If you're thinking that this could require adjusting the tripod legs multiple times, you'd be right. If one of the axes changed while you were rotating the camera to photograph, you'd get "bending" in the horizon or other distortion. Making these adjustments could be time-consuming and tedious.
Once the base was reasonably level, I loosened the base-rotation knob, turned the camera, then locked it again. Unlike the Fotopro head, rotating from the base (instead of the top of the ball head) introduced more chances for minor tilt changes.
I shot nine frames for each of the panoramas.
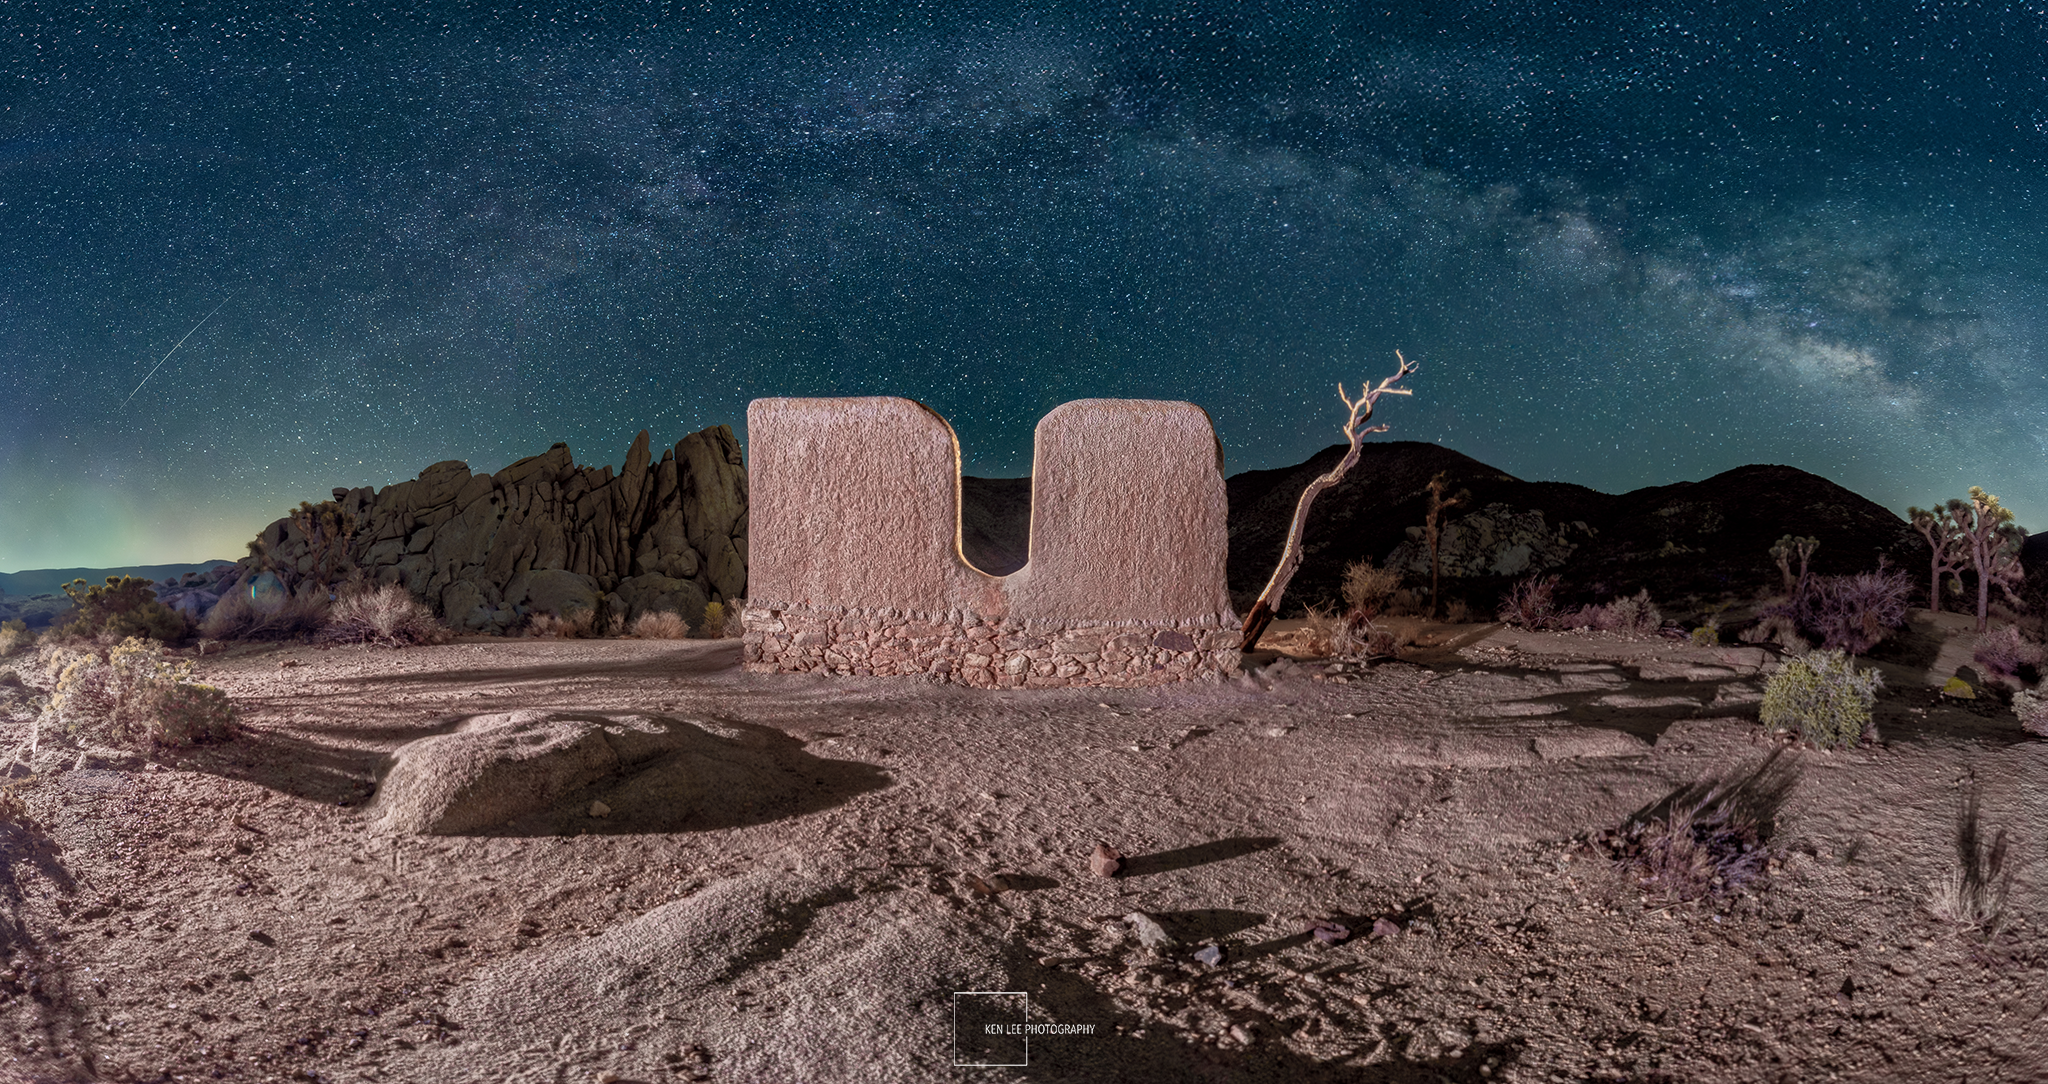
The results were good. However, the edges bent noticeably. When I got home, I "stitched" the two panoramas together in Lightroom. Then I used the Liquify tool in Photoshop to "bend" the horizons up at the ends so that they would be straighter. This is not ideal, but I didn't lose too much resolution or pixels from the process.
Two Tips for Straighter Panoramas
On my more recent evening shooting panoramas, I realized the edges were slightly off-axis despite my best efforts. After walking around the tripod to inspect it, I realized I had overlooked two small but important details.
1. The Camera Bracket Should Be Perfectly Straight
I use an L-bracket with all my cameras. Over time, these can shift slightly. Mine had shifted just enough to matter. After tightening and realigning it to be perfectly flush with the camera body, my axes stayed level throughout rotation.
2. Center the Lens, Not the Camera
My camera was centered perfectly over the tripod. However, I noticed the lens was not. I reasoned that the optical center is what truly matters, so I adjusted the setup to place the lens at the center point instead of the camera body.
After making these two tweaks, my next two panoramas had perfectly level horizons from edge to edge.
Other Details
For the first two panoramas I attempted — the ones with the Milky Way in June 2025 — I used a Nikon D750 DSLR camera and an Irix 15mm f/2.4 lens on a FEISOL CT-3342 tripod with an Acratech GP-s ball head. I "stitched" nine photos together to create the panorama, and each photo was 26 seconds at f/2.8, ISO 4000.
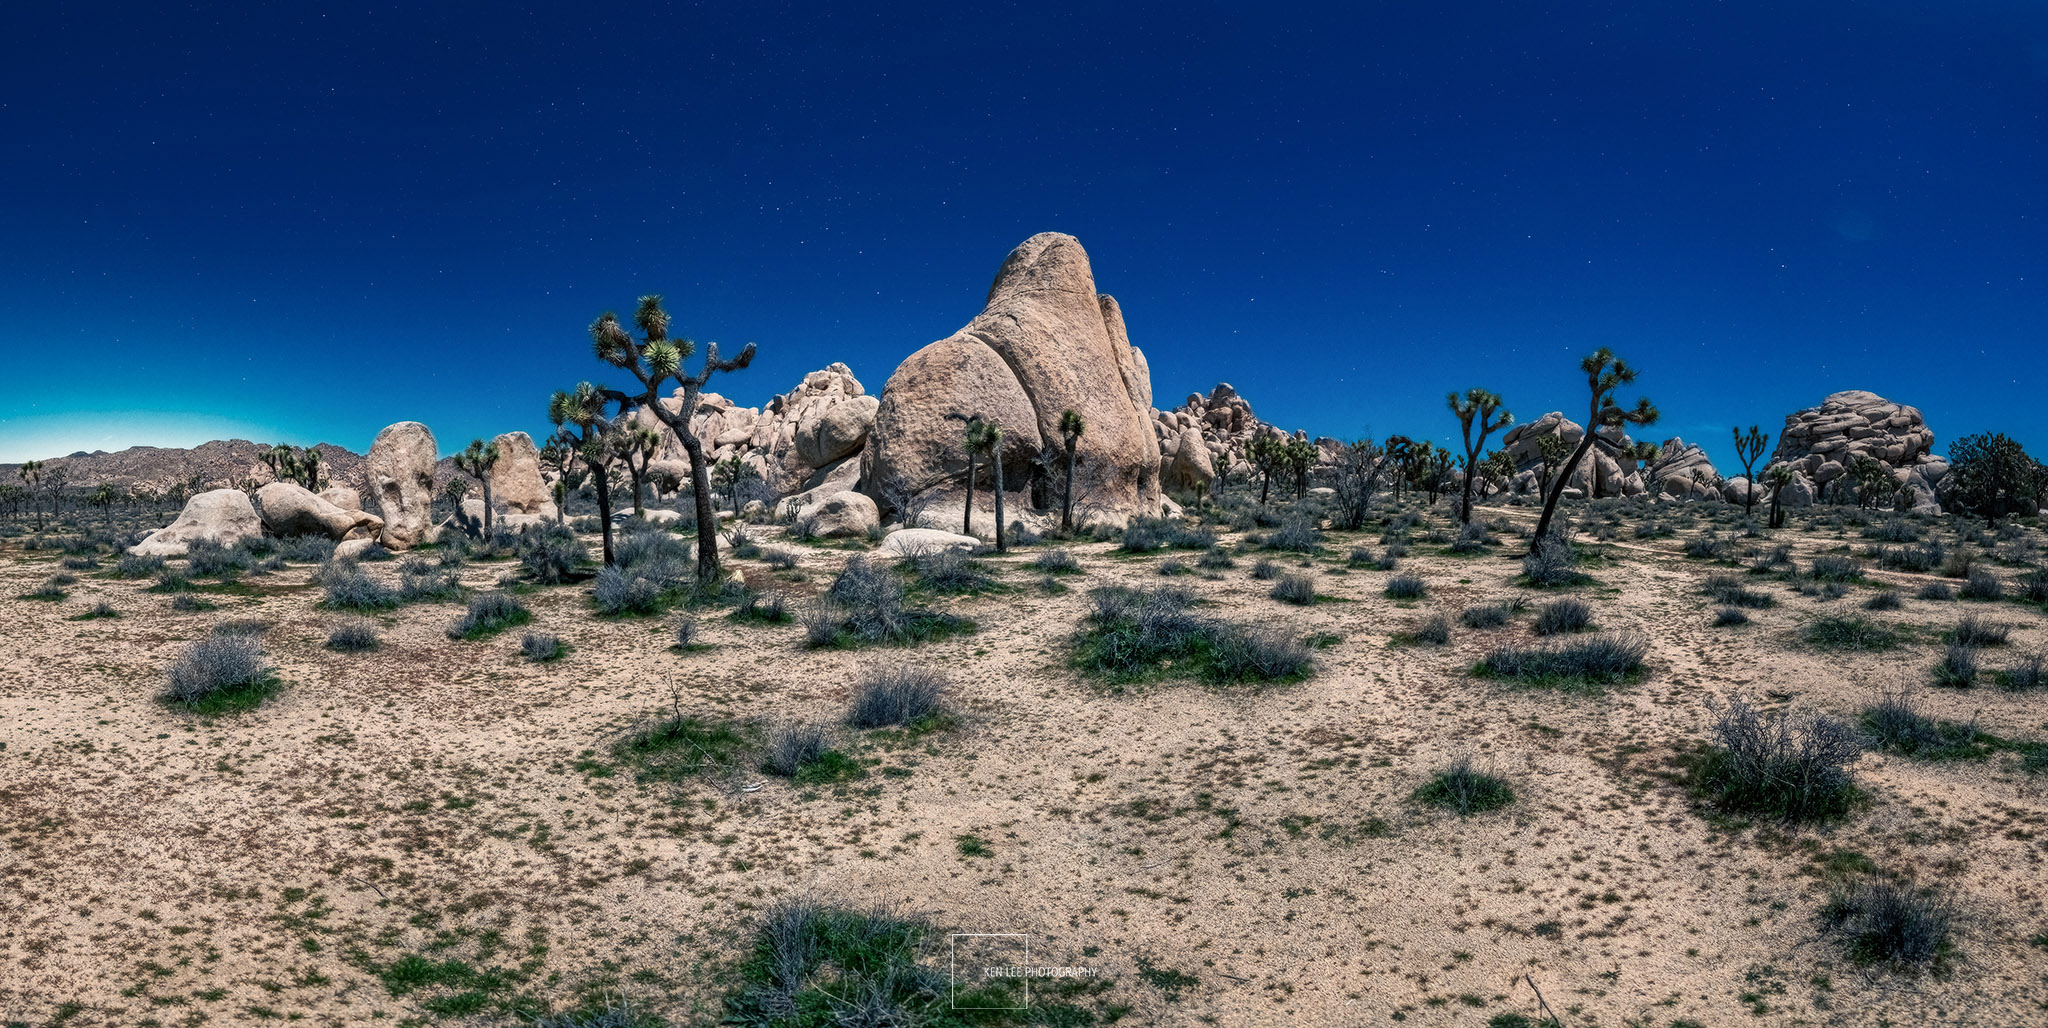
For the next three panoramas, photographed during a full moon in January 2026, I used a Pentax K-1 DSLR camera and an HD PENTAX-D FA 15-30mm f/2.8 ED SDM WR lens on a Fotopro Pantour T1 Plus carbon-fiber tripod with a T-Track leveling bowl. I "stitched" 14 or 15 photos together to create the panorama, and each photo was 13 seconds at f/2.8, ISO 800.
Share Your Photos and Helpful Techniques in the Comments!
I hope this article inspires you to go photograph some panoramas. Feel free to share some in the comments below, along with sharing any techniques that you found helpful.
If you are interested in learning about night photography, including photographing panoramas, consider signing up for our Joshua Tree & Borrego Springs Night Photography Adventure in June 2026.
Join the Fstoppers community for free
-
Post comments and join in the discussions
-
Browse the site ad-free
-
Share your work and get featured in the community
-
Compete in the photo contests for fun and prizes
3 Comments
Awesome shots, Ken! Love JT and that area.
Thanks! Yes, JT is a truly inspiring area.
Great photos, and I appreciate the detailed info on how I can try this myself.