
Want to photograph portraits that don't look like deer caught in headlights or someone telling campfire ghost stories? While we might obsess over the Milky Way, the stars, or even light painting, most photographers don't figure out how to take fantastic portraits of people in their night or astro-landscape photos—something that looks polished, dramatic, and intentional. Here's how.
A Discussion of Event Photography (Don't Worry, I'll Tie It In With Night Portraits!)
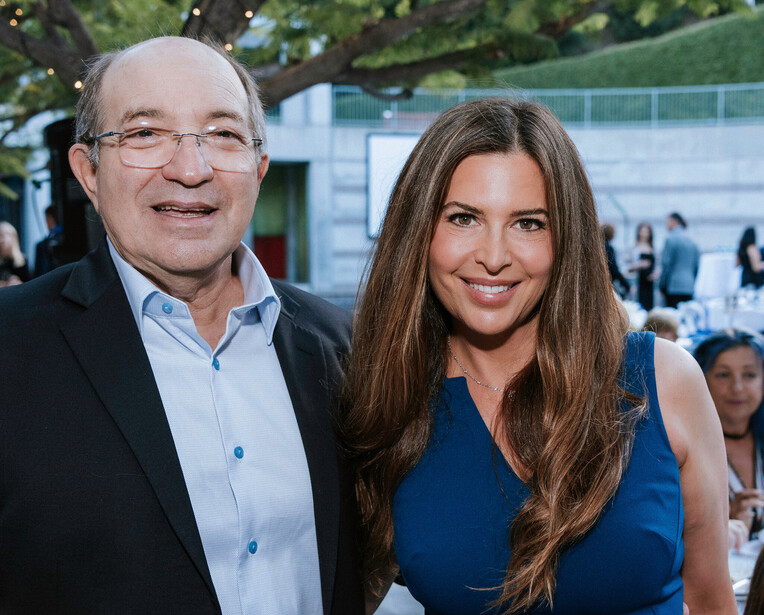
Why am I showing you a day photo using a flash? This is an article about night portraits, after all.
Because I want to emphasize that they use the same principle. In both instances, you do the following:
Expose for ambient light
Adjust the off-camera flash to fill in the subject
Conceptually, night photography is the same, only the exposure is much longer. There isn't really much difference.
First, you expose for ambient light, then you adjust your light or flash to fill in the subject to taste!
Now, there is more to it than that, of course. But the basics are the same. As the sun sets or you move indoors, keep adjusting the camera's settings to expose properly for the ambient light, then adjust the flash to fill in the subject to taste, usually a little brighter to lift them from the background a bit.
For a broader foundation in shaping and controlling light, see Fundamentals of Lighting.
And this is how it's done for night photography. It's really no different.
The Ability to Move Slowly
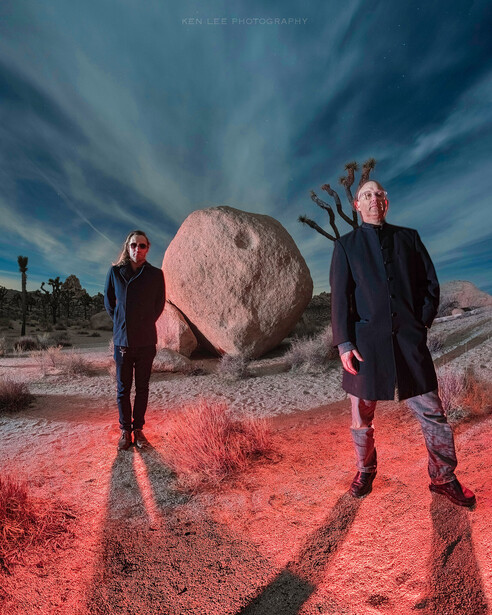
An advantage of night photography, I suppose, is that you get to do it in slow motion. The exposure is much longer, after all. This gives you time to move. And that's a great advantage.
When you are using a flash for event photography, you typically don't have much time. You fire the shutter, and the flash fires. That's it.
However, in night photography, where you are taking photos with the Milky Way or doing moonlit landscapes, you might have 20 seconds, 30 seconds, or a minute or more.
Despite the very long exposures, you can take tack-sharp portraits of people without motion blur (unless you want to, of course).
Sounds fun, doesn't it?
How to Pop the Flash
Because you can move slowly, you can also take the flash with you. That's right, you're going to use the flash handheld. It doesn't need to be attached to your hot shoe or triggered. You hold the flash, then simply walk over to where you want to fire it. That's it. You're like a light stand that can walk!
Holding the flash in your hand, simply walk over to the spot where you wish to light your subject. You have plenty of time, after all. Then manually fire the flash. Like light painting, you can control where the flash goes with a light modifier such as a Rogue FlashBender. Or you can simply use your hand to direct the light. This also imparts some warmth (unless your hand is as white as snow).
How Do I Control the Brightness?
You can control the brightness of the flash in two ways:
Turn the brightness of the flash down
Stand farther away from the subject
Remember that sometimes, if you use a light modifier, that can dim the brightness of the light somewhat.
What Are the Advantages of Using a Flash Instead of a Flashlight?
Getting Rid of Blur
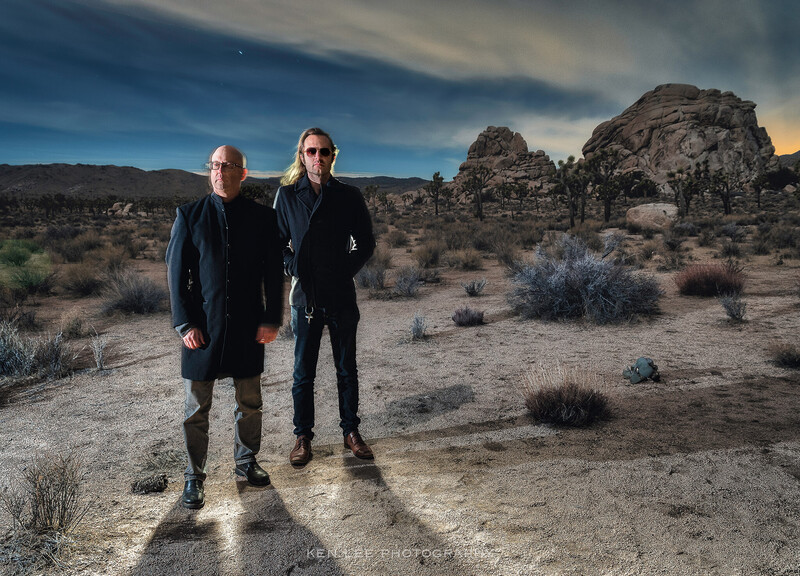
You can light paint subjects with a good-quality LED flashlight, of course. Or you can light subjects with a good-quality LED light panel. Night photographers typically use one of these two lighting techniques when they are doing astro-landscapes, moonlit nightscapes, abandoned locations, and more. And these all work great. However, they are not as good at freezing a subject in place.
It turns out that a flash is fantastic for just such an application. And most of us already have a flash. If we don't, we can certainly purchase a decent one for very little money. Your camera manufacturer probably makes some high-quality flashes. If not, you can purchase decent flashes from Yongnuo, Godox, Neewer, Profoto, and others.
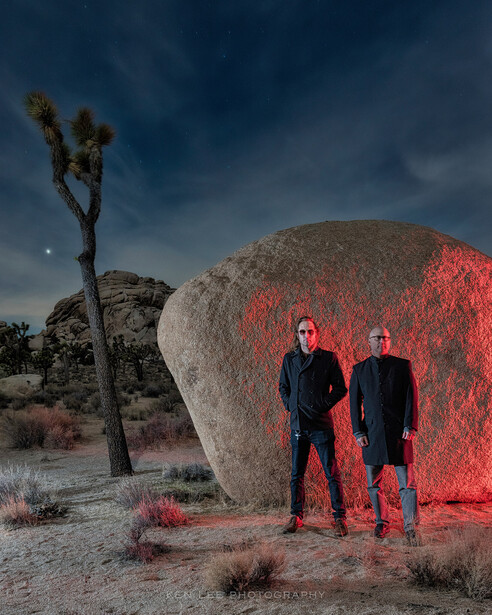
A Flash Is Easy to Use
Almost everyone knows how to use a flash. Many cameras have pop-up flashes. Many mobile phones use flashes. Press a button, and pop! The light goes off.
I'm going to share several examples of how I quickly showed people how to take a photo of me while in the field. I'll tell the stories behind them as well, which will illustrate how easy this was to do.
Behind the Scenes for Star Trek 60: DarkSky International's Capture the Dark 2026 Photo Contest


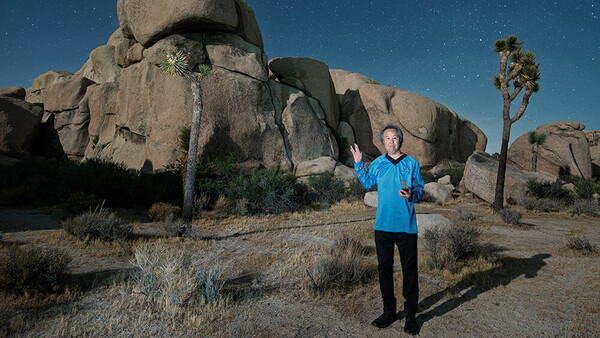
Photographs with my wife popping a flash while I perform the Vulcan salute. This photo won third prize in the "Star Trek 60: Capture the Stars" DarkSky International photo contest for its category.
DarkSky International's Star Trek 60 photo contest was a special pop-up mission within the larger Capture the Dark global photography contest. The contest tasked participants with heading outside under a star-filled sky and capturing a photo of themselves or their "crew" performing the iconic Vulcan salute that Spock made famous.
I found out about this contest shortly before the deadline. I rushed out with my wife to take photos for this. I imparted to her what I was going for and approximately where to stand. I also mentioned how to hold the Rogue FlashBender and position her hand so that there would not be too much light spill on the ground.
By the way, I won third prize in the contest for this category. Being an enormous "Star Trek" fan, I cannot tell you how much this makes me smile.
Marriage Proposal
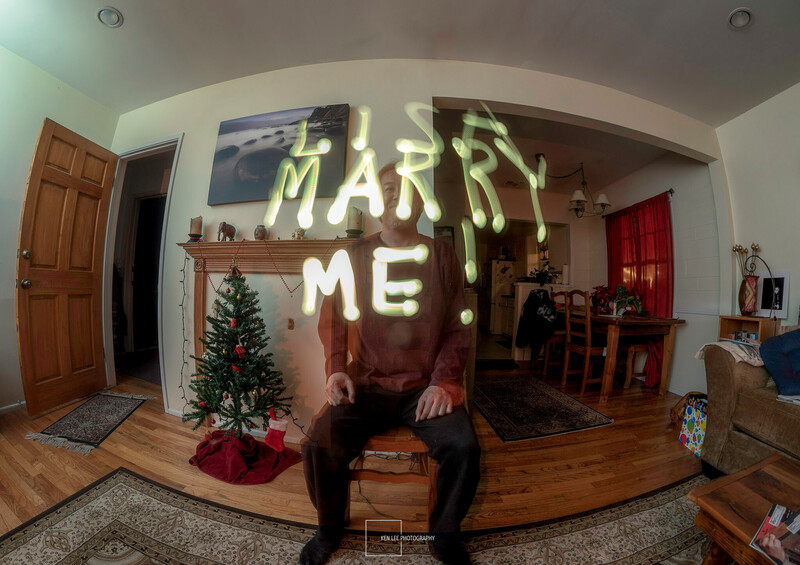
I'll share a personal photo that I created with Lisa helping out on New Year's Eve at our house in Los Angeles.
I asked her if she could pop a flash by bouncing it off the area where the wall and ceiling come together. She assumed I was going to create a photo to post for New Year's Eve.
First, I set the camera on a tripod and began the exposure. I used a handheld LED flashlight to "light write" this message while the camera's shutter was open for this 60-second-long exposure. I had to write it backward with the flashlight so it would appear correctly to the camera. I did this only once.
Then Lisa popped an off-camera flash to light me and the room, not realizing what I had written.
I then called her over to have a look at the camera, saying, "Let's see how this came out!" She saw my "LISA MARRY ME" message and was quite surprised! She said yes. I joked and said she had to "light write" her answer. But no, not really.
I never showed her how to pop the flash or even adjust the brightness. It was easy enough that just saying, "Aim it at the corner where the ceiling and the wall come together," was enough to create a pleasing image.
What I Use for a Flash
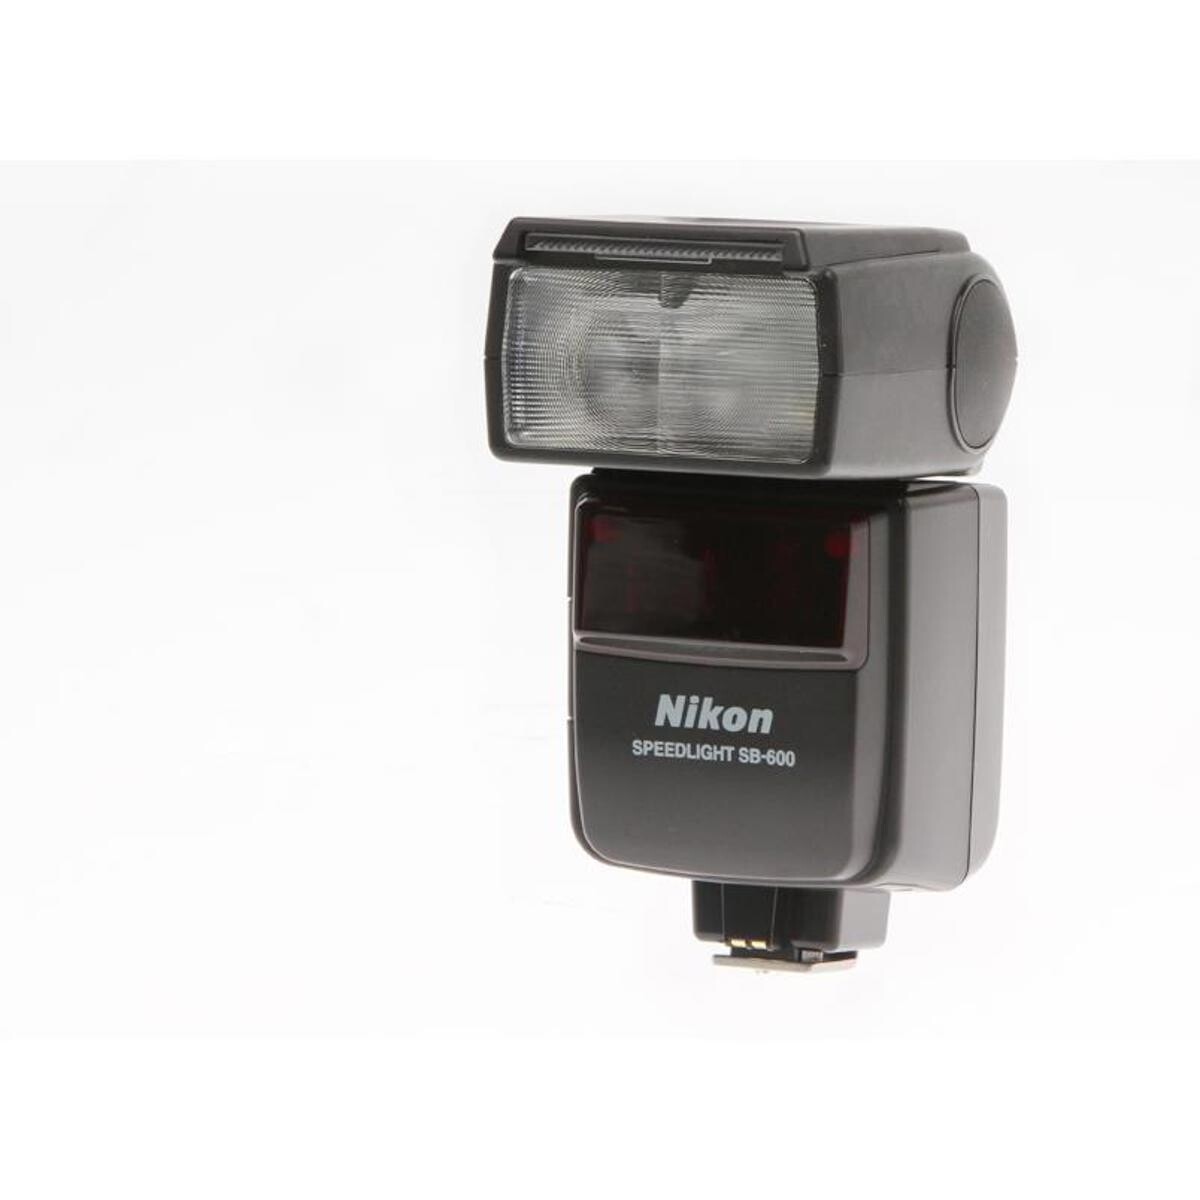
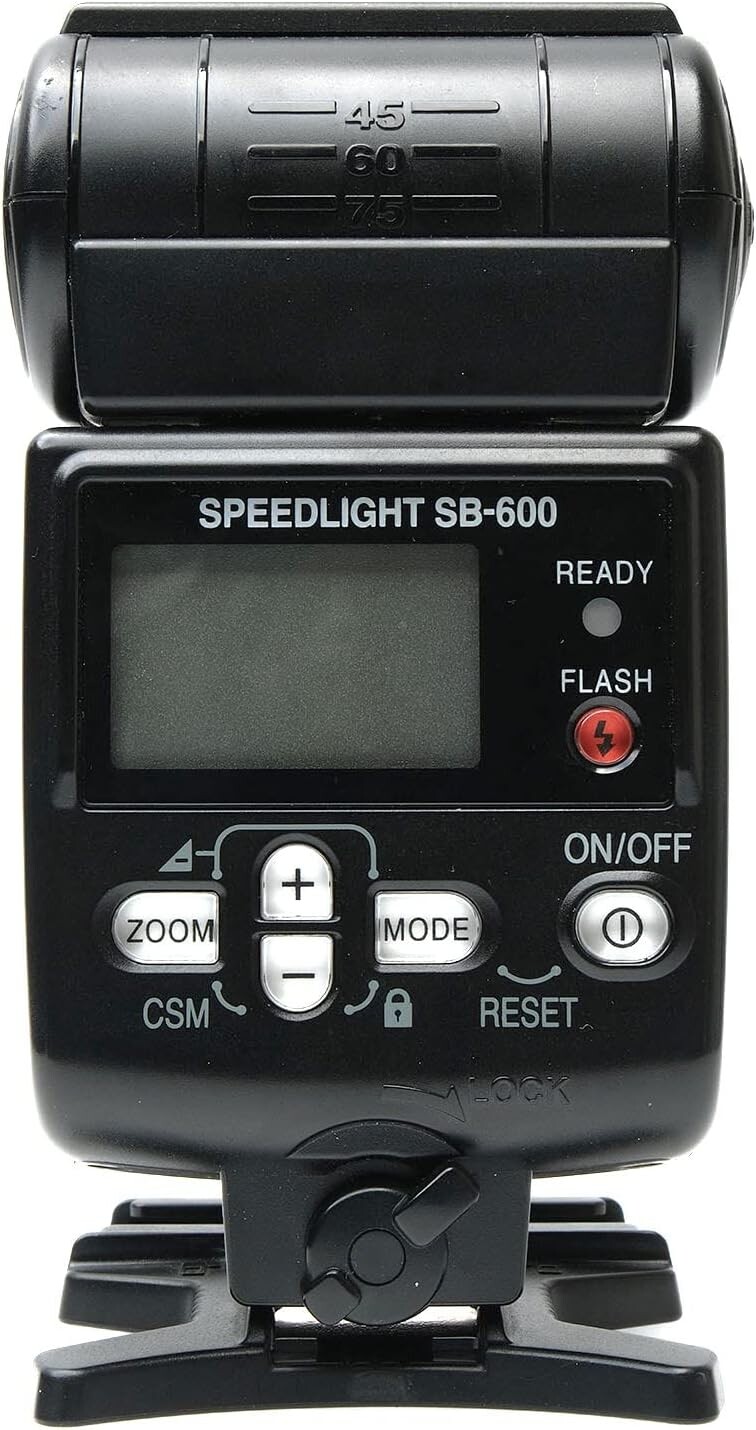
I have been using the Nikon SB-600 for many years. However, the basic controls of this are similar to many other flashes. The "Flash" button is what pops the flash.
My go-to flash is an old, discontinued Nikon SB-600 AF Speedlight, which I've had for at least twenty years. It's a relatively bright flash. And it's also durable. I've dropped it from about four feet onto a concrete floor. And no, I wasn't testing its durability for Fstoppers. Sometimes, I just drop things. And sometimes, as in the case of my flash, I do it several times. No cracks, no nothing. It just keeps working.
They sell used for under $50.
Want to Add Color?
If you want to add color, you can easily place gels in front of the flash. You may add creative colors if you want. Or if, for some reason, you are shooting with a very cool white balance, you could use something such as a CTO (Color Temperature Orange) gel to warm the subject. Gels allow photographers to intentionally introduce vivid colors into a photo.
A blue gel (CTB) can add a cool, moody tone to shadows, while vibrant hues like red, purple, or magenta can be used as key lights or to illuminate backgrounds for a striking, futuristic look.
Other Techniques for Night Portraits
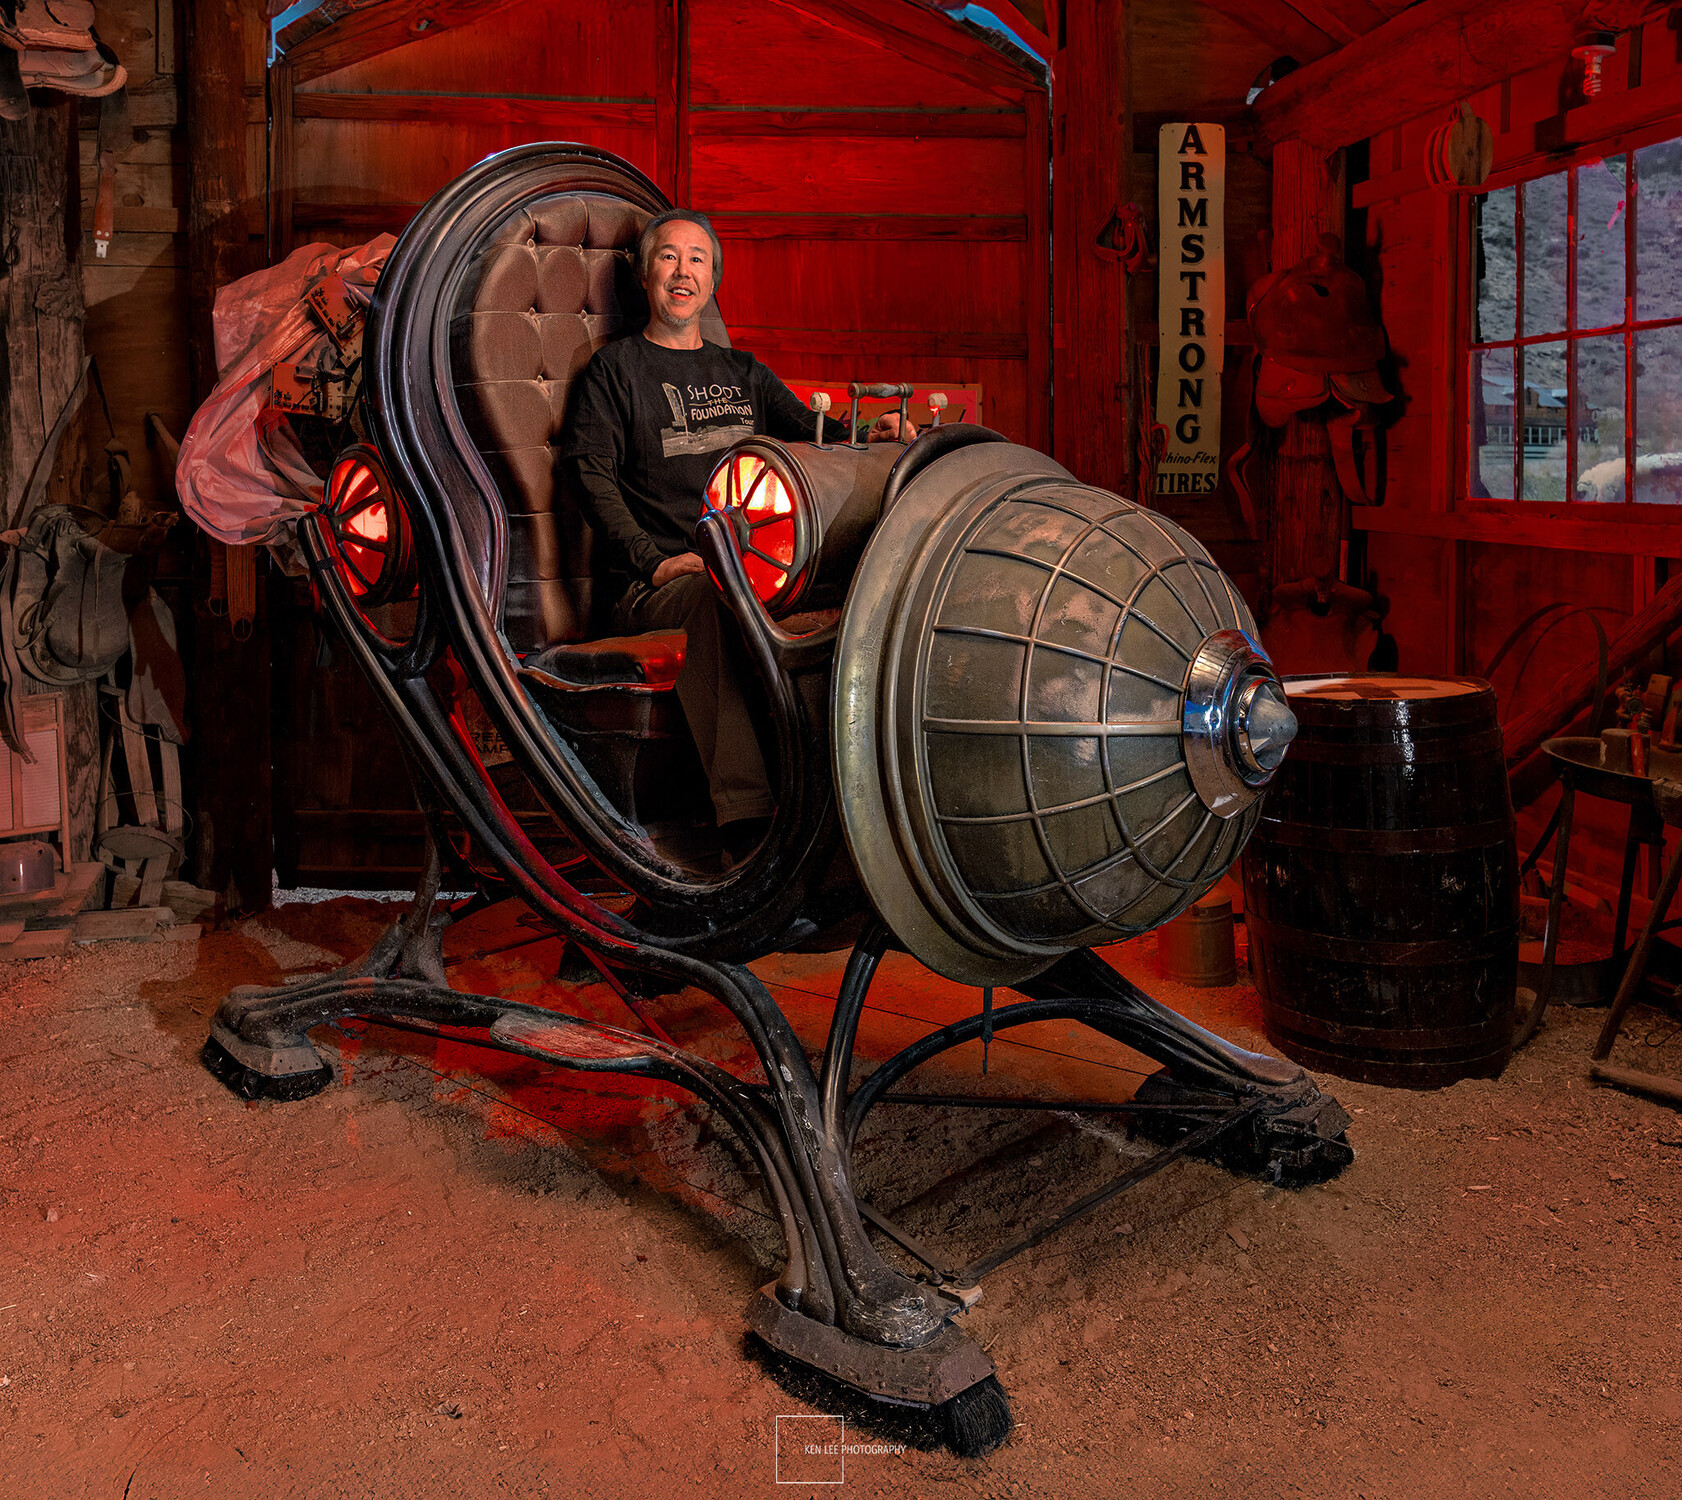

There are many ways to create night portraits with lights. These two selfies of me using a vintage time machine were done using a combination of low-ISO and high-ISO photos and blending them together. To do this, the light in each photo should look similar. I teach about how to do this and much more during our night photography workshops.
There are other techniques for photographing night portraits, such as combining low- and high-ISO photos, standing very still, and more. I teach many of these in my night photography workshops. But I thought I'd start with using flashes because they are easy to use and get great results without much fuss.
Join the Fstoppers community for free
-
Post comments and join in the discussions
-
Browse the site ad-free
-
Share your work and get featured in the community
-
Compete in the photo contests for fun and prizes
2 Comments
Hi Ken, great write-up and very informative. Just one question; how do you get even light coverage and prevent hot spots from the flash, like the ground close to the light source appearing brighter, or a bright spot on distant flash lit subjects?
Brendan, thanks for your comment. To prevent hot spots while popping the flash, I'll use a light modifier if necessary. For instance, I sometimes use a Rogue FlashBender, a bendable, shapeable light modifier designed to attach directly to camera speedlights and flashes. And sometimes, as is the case here, you can block some of the light from spilling on the ground with your hand. I suggested that my wife, who was tripping the camera and popping the flash, block the light with her hand. She did this perfectly on the first try. By the way, she is quite adept at light painting as well, and it's really a shame that she doesn't do night photography. She seems to intuitively understand angles and keeping the lighting even.