
I've never been one for artificial light in my photography, and it's an issue that many photographers come across when leaving that oh, so beautiful natural light. The struggle of having a budget to put towards lighting equipment can be daunting but shouldn't limit you in finding the best way to create the shot. In this behind the scenes look, I will go into how I created a high-end product shot using light trails, all while on a budget. Remember, this can be recreated with any camera, including an iPhone, that allows for long exposures.
Yes, the secret is out. I do indeed shoot with more than just an iPhone and for purposes well outside of Instagram. Though this specific shot was used for a campaign on Instagram with a local distillery in Indianapolis, the original shot and concept were simply an experiment in seeing what I could create on a budget.
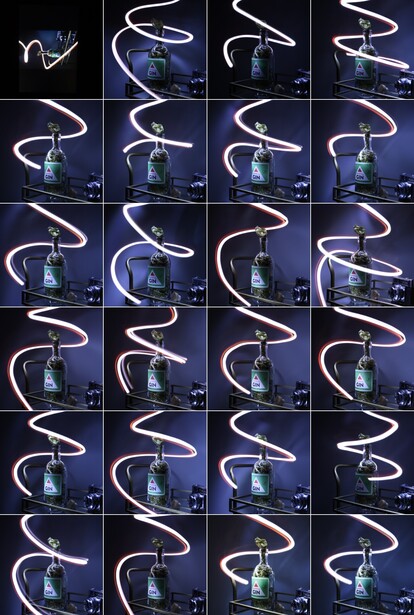
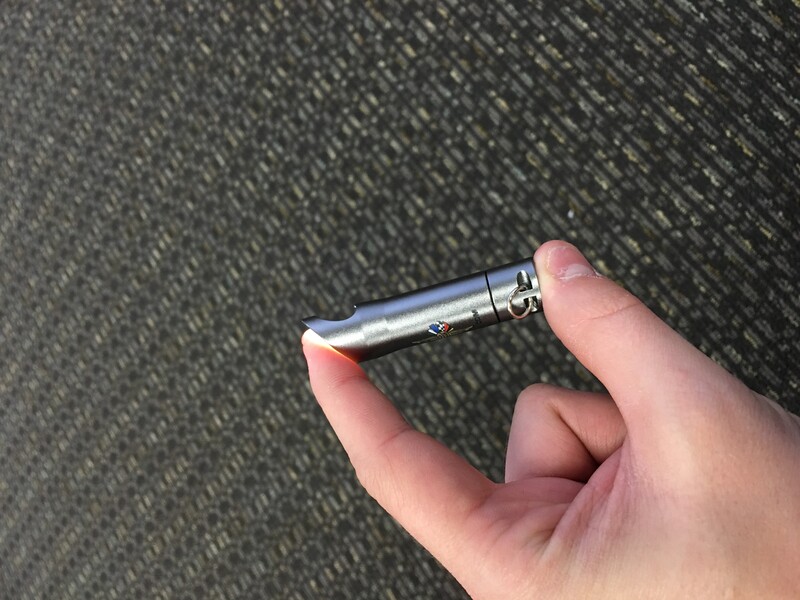
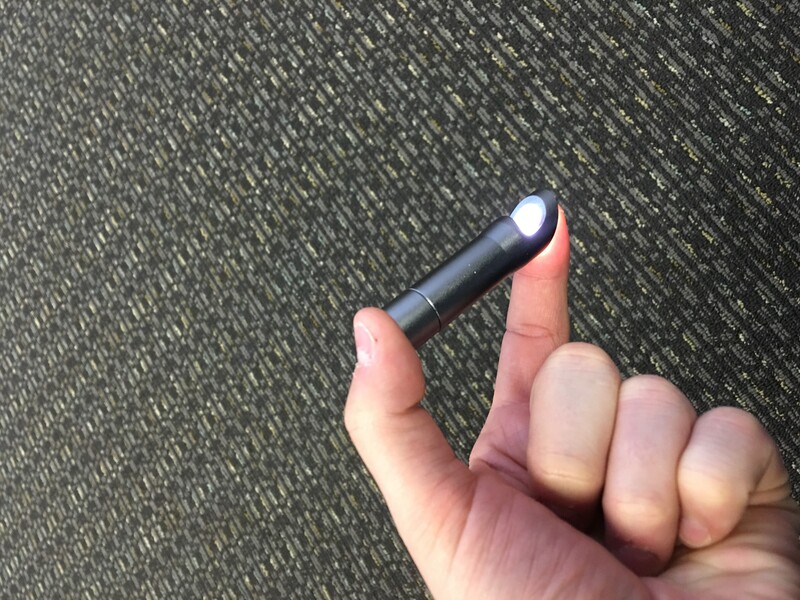
Originally, I had no idea what I would use for the light, but I found whatever I could in my junk drawer at home, including a pocket-sized flash light. I even thought of using my iPhone's, light but those were both a bit strong for this use. I then found a novelty bottle opener flashlight I got in a gift bag from the Indianapolis 500. This brought quite the happy accident, as the build of this light had two holes that gave both a small and heavy light source. Now, when I did this shot, I experimented with all sorts of paths and pressure in holding the light, as you can see below. Using my thumb against the on/off button and my index finger over the larger hole, I was able to create two streams of light.
A few tips to keep in mind when recreating a similar shot:
- When creating trails, work fast to make smooth lines.
- Play with shutter speed mainly ,as that will dictate how long and intricate you can make the trail.

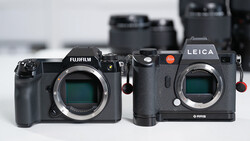
Though gear doesn't quite matter, here is what I used when crafting this shot
- Canon 6D (Any camera will work, even an iPhone.)
- Sigma 35mm f/1.4 Art (Again, many lenses will work for a shot like this.)
- Manfrotto Tripod
- Novelty Bottle Opener Flashlight
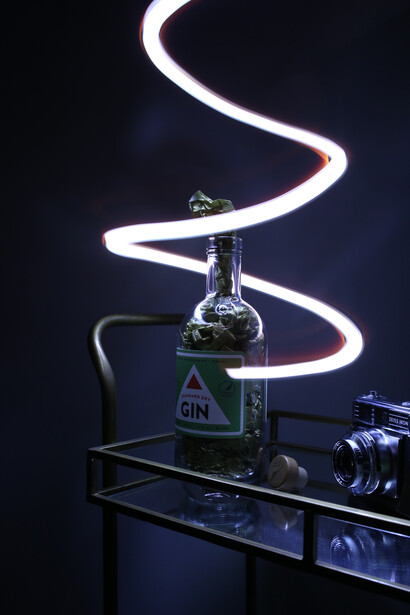
Below are a few closer looks at trail variations.

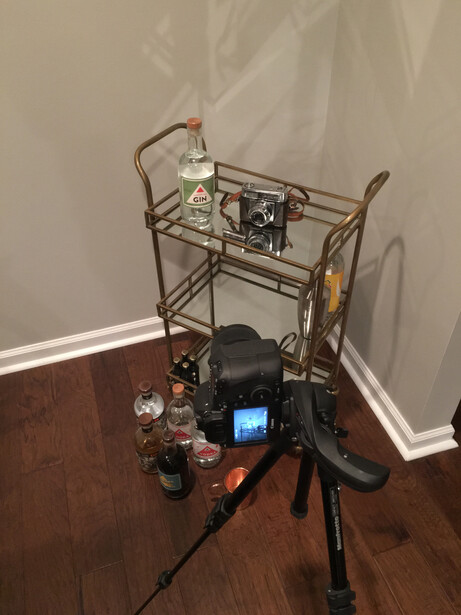
UPDATED: After a few comments and messages this week on how exactly I held the light here are a couple pics to show that a little better. When it came to how or where I placed the light when spinning around the bottle, I honestly wasnt too particular but rather testing to see which spot hit the bottle just right to light the lable up best.
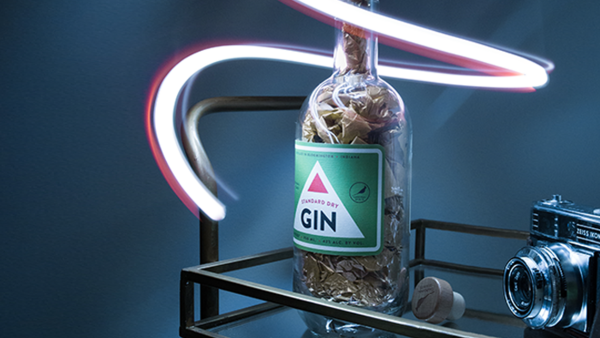
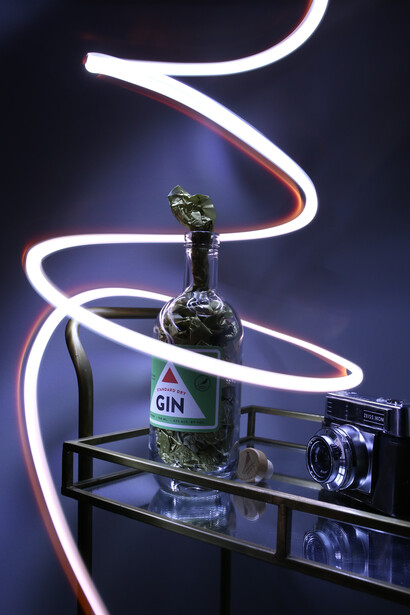
Finally, here are the last shot and final edit.
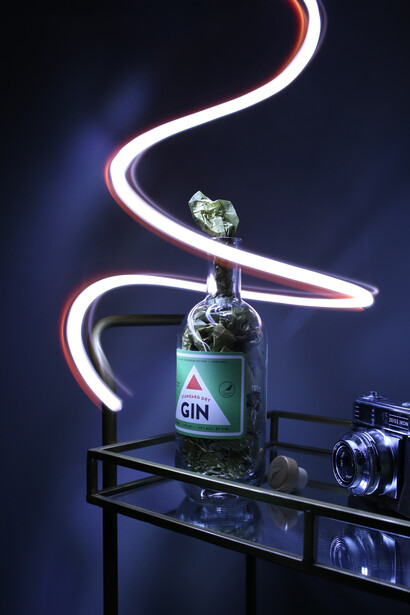
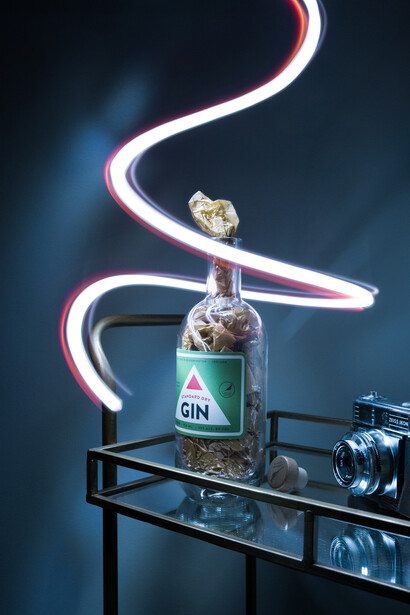
Overall, I was incredibly pleased with the final shots, and so was the client, especially for something I had cooked up quickly using things around my home, including a liquor cart and a novelty flashlight. Settings for these shots were f/8 at ISO 400 in a completely dark room at night. The shutter speed was the experiment and hovered between three and six seconds.
What do you think? Was this quick behind the scenes tutorial helpful for something you might be thinking for your next product shoot? I really appreciate the feedback and love to see what you all can come up with on your own. One thing I truly appreciated when first starting out were all the tutorials and BTS articles on Fstoppers simply to learn the gear and all that came with it to capture the perfect image. Also, if you are interested in knowing why I filled a bottle of gin up with gold, hit me up on Instagram, and I'll tell you all about it.


Join the Fstoppers community for free
-
Post comments and join in the discussions
-
Browse the site ad-free
-
Share your work and get featured in the community
-
Compete in the photo contests for fun and prizes
13 Comments
That's so cool! But it must have been really dificult to get the trail swirl around fluently...
What I don't understand is if you kept pointing the light at a central point (the bottle) turning around it or if you kept the light pointing at the camera
Thanks! The fluid look to the light really came down to the shutterspeed and how quickly I spun around the bottle. As you can see in the group shot of various raw files I had a few mistakes or I bumped the bottle or table but overall it was pretty smooth. The light as you can see comes out of the bottle opener part and my finger covered the far end to create the dual light source (the red line is my fingers light coming through it). The light spun with my finger honestly, it may have somtimes pointed straight at camera but I really just wanted to keep the main light hitting the face of the bottle for the brand label to show better.
Went ahead and added a shot of how I held the light above. I wasn't too particular on where the light spun around the bottle but rather tested to see how I could get a decent amount on the front of the bottle label. Hope that helps!
Hey the_gris! It's cool to see light-painting from you ::))
Thanks bud!
Using paper so you can drink the contents while shooting. Brilliant!
EVERYONE and their mom light paints now
my mom has actually never light painted
Same here. My Mom still uses the yellow disposable cameras at the store. I think she will get to light painting in the next few years for sure though.
my mom at least uses a Sony A700! lol
This is awesome, could you post a picture of how you held the light?
Thanks man!
Went ahead and added a shot of how I held the light above. I wasn't too particular on where the light spun around the bottle but rather tested to see how I could get a decent amount on the front of the bottle label. Hope that helps!
thanks for the updated pictures, time to do some experimenting!