The landscape of the portrait photographer has certainly been in flux over the last decade, in which time we’ve seen photos of people go from unreal alabaster-like skin to something much more real, color grading become prominent, and image resolution grow, even though the consumption of images has moved largely to smaller screens.
Then, of course, there’s the sheer volume of images demanded by today’s clients — driven by consumer habits — and the need to output for a myriad of media platforms with different size, color, and crop factor parameters, all making the case for greater efficiency in one’s workflow. Capture One is uniquely able to address all of this, and here’s a look at how.
Quick Preface
The workflow for everyone will always be at least slightly different, and even for one person, it can and often depend on the nature of a shoot, so here, we’ll address benefits, whether you’re a studio photographer or lifestyle shooter, or anything in-between.
*If you don’t already own Capture One, this is the perfect time to download a free 30-day trial of Capture One Pro (no strings attached).
Skin Tone Tool
Making skin tones match throughout the body without affecting texture is a hallmark of a good portrait edit and a necessary ability for a portrait photographer. In fact, being able to fix skin tone is essential for professional images whether you shoot portraits, headshots, weddings, swimwear, dancers, or frankly, anything else, and Capture One’s dedicated Skin Tone Tool makes easy work of it.
The goal is to harmonize all the skin to be more even, but not exactly the same, while still retaining skin texture and not making the image look flat. The Skin Tone Tool allows you to mask the skin using the brush tools and masking refinements and make a selection of the tone you want, and then, you can drag simple sliders until you’ve reached harmony throughout.
 With Capture One’s layer functionality, opacity options for layers and brushes, and the easy sliders of the tool, there may be no simpler way to correct and even out skin tones than with this tool. Click here for a more detailed explanation of how to use it.
Raw Processing
The rabbit hole of raw file handling can go to the center of the Earth, so we’ll stick to the upper mantle here, but there are a few things about raw file handling some of you may not know that you might find helpful.
First off, a raw file is simply an unaltered data packet from the sensor, and your choice of raw processor has to interpret that ingredient list of data for it to show you the image. And by the time you see the image, the software has not only interpreted the data, but applied a few alterations to it. So, the raw file you look at in your viewer isn’t quite as "raw" as it could be. For instance, raw files are actually significantly darker than what you see, and the colors look different, but your software has applied some type of brightness/exposure compensation by way of something like a gamma curve as well as an ICC profile to deal with color. Here’s a quick look at a raw file upon import and the same with "Linear Response" curve applied to show you a truer look at the actual raw file:

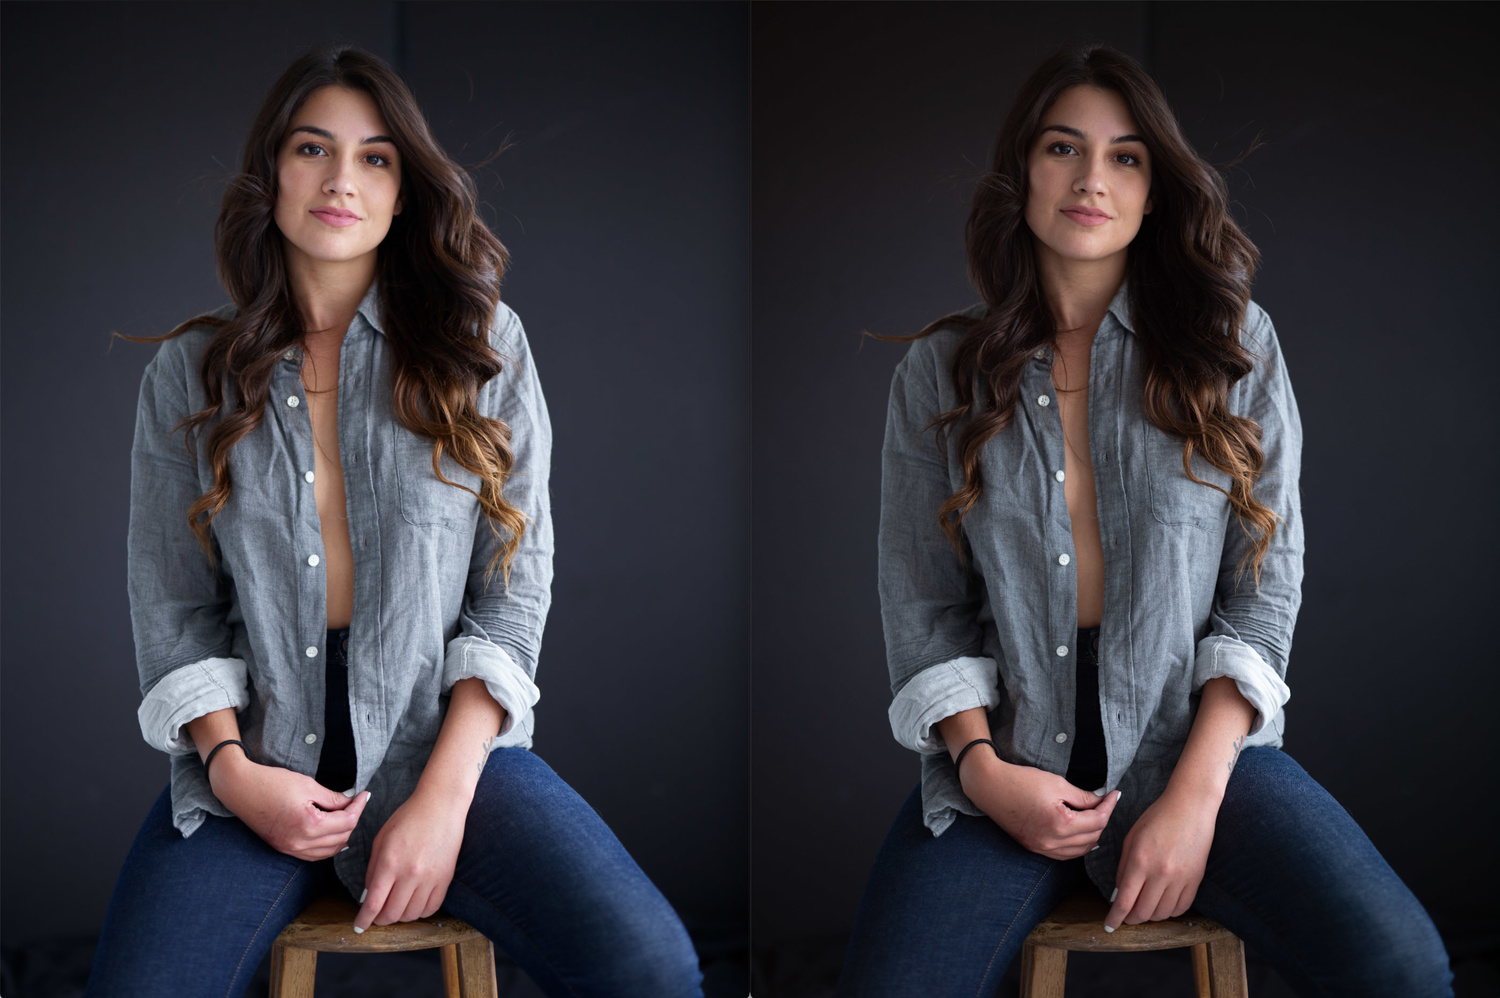
This all happens before you touch an adjustment tool, and all raw processors do it, but it’s how that makes the difference. Capture One engineers test thousands of images per camera model to figure out a profile that’s best for your camera model, and compared to Lightroom, you’ll notice there seem to be more shades of the same color, which results in smoother color gradients, more flexibility, and a more natural look. For the purpose of portraiture, this is important, as you’ll have more natural-looking colors, better gradients, better-looking skin, and so on. Here’s a quick look at the same file opened with default settings in Capture One and Lightroom:

(Lightroom on the right, Capture One on the left)
Working With Sessions
In Capture One, users have the ability to organize their work with Catalogs, Sessions, or a Hybrid of the two. Catalogs are more monolithic in nature, fit for keeping large collections of images from many shoots or even all your images with a centralized database. Sessions are smaller and typically used to manage images from a single shoot, event, or perhaps a date or location.
When you create a Session, say "Rebecca’s Headshots 2020," a simple folder structure is created for you. There’s the parent Session folder, which would bear the name of your shoot, and then within, you’ll find Capture (which stores all your image files), Output (images you’ve exported), Selects, Trash, and the actual Session database file, which will have the Session name with file extension ".cosessiondb." You can change these as you like, but at least there’s a consistent structure to all Sessions, and having each organized this way allows you to cleanly manage separate shoots, clients, and move around with those files much more easily than with Catalogs.

For portrait photographers who will typically shoot many different clients and who don’t need to see or access other images from other shoots, this is a great way to keep everything really well organized.
Fast Tethered Capture

Not everyone shoots tethered, and not everyone who does shoots tethered all the time, but for those who are working in a studio environment or on location for commercial work, it is a necessity, and Capture One is the gold standard for tethered capture.
In Capture One tethered shooting, you can import images as you shoot, set a base image to look just how you like, and have the following shots have the same adjustments applied at speed, control the camera settings from within Capture One Pro, use autofocus, and of course, see the Live View to get your framing and composition and all just right.
Then, there’s the overlay function, which inserts a graphic file as an overlay on the feed or an image as you shoot. This image could be a logo, text, or a design for a magazine cover, or any number of other things, and allows for just the right composition.
Anyone coming from other processing software will be immediately impressed with how well tethering works with C1. It’s fast, simple to set up, and offers a level of control you just don’t find elsewhere.
Bonus: You can download the Capture Pilot iOS app, which can stream the images live to a mobile device, perfect for allows clients or collaborators to see a larger image and without standing in your way. It’s also useful to have facing the subject, so they can see what’s going on in real-time and adjust accordingly.
Layers

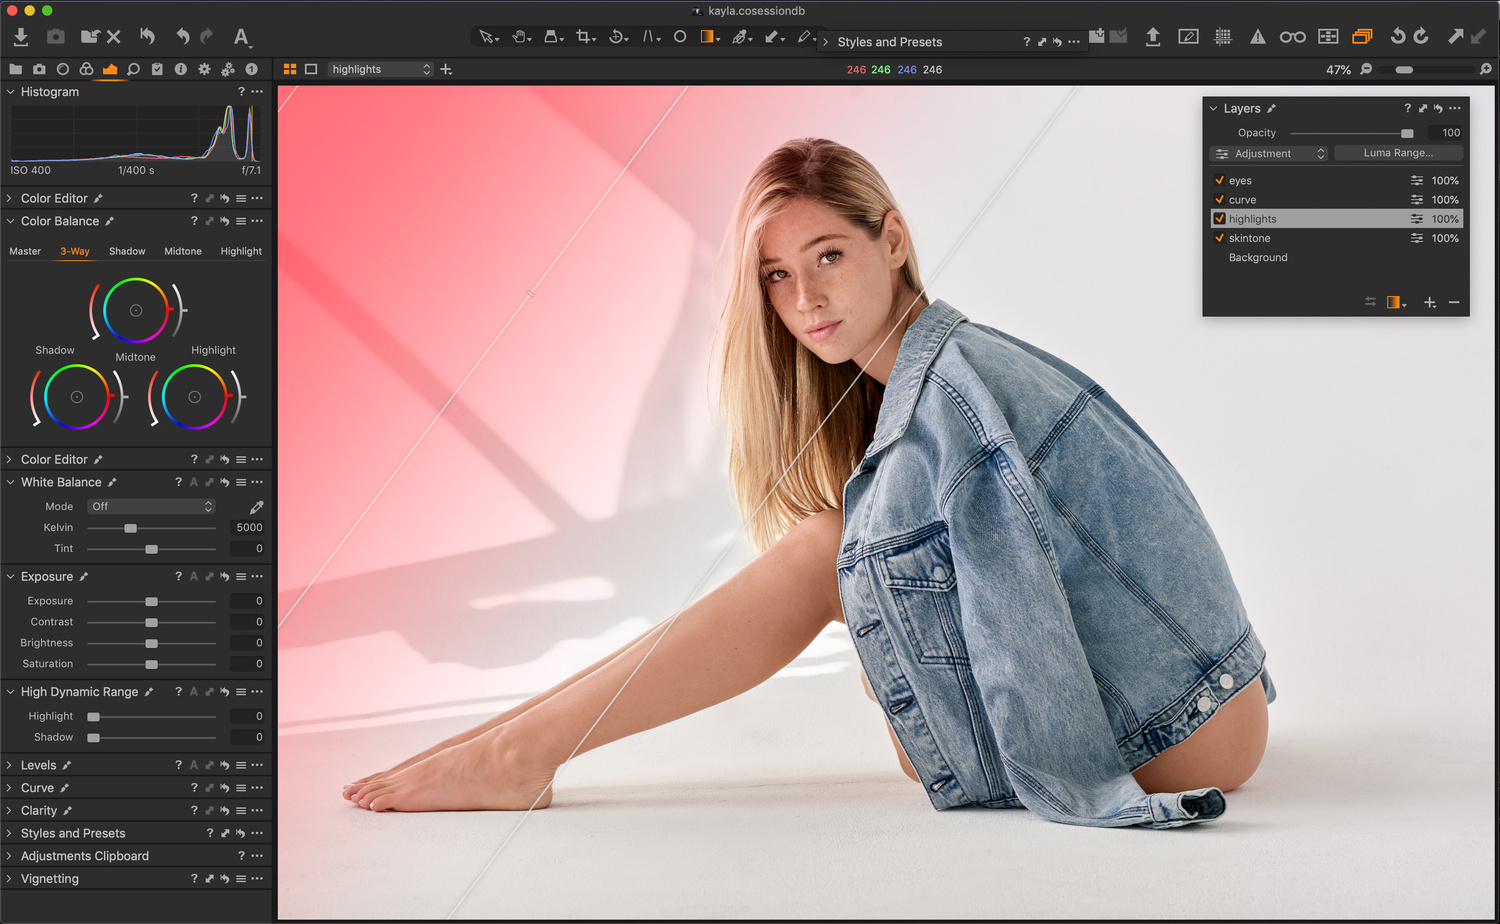
Layers in Capture One are immensely powerful and totally change the game in terms of flexibility. From high-quality healing and cloning to fine-masking, layer-stacking, and layer opacity control, Capture One has a broad range of local adjustments, powerful layers, and layer-masking tools that allow you to maximize the flexibility of your raw files. That means you can get the most out of each shot and do more with a raw processor than previously possible, all while saving time.
Each file in Capture One can have layer upon layer of local and global adjustments and the ability to make local adjustment masks from Color Editor selections. This functionality allows users to easily and quickly create more complicated masks and is a huge help when editing any and everything from landscapes to skin tone.
In contrast, Lightroom’s adjustment layer capabilities are almost nonexistent, and they are limited to just a single layer for all adjustments. While Capture One’s layers aren’t as robust as those in Photoshop, the power Capture One provides through layers covers the lion’s share of what the vast majority of photographers need. For portrait work, having healing and cloning layers, layers with full opacity control, local adjustments with further opacity control, and a wide spread of easy masking tools are huge benefits.
Finally
There's a lot more nuance to the benefits of Capture One for portrait photography than can be demonstrated here, but if you want to jump-start and learn immediately, there is already a bevy of tutorials on Capture One’s YouTube channel, and you can download Capture One here with a 30-day free trial.
If you're looking for a fast and effective way to learn Capture One, check out The Complete Capture One Editing Guide, a five-hour video tutorial taught by Fstoppers' own Quentin Decaillet.


Nice tutorial. The last two versions of Capture One has brought great advancements. If only they would introduce a tool that rivaled the heal tool so I can cancel my PS subscription.
My hopes are that C1 comes out with many new improvements. If you buy version 12, you get an automatic upgrade to version 20. Yes, you read that correctly. They are skipping all the numbers and going right to 20. So I hope that it really deserves to be version (Mind Blowing) 20. To blow my mind it would have to do many things that I can do in PS. C1 addition of using Layer was a great start to blowing my mind. :)
That all said, Tony. Since I've moved to C1 12, I'm blown away of performance C1 has over LR. C1 is getting very close to keeping me from having to use PS. If Phase One ever came out with a PS killer app or make C1 the killer app, I would drop PS like a very hot potato!
I think you'll be disappointed with CO20!
Yeah, I've been reading about how people are using the Skin Tone Tool for other types of edits that didn't think about. It's like a fine-tune adjustment tool with sliders added to it. Maybe they should rename it the Fine Tune Tool?
I agree LR has some odd tones. I had to resort to making my own generic camera matching preset. When I moved to C1, I was really impressed. Those coders really did their homework on making a profile for every camera body and lens out there. I bet the camera & lens rental store made bank renting all that gear out for Phase One!
Personally, I still haven't seen any speed differences when tethering in LR and CP1. I'm using the latest versions of both and there is no difference. I keep hearing how much faster tethering with CP1 is over LR, but I'm not experiencing that.
The last time I used LR was over two years ago and it was painfully slow like 2 seconds vs 8 seconds load time. I don’t feel the need to keep checking back but simply moved on. Everyone needs to use what they are comfortable with and I see it as a personal choice like Canon vs Nikon vs Sony or MAC vs PC.
I agree that everyone should use what they are comfortable with and I wasn't saying one was better than the other. I'm just saying, I haven't noticed a time difference and definitely not a 6 second difference between the two.
I believe Capture One is known for being more stable when it comes to tethering.
Haven't noticed that either. But I don't use it all the time, so maybe that's it.
Which camera are you using?
are you shooting in Jpeg or raw?
File size is a factor.
Great article! I love C1 although I admit to getting really nervous when at a shoot with no assistant keeping an eye on the laptop. I had a session where the tether stopped working and I was shooting images which were not being saved. I believe I understand why it can't save to the local card on my Canon as well as to the laptop but I wish there was a mode that would allow you to do this even if it meant transferring the files over a little slower. Am I the only one that feels this way?
So . . . let's address the elephant in the room. One of the most important tools in portrait photography is the healing/clone tool for taking care of blemishes, spots, lessening wrinkles, etc. But yet, these tools in C1 are ABSOLUTE crap. I can't comprehend how this "brilliant" piece of software thinks that letting you set one clone/heal reference spot per layer is at all acceptable. I don't say this just to straight out complain, but because I wish it was different, and I hope C1 is listening.
Everyone loves to go on about C1 doing all this stuff that LR can't do, or that you would need PS to do. I mean, that's great I can really fine tune my colors in C1. It's great I can hone in and balance skin tones. Hurray! I'm glad I don't have to go into PS to do that . . . until I'm dealing with a portrait that needs a fair amount of blemish removal. Doh! Into PS I go. So at this point, yes, I find I can stick in LR for an entire edit more so than I can stick in C1 for an edit.
That's what I don't get about C1. There are some brilliant features, and the speed is unmatched. Yet, it has all these awkward things about it that don't make sense, and it scares me to commit to it. At least they added the radial/gradient filters a while back, am I right?