
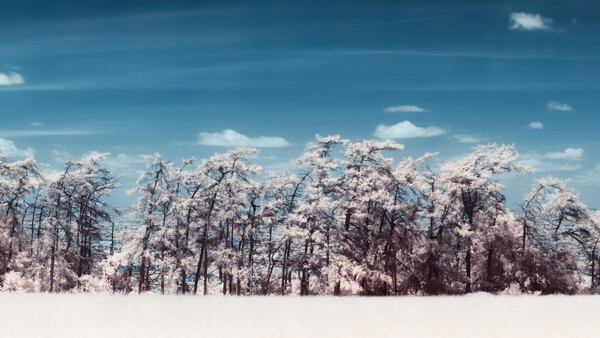
Landscape photography in the summer can be frustrating, especially when shooting woodlands and forests. The forest is thick with green foliage, and parts of the bright blue sky shine through the canopy, creating hotspots in your image. But surely landscape photographers don't stow their cameras away for six months every year, so there must be an alternative?
First, we have to analyze the problem. Why are summer months not favorable to landscape photographers? Well, the answer is simple. There's a distinct lack of atmospheric texture. As temperatures rise, the early morning fog becomes scarcer. Woodlands and forests become almost monochromatic in bright green. There's also the issue of atmospheric heat haze, which softens landscapes when using a telephoto lens. The other issue is the length of days. The sun usually sets quite late in the summer months. For example, it sets around 9:30 here in the U.K., then rises again around 4:50 AM. This doesn't give you much of a window to capture any nighttime astro-landscapes. Furthermore, you end up being sleep-deprived due to the early mornings and late evenings.
But there is hope. Aside from the sleep deprivation and getting a sweaty back from carrying your backpack in the hot sun, there are other ways to make the summer months more bearable.
Capture the Milky Way
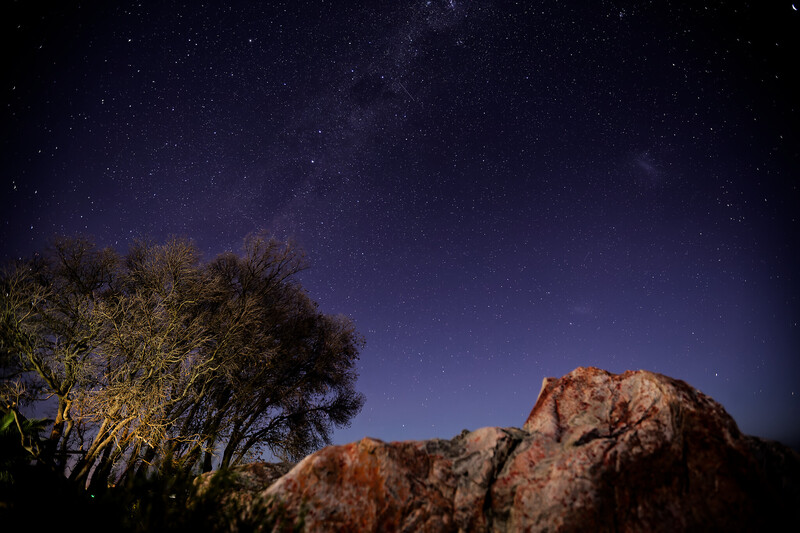
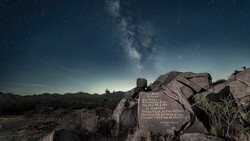
Astrophotography sure is challenging in the summer months, as you have an extremely short window to capture stars after sunset before the sun comes back up. In summer, it's often a couple of hours, if you're lucky. But if you manage to pull it off, it's an incredibly rewarding experience to capture the rise of the Milky Way above the horizon. If you want the best results, invest in a portable star tracker that lets you shoot longer exposures for greater detail. If you're heading somewhere remote and dark to shoot, tell someone where you're going, bring a headlamp and warm layers, and watch your footing on unfamiliar terrain in the dark.
Photograph Passing Storms
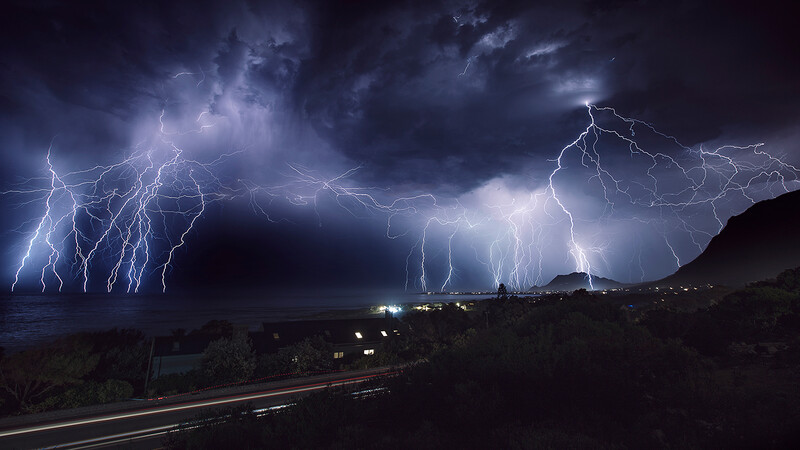
The start of summer often brings highly unstable weather patterns, depending on where you live. Late afternoon heat causes cumulonimbus clouds to form, which often bring lightning storms. Use a couple of weather-tracking apps to monitor where the storms are from a safe distance. Lightning is dangerous and can strike well ahead of a storm, so never position yourself in an exposed area, near tall isolated objects, or close to an active cell. The safest approach is to photograph from indoors or from inside your vehicle. Sometimes you'll be rewarded with incredible sunsets right after the storm passes, too.
Look Beyond the Visible Light Spectrum
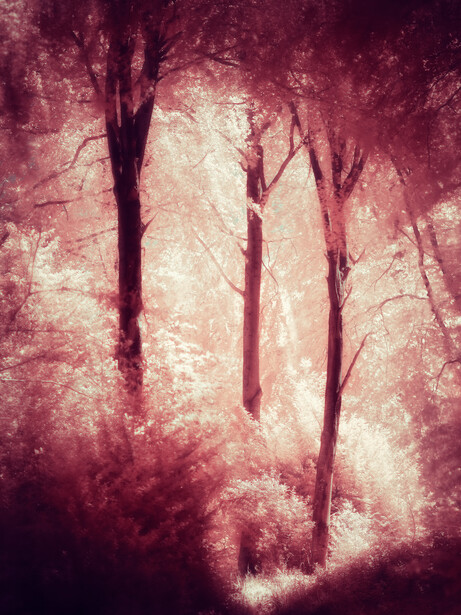
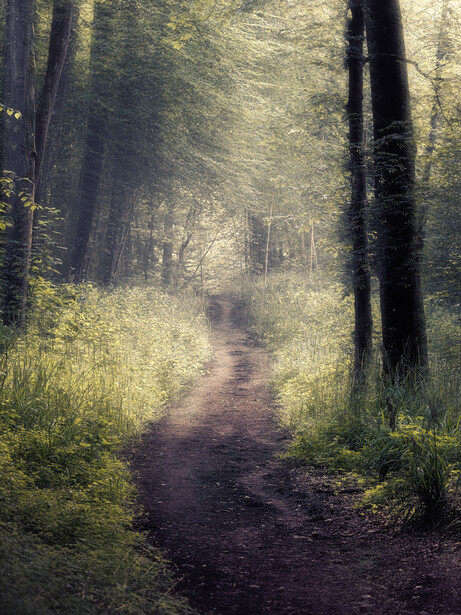
If the midday sun is far too harsh but you need to scratch that itch to go out and shoot, slap on an infrared filter and try a few different scenes. Look for strong geometric shapes or minimalist scenes. If you're shooting in woodlands with an infrared filter, it will immediately turn the green, monotonous scene into an ethereal fantasy world where green foliage turns white and blue skies turn deep black.
Watch the Light Change
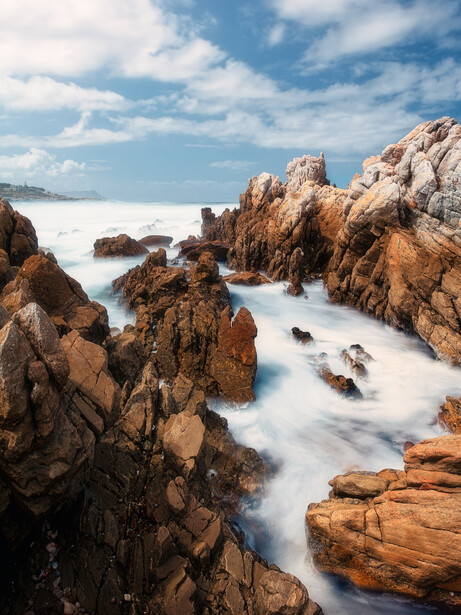
Using a 10-15-stop ND filter, you can create extremely long exposures at midday, often resulting in softer light as the sun moves across the sky or clouds pass in front of it. It turns choppy water, such as the ocean or a lake, into a smooth, glassy surface. You can often capture surreal-looking images this way, but it does require a bit of patience.
Experiment With Alternative Techniques
When you step out of your comfort zone and try something new, it often sparks inspiration and gets the creative juices flowing. If you've never tried techniques such as multiple exposures and ICM (intentional camera movement), the summer months are the perfect time to hone your skills. Most mirrorless cameras and some older DSLRs have multiple exposure modes built into the menu system. A good starting point is to set the number of images to around five and use the average blending mode in the multiple exposure mode settings menu. Choose your subjects and start shooting different compositions. Your camera will then combine the images into a single file for you to preview, or you can manually blend them in Photoshop for more creative control.
If multiple exposures aren't your cup of tea, you can try ICM instead. Set your camera to a slow shutter speed around half a second to a full second. Once you fire off the shutter, move your camera up or down to create a blurred, abstract photo. This technique is easily done handheld and doesn't require a tripod.
You can also combine both techniques for ultimate control and creativity. Mount your camera on a tripod, select your subject, and enable multiple exposures. Set the number of exposures to five again with an average blending mode. Instead of moving your camera while handheld, you can now use your tripod and adjust the head up or down in small increments between shots. Once blended, it creates a similar look to ICM, but you have more control now. Import the series of photos into Photoshop, set the opacity of four of the five photos to 20 percent, and use a Lighten blending mode. Ensure the background layer is on 100 percent opacity with no blending mode. The result is a painterly ICM-type photograph, but you can now take it a step further. Add layer masks to all layers except your background layer, then paint in your subject's details. This creates in-focus areas on your subject, while the background retains its painterly ICM feel. If you'd like to go deeper on techniques like this, Photographing the World 2: Cityscape, Astrophotography, and Advanced Post-Processing covers advanced post-processing in detail.
Photography is all about solving problems and getting a suitable outcome. Summer is also a great time of year to experiment with new techniques and gear you've never used before. So don't pack your camera away. Hopefully, these tips will inspire you to pick up the camera and go out and shoot this summer, rather than just use it as a season to catch up on sleep and admin.
Join the Fstoppers community for free
-
Post comments and join in the discussions
-
Browse the site ad-free
-
Share your work and get featured in the community
-
Compete in the photo contests for fun and prizes
2 Comments
I can't believe that you left off "explore black and white".
Peal Summer in the US is June thru August. YES HOT HOT! But for Astro Milky Way capture it is the time for the Milky Way Arch meaning doing a panorama from southeast to northeast a 200 degree pano. This is a time for less fog over oceans and over farm lands. To understand the capture you can use a super ultra wide lens without doing a pano and all you get is Pegasus and the Galactic center to the right and the trail in the stars going straight and level to the left! Yes for this arch capture at this time of year a wide angle lens like a 14mm or 12mm the reason is the top of the arch will be over your head and you will want to use portrait view to get that high up. This will be for a one row panorama that will be fast BUT many do 2 or 3 rows with a narrower lens like a 50mm for more detail or close up like, just pick what you want to do. First think about your camera MP amount, this is where PhotoPills Spot Stars section comes in handy, The more MP's the faster SS's, yes. and the less MP's can handle a longer SS's. Your f/# most will want that 1.4, 1,8, 2.8, 4. again the more light input the faster the SS.
Why all the math well your doing a panorama and if lucky you have a rig that has a degree selector at its base helping to go to the next stop with a stop. With that I suggest using in camera NR (I know everyone for year say not to) for while in the dark mode you move to the next stop and ready for the next capture and on and on! It is hard to find what degree setting to use but the narrower the images the better the merge in post.
It does not matter the number of MP for a A7SM3 and a A7R5 captures will have the same results BUT the A7R5 will do it all faster. A major thing to think about while out in the dark and get your rig level the full 200+ degrees is the lens and how heavy it is and you can 14mm f/1.8 it is small but if just starting out and you want to keep more coin in your pocket there is the 2013 Sony APS-C E 10-18mm (15-27mm in 35mm) f/4 OSS that has threads up front for filters (yes a clear night filter is great) the key is it can be used in Full Frame mode at 12-18mm (if you remove the rear light shield) the two FE 12-24mm f/4 and f/2.8 require up front filter holders as well as big filters meaning heaver and added cost along with more work in the dark and all and all more torque on knobs. Pick whatever.
Next get a headlamp/torch that has a green or blue filter reason is red is the worse to clone out in post also if others are around they will thank you. another is to turn off the rear LCD screen during the pano another light thing. you will be surprised at how well you can see after an hour. If you have a Sony there is a function called Bright Monitoring on all Mod 2 cameras and above you can assign to a button like the trash can (easy to turn off and on in the dark) this will allow framing of your foreground instead of several capture to find the right spot or finding your spot while looking for your spot with glow tape.
A great tool in PhotoPills is Night AR that during the day time and out scouting will let you see where the Milky Way is as well how high it is at just a finger slide over the time scale.
After August you have the vertical MW and then just a upper capture above your first gives a pano like upwards.
Last trust your camera for Aperture mode will capture all things while under lights and capture the night sky also and sometimes if before the new moon and a rising crescent moon you may capture the crescent with the dark part showing also,
The season starts in February moorings just before sunrise and ends in October and after sunset.
June to August is an all nighter as well as each blue hour and some morning birding.
If near the Ocean with dark skies and tides PlanIt Pro has a tide section that shows the from high to low to high in a sinewave form and the bottom in the time slot.
Just have fun, remember snake boots and Skin so Soft oil in a small bottle of water for the bugs! Bear spray (good for gators and bears) and a hat with big eyes put on the back if in big CAT areas like the Grand Canyon (there are crossing signs for big CATS)