
Let's talk about a few careful composition choices I made at sunrise in a quiver tree forest of Namibia, and how good ambient light helped to make the landscape photography shoot successful.
Imagine you have arrived at a location for a landscape photography shoot. After spending some time there, you have scouted the area, chosen your composition, and determined the camera settings you will use to capture the image. You have also decided whether or not to use your polarizer filter or bracket your shots instead of mounting a graduated ND filter. What do you do next in landscape photography?
You wait for light.
Actually, you wait for the light that creates conditions for an eye-grabbing image. For instance, when the sun is at a particular angle, it casts a soft, warm glow and bathes the sky in pink and orange hues. This is what we hope for; sometimes the magical light appears, but other times it gets blocked by clouds, or the scene can be disappointingly dull.
This article provides insights into a sunrise shoot in a quiver tree forest in Namibia, where I was fortunate enough to capture beautiful atmospheric light illuminating the fluffy clouds over the forest. We will discuss tips on composition in a picturesque yet chaotic scene, post-processing, and, most importantly, how to take advantage of good light.
Location Scouting and Compositional Choices
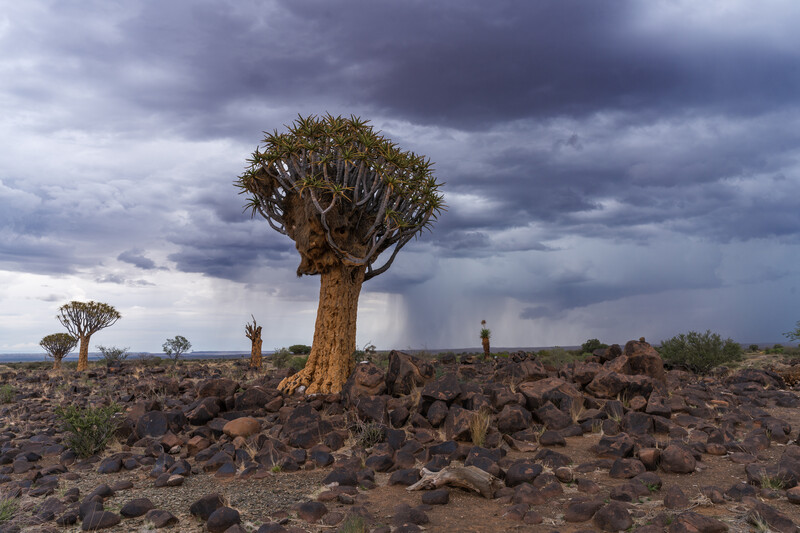
I arrived at this quiver tree forest in the late afternoon and could not walk around due to the bad weather. There was a storm that brought a cloudburst and lightning, but it moved toward me, and I had to abort the mission. I had a look at the potential of this place, but then my lens was quickly covered in raindrops.
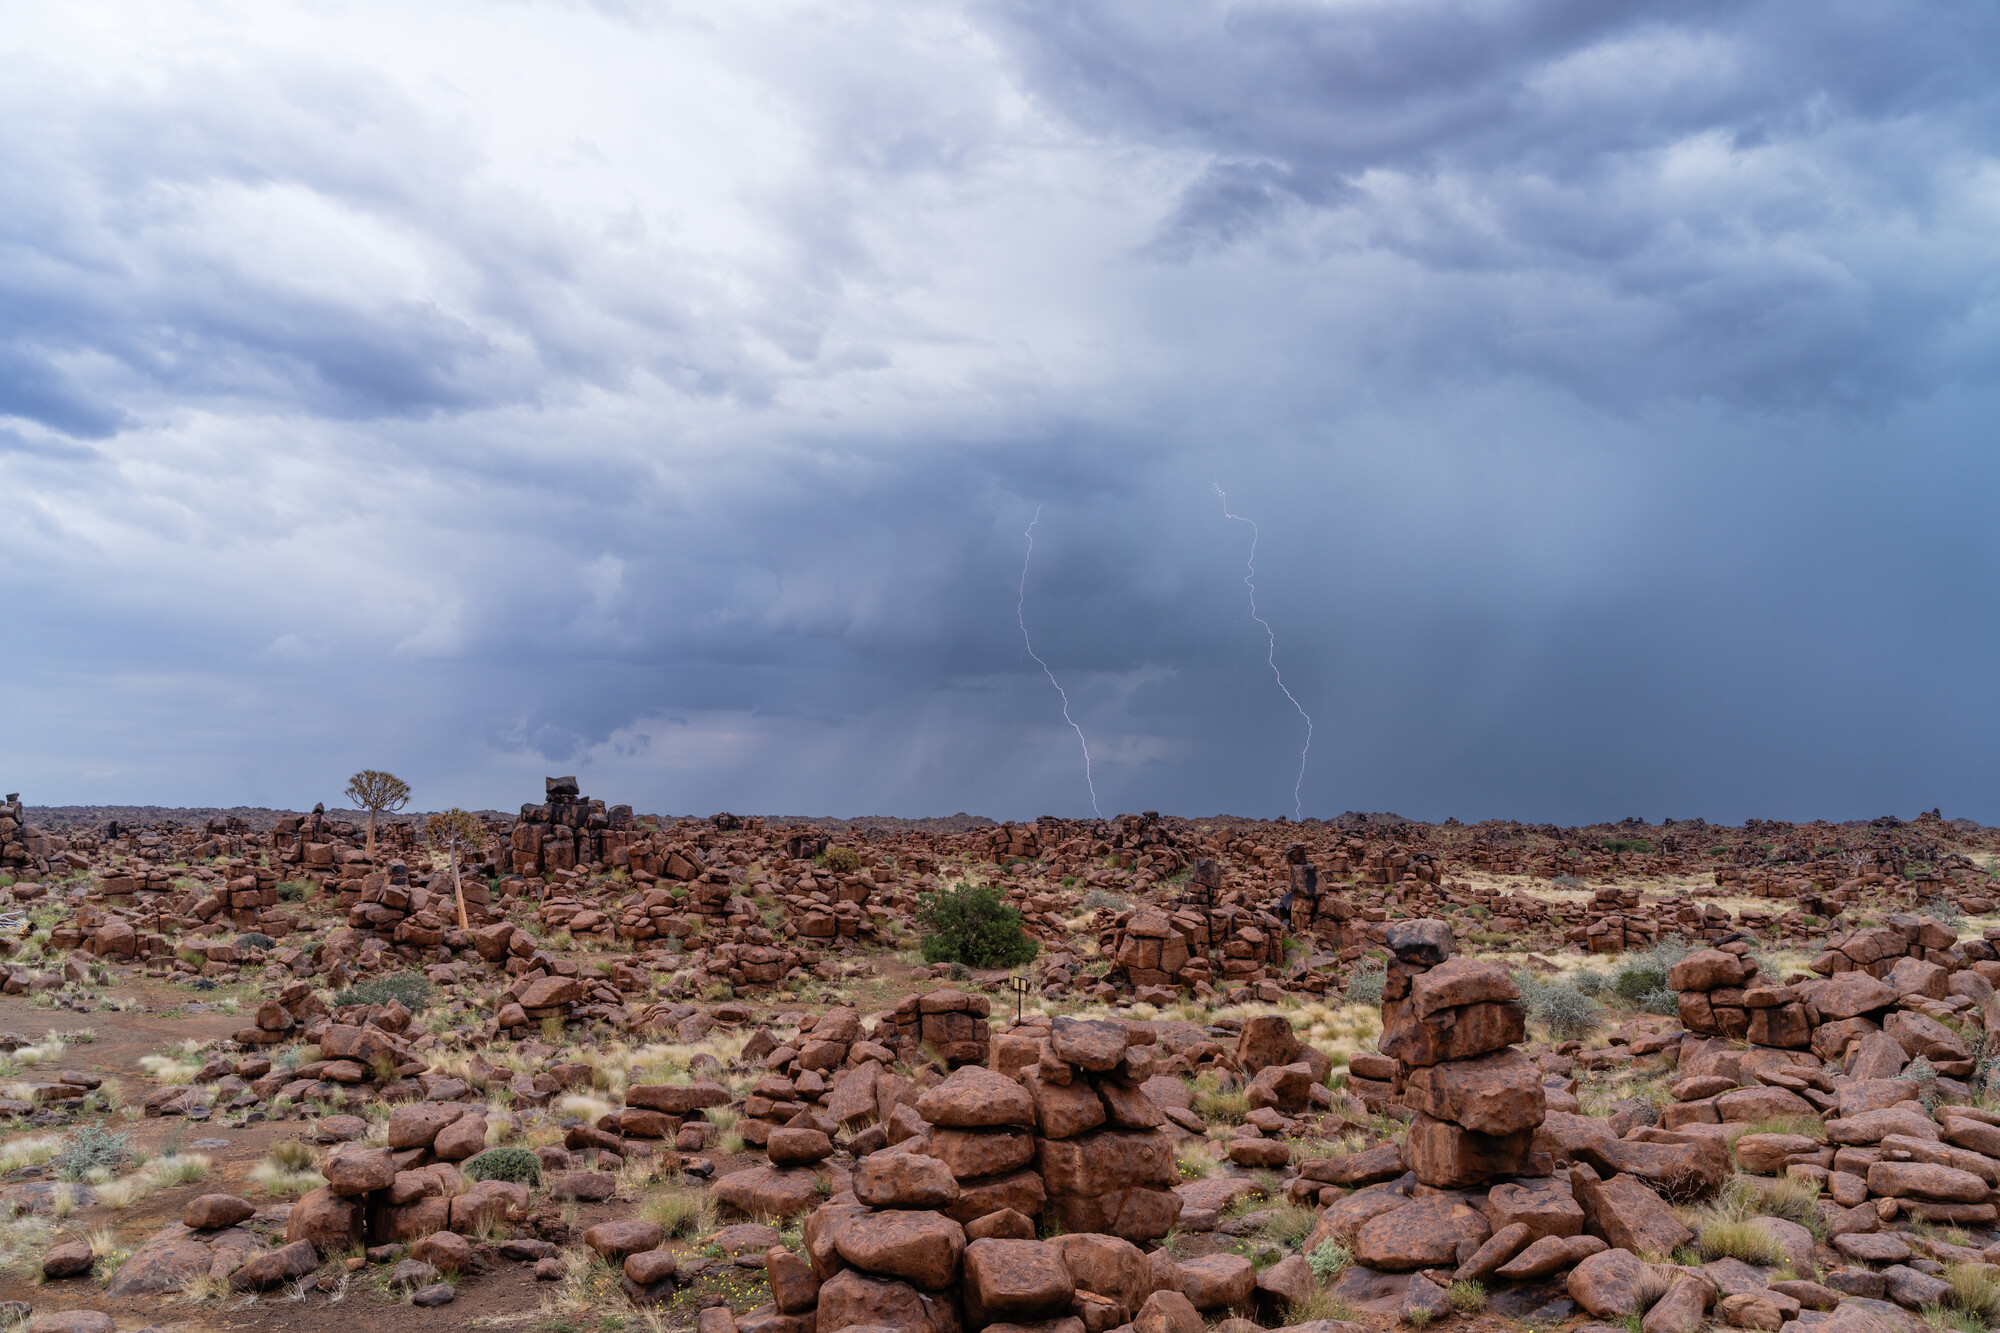
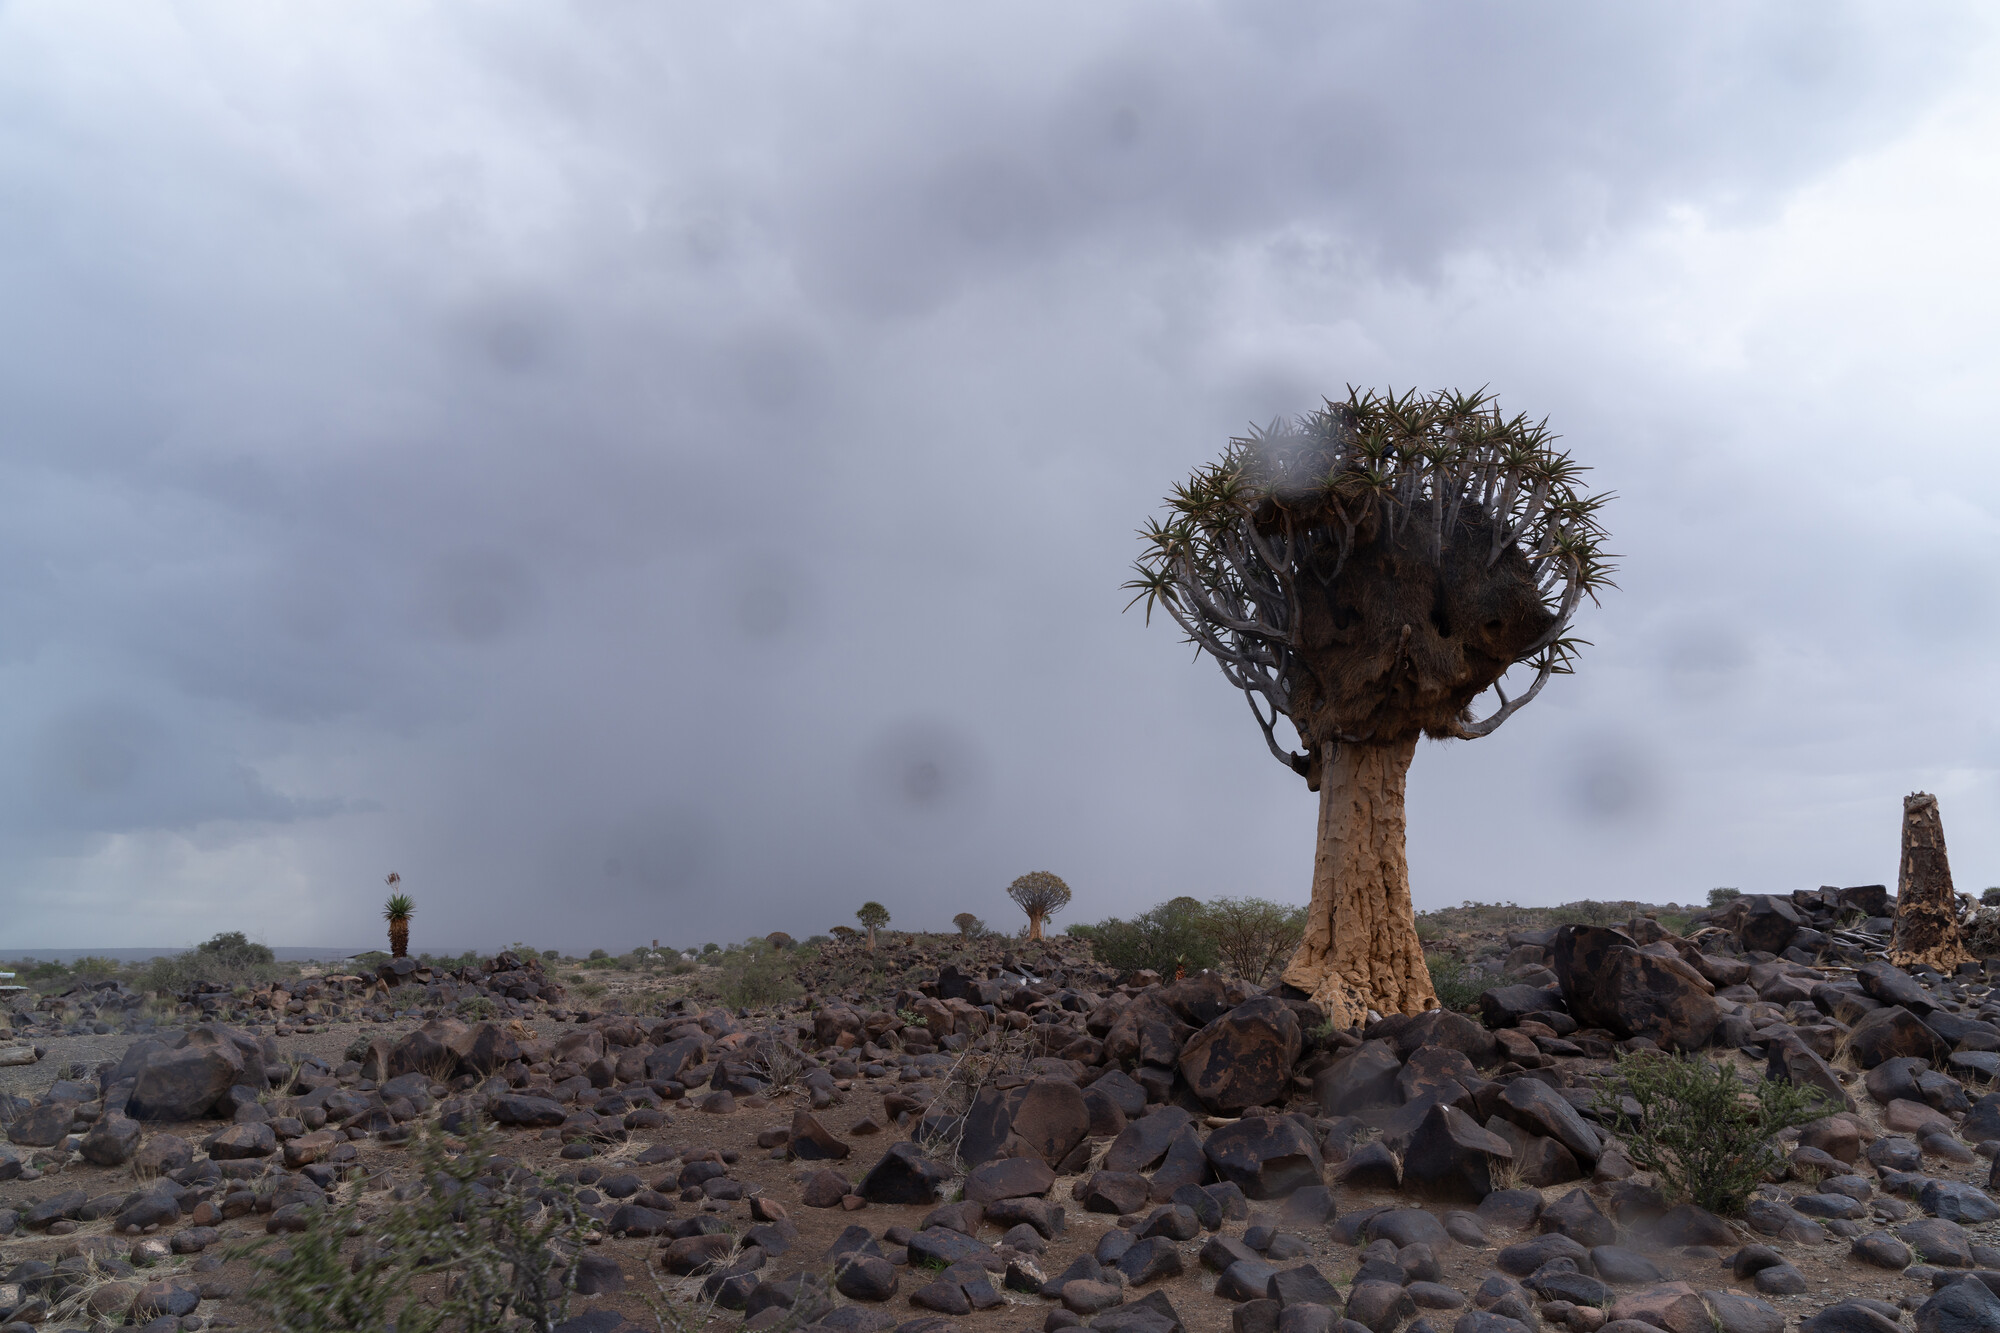
I was excited to capture thunderbolts over the quiver trees, but the rain took over the show. You can see the raindrops filling the lens' surface.
The next morning, I arrived at my location before sunrise and hoped for the light to cast its spell with some color over the forest. I had the following considerations:
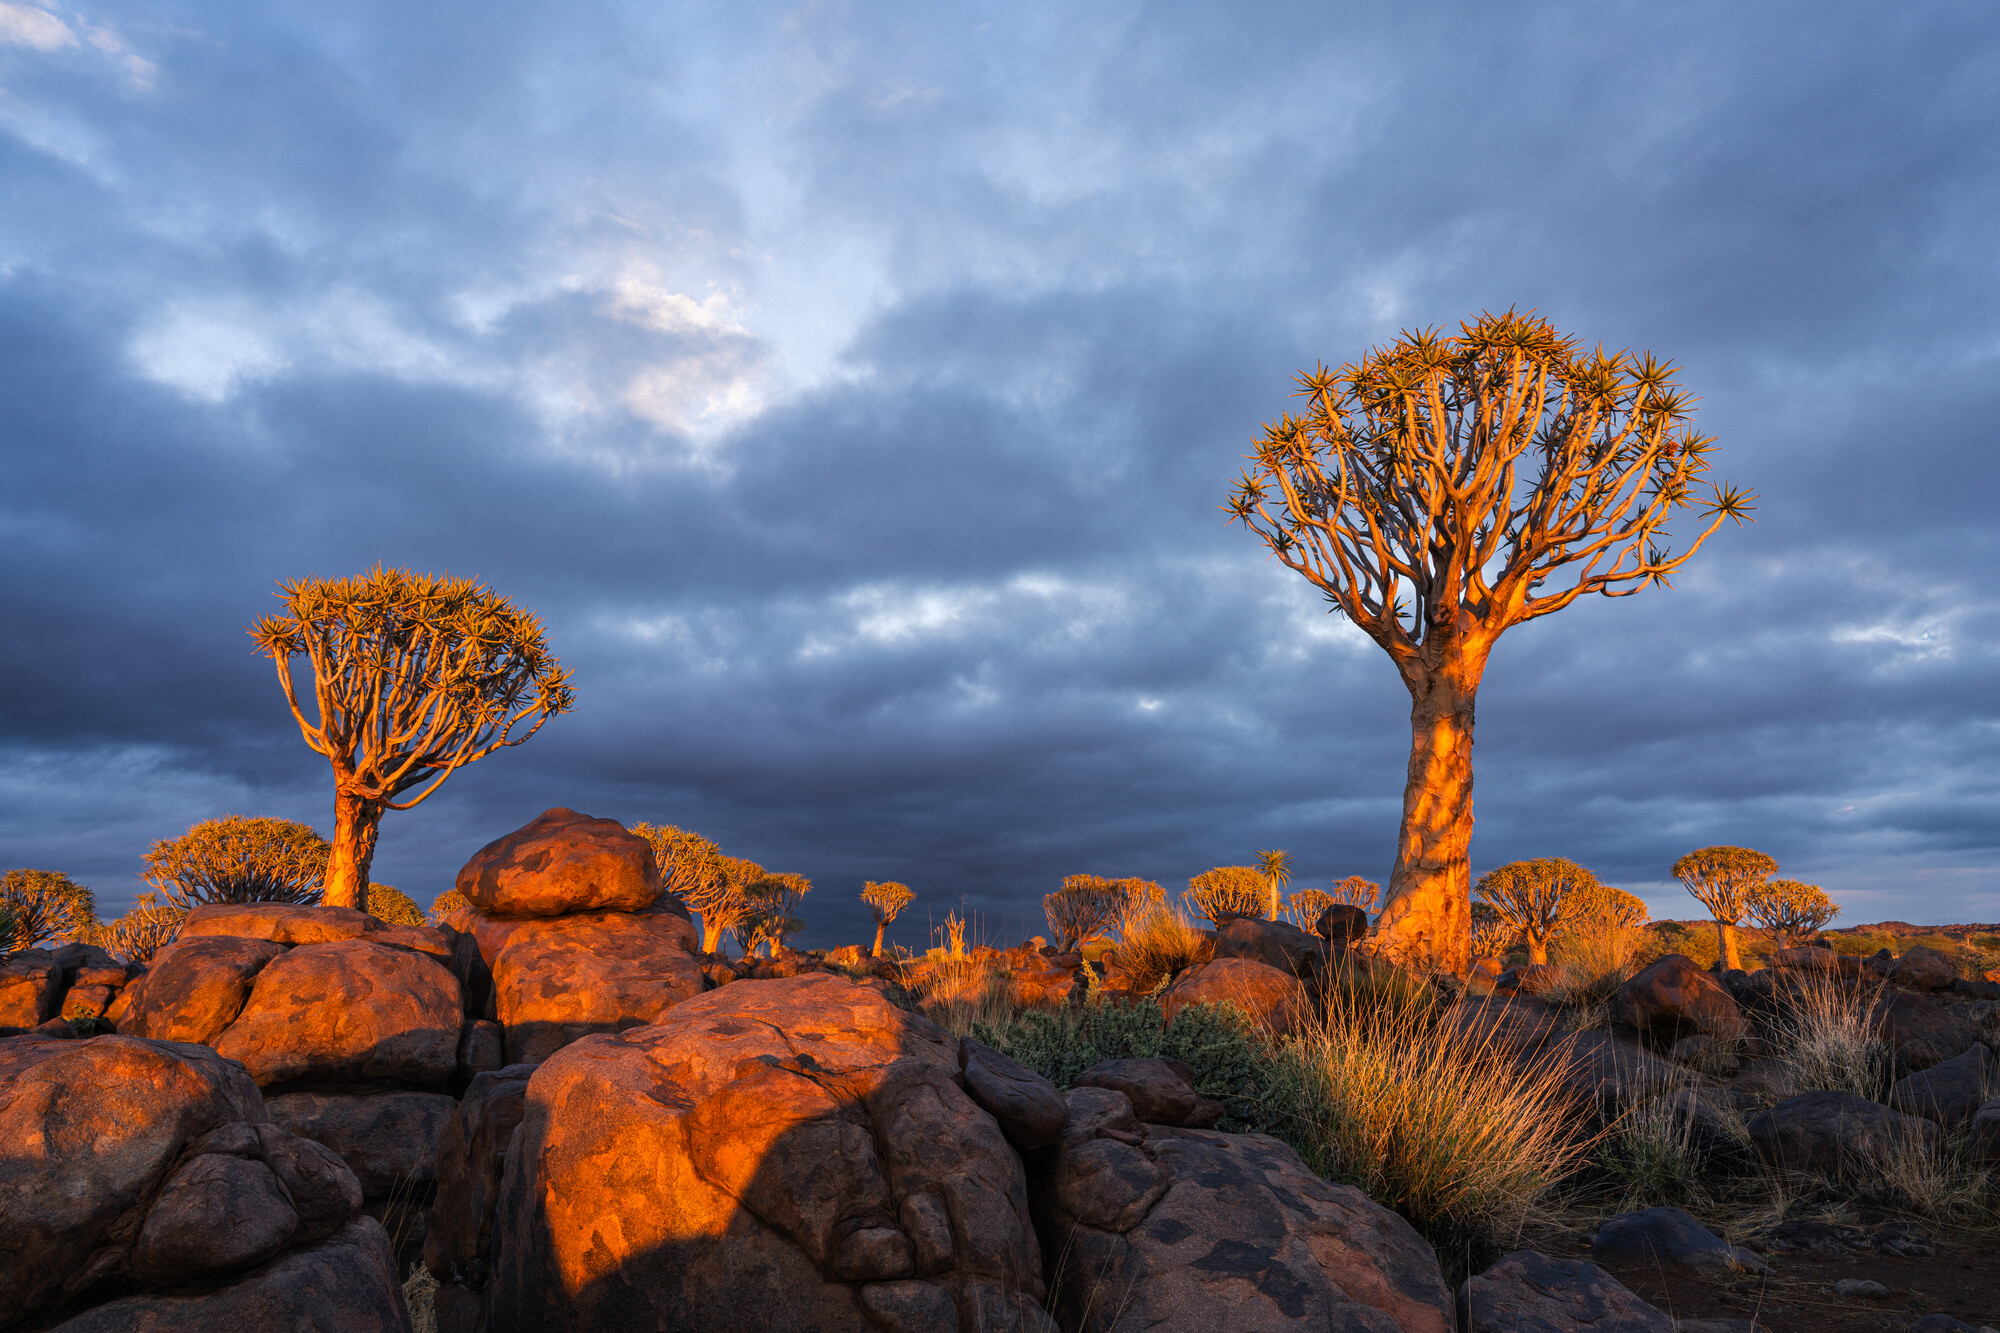
Subject: A giant prominent tree with the sun rising behind it.
Separation: Any forest or place with many rock formations is usually a gorgeous chaos that the eye admires, but careful separation of natural elements in the composition is essential. By this, I mean that the chosen tree had to stand out from the rest, and the trees on either side and in the background also had to not overlap. Also, remember that when you shoot toward the sun, the side of the subject toward the camera is in shadow; having another object behind your subject — for example, a boulder — will confuse the eye, as two dark objects will overlap with no clear separation.
The Angle: The forest is situated on mountainous terrain. To make the trees look tall and have a bright sky in the background, composing from a lower angle and tilting the camera slightly upward was the most suitable option. Otherwise, the trees' stems would have had a distant mountain showing behind them instead of a bright sky.
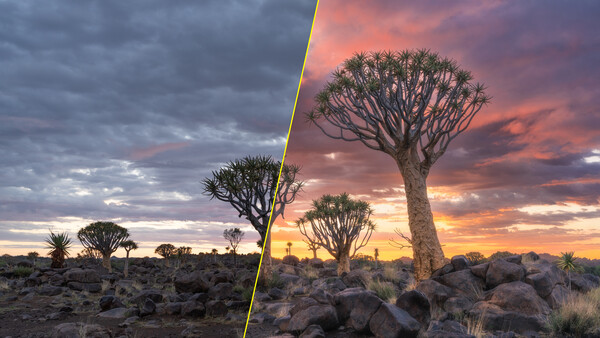
Considering the factors mentioned above, I took several test shots before settling on my final choice. All of this happened quickly as the sun was about to rise. Take a look at the raw, unedited test images below. Notice the angle and observe how the shadows overlap if no clear separation is made between the distant mountainous horizon, rocks, bushes, or trees.
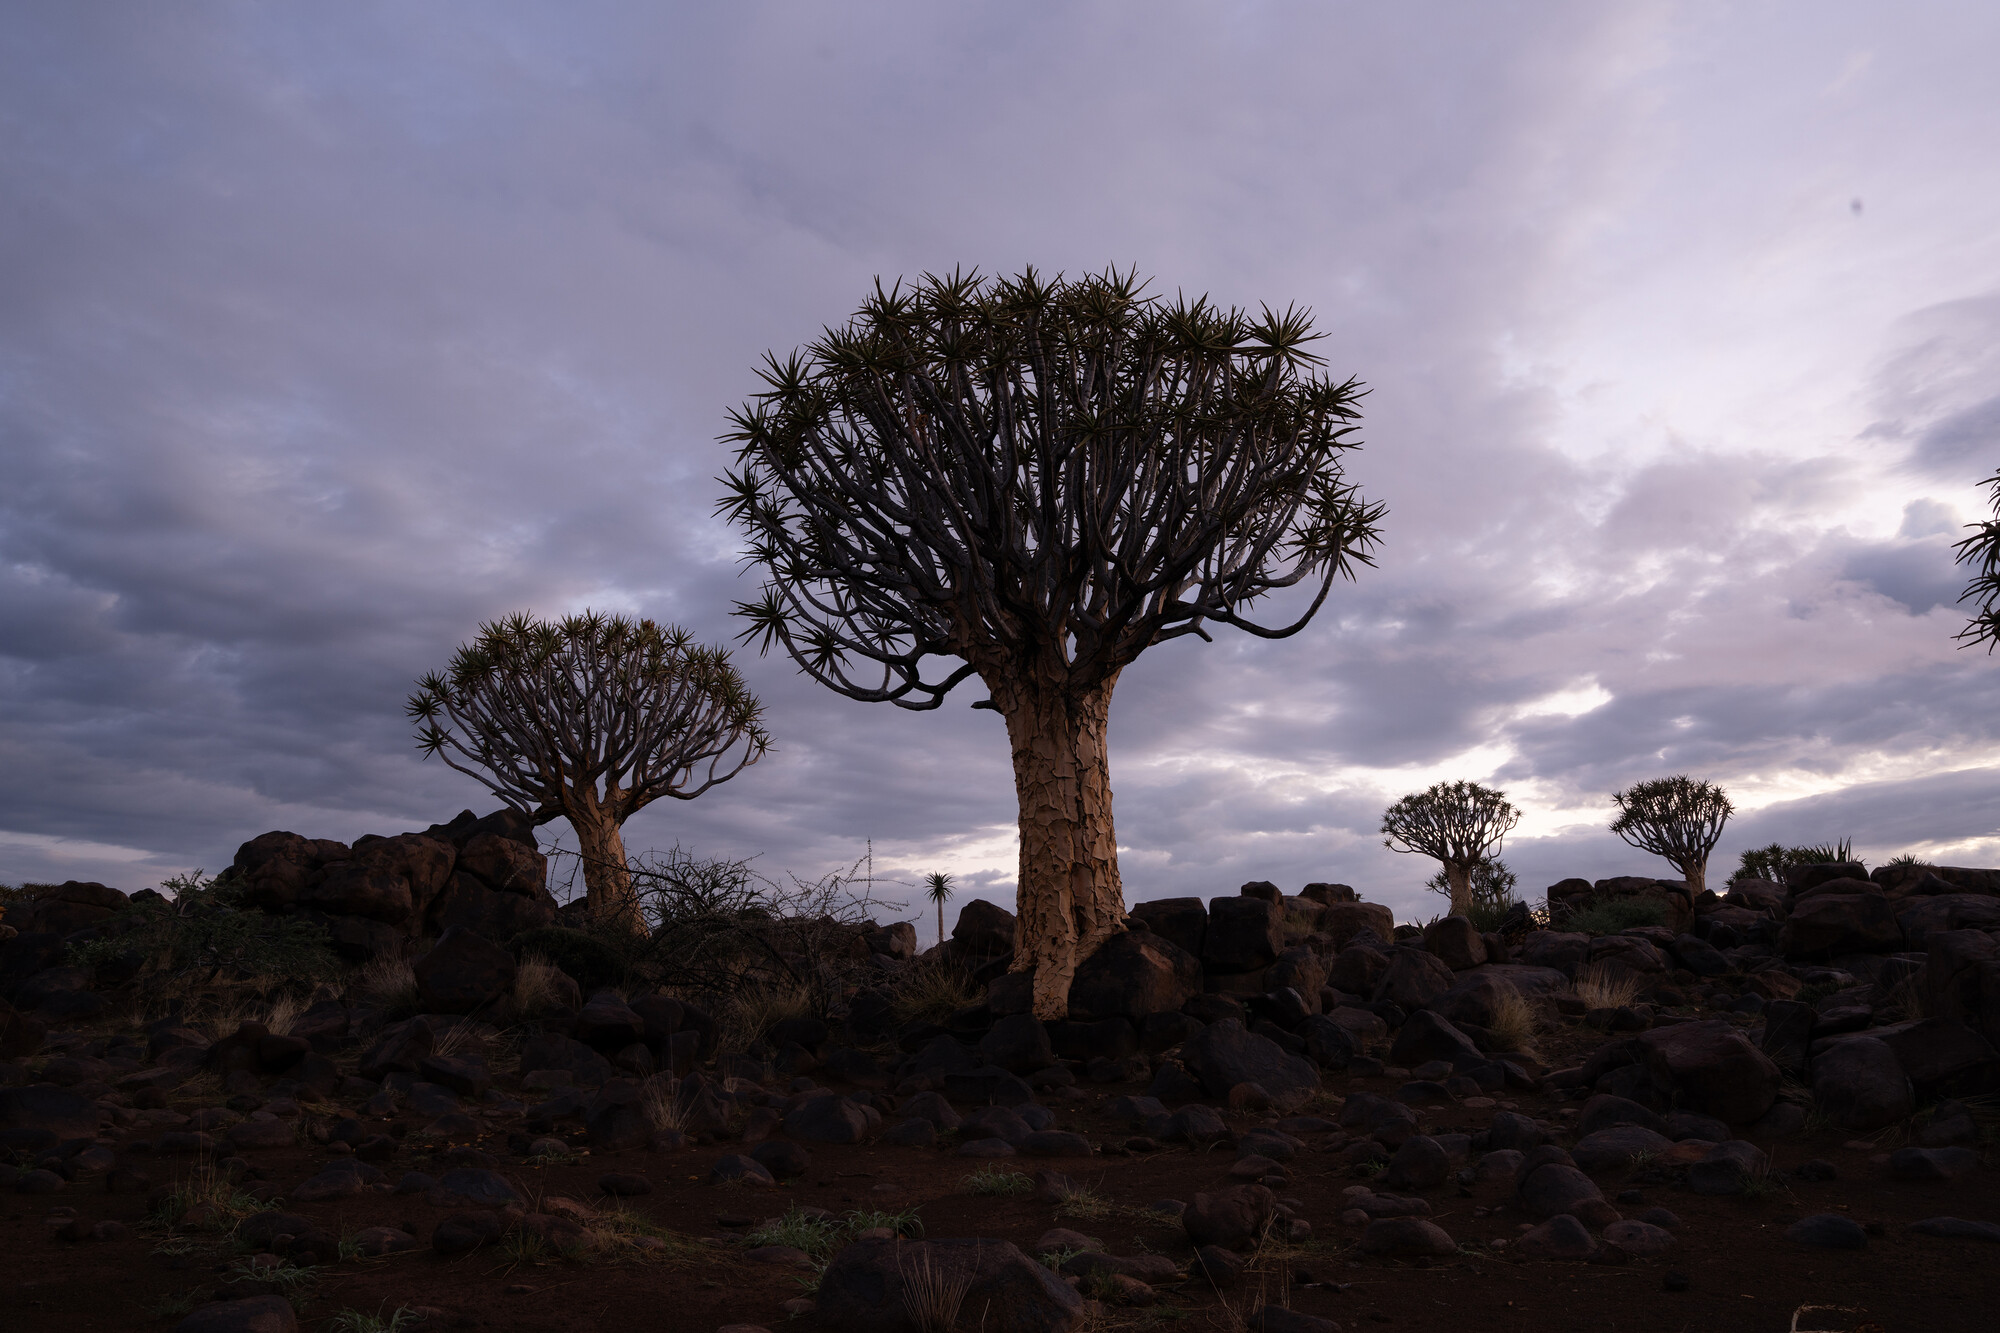
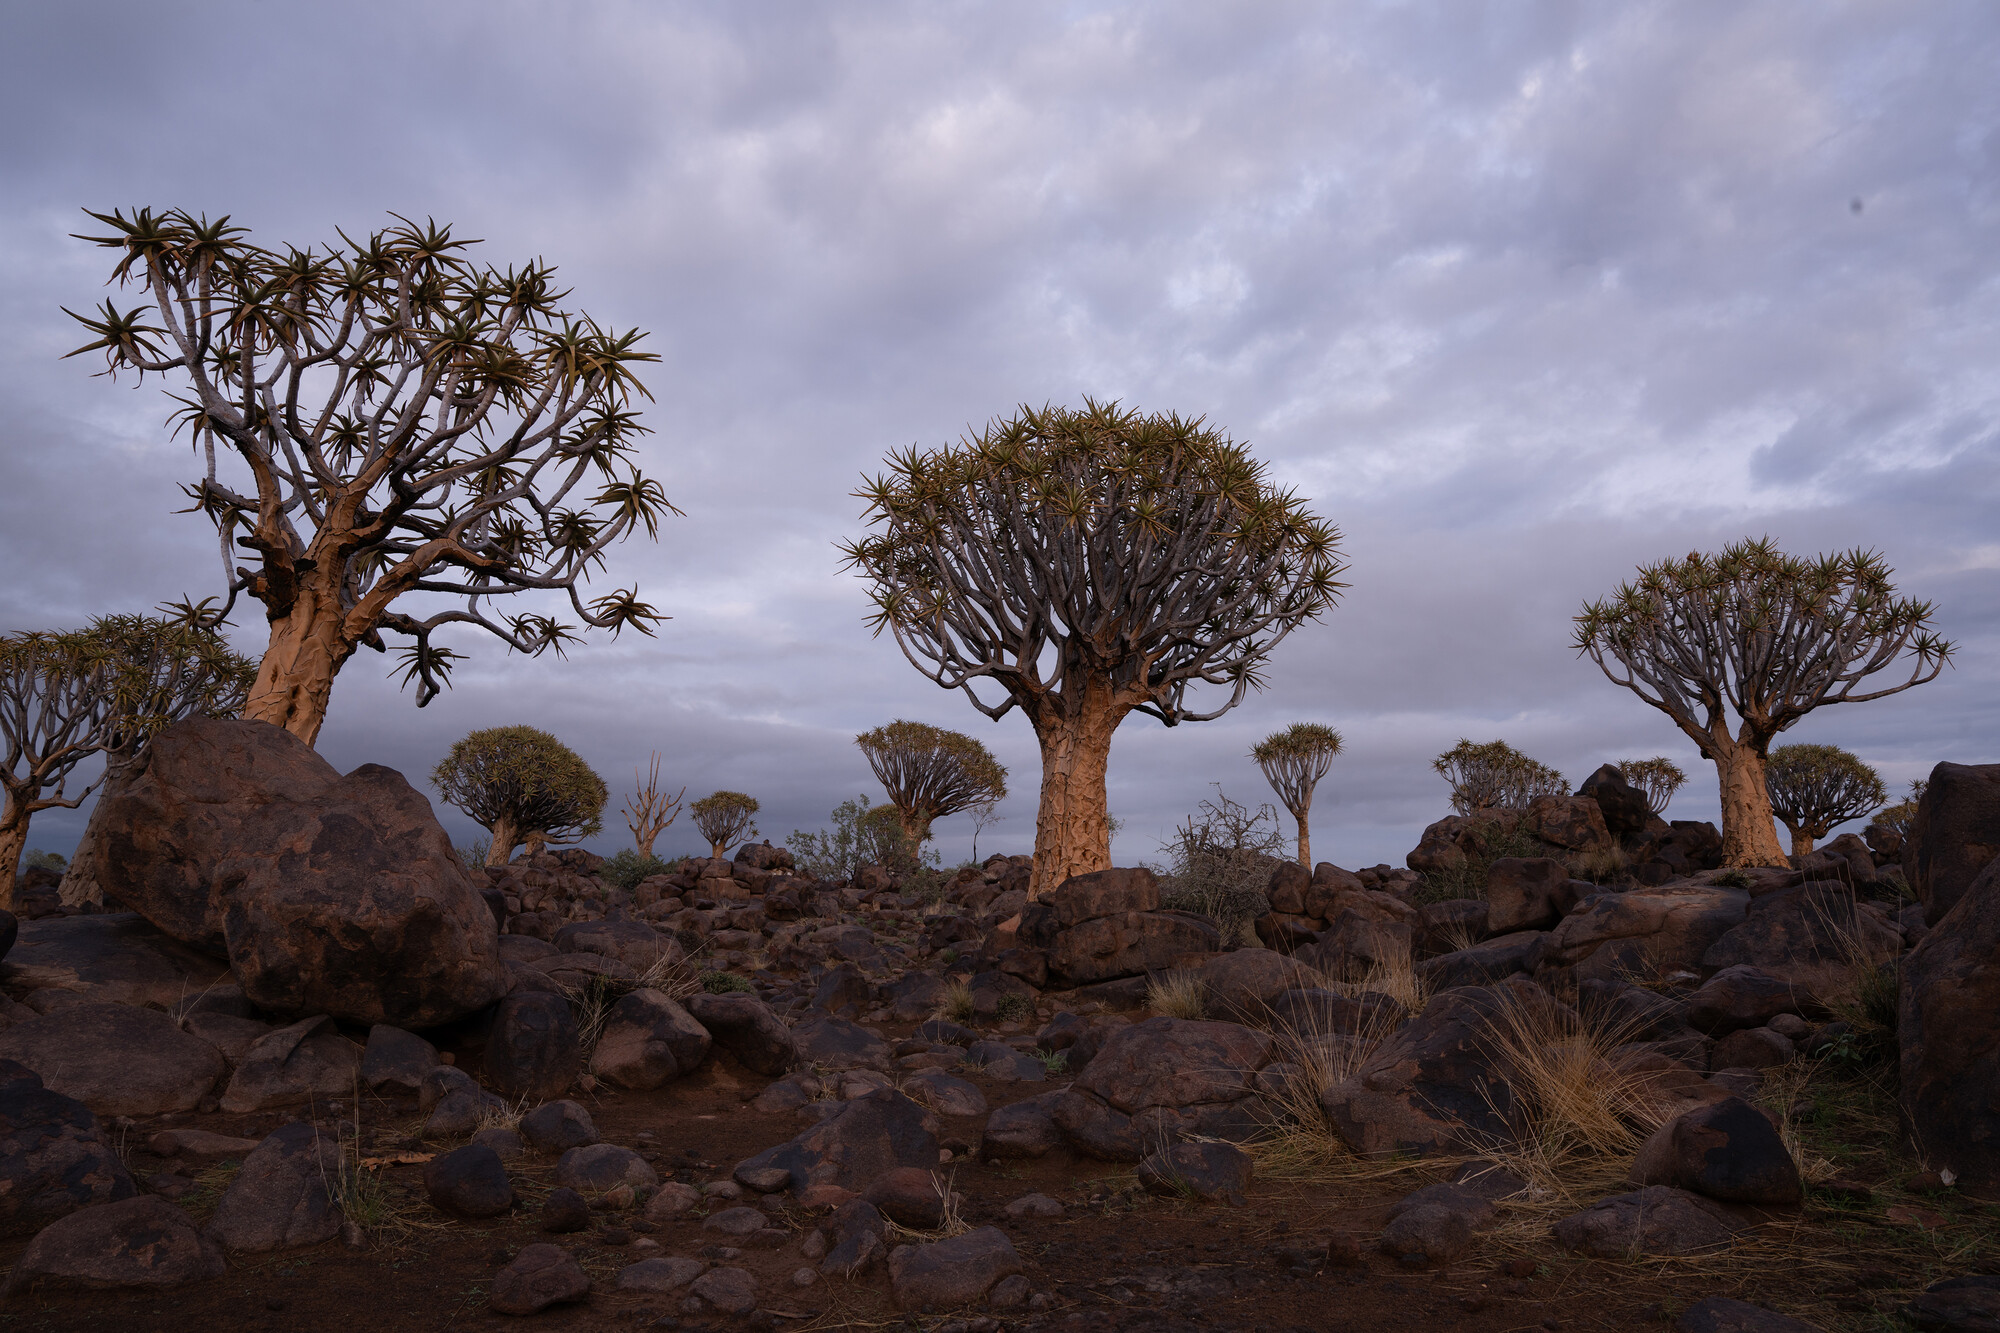
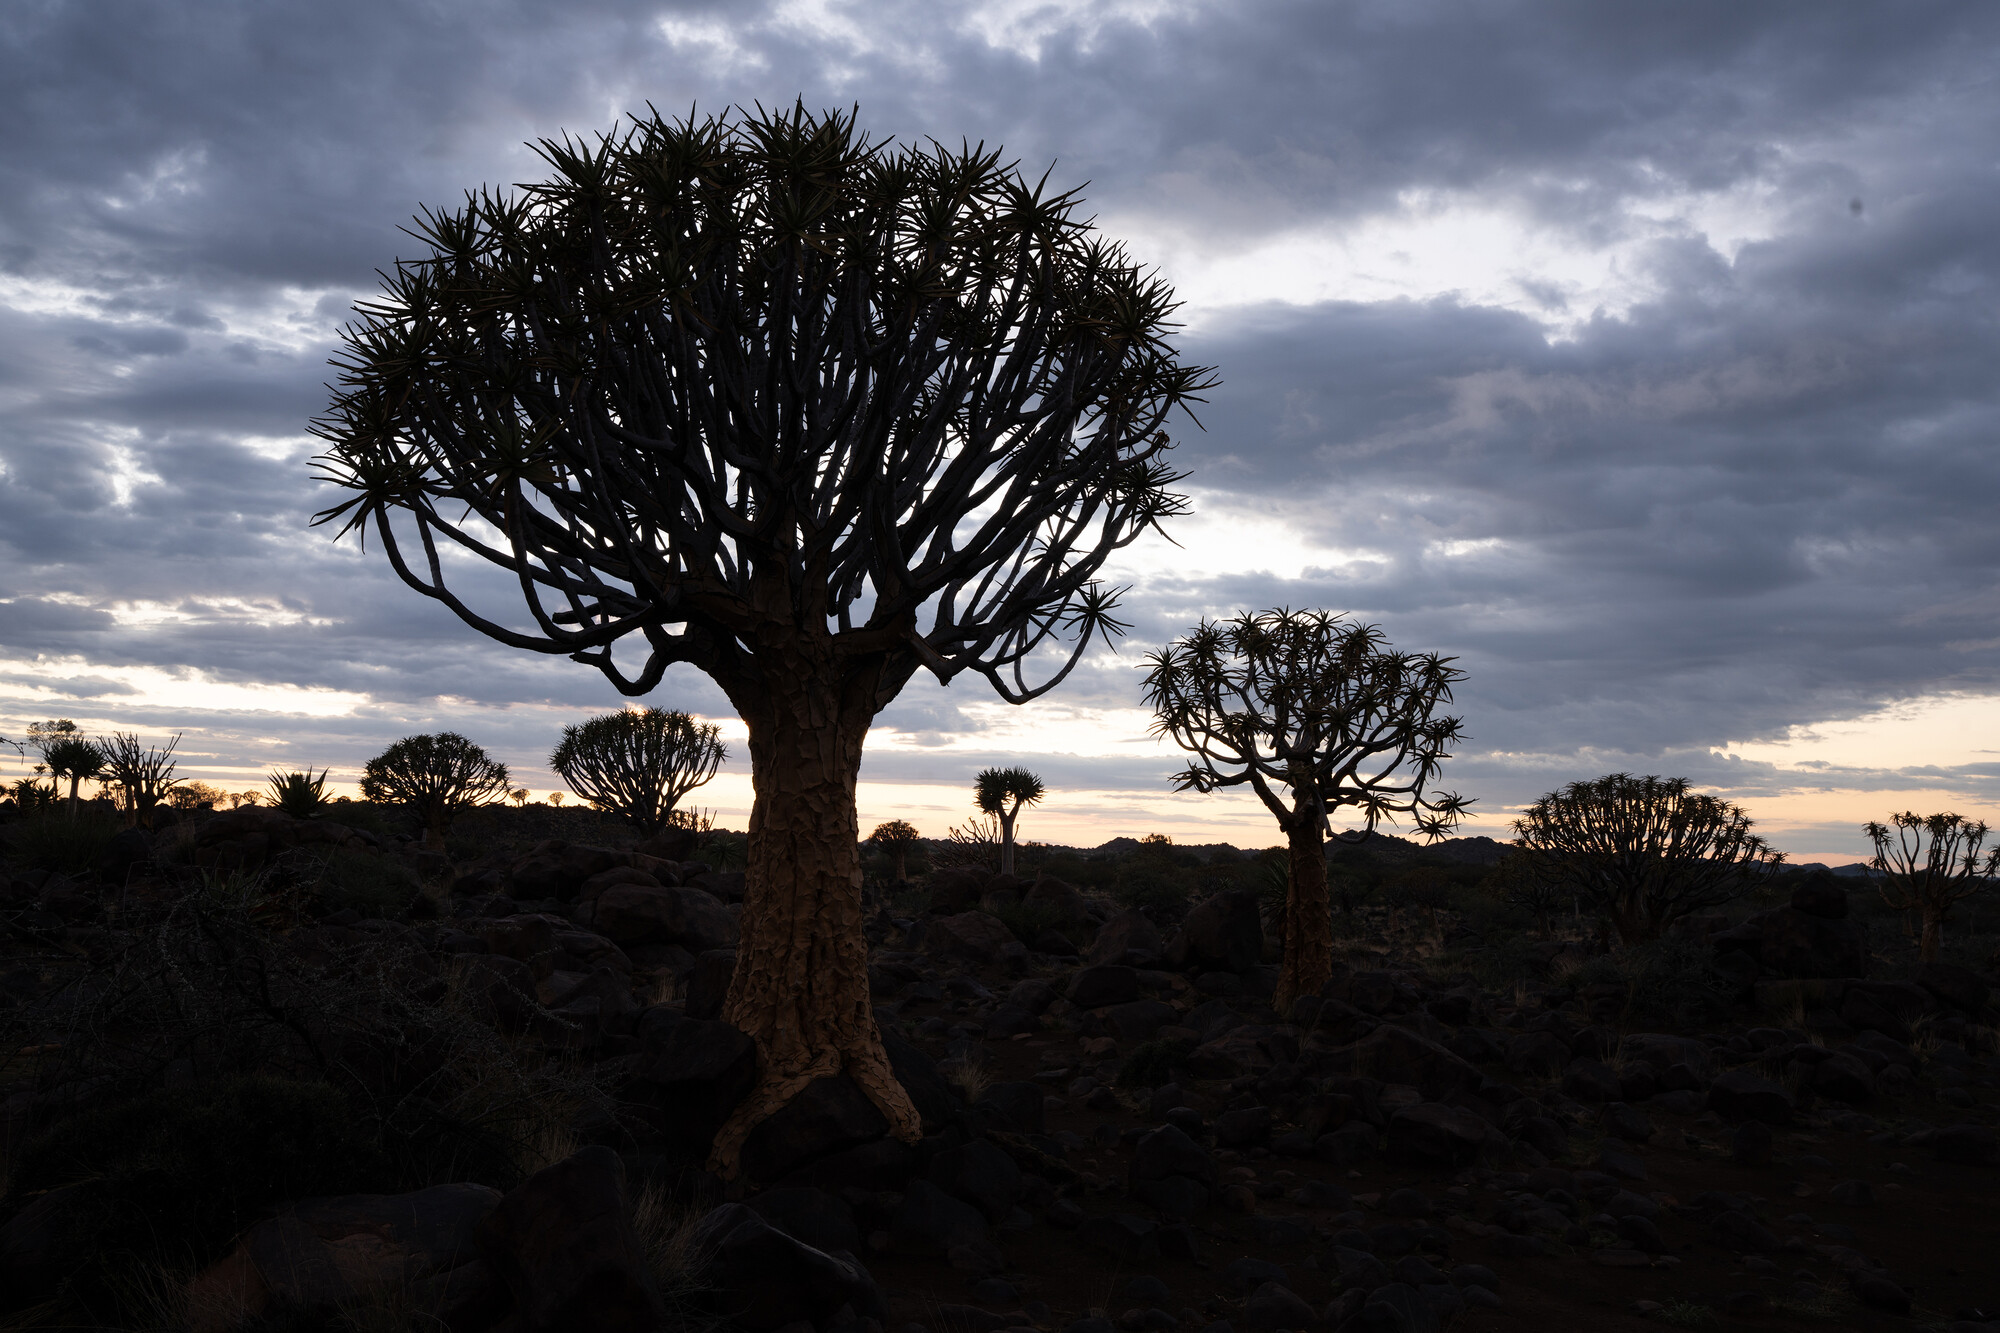
Before the Sunrise: Unedited Test Shots
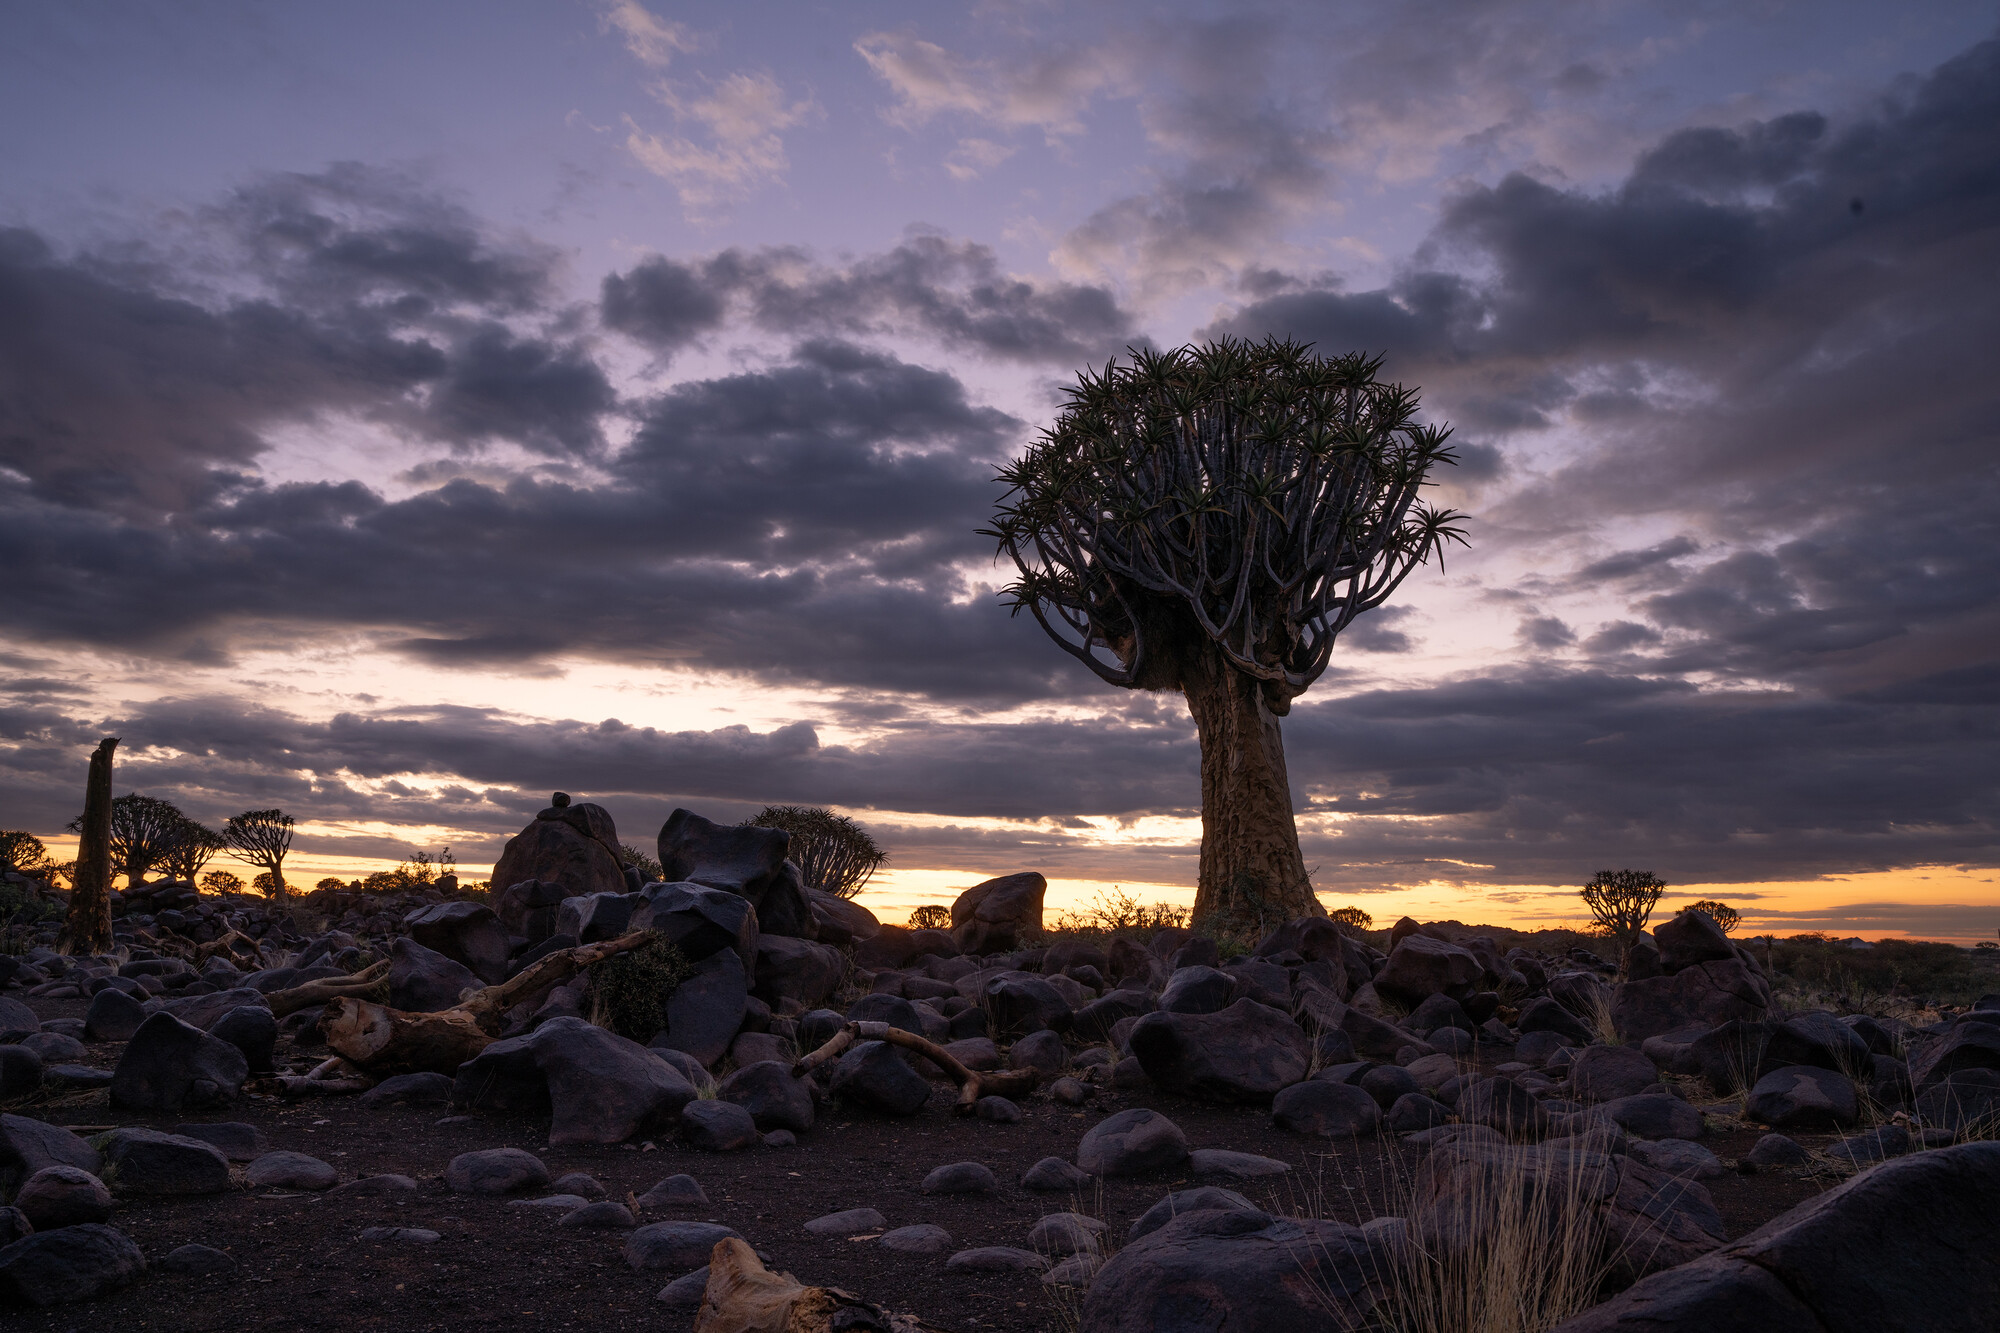
Sunrise: Light and Shadows
The sun lit the sky, creating a lovely, colorful background. When the difference between the bright background and the dark foreground is a few stops, keep an eye on the histogram. My preference is to expose for the highlights (i.e., the light) and ensure the histogram's graph does not clip on the right side. It is OK to have an image that looks a little underexposed. You can then lift the shadows from the dark areas in post-processing using software like Adobe Lightroom.
Keep Moving: After taking a few shots of the rising sun, checking the back of the LCD screen to see if the image is in focus and checking the histogram, you need to move and look around. Do not take the same shot over and over again; it will only capture the diminishing soft light.
I moved and realized that I could shoot the same tree from a different angle, but with a sunstar. The only mistake I made was shooting the image at f/22. The burst of sunrays is too big in the horizontal shot; shooting at an aperture of, say, f/16 would have also created a similar effect, but softer and smaller — lesson learned.
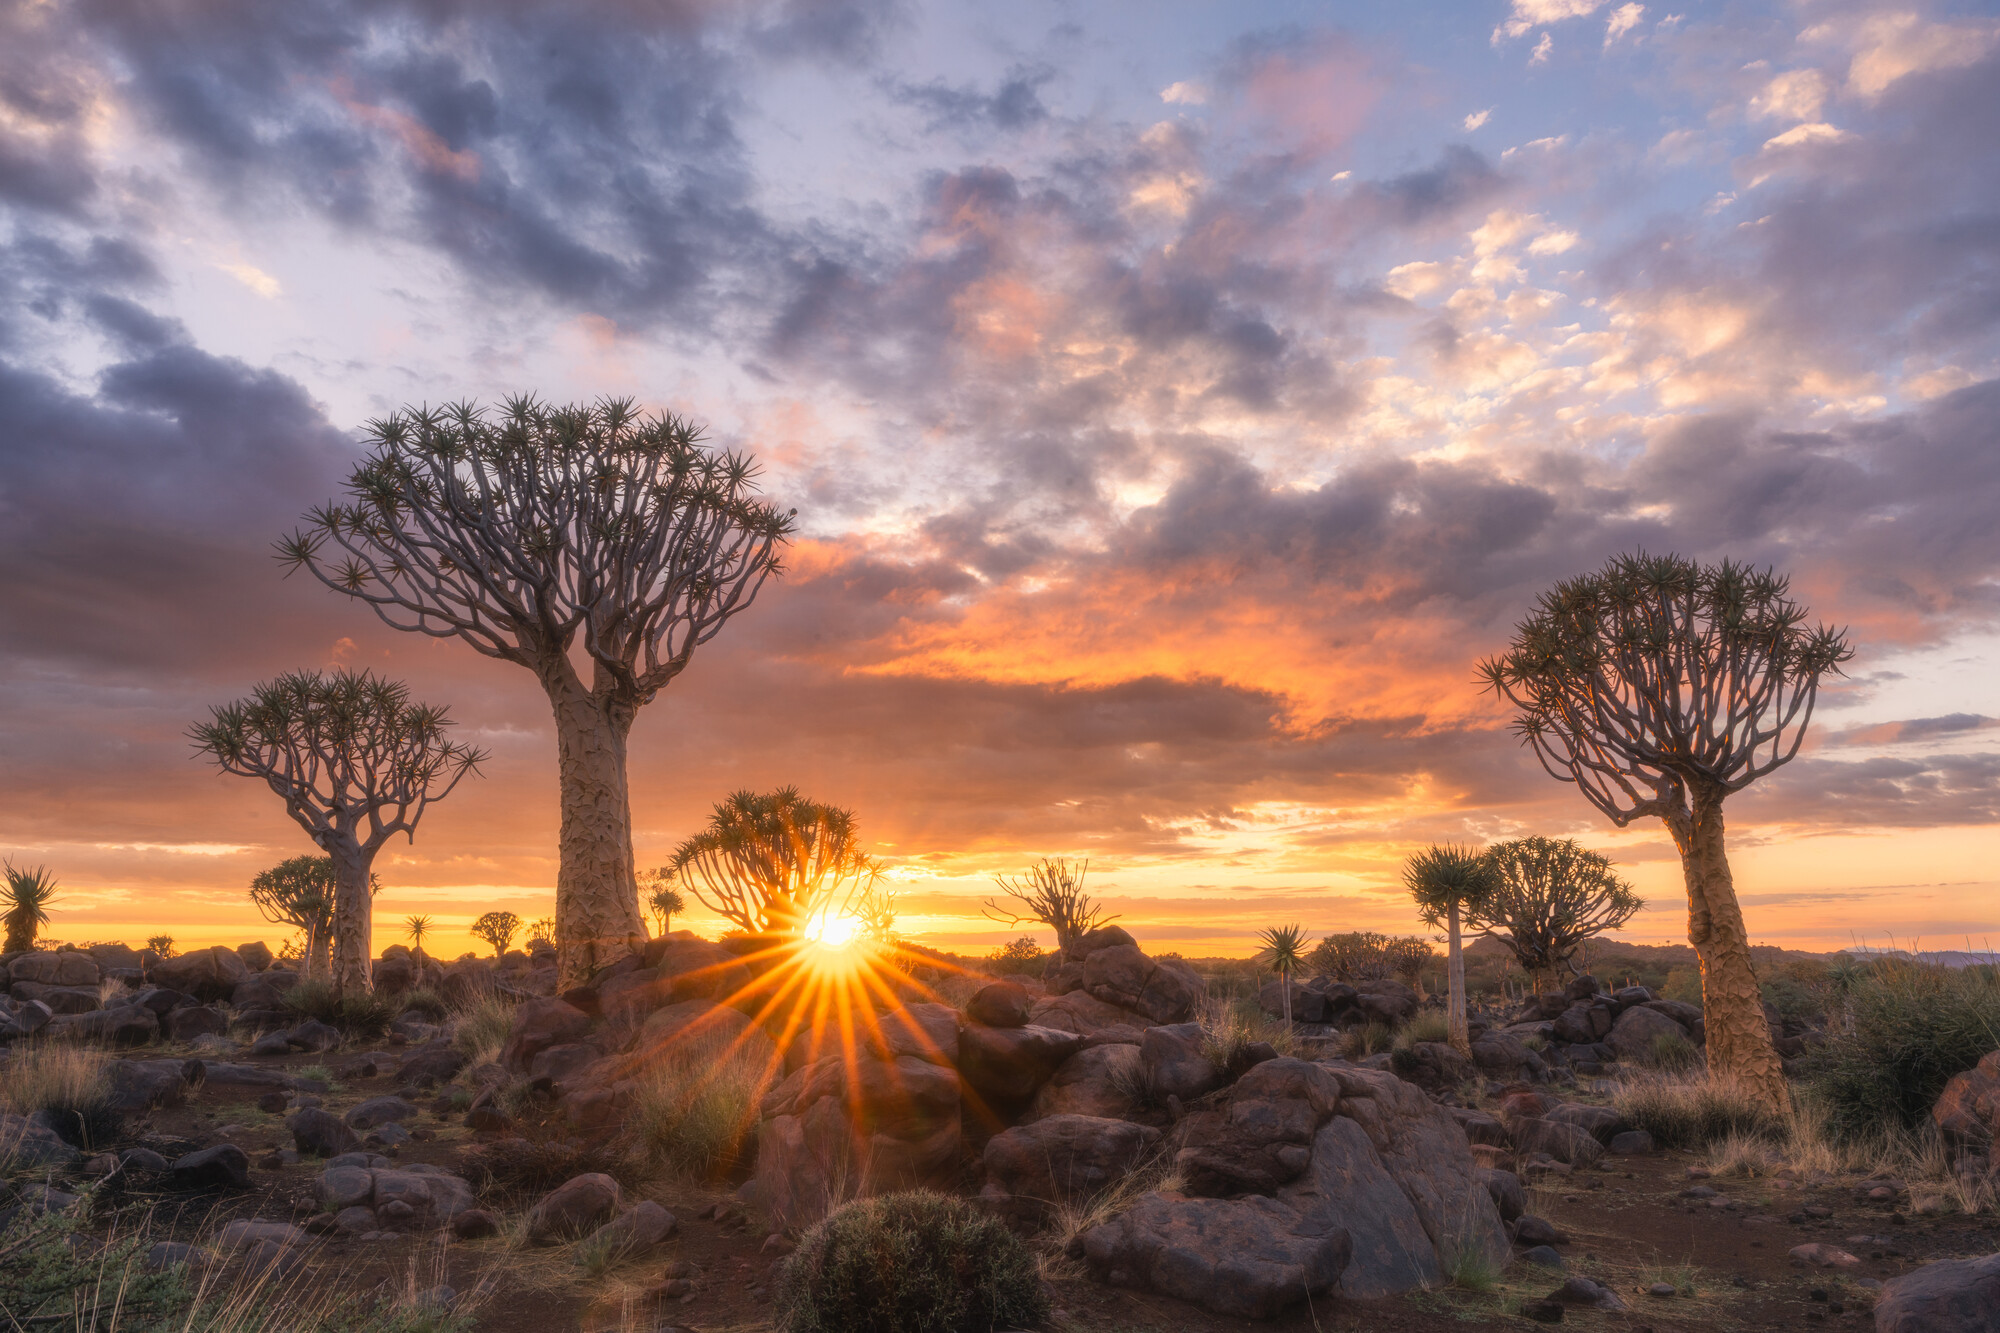
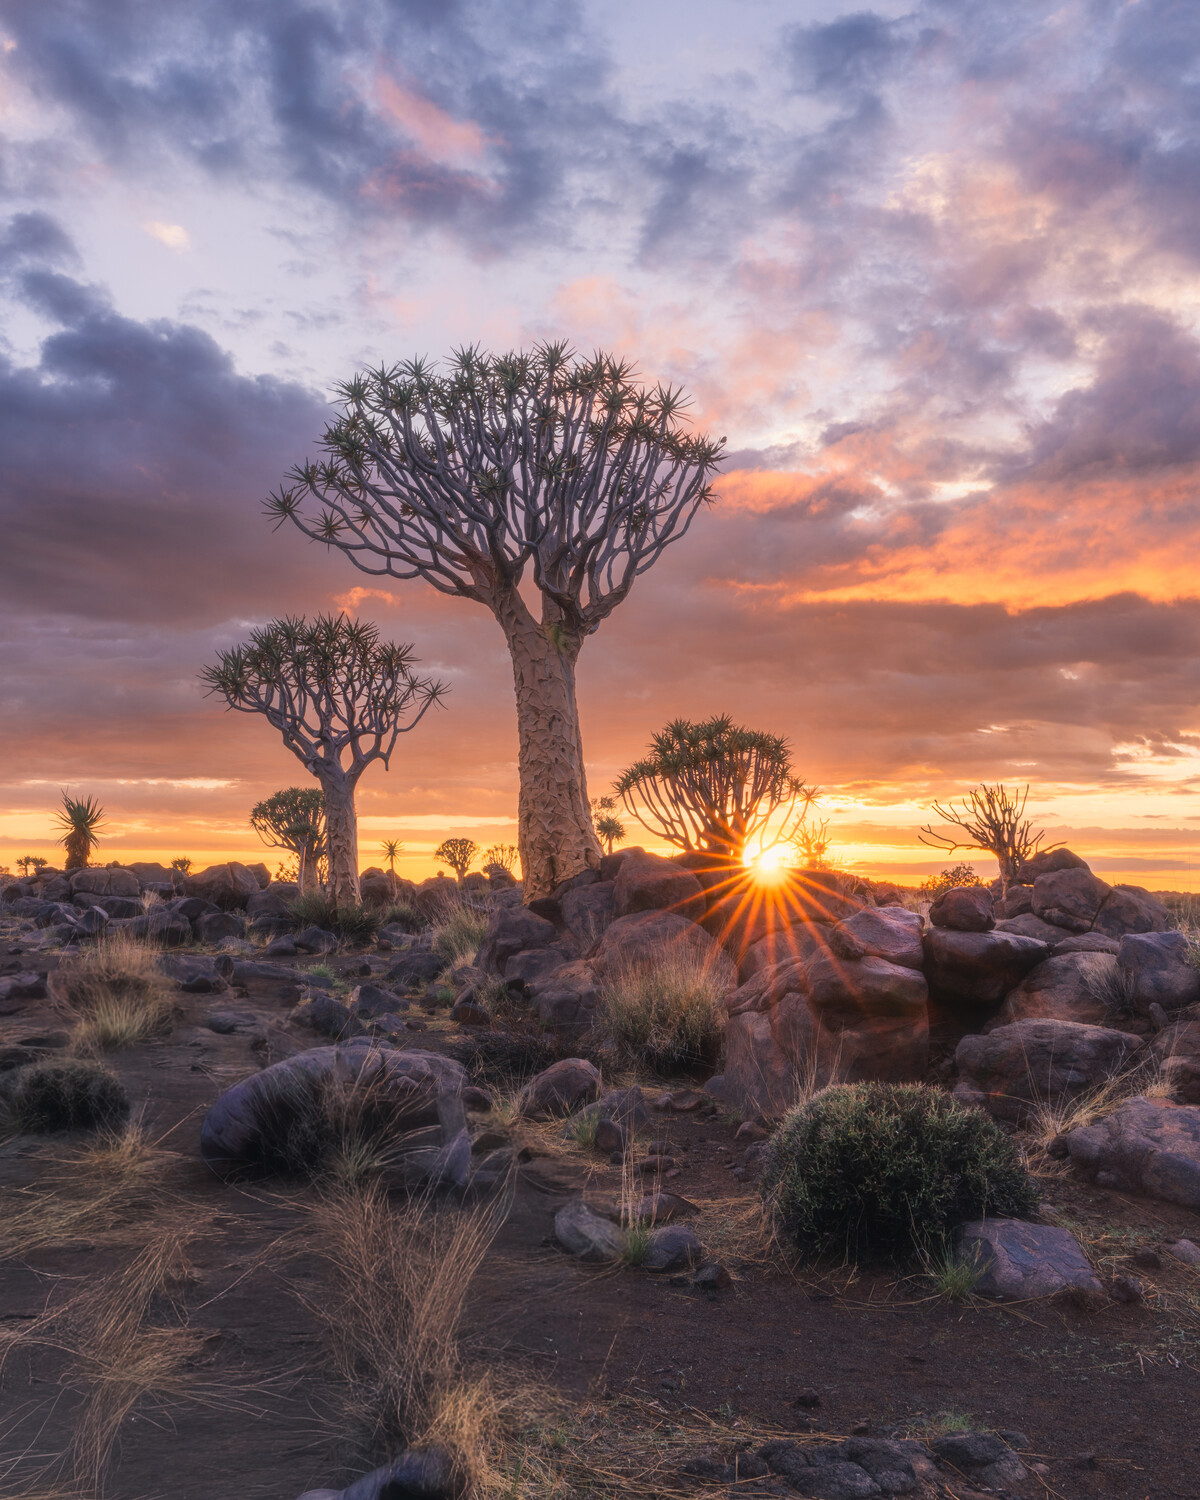
Sunstar captured at f/22. I wish I had shot it at f/16. Also, always take a vertical shot if possible for the magazines.
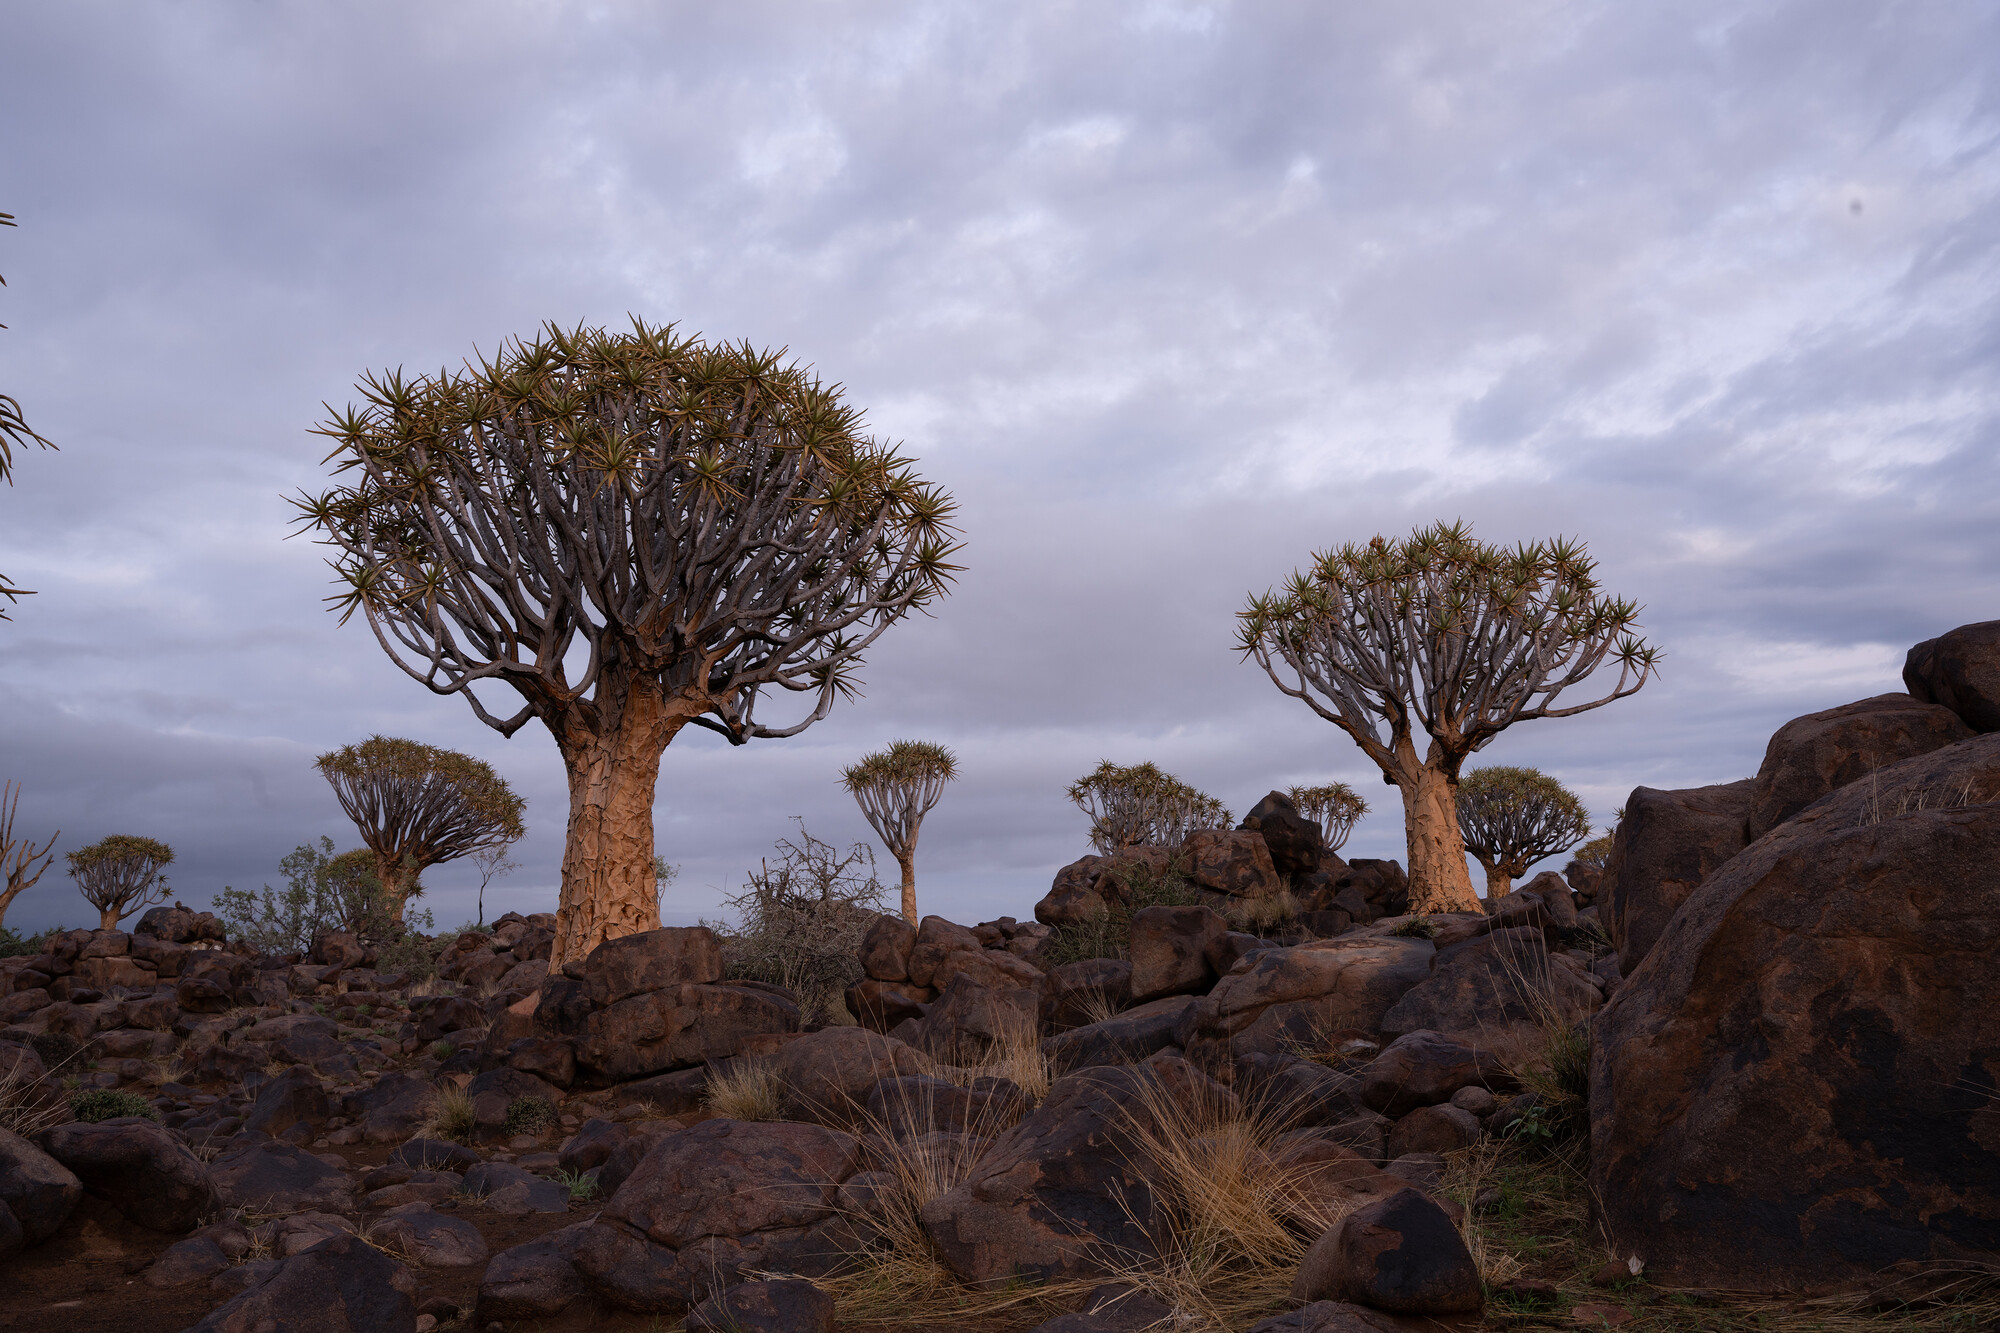
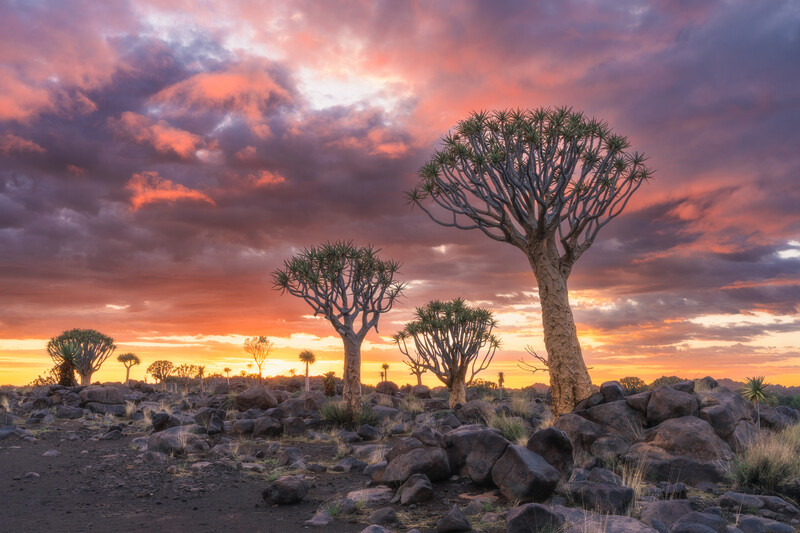
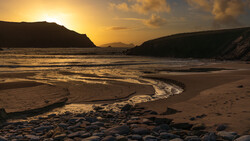
Shoot Where the Light Falls: Always remember to look behind you, and look for a composition. My favorite shot is actually the one below, where I photographed away from the rising sun.
The vibrant orange and yellow hues in the foreground, contrasted with a dramatic blue background filled with dense clouds, inspired me to include myself in the frame to capture the moment and remember it. The human element also helps illustrate the scale of these magnificent giants.
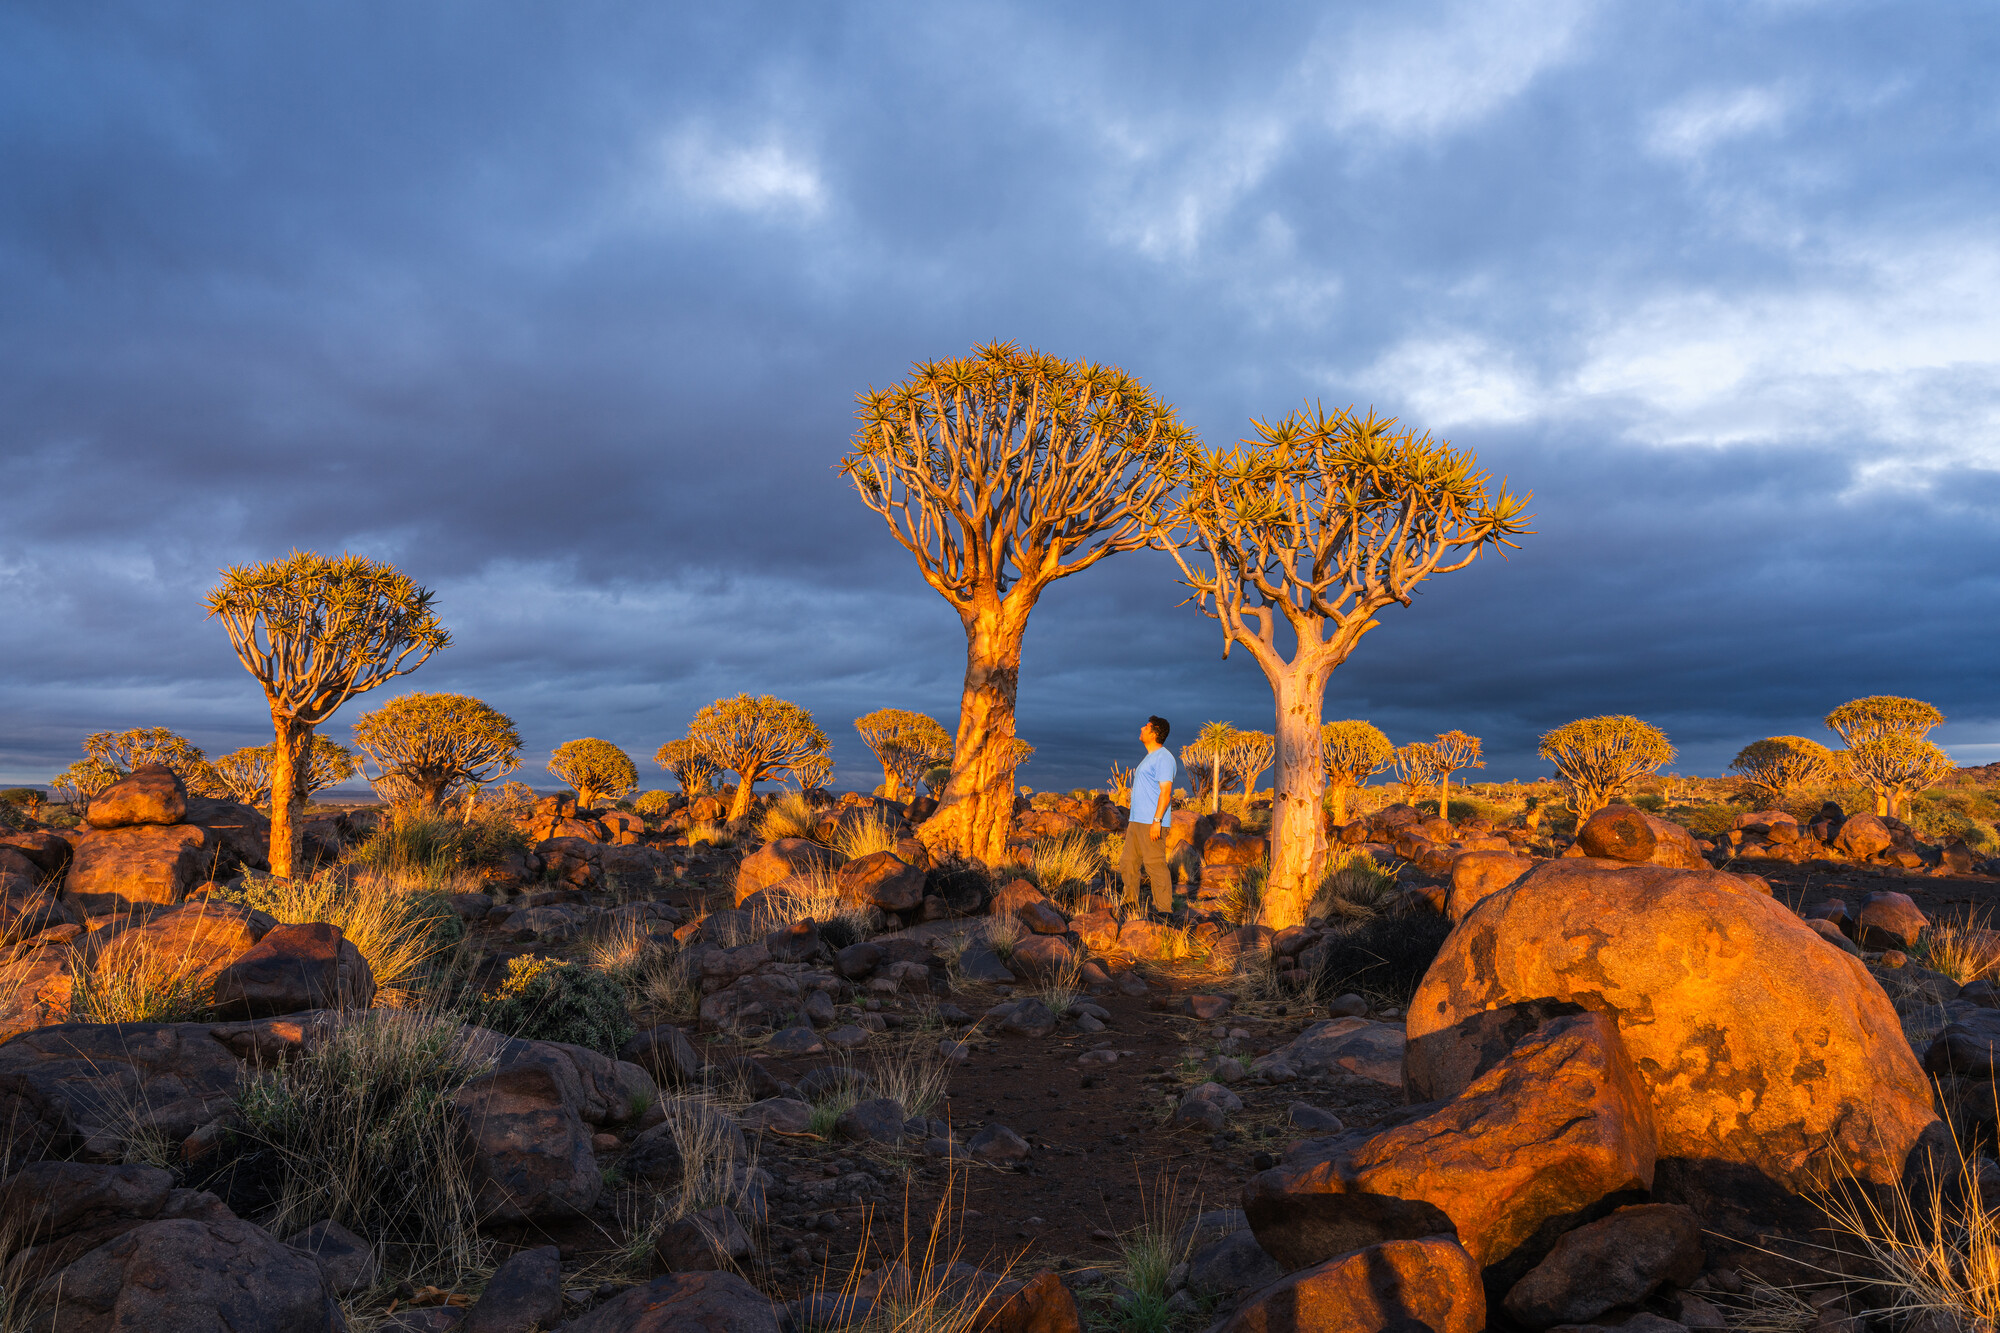
Shooting in the opposite direction of the rising sun. These are by far my favorite shots. The human element was added to show the true scale of the quiver trees.
Post-Processing
I used Adobe Lightroom to process all these images. I did the following:
- Selected the sky and foreground as separate layers.
- Shadows lifted from the foreground layer.
- Highlights adjusted in the sky layer.
- Used Tone Curve in each layer separately to add contrast.
- Kept an eye on the images as a whole to ensure that the two layers do not look unnatural.
- Selectively increased the color saturation using the Color Mixer.
- Found the images shot toward the sun to be too "crispy" in sharpness, so Orton effect was applied in Photoshop for soft focus and a little glow. The images shot away from the sun do not have Orton effect.
If you want to go deeper on Lightroom masking and tonal editing, Mastering Adobe Lightroom: How to Use Lightroom covers the full workflow in detail.
Final Remarks
Everything in landscape photography — planning, scouting, and shooting — hinges on one crucial element: the quality of light. The atmosphere created by natural light significantly affects the final results. I cannot stress the importance of practicing your landscape photography skills enough; it is the only way to make mistakes, learn from them, and ensure you are ready to seize opportunities when they arise. For a comprehensive look at shooting and editing dramatic landscapes, Photographing the World: Landscape Photography and Post-Processing is an outstanding resource.


Join the Fstoppers community for free
-
Post comments and join in the discussions
-
Browse the site ad-free
-
Share your work and get featured in the community
-
Compete in the photo contests for fun and prizes
No comments yet