
A little earlier this month we published a review of ACDSee Pro for iOS. Some people seem not to understand fully the purpose of being able to edit pictures on a smartphone, so to make it clearer, I decided to follow up with a tutorial. The goal is to show you the possibilities offered by ACDSee Pro but also give you some ideas on how to use such an app while on the go.
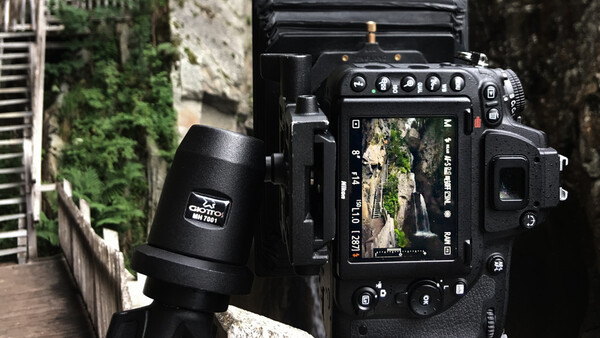
While editing on a smartphone or tablet is nowhere near as precise on a computer, it’s getting close. Photographers better get used to it now rather than too late in a few years, or perhaps even just months. ACDSee Pro for iOS is one of the apps that deserves some attention due to its wide panel of features and its advanced functionalities. From local adjustments to skin tune and various filters, almost everyone will find what they need. But enough chit-chat, let’s get into the editing in itself. I went out the other day and took a few pictures using my Nikon D750, a 24 mm f/1.8, and a few ND filters.
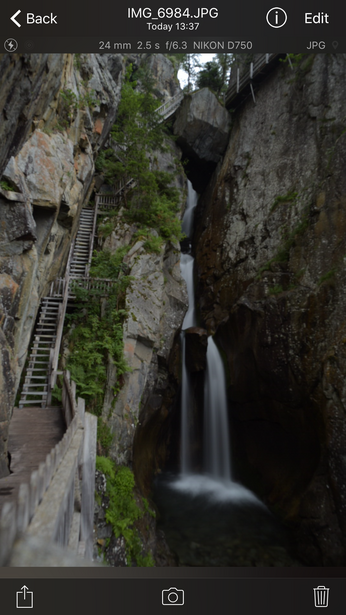
When I shoot portraits in studio or outdoors, I like to take my time and edit in front of my computer to refine skin texture, colors, and tones. However, when shooting landscape, it’s usually to share it with my followers on Instagram and let them know where I am. It makes my Instagram story much more attractive. Thus, having an app to edit on the go my pictures is a huge advantage to make my picture look as beautiful as possible. Using the WiFi feature of my Nikon D750, I can just transfer my files over to my iPhone and start editing right away.
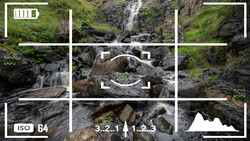
For those who don’t have a Wi-Fi-capable camera, the camera feature of ACDSee Pro is also incredibly powerful! It won’t match the functionality and settings of your DSLR, but it can save you! It’s much better than the default camera app anyway.
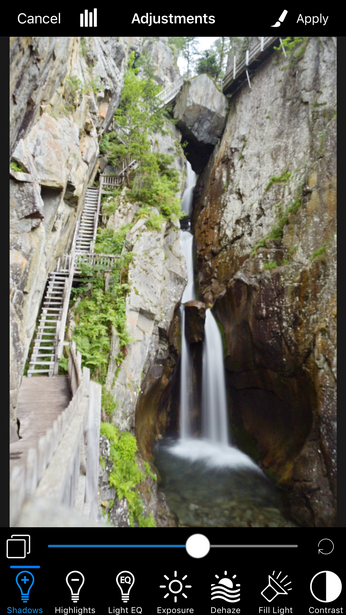
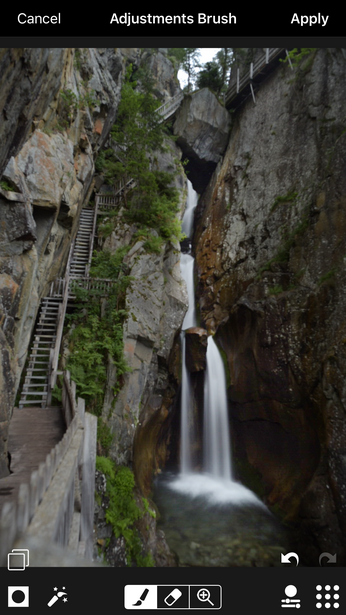
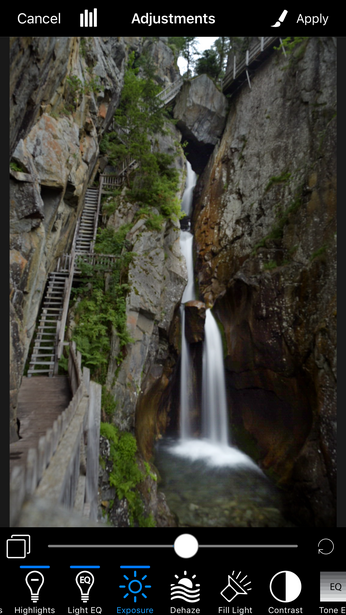
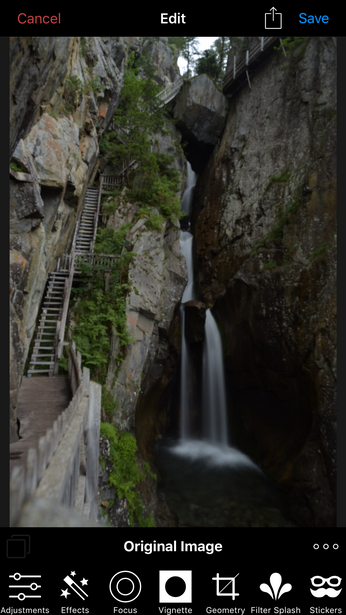
Once in the app, adjustments are very intuitive. Each logo makes very clear what should be used for what purpose. For this edit, I went pretty much in the order the functionalities are listed and then made a few tweaks at the end. I started out by bringing up the shadows.
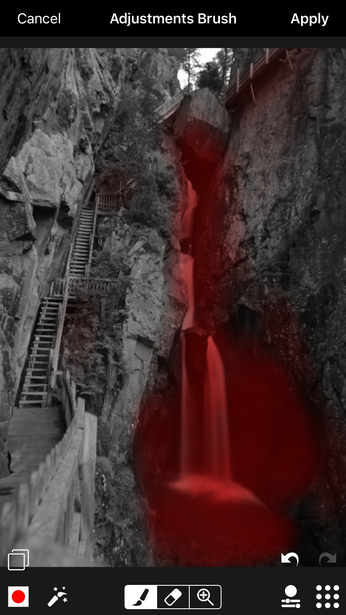
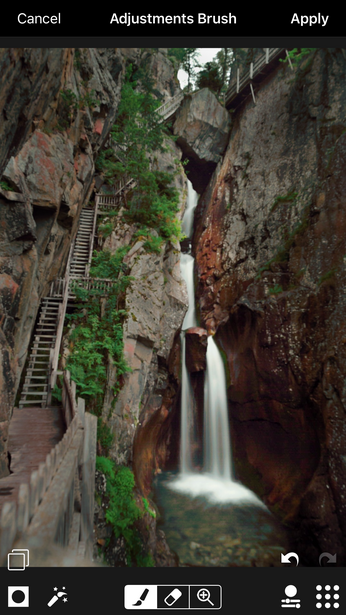
However, the adjustment was way too noticeable when applied to the full image. I decided to apply it only locally by pressing the brush button.
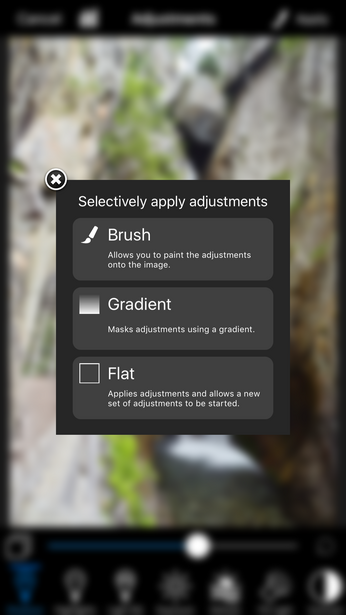
Brush settings can be refined similarly to what you could find in Photoshop or any other photo-editing app: opacity, feather, and size.
Each of them helping to make local adjustment look as seamless as possible.
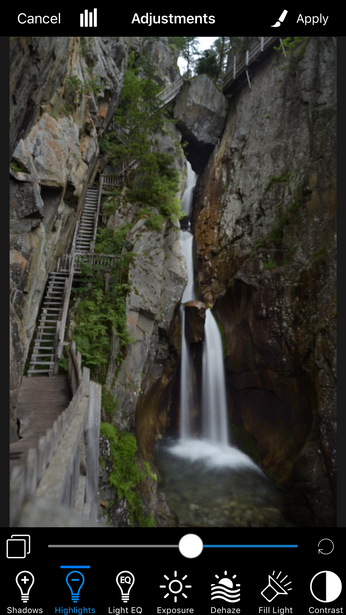
I then tweaked the highlights slightly to get little more details in the waterfall and sky. Working on JPEG here, it won’t save much, but if you were working on a raw file such as the DNG the ACDSee camera can capture, you’d be able to recover a lot more information.
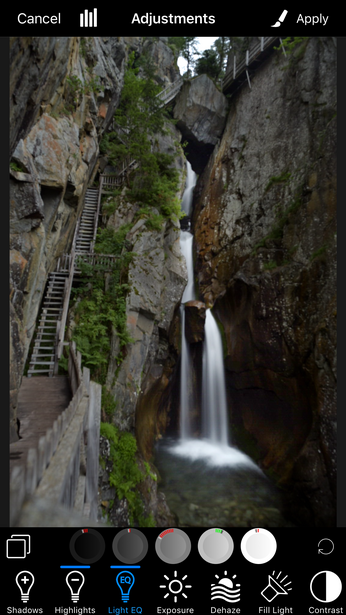
Then comes one of the most powerful features of this app: Light EQ. It makes toning easier than ever by allowing you to adjust the dark point, shadows, mid-tones, highlights, and white point independently. In this case, I modified it to give a bit more depth and contrast to my picture.
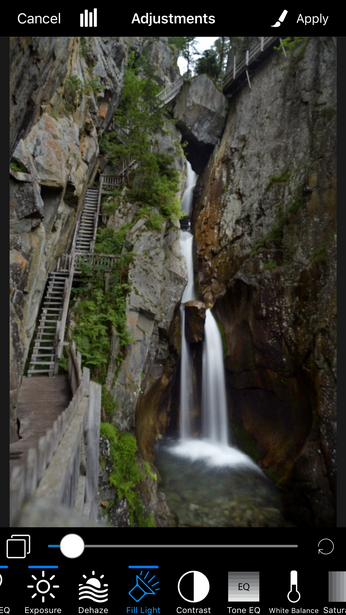
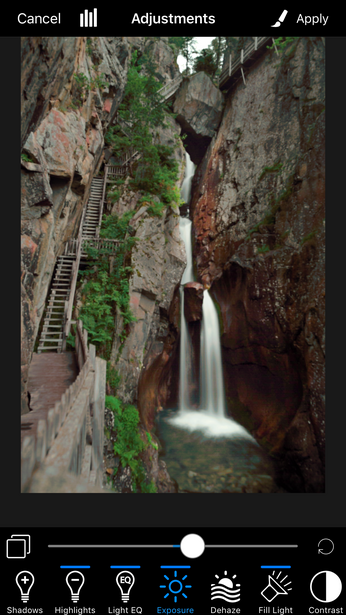
The overall image seemed a bit too dark for my taste after the first setting changes. I thus decided to boost my exposure a tad to get overall a lighter image. And then I did the same with the fill light features which allows recovering details in the darker tones.
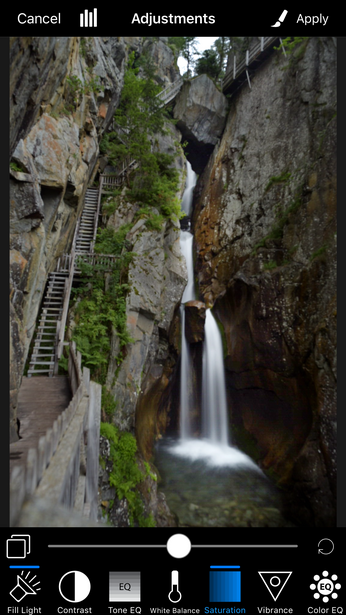
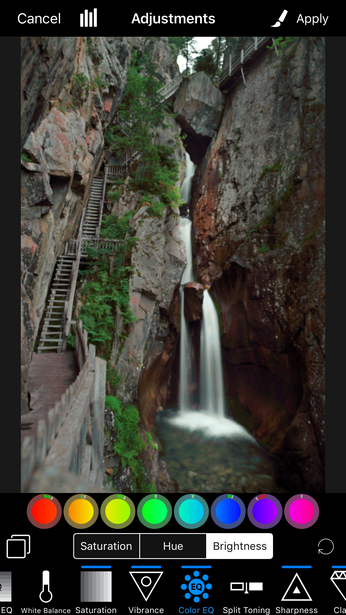
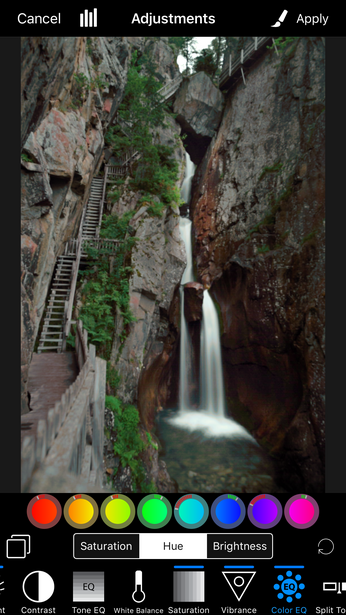
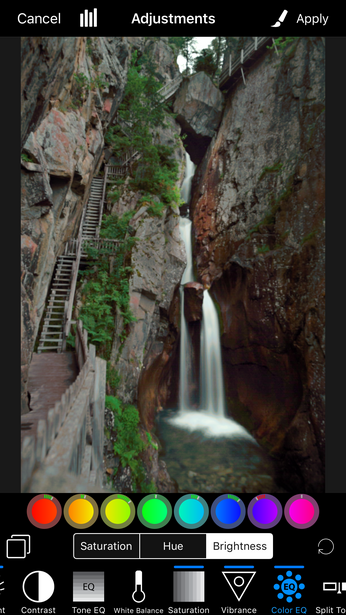
Moving on to colors, I adjusted the saturation and vibrancy slider very slightly to make the colors more visible. I didn’t push too far though because I wanted to take care of the Color EQ first.
The Color EQ is another fun part of this app with Light EQ. It makes color toning very interesting and easy to understand. A few wheels that match each color available in your image and each can be altered in terms of saturation, hue, and brightness.
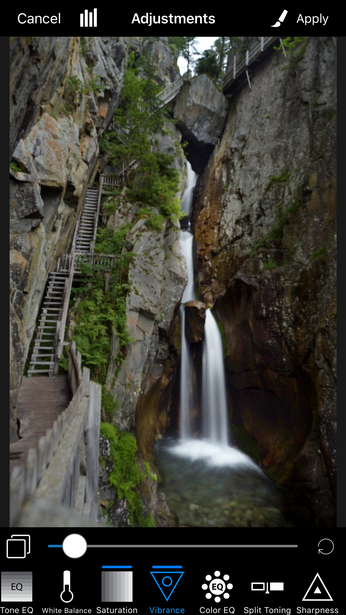
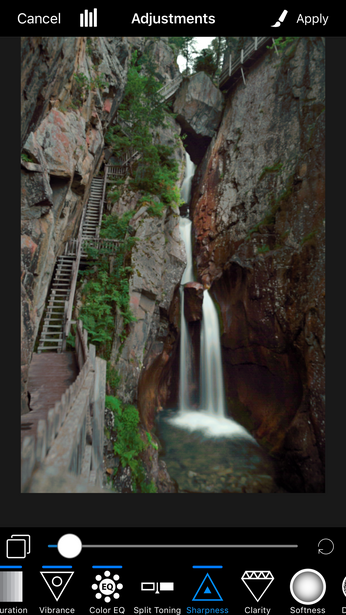
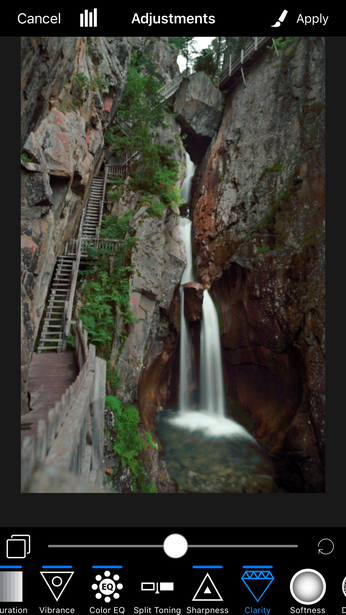
The image is looking great so far but lacking a bit of sharpness and depth. I’m thus adding a bit of sharpness and clarity.
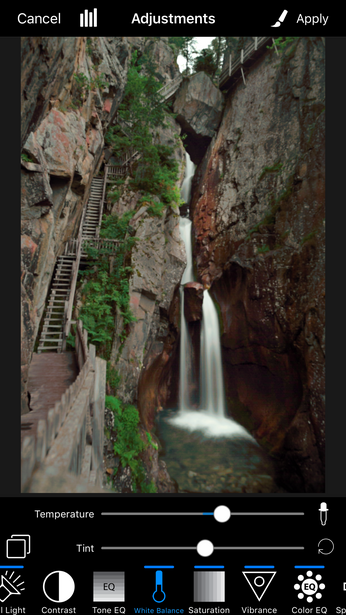
Compared to the scene I photographed, my edit is now looking a bit too cold. I don’t want it to be overly warm, but using the white balance tool, I decided to add a bit of yellow to make it look more natural.
My initial exposure adjustment was all right, but I’m always afraid people find the images too dark on their phone. So back to the exposure tool for to brighten it up again.
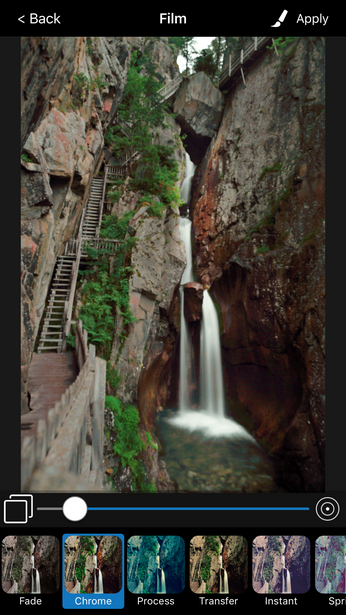
When I’m done editing an image on ACDSee Pro for iOS, I always like to check out the filters and see if there is one I could apply to give a unique look to my image. Given that I can adjust the opacity of the filter, it’s not like I want to ruin my previous work, however, if any filter can add a color toning that adds to the image, I will. Otherwise, I just save my edit.
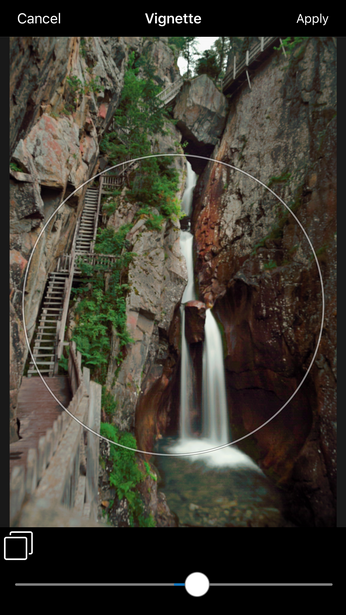
Then to help my viewer concentrate on the stairs and the waterfall, I added a bit of vignette
Despite the added vignette, I felt like the rock on the picture left was still taking the attention away. I went back to the exposure tool, dropped the exposure down and then pressed the brush tool to create a manual burning effect. Darkening the rock manually did the trick!

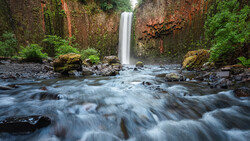
I’m left with my final image that I can directly save and post to my social networks. Reading this tutorial, it may seem like it took me a lot of time to get to the result below. However, it took me less than two minutes. Spending a few extra seconds to present my followers with work that is different than other people they follow is well worth it for me. It makes a difference and will help bring them back or share my account with others.
If you are serious about your content and want to push out quality images, even when you don’t have your laptop or camera with you, ACDSee Pro for iOS is definitely worth a try. I didn’t believe I’d use a photo editing app on my smartphone at first, but once I started using it, I soon realized what I had missed until now.


Join the Fstoppers community for free
-
Post comments and join in the discussions
-
Browse the site ad-free
-
Share your work and get featured in the community
-
Compete in the photo contests for fun and prizes
5 Comments
I'm just impressed you were able to move your photos from the camera to the phone. Snapbridge is a disaster and deserves the 2 star rating in the Play Store. I've gotten it to work maybe 3 times.
Just remember that when downloading multiples files at once from WMU (nikon iOS app) you won't get the RAWs. It gives you a crap jpg file. To download the RAW files direct from camera it must be download one at a time.
Btw, i use lightroom for advanced edit and VSCO for instagram :P
I struggle to edit my photos on MBP, what joy can possible people have editing on an iPhone? Are there so much photographers that have to edit on iPhones to satisfy their clients?
Not sure that I would ever try to "satisfy a client" by editing on my iPhone but there have been times I knew I would be away from my computer for a couple days and wanted to get a shot to social media ASAP (after all we are living in a instant gratification or it's old news time) so I used my phone. I didn't get the same result as editing on a full size monitor but it worked well in a pinch.
Not for a client. But I regularly do if for images I post straight to Instagram like minutes after the shoot.