

You stand in front of something stunning, a valley flooded with evening light, a city skyline at dusk, and you press the shutter sure you have captured it. Then you look at the file and the magic is gone. The colors are flatter, the sky is blown out or the ground is a muddy mess, the mountain that loomed over you looks like a small bump, and the whole thing feels ordinary. The instinct is to blame the camera, or your skill, or to start shopping for a better lens. Usually none of those is the real culprit. The real explanation is that your eyes and brain were never showing you the scene the way a camera records it, and once you understand the gap between the two, you can start closing it on purpose.
Your Eyes Are Not a Camera
The single most important thing to understand is that what you experienced as a scene was not an image. It was a construction. Your brain assembled it in real time from a constant stream of glances, adjustments, and corrections, then handed you a finished impression that felt like a single, perfect view. The camera does something completely different: it records one literal slice of light, with one exposure, one focus distance, one fixed frame, in one frozen instant. The disappointment you feel is the distance between a rich mental composite and an honest physical recording. Here is where that distance actually comes from.
Dynamic Range: The Brightness Problem
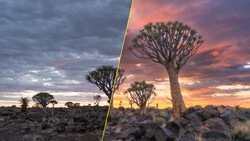
This is the biggest single cause. Dynamic range is the span between the brightest and darkest parts of a scene that a system can capture with detail. At any given instant your eye sees a range roughly comparable to a good camera, and modern sensors can even rival it. The real difference is not that your eye captures vastly more range in one instant, but that your vision adapts, selects, and processes locally as you look around. As your gaze drifts from the bright sky to the shadowed ground, your pupil and your visual system adjust constantly, and your brain stitches those many adaptations together into one impression where both the sky and the shadows show detail. Across that adapting range, human vision effectively spans far more than any single camera exposure can hold.
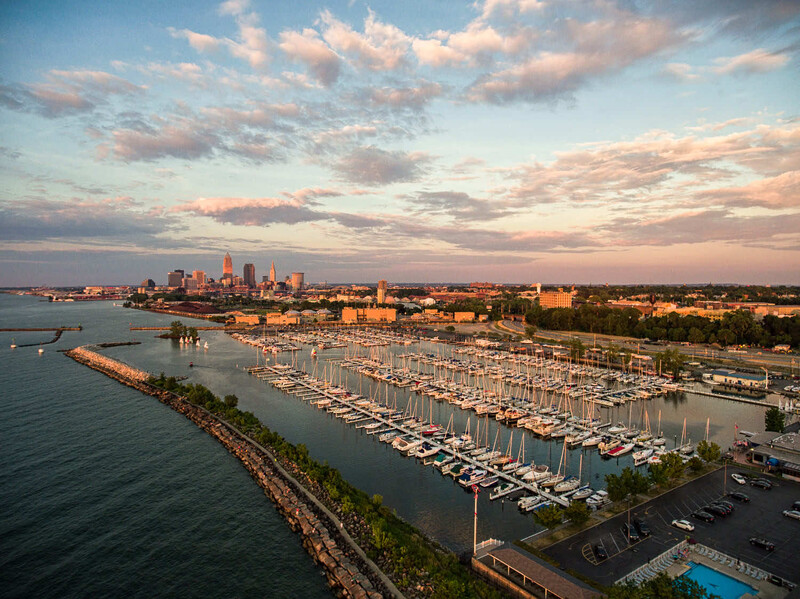
A conventional single exposure cannot do this, because it commits to one global setting for the whole frame. So the camera faces a choice your eye never had to make: expose for the bright sky and let the shadows go black, or expose for the shadows and let the sky blow out to white. The scene you remember, with detail everywhere at once, was never available in one shot. Your brain built it from many, and a single frame only took one. This is also why phone photos can look punchier than dedicated-camera files straight out of the box: many phones quietly shoot several frames and blend them with local tone mapping, doing automatically what a camera leaves for you to do deliberately.
How to close the gap: Shoot raw rather than JPEG, because a raw file preserves more tonal information and gives you much more room to recover highlight and shadow detail. Protect your important highlights, since clipped highlights cannot be recovered, but do not underexpose so far that the shadows fall apart into noise and color shifts when you lift them. In very high-contrast scenes, bracket several exposures and blend them, or use a graduated neutral density filter to hold back a bright sky. And favor light where the scene's brightness range is manageable in the first place, overcast, open shade, blue hour, or golden hour when the sun is not blasting directly into the frame.
Attention: The Clutter You Never Noticed
Standing in the scene, your brain did something ruthless and invisible: it filtered. It locked onto what you cared about, the light on the water, the figure, the peak, and quietly suppressed everything else. The trash can, the parked car, the tangle of power lines, the bright distracting blob in the corner all faded from your awareness because your attention edited them out.
The camera has no attention. It records every object in the frame with equal weight, so all the clutter your brain had politely ignored comes flooding back in the photograph, competing with the subject you actually cared about. This is why a scene that felt clean and focused in person looks busy and confused in the file.
How to close the gap: Before you press the shutter, look at the whole frame, not just your subject. Deliberately scan the edges and corners for distractions, then recompose, change position, or move closer to push the clutter out. Become the filter the camera does not have. Depth of field matters here too: a phone or wide lens tends to keep almost everything sharp, so the background competes with your subject, while a wider aperture, a longer lens, or a closer camera position can soften that background and recreate some of the selective focus your attention supplied automatically.
Scale: Why the Mountain Shrank
In person, that mountain filled your vision and your body felt small beneath it. Your sense of its size came from binocular depth perception, your awareness of your own position in space, your peripheral vision, and the way the view shifted as you moved your head. A photograph throws almost all of that away. But the mountain also shrank for a more fixable reason: lens choice and where you stood. A wide lens, the default on phones and the reflex for big scenery, pushes distant subjects small and spreads visual energy across a huge frame full of empty sky and foreground. You remember the peak; the lens recorded the whole environment with the peak as a speck in it.
How to close the gap: Give the viewer a reference for scale by putting a recognizable element in the frame, a person, a building, a tree, a boat, so the eye has something familiar to measure against. A tiny figure at the base of a cliff conveys size better than the cliff alone ever could. Reach for a longer lens to enlarge a distant subject and compress the space so near and far elements stack up dramatically. And move your feet: stepping closer to a foreground object, lower, or to one side often does more for scale and composition than zooming does, because it changes the actual relationships between near and far.
Flatness: The Depth That Disappeared
Your two eyes gave you some genuine stereoscopic depth, though for distant landscapes that matters less than you would think. The real sense of depth in a distant scene comes from monocular cues your brain reads automatically: overlapping objects, relative size, the haze that softens far elements, texture that fades with distance, converging lines, and the parallax shift as you move. A single still photo can preserve many of those cues, but it loses stereopsis, motion parallax, immersion, and the active scanning your brain used to make the scene feel spacious, and it flattens the layered world onto one plane. A flat sheet can read as dull no matter how beautiful the place was.
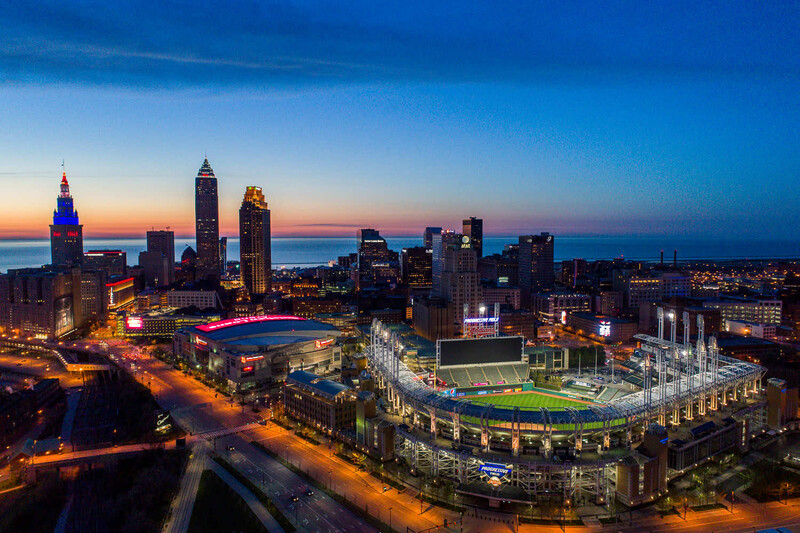
How to close the gap: Rebuild depth deliberately using the same monocular cues your brain relied on. Compose in layers, with a clear foreground, middle ground, and background, so the eye travels through the frame. Use side light rather than flat front light, because the shadows it casts reveal texture and form. Include a foreground element close to the camera to establish near against far. Depth that your perception supplied for free has to be engineered back into a photograph.
Color: The Cast You Could Not See
Your brain is a relentless color corrector. Under warm household light or cool open shade, you still perceive white as white, because your visual system silently compensates for the color of the light. The camera tries to make its own adjustment too, but it does not perceive the scene the way you did, so its automatic guess can be wrong, and in a JPEG that wrong guess gets baked in. An image that looked perfectly neutral to you can come back orange, blue, or green.
How to close the gap: Shoot raw, which lets you change white balance much more flexibly and cleanly after the fact than a JPEG allows, though very heavy correction under mixed or poor-quality light can still reveal noise or color problems. Learn to recognize the color of light, warm at golden hour, cool in shade, green under fluorescents, and correct it deliberately in editing rather than trusting the camera's automatic guess.
Memory: You Are Comparing Against a Highlight Reel
There is one more gap that has nothing to do with optics. The scene you remember was not only visual. It came wrapped in the temperature of the air, the sound, the smell, the motion, and whatever you were feeling in that moment. A still photograph captures none of that. It is a silent, motionless rectangle competing against a full multisensory experience your memory has already polished into something better than it literally was. Part of what made the moment feel alive was often motion and timing: a wave breaking, a person mid-stride, a cloud in the right place, an expression that lasted a second. A still frame only works if you catch the arrangement at the right instant, so the photograph has to earn its impact through composition, light, and timing rather than relying on the feeling you brought to the scene.
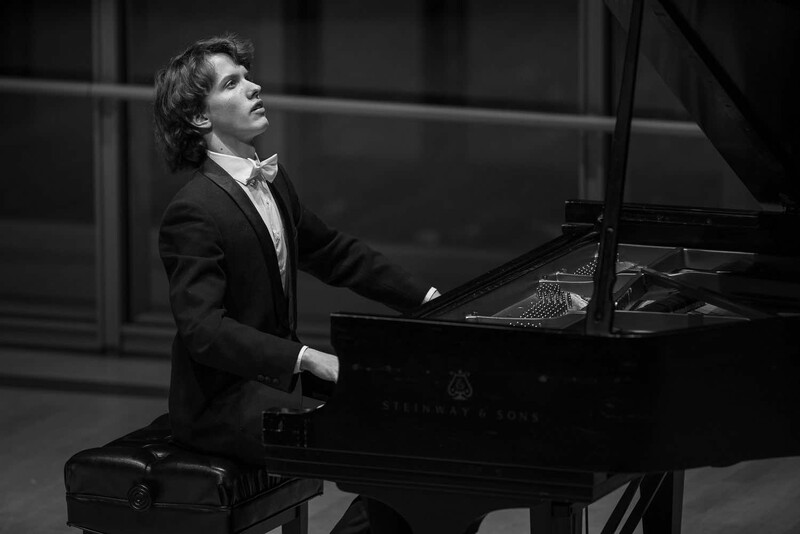
It does not help that you usually judge the result on the wrong canvas. You experienced the scene life-size and immersive, then you assess the photo on a phone screen in daylight, a dim laptop, or a compressed upload, often small and at a glance. A great image can look lifeless simply because of where and how you are viewing it, so judge your work on a decent, reasonably bright screen, or in print, before you decide it failed.
The Honest Caveat
Sometimes the photo really does look worse for plain technical reasons: the focus missed, the camera shook, the exposure was dull, a cheap lens flared in the backlight. Those problems are worth fixing. But they are a different category from the perceptual gap described here, and it matters not to confuse them. The perceptual gap is the one that remains even after your technique is flawless, because it comes from the difference between how you see and how a camera records, not from a mistake. A beginner who blames gear for what is really a perception-and-composition problem will buy a new camera and stay just as disappointed.
The Real Lesson
Here is the reframe that changes everything. Your camera is not failing to capture reality. It is making a constrained physical record, one exposure, one frame, one moment, shaped by its own lens, sensor, and settings, while your eyes and brain were quietly showing you an enhanced, selectively edited, emotionally loaded version of the same place. Good photography is not the act of pointing a camera at a beautiful thing and hoping the beauty transfers. It is the craft of rebuilding, deliberately and piece by piece, the impression your mind created automatically: restoring the dynamic range, removing the clutter, supplying the scale, engineering the depth, correcting the color, and composing for the feeling. Editing is part of that rebuilding rather than a betrayal of it, the stage where contrast, dodging and burning, color, and cropping translate the captured data back toward what you actually experienced. Done well, a photograph can end up looking better than the scene you remember, because the photographer assembled it on purpose where your brain only assembled it by reflex.
That is the encouraging part. The gap between what you saw and what you captured is not a sign that you or your gear fell short. It is the entire skill of photography, laid out as a list of solvable problems.
The practical next step is learning a repeatable workflow: capture enough information in the field, then shape it intentionally in post. If you want to learn to rebuild that impression methodically, Elia Locardi's Photographing the World: Landscape Photography and Post-Processing walks through capturing and processing high-contrast scenes so they match what you felt standing there, and The Well-Rounded Photographer: 8 Instructors Teach 8 Genres of Photography covers how working photographers across genres translate a real scene into a strong image.




Join the Fstoppers community for free
-
Post comments and join in the discussions
-
Browse the site ad-free
-
Share your work and get featured in the community
-
Compete in the photo contests for fun and prizes
1 Comment
i love this subject! What most never pay attention to is the width of our vision of sharpness and focus, example when driving and stopped behind another car and looking at just the license plate and reading the numbers and letters but stay on the license plate with your mind just see the tail lights, bumper and other things all will be a blur. Even looking at the rear LCD screen on your camera you will be able to see objects in separate section clearly but but when looking in other areas with just your mind other areas will be blurry. Even looking at a small print but more so a big print so you scan in separate sections. The point here is your peripheral vision that is not in focus but is seen and all is put together in your mind. Even when viewing a place you scan the whole in sections. Take a moment and just play with your eyes.
With doing that close one eye and see the tint of color of the other and again close the other eye and again see the tint. your mind mixes and blends all this giving depth, ever take the driving eye test with all the numbers/letters beneath the colors that is depth perception and helps with walking etc.. But say your in the military working around aircraft knowing how close you are is very important.
But here is a photo test what subject is the hardest to capture as one sees it? The Moon. No lens is able to capture it as you see it all big and bright as well as seeing the foreground as a whole and the whole scene your mind sees never with any lens can you capture the wideness of it all and not able get the size of the moon you saw. The reason back in the film days and even today you have to take an image of the moon and blend with the foreground But the size you make it matters to be real looking Also you need to have a single image of the moon for the moon in the northern hemisphere turns clockwise as it goes from east to west in the night sky if not captured at the same time it will look fake to a trained eye of location.
Also your vision to be so called perfect is 20/20 if not sharpness looking at a landscape the far could be blurry out there but the camera lens capture could be sharp.
If you wear glasses a lens coating could even make things more clear. But also that LED screen puts out a lot of blue light. that blue light will give you cataracts over time.
Here also a look and see, on todays computer screens you have icons on the bottom for fast access to a program and all are different colors. Now pay attention and look at each with different colors and see if you can see each at a different depth than the others even the Ps and Lrc are about the same color but have a different color. Yellows and reds are closer and greens and blues are deeper. So even your images on your monitor screen will have a 3D look as per your color depth perception.
All this just info for one to better understand their vision before thinking something wrong with the camera. Maybe other do not see what you captured as you see it.
Sometimes one of the digital news papers like Google News there will be a article of a vision test of numbers beneath some colors see how many you get correct some you need the mind to see the numbers clearly.
moon eclipse see how the moon turns a sign if no turning then fake.
foreground colors make for great depth
what makes the bee really stand out was it seen when it was captured.
the entrance to antelope canyon can you see the horse head to the left and the head of its rider to the the right but what gives depth on the inside to the outside. the tour guide had never noticed. lit inside by a LED Lateran set at daylight temp, no need for a tripod for there was bright light.