
Humidity, sunlight, water, and most of all, time, are just some of the culprits in the damage most printed photographs will endure. However these memories of loved ones do not need to be thrown away or thought to be unrepairable. A few layers in the digital world can bring it back for your clients.
A few years ago when the most destructive storm of 2012, hurricane Sandy, wrecked the northeast coast, a few of my closest friends called me up to ask if there was any way to repair some old photographs that were damaged in the storm leading back to the early 1900s. This project took many weeks to accomplish due to the conditions they were in. So when my long term client recently asked me to restore an image that was badly torn simply from time, it was a few quick edits compared to the damage of water from the super storm.
Getting It Right
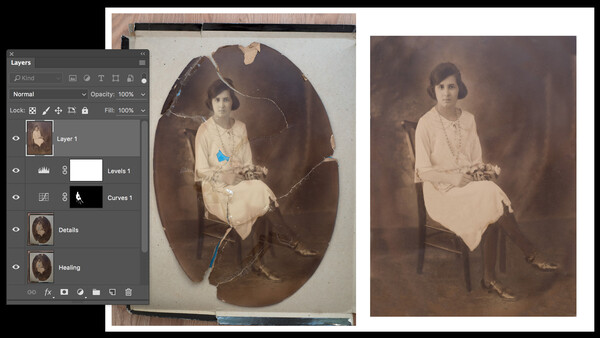
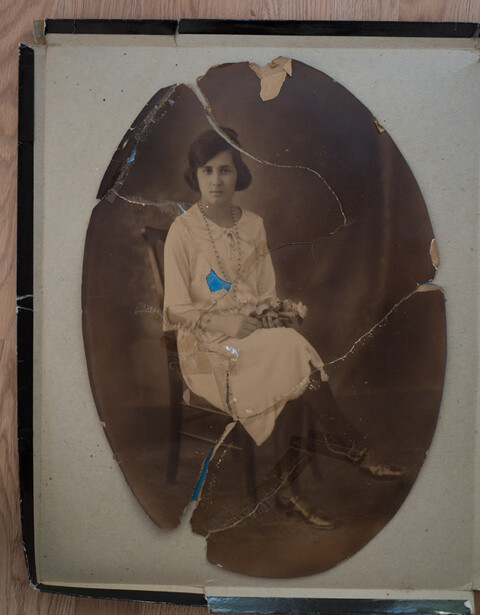
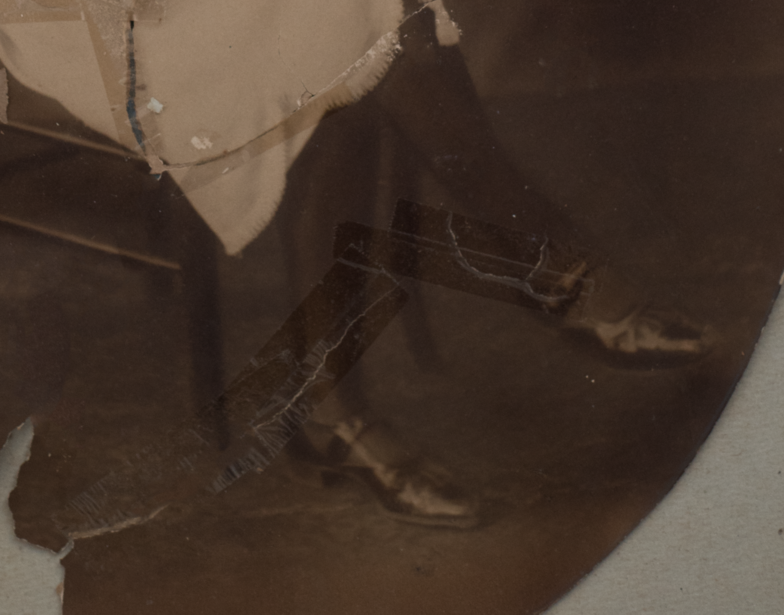
While there are many ways to repair an old photograph in film form, either digital or simply repairing the physical image itself, a digital reproduction was requested so she could print multiple times to surprise her family of a relatives that past away. First the image had to be puzzled together as tight as it could be for less post work in the end. The image came to me with blue tape holding it in place. More damage would have been done by pulling it apart from the tape and some pieces were missing as well. I laid the image on a flat surface and shot it from above to capture the replica of the photograph. Then the fun began.
Healing and Cloning
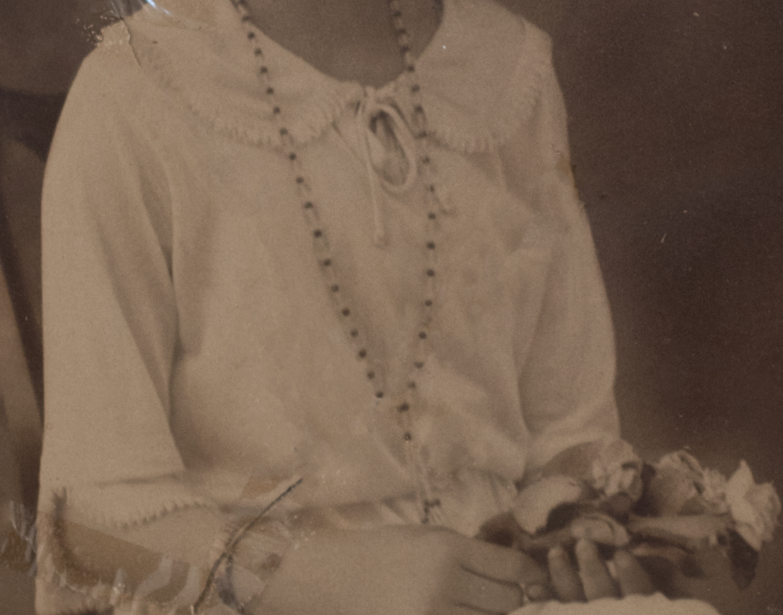
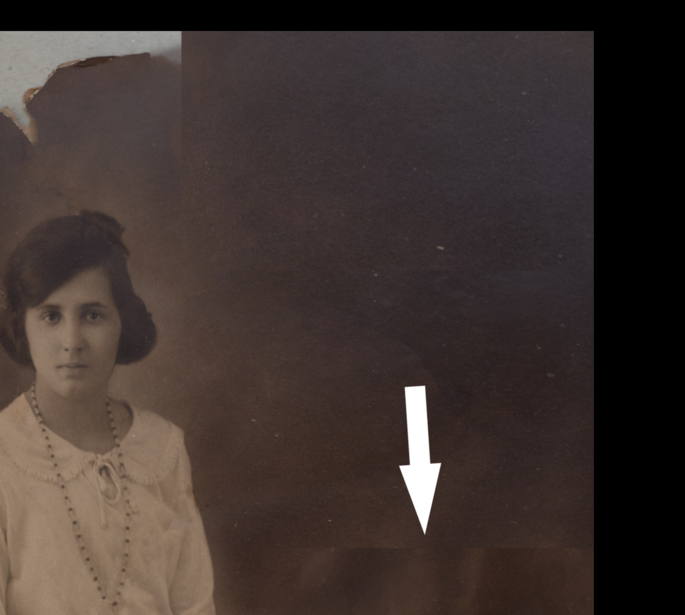
For the majority of images, the healing brush is the first go-to tool if possible. Specs of white, torn lines, or even the blue masking tape were easily fixed with this tool. I took care not to get to close to the details of her dress, otherwise Photoshop would take into consideration those tiny buttons and attempt to remove those as well.
The finer details are best left for the clone tool for a more precise line. The clone used the above buttons to create what was lost or damaged with the tape.
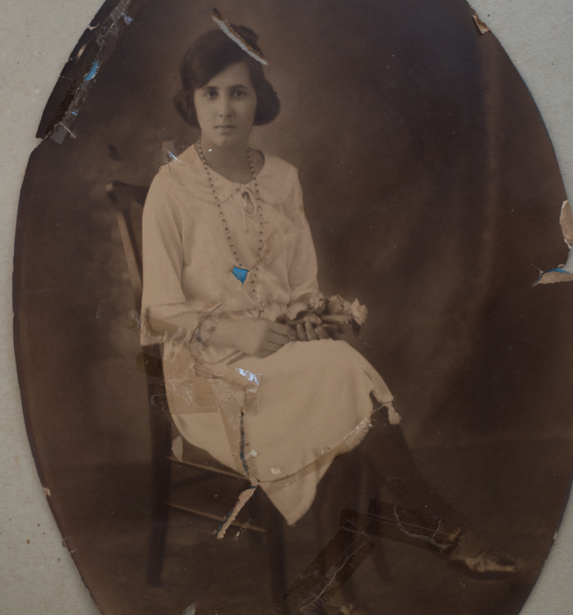
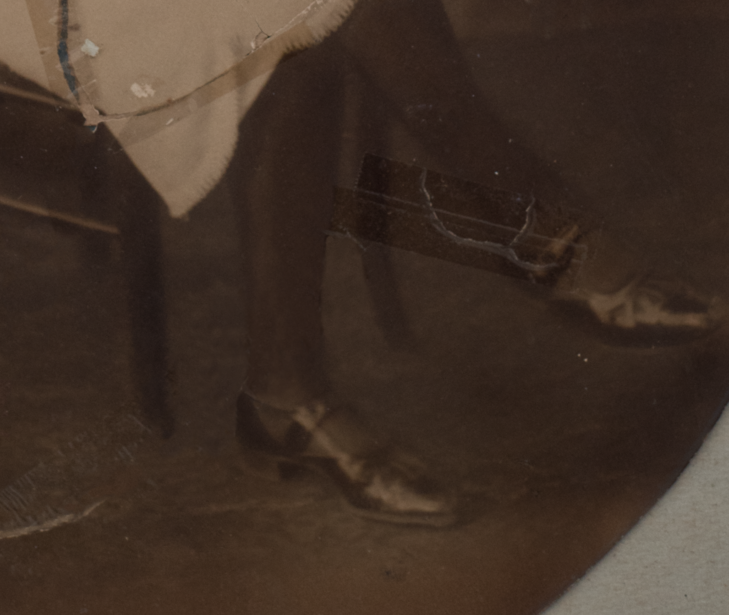
The tricky part comes when having to recreate a body part or wardrobe item. The tape was covering her shoe and calf so taking the time to get in very close to clone the shading of the shoes is all about patience.
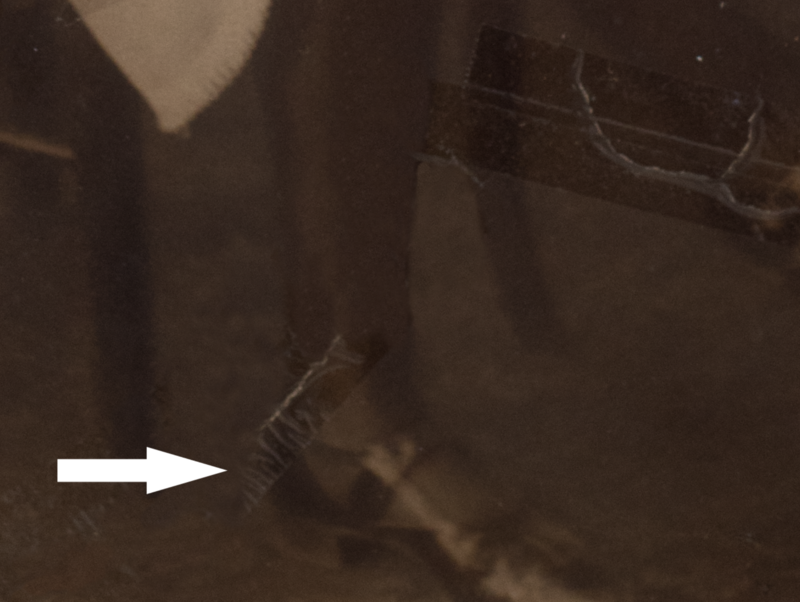
Using low opacity and flow was the best option for gradually building up the shoe and legs on its own layer. It is easier to build on than take off.
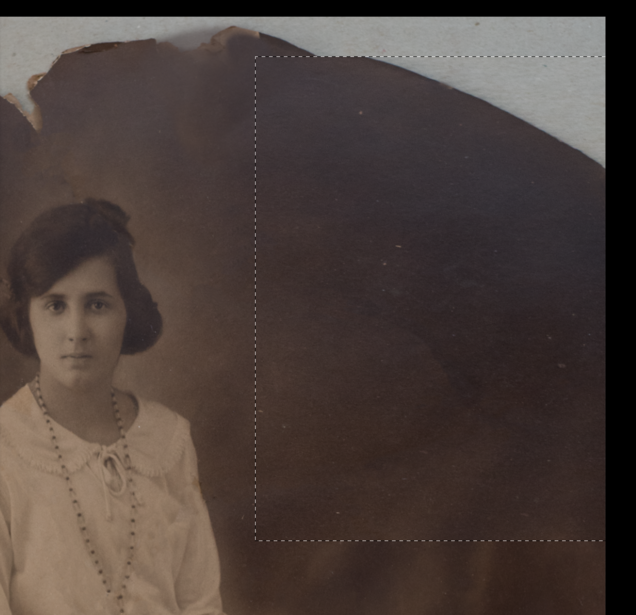
Extending to the Edges
While the image was oval, and one printed version would become oval again, she requested a few smaller gift prints. In this case I needed to extend the edges a bit to a rectangle ratio for 8x12-inch prints. For this I first cleaned up the torn edges prior to creating a new ratio. Once the edges were fixed, I used the crop tool to set my boundaries for the ratio. The clone tool can be used for extending the edges or using the marque tool to stretch, however that can be tricky. Small increments are needed as to not pull the colors too far and either create stretching or an unwanted line.
Once the major details were set, attention to the minor details was in order for tiny dust specs that were missed, or cloning that left any indication that postproduction was made. This portion of the clean up is important prior to sending to the printer. You do not want to get a framed canvas back and notice the small specs in the image. I prefer to work dodge and burn techniques at the end after all the healing of the image is complete. Using an inverted curves layer to paint on the dodge-and-burn effects is more effective than applying it to the image as a whole.

Master Print Maker Jonathan Penney supplied the oval canvas frame and gave it the perfect touch for the classic look of the image.
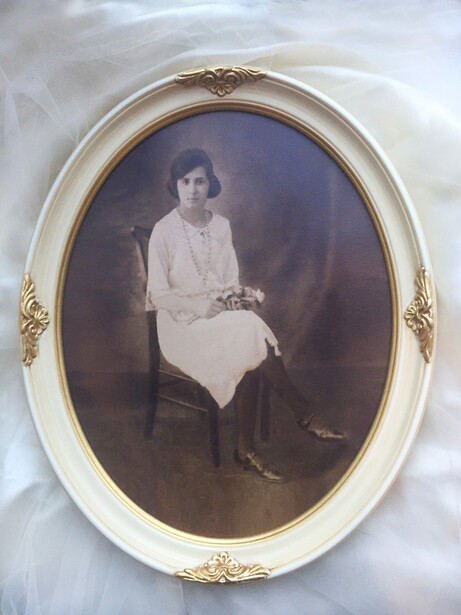
In the end the client was overwhelmed how it turned out and that she could once again hang this relative's image on the wall. Restoring old images can be time consuming, it can try your patience and your technique, but the satisfaction of bringing back to life a piece of your client's history is worth every moment.


Join the Fstoppers community for free
-
Post comments and join in the discussions
-
Browse the site ad-free
-
Share your work and get featured in the community
-
Compete in the photo contests for fun and prizes
3 Comments
This is amazing. Going to have to try it
Very nice article. I have some family photos from the late 1800's and early 1900's I can use this on.
Have Fun,
Jeff
Great! I would love to see the results!