
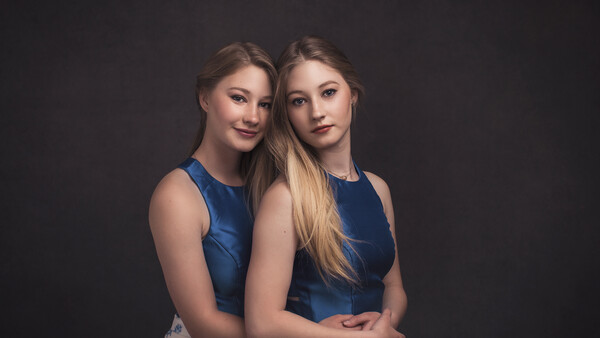
Are you thinking of trying out portrait photography and want to get some insight as to exactly what you need to create beautiful portraits without a lot of trial and error? Read on for some tried and true suggestions that will get you started without all the hit-and-miss experimentation.
My initial foray into portrait photography was fraught with missteps and unpreparedness. I had been a hobbyist at photography, shooting landscapes and fascinating weather patterns, along with the occasional rustic barn or old windmill. One of my friends asked me if I could photograph her son for a picture to be published in his high school sports magazine. I had no idea what to do.
After a tiny bit of online research, I brought the kid to my house with the intention of trying out two different approaches: one shot would be outside in front of a brick wall and the other inside my garage, overhead door raised, with a white sheet as the backdrop.
We started off inside the garage. I positioned him right up against the makeshift backdrop. I stepped in front of this 16-year-old boy, and I froze. I realized that I had no idea what was next. I didn't know what height to shoot him from. He was a few inches taller than me, and I felt like the angle I was shooting him from was totally wrong.
I clicked the shutter on my Canon Rebel and took a peek at the back of the camera. While I had long been a fan of tripod-assisted long exposures, I had very little experience in shooting living, breathing people in low-light conditions, and I doubt I even knew how to adjust ISO at this point. Everything was terribly dark and grainy. Nothing was in focus. The white sheet hung behind him like a dull, gray curtain of a dingy doom. This was nothing like the beautiful, high-key white-backdrop images I had seen on the internet! I had no idea what I had gotten myself into.

Next, we moved outside to the front of the house, where the overcast day lent a good, soft light, and the brick wall in the background was a trendy addition to a somewhat usable image. Today, I look at that image and cringe! It’s grainy, underexposed, over-vignetted, and slightly out of focus. Many years of study, practice, investment, and failure later, I am here today to tell you some of the things I wish I'd known back then. I hope this helps some of you beginners become better portrait photographers!
Essential 1: Camera Gear That Makes You Happy
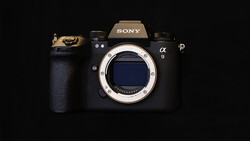
My portrait photography business was built on the capabilities of a simple Canon XSi. It was a great consumer level camera, and I still use it in my photobooth. Now, I realize that a million arguments have been started over whether or not an interchangeable lens camera is essential for good portrait captures. I have seen many aspiring photographers over the years attempt to forgo the expense and learning curve of a DSLR and opt for a simpler point-and-shoot camera, only to discover that they were not able to achieve the results they wanted. That can be an expensive detour on the road to investing in good gear, and if you're really serious about portrait photography, I recommend you rent or borrow a couple of different types of cameras and see for yourself the difference in image quality before making a purchase.
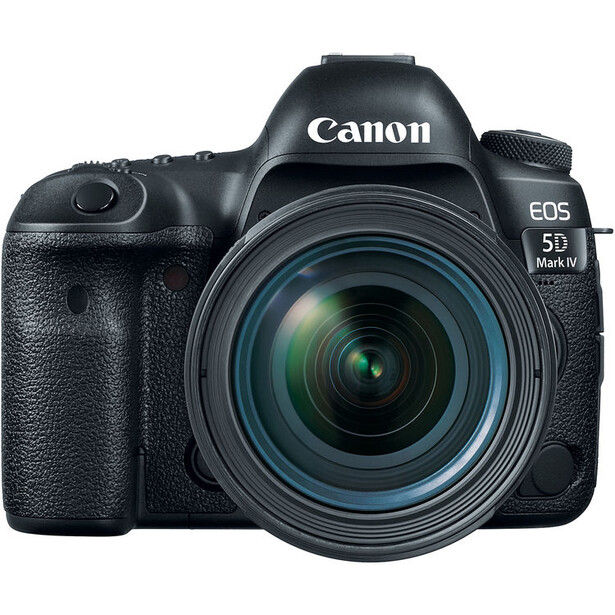
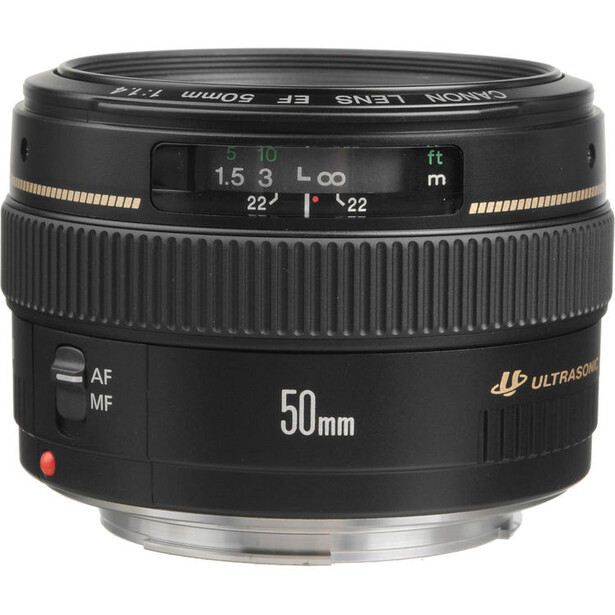
If you do find that the DSLR route is the way to go, you'll also need to think about lenses. My entry level DSLR came as a kit, with a Canon 18-55mm f/3.5-5.6 lens, and I was plenty happy with that for a while. When I was ready to upgrade glass, after much research, I decided to splurge on a Canon EF 50mm f/1.4 USM lens. Upon the first shutter click, I was absolutely blown away by the difference in image quality. It was night and day. Of course, lenses are somewhat a personal preference, and once you've decided you're in it for the long haul, you'll likely want to upgrade from the kit lens. The ones I use the most today for portraits are the Canon 50mm f/1.2L, the Canon 85mm f/1.2L, and the Canon 70-200mm f/2.8L. It's worth noting that for portrait photography, lenses with longer focal lengths tend to be more flattering to your subject. Eventually, you may be interested in upgrading to such lenses as an 85mm, 105mm, or even 200mm lens.
Essential 2: Some Quality Education
Since you are reading this right now, you’ve obviously begun to seek education on how to get the most out of your gear and your photography. Fortunately, there are so many resources available for learning photography, you don’t have to spend the price of a college education in order to learn everything you need to know. Fstoppers has a wealth of great information to advance your photography skills. You’ll want to learn as much as you can about using whatever camera gear you purchase, so be sure and do the homework and learn everything you can about the available functions it has. There are field guides available for most cameras that will explore in-depth all of the functions of your specific camera model. You’ll also greatly benefit from learning all you can about exposure, including how aperture, shutter speed, and ISO work together in the exposure triangle.

In addition to online training, I gleaned a ton of information by reading two books from Bryan Peterson: Understanding Exposure and Understanding Shutter Speed. These books break down the exposure triangle in easy-to-understand terms and really help when you're ready to take that camera out of auto mode and learn how to have complete control over your light and your outcome.
Essential 3: A Willing Subject
After my initial foray into portrait photography, I began to get many requests for photography from my close friends and family. Using people that I knew well as guinea pigs was a great way for me to get practice in, as well as to get my name out to the community. If you don’t have willing friends and family that can help you out by being your test subjects, offer to photograph coworkers or their children, family, and friends. If that fails, a model call might be a good option for you. The main thing is to get someone in front of your camera and do it often. Practice makes perfect, so make sure you are shooting often and applying all that you learn as you do so.
Chances are, the person you choose to practice your portrait photography on won’t be a professional model. They won’t know what to do once they get in front of your camera, so you’ll need to be able to guide and direct them in body movement and posing direction. In addition to the helpful info you’ll find on this site about posing, it’s helpful to study models in magazines and follow your favorite photographers on social media.
Essential 4: A Good Location
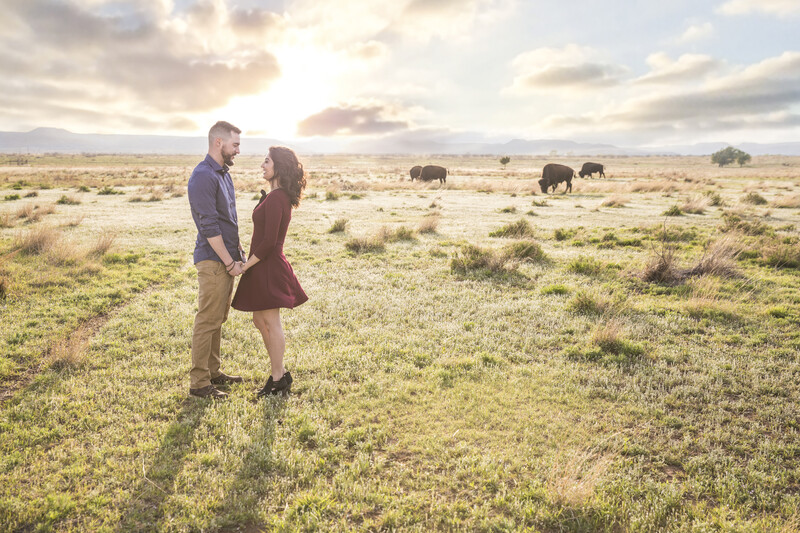
Once you have the tool with which to capture a portrait, a willing subject to photograph, and the knowledge you need to get started, you’ll need to decide where to take the photographs. Like most beginning photographers, I did not have a studio space to use when I first started out, so I tended to gravitate towards local parks, lakes, and nature trails in my area. Sometimes, I was able to get permission to shoot at beautiful locations on private property. As tempting as it may be to just jump a fence and trespass, I definitely recommend that you contact the property owner and get permission rather than take a chance on the embarrassment and possible repercussions of being caught trespassing. Even public places have different rules when it comes to photography, so be sure to do the research and take the necessary steps before you venture out.
Of course, shooting outdoors requires you to be dependent upon time of day, weather, and the possibility that another photographer may already be using the space. Fortunately, there are plenty of indoor places you might be able to use for a portrait shoot if you get creative. Search your city for beautiful churches, lush greenhouses, historic homes, or perhaps museums. Get creative! Once you start your quest for a good location, your eye will be trained to search out locations everywhere you go.
Essential 5: Good Lighting
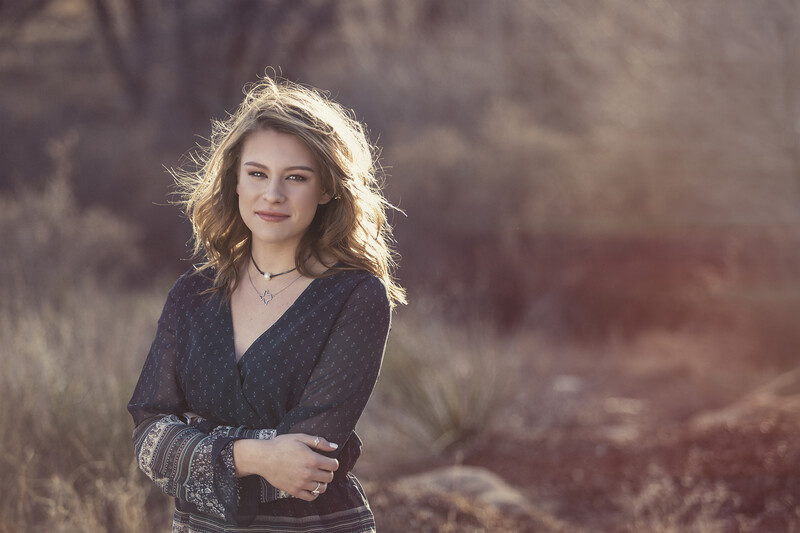
When shooting natural light portraits, location and lighting go hand in hand. Any portrait photographer will tell you that the golden hour — that time of day an hour or two after sunrise or an hour or two before sunset — is the best light to shoot in. The light at these times of day is much softer and more flattering. Portraits taken during the middle of the day, when the sunlight is the most hard and direct, can result in unflattering, harsh shadows and overly bright highlights, as well as squinting subjects. If you must shoot during the middle of the day, look for areas of open shade, such as a stand of trees or the shade of a building.
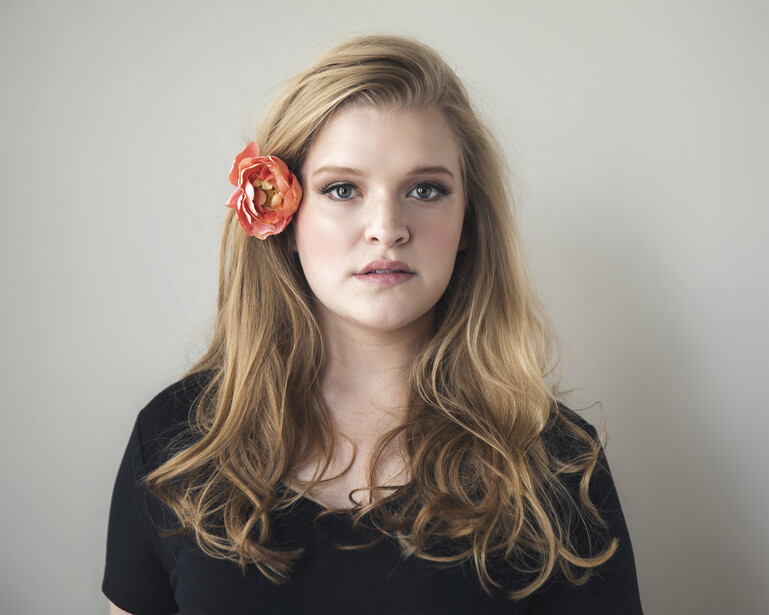
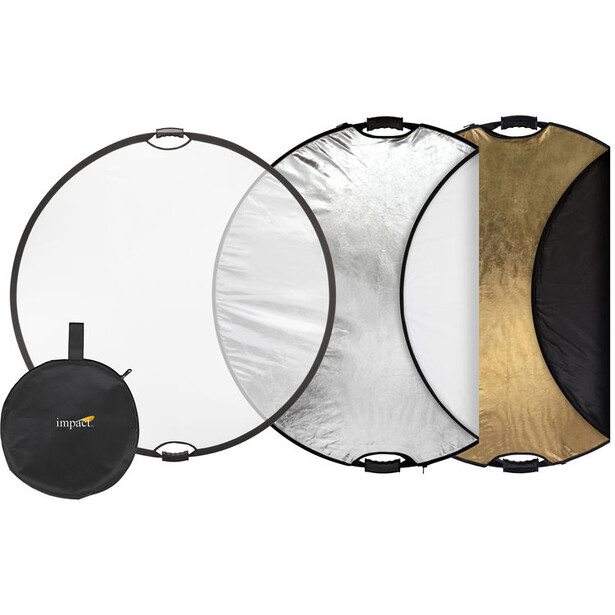
No matter what time of day you shoot, as long as you have sunlight, you can add some beautiful fill light on your subject with the use of reflectors. A simple, affordable 5-in-1 reflector can be used to add white, silver, or warm golden fill light on your subject. Even more economical is a sheet of white foamcore that you can find at any art supply store.
As you learn, you might venture further and decide to use artificial light in your shoots. Learning off-camera flash will likely be the natural next step. I began almost immediately in my portrait business by using a Canon flash and some affordable triggers, along with a small, collapsible light modifier. I loved the next-level look of flash in outdoor photos, so long before I had a studio space to use, I was using fill flash outdoors, and many times I still do. No matter the weather or the situation, I always take at the very least a 5-in-1 reflector with me for outdoor shoots, just to add that little bit of pop on the skin and in the eyes that might be missing with flat outdoor light.
Portrait photography can be a rewarding, exciting hobby, with the possibility of developing into a sustainable, successful business if you're willing to invest the time and work required. Get started today, and keep digging through this site for more great education and helpful tips!


Join the Fstoppers community for free
-
Post comments and join in the discussions
-
Browse the site ad-free
-
Share your work and get featured in the community
-
Compete in the photo contests for fun and prizes
10 Comments
What is the point of this article? To shoot portraits you need a camera, a light source, a subject, a location, and knowledge of photography.
When you started you didnt know that direct sunlight with no light modifiers is not ideal or that the light is softer during golden hour?
You didn't know that portraits with a wide angle lens are typically not flattering or that fast lenses are better than slow ones? Also, no one should be purchasing a lens if they don't know much more about photography than what's in this article and they should be shooting tons of portraits and doing it well before they need an upgrade from the kit lens.
You didnt realize that a beautiful location is going to make your portraits stronger and that you shouldn't trespass on private property during a photoshoot? You shouldn't commit crimes while shooting portraits?
This is all the most basic information you could learn in 5 minutes by talking to the dumbest sales rep at any photo store.
The most important thing is that this is all information that you should know well before you buy a camera or start offering to shoot portraits of people! You absolutely should not be offering to take portraits for your coworkers and losing your day job. You 100% should not be wasting other people's time doing model calls. If you do not know the most basic information about photography then you have a lot to learn before you should be wasting people's time.
I get notifications from fstoppers multiple times a day for these dumb articles that are not only useless but when they do offer actual advice/information it's just bad.
Don't encourage people to invest in an expensive f1.4 lens if they want to get started taking portraits. Tell them to consider buying a used 50mm f1.8 lens for $45 used since there are just so many of those floating around (if you think the ideal prime lens for portraits is 50mm). Hell tell them to get a manual focus lens for dirt cheap and it will do a great job and make them a better photographer.
Maybe explain how they need to know about the crop factor on their entry-level DSLR. That would be actually useful information for someone getting started.
Don't further new aspiring photographers' belief that gear will make them better.
I am going to continue calling BS on fstoppers articles like this because it is ridiculous that this website keeps pumping out so many useless articles and it is a better way to kill time than reading these articles. If you guys are so desperate for content I I will so some freelance articles for you for less than the cost of an unnecessary expensive canon f1.4 lens being used for family portraits.
Stop creating content just to do so. Increase the quality of your content not the quantity. Good advice for photographers as well as running a "gow to" photo website.
Can't wait to see what groundbreaking article will pop up on my phone next from fstoppers!
Kinda harsh in your response maybe? She is letting others know the path she started from not really understanding what she was doing to where she is shooting good images now. Everyone starts out somewhere and she is sharing this, and I'm sure other "nooby's" will get some value from this.
fstoppers is for all levels of photographers to enjoy, you didn't like this one-its ok..., but you sure spent a lot of effort to blast it instead of just moving on...
Can you link your photography website or blog where all the "real" articles you've written are located?
I don't have a blog or write photo blog articles. I said I would gladly write some blog posts with better advice than this if fstoppers is hurting so bad for content.
So, you have no experience with creating photo related content for a massively wide spectrum of photographers on a daily basis, but you think you can do better than the most popular photo related website on the internet? Interesting.
As the other poster mentioned, definitely harsh to the author of the article. It sounds like your beef should be with the editors of Fstoppers. While I do agree that many articles posted here are written from a "Captain Obvious" standpoint , the content editorial decisions are who you should target your anger towards.
I am not angry and I'm not bashing the author. I specifically state that it is fstoppers' general content lately that is terrible. I just think it's very obvious they are trying to post new articles often without putting any real thought into them. Many of the new articles are old ones recycled.
I apologise to the author if I came across as a jerk but I was just trying to make a point.
Some broad advice but I liked it overall. 👌
The tips are very basic, but I guess it's because this article is for beginners. If you want to start your journey as a photographer, you might want to start with your phone camera first and download some useful camera apps: https://softwaretested.com/android/top-10-android-camera-apps-to-improv…
Yes, good location and lighting are very important for portrait photography. I would like to add some points which are very essentials for getting started portrait photography.
1. Concept
2. Natural Background
3. Take candid shots
4. Capture emotions and expressions
5. Try out some different angles.
Last week I had met one of the best portrait photographer Alex F Buchholz who is very famous in the Indian photography Industry. You can check his online reviews: https://www.facebook.com/pg/alexbuchholzphotography/reviews/?ref=page_i…