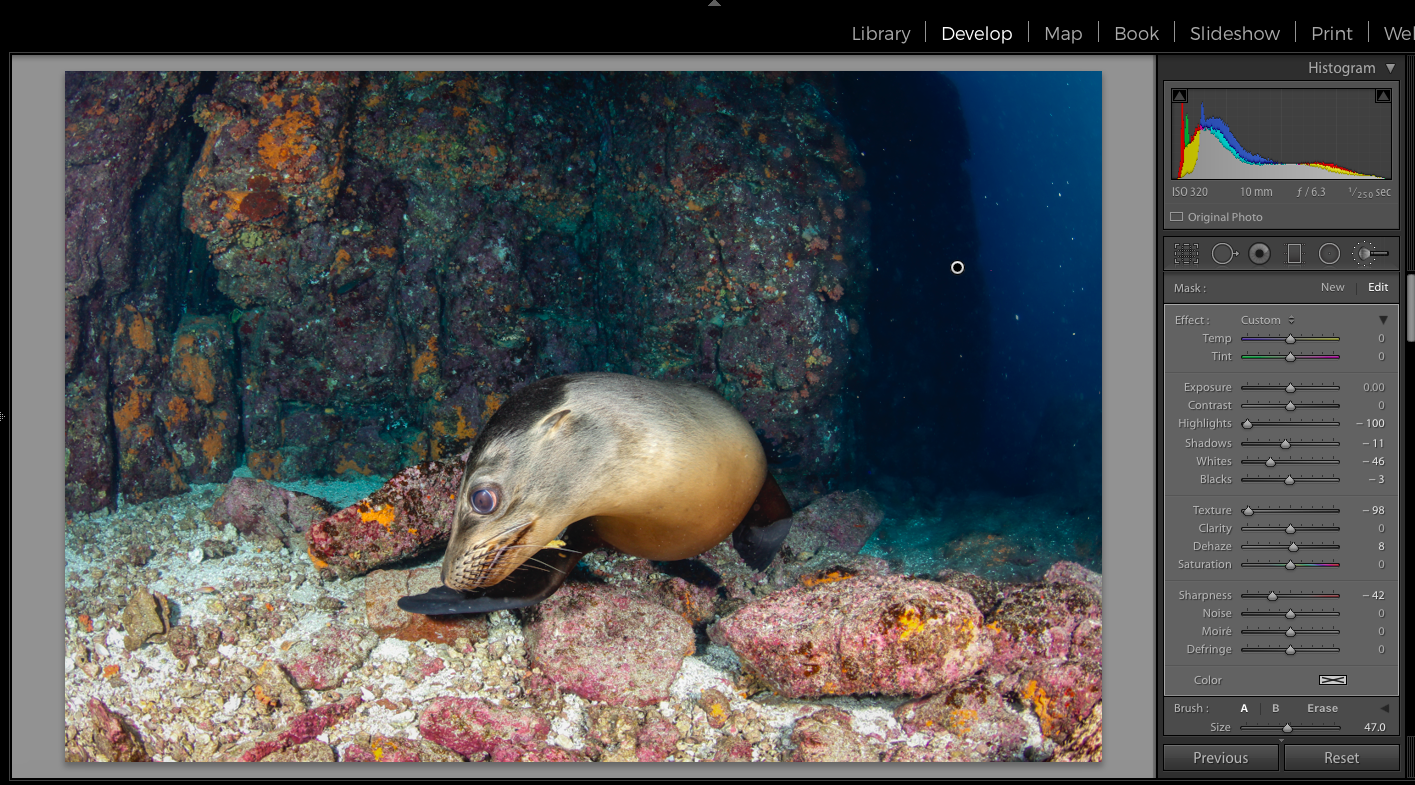
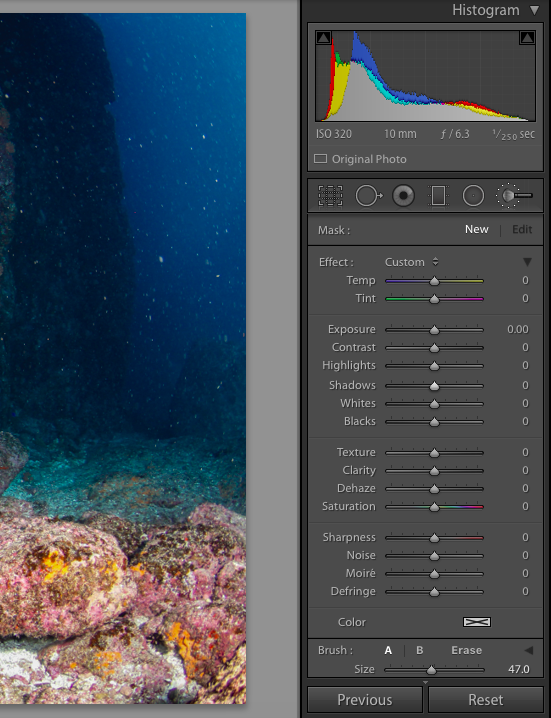
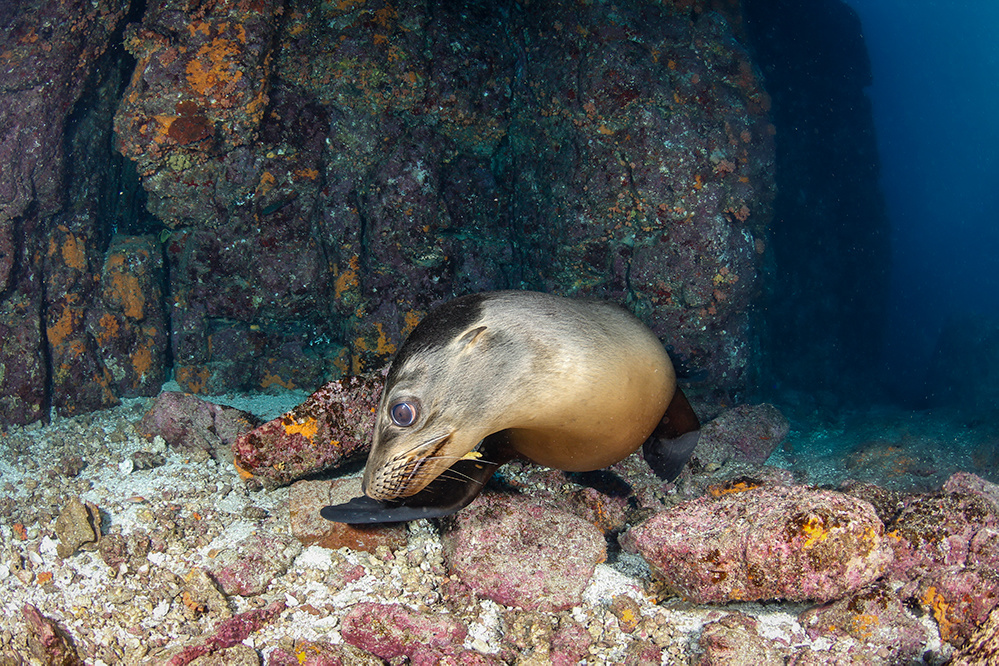
It has been some time since Adobe last released a new control to Lightroom, and as such, I was very keen to try out their latest addition — the “Texture” slider. Since a good majority of my work is underwater, I was of course interested in what value it could add to underwater images. As I have quickly learned, this new feature is a great tool for underwater photographers — particularly those who struggle with backscatter in their images.
Even if you are just starting out in underwater photography, you have no doubt heard the term backscatter. Perhaps, you aren’t an underwater photographer, but have seen little particulates in underwater images. Well, these super annoying bits of who knows what float around in the water column (seemingly in slow motion), patiently waiting for your strobes or the sun to illuminate them.
Of course, we can usually avoid backscatter with a proper lighting set-up, or worst-case in post; but sometimes it can be really difficult to eliminate all of the backscatter and/or it may just take more time than you are willing to spend in post. Too often these images end up in the bin, perhaps rightfully so, but what if there were another way?
Enter, the Texture slider.
Originally titled the “Smoothing” slider, the Texture slider was created by Adobe’s Max Wendt. According to Wendt, Adobe Lightroom users were looking for a quick alternative to Photoshop in order to smooth skin in portraits. Yet, somewhere along the teams journey the “Smoothing” control’s name and purpose evolved into “Texture.” Wendt admitted curiosity got the better of the them. They were interested to know what would happen if they moved the slider the opposite way. And just like that we got Texture.
I do believe "texture" is a more appropriate title. Wendt explained that a lot of users have compared a positive Texture to “somewhere between positive Clarity and Sharpening,” while a negative Texture is similar to Noise Reduction. Regardless of how you explain it, Texture is its own thing, and can definitely be used with the other controls.
While I have enjoyed using the slider to add more depth to parts of my images, I’ve also begun to experiment with the left side of the slider, or should I say, the smooth end. At first I only adjusted the slider for the entire image, but later started isolating parts of the images with the brush tool—specifically the water column. Based on the fact that the slider is geared towards the mid-frequency parts of an image, I was surprised to find that a low frequency part of an image such as a water column would react so well to the slider.
With the water column highlighted, I moved the slider towards the left reducing the texture and smoothing part of the image. It works quite well with smaller particles in the water column, but the bigger pieces tend to need a bit more help. Depending on how much backscatter you have present in an image, this can ultimately mean a lot less screen time for the user. Obviously moving the slider to the positive end of the spectrum will accentuate backscatter, so best avoided if you have a lot of it present. It’s important to point out the texture slider can be used with the graduated and radial filters as well.

With the adjustment brush selection made, I reduced the texture slider, all the way to the left—smoothing out most of the backscatter. Note the other adjustments, which also helped. While larger pieces of backscatter are still present, the clean up work has been greatly reduced.
As the tool is brand new, I’ve only experimented with a handful of images at this early stage, but all of the results are quite promising. So, if you are having issues with cleaning up backscatter in your images, give the texture slider a go, and don’t forget you can add a bit more smoothness to your local adjustments by adding some global texture adjustments as well.


It’s especially good for getting rid of the textured appearance the water can take on after using a dust and scratches filter. I love this new tool!
I shoot on top of the water and the Texture slider is a great help to selectively manage reflections and add depth and flow to the water. I use the slider in both directions, often within the same shot.
I have used the texture (moved left) to achieve something like the orton effect, which is quite pleasing.
Planning to do a couple dives in Cuba next week. Can't wait to test this out myself afterwards!
I'm finding the right end of the slider useful for separating spray from the background